Introduction
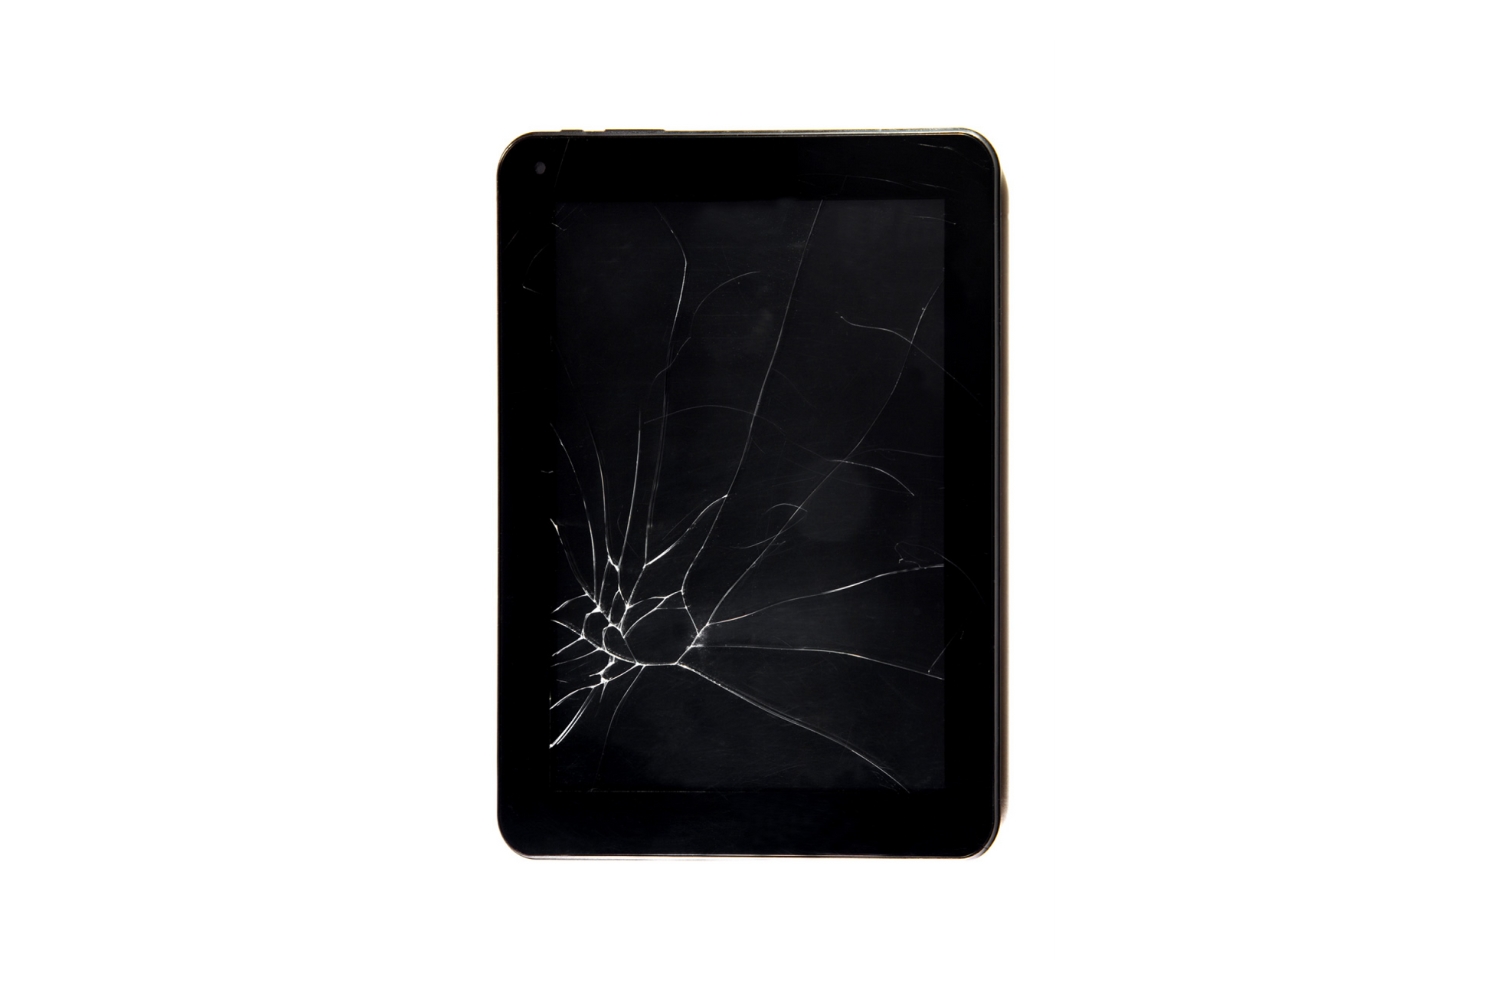
A cracked monitor screen can be a frustrating and unsightly issue that hinders your ability to work or enjoy multimedia content. Whether caused by accidental trauma or simple wear and tear over time, a cracked screen is a problem that many people encounter at some point. Fortunately, with a bit of patience and the right tools, you can fix a cracked monitor screen yourself, saving the time and expense of professional repair.
Assessing the extent of the damage is the first step in determining whether your cracked screen can be repaired. Minor cracks or damage limited to the outer layer of the screen may be fixable, while more severe damage to the actual display panel may require a replacement. In this guide, we will primarily focus on fixing minor cracks and replacing the outer layer of the screen.
Before you begin the repair process, it’s essential to gather the necessary tools. You will need a screwdriver, a soft cloth or microfiber cloth, double-sided adhesive tape, a replacement screen, and a plastic pry tool. These tools are readily available and can be purchased at electronics stores or online.
When working with electronics, safety is paramount. It’s crucial to protect yourself from electrical shock before attempting any repairs on your cracked monitor screen. Make sure to unplug the monitor from the power source and avoid touching any exposed wires or components.
Next, you’ll need to turn off the monitor to prevent any potential damage or injury during the repair process. Locate the power button and hold it down for a few seconds until the monitor turns off completely. Disconnect any additional cables connected to the monitor, such as HDMI or VGA cables.
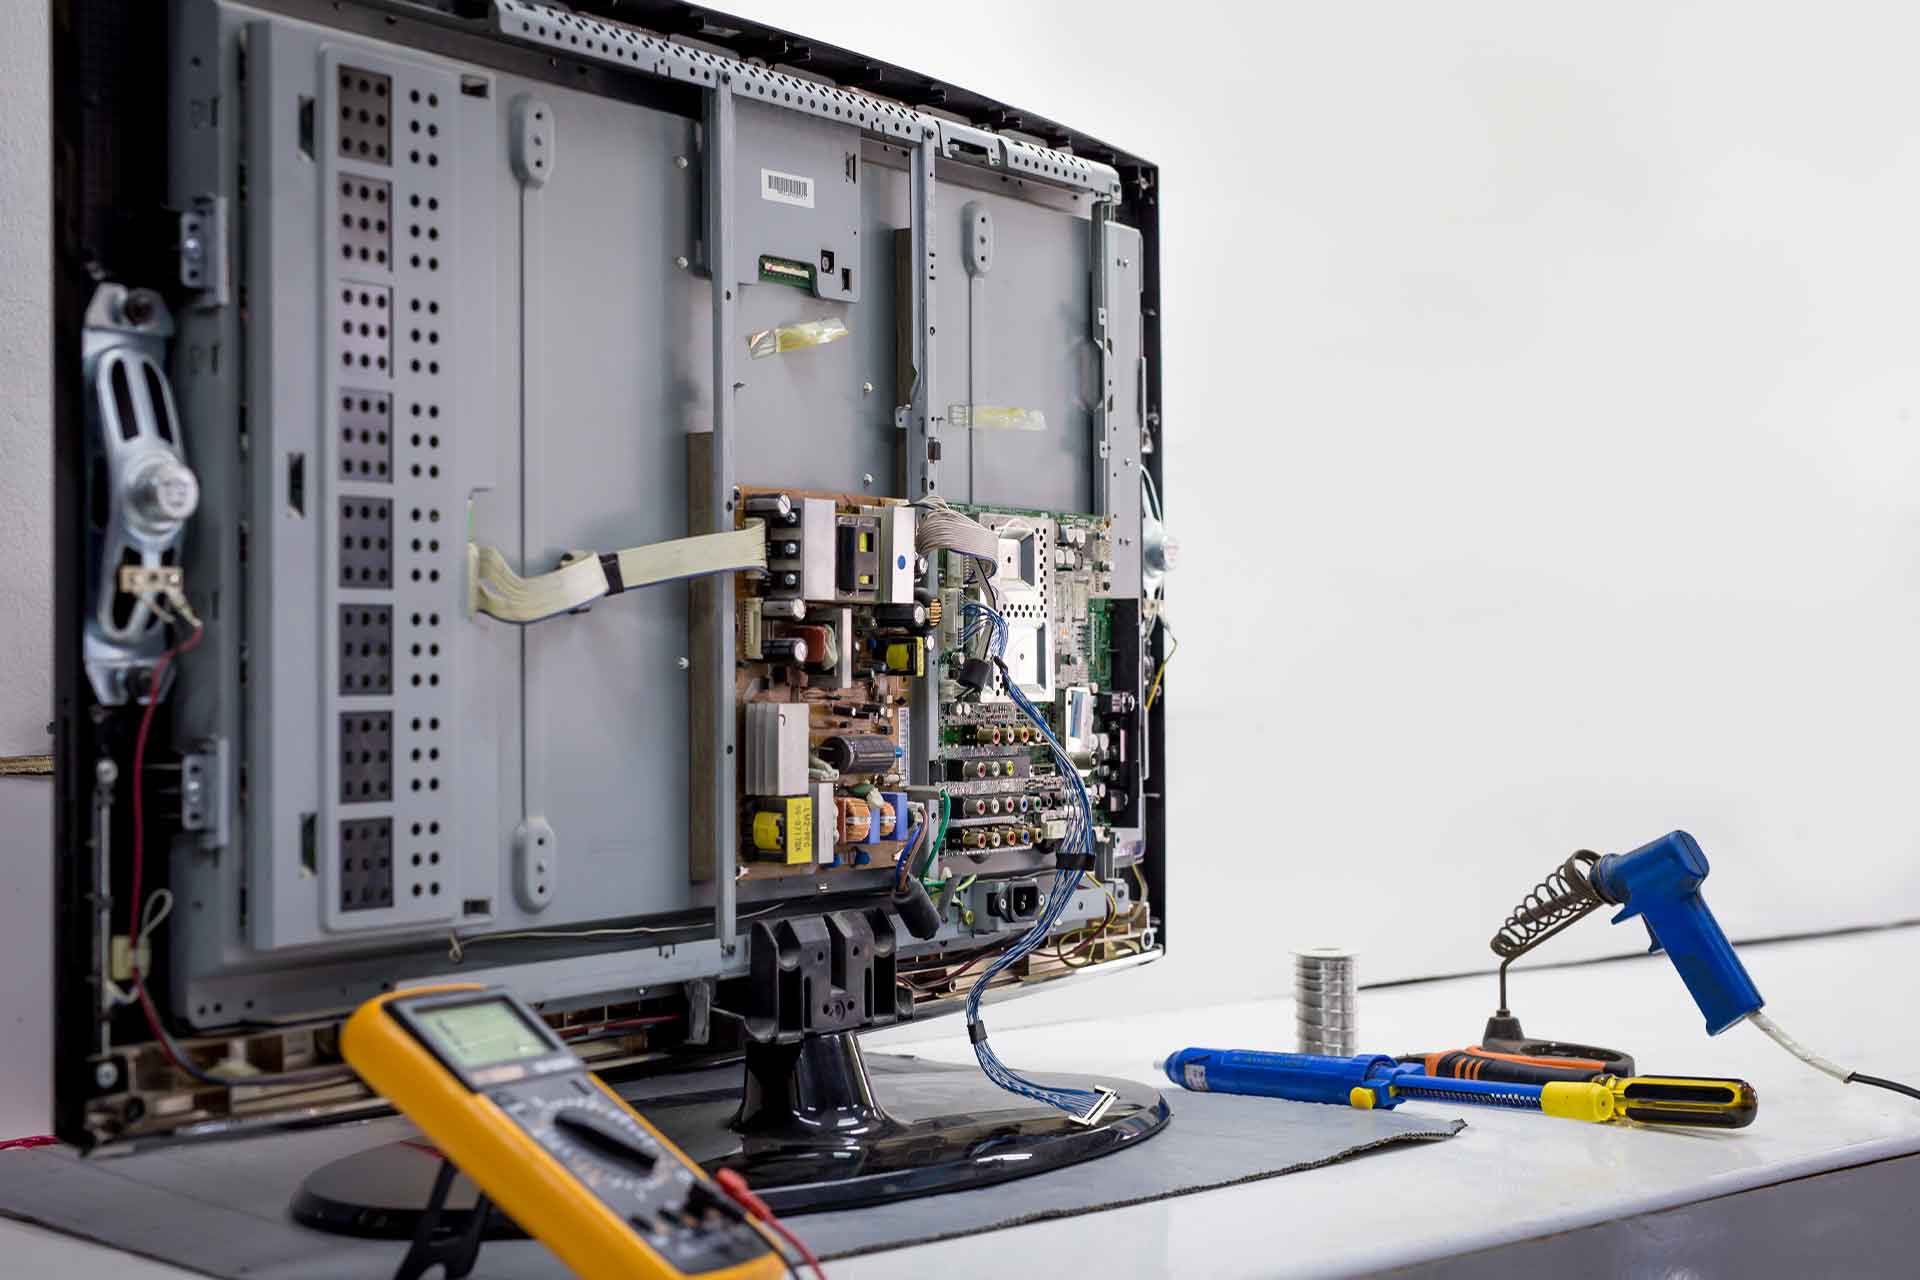
Once the power is off and the cables are disconnected, it’s time to carefully remove the cracked screen. Use the plastic pry tool to gently loosen the edges of the screen. Take your time and work around the entire perimeter of the screen, ensuring not to apply too much pressure that could further damage the display. Once the edges are loose, carefully lift the cracked screen away from the monitor.
Assessing the Damage
Before proceeding with the repair, it’s essential to accurately assess the extent of the damage to your cracked monitor screen. This step will help determine the appropriate course of action and whether repair is feasible.
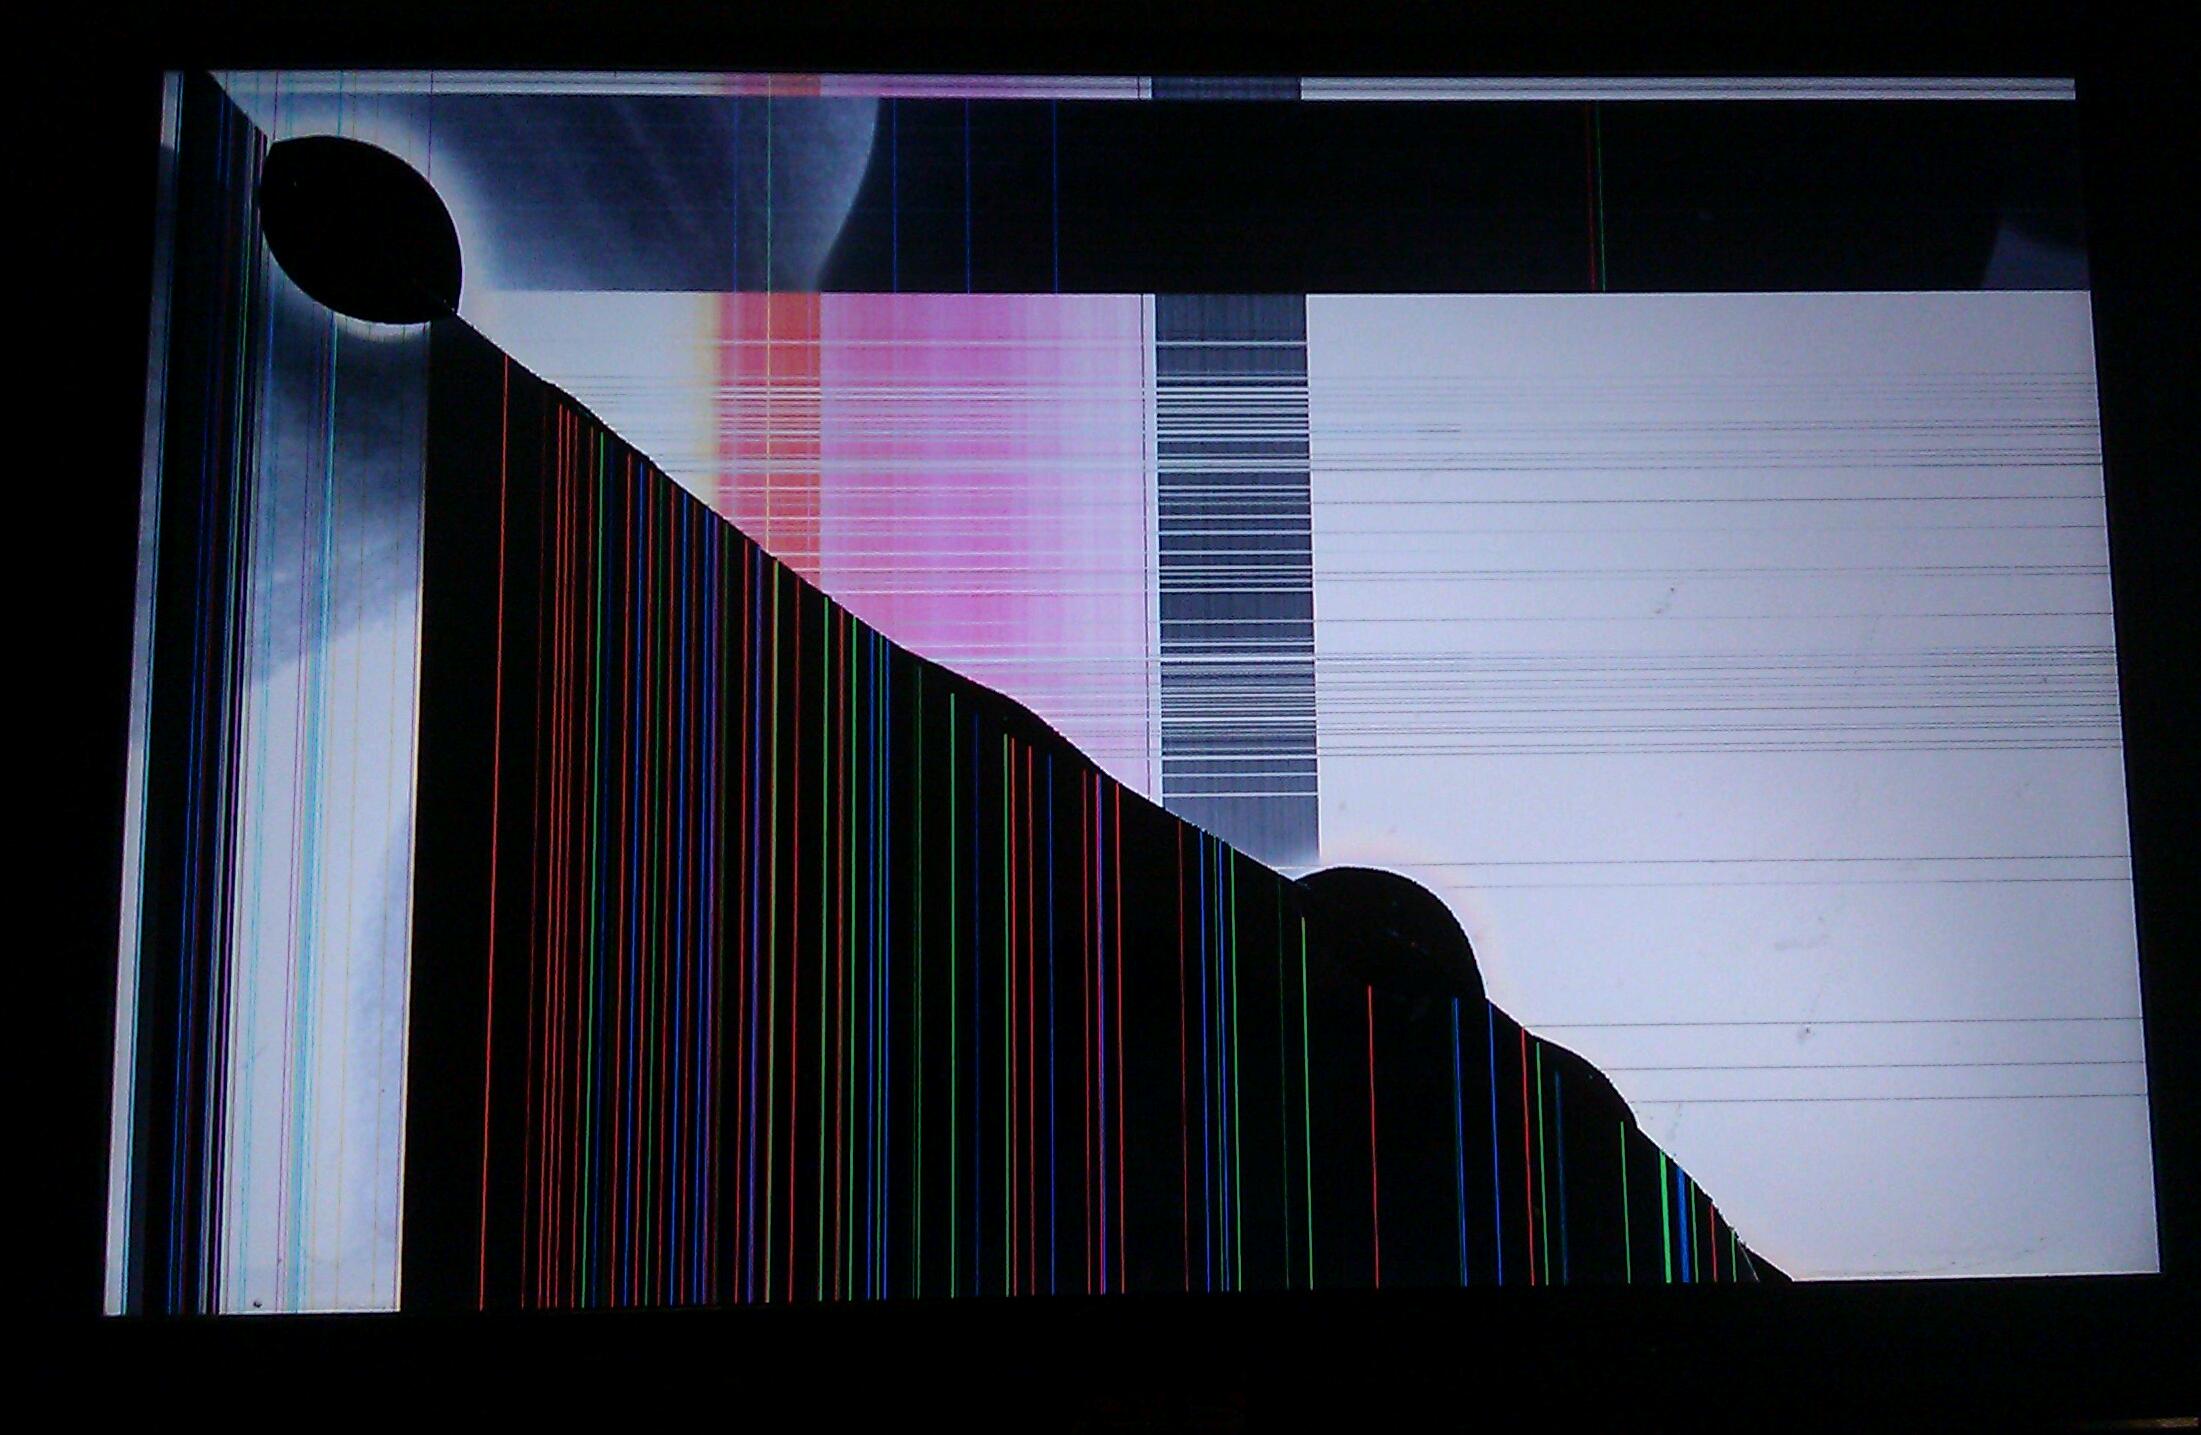
Start by closely examining the cracked screen. Take note of the location and size of the crack or damage. If the crack is small, confined to a specific area, or limited to the outer layer of the screen, it may be possible to repair it yourself. However, if the crack is large, spans across the entire screen, or if the actual display panel is damaged, a professional repair or replacement may be necessary.
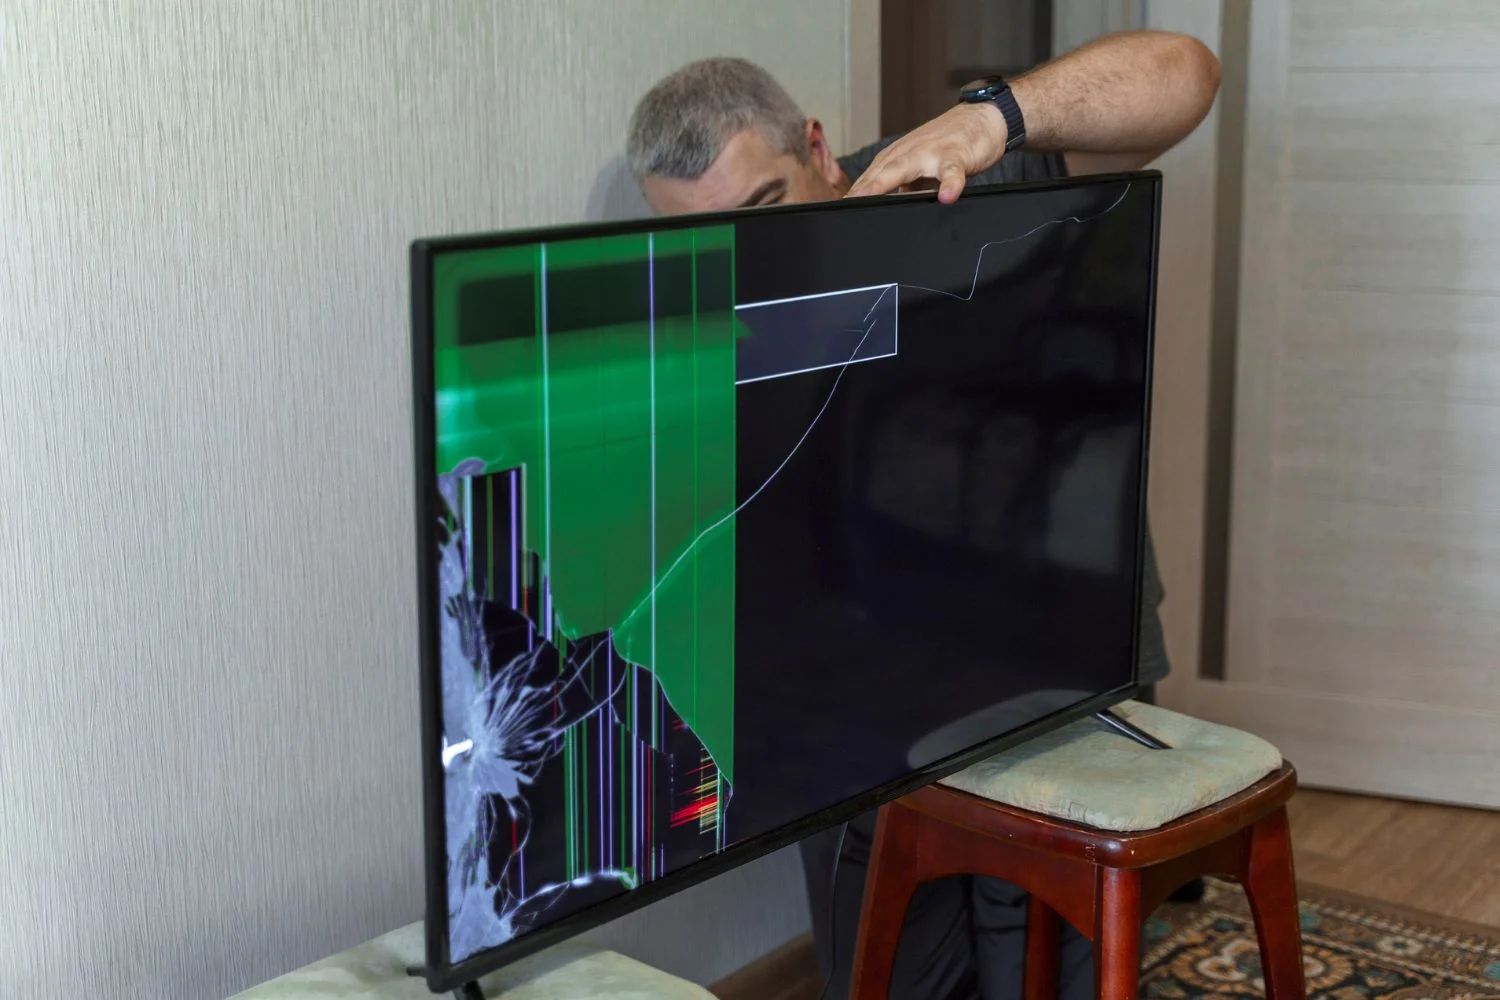
Another factor to consider is the impact on the functionality of the monitor. If the crack is causing significant visual distortion or preventing you from properly viewing the content on the screen, it may be more practical to replace the screen rather than attempting a repair.
In some cases, the crack may not be readily visible, but the screen is displaying abnormal behavior or malfunctioning. This could indicate internal damage or a problem that extends beyond the cracked screen. In such situations, it is recommended to consult a professional for a comprehensive diagnosis and repair.
Once you have assessed the damage, consider your priorities and budget. If the crack is minor and the monitor’s functionality is not severely affected, a DIY repair may be a cost-effective solution. However, if the damage is extensive or you are not confident in your repair skills, it is advisable to seek professional assistance or explore the option of replacing the entire monitor.
Remember that attempting a DIY repair on a cracked monitor screen carries some risks. If at any point you feel unsure or if the damage seems too significant, it’s best to seek professional help. They have the expertise and experience to handle delicate repairs effectively.
Assessing the damage is a crucial step in determining the most appropriate course of action for fixing your cracked monitor screen. With a clear understanding of the extent of the damage, you can move forward confidently in the repair process, either by attempting a DIY fix or seeking professional assistance.
Gathering the Necessary Tools
Before you begin the repair process for your cracked monitor screen, it’s essential to gather all the necessary tools. Having the right tools on hand will make the repair process smoother and more efficient.
The first tool you’ll need is a screwdriver. The type of screwdriver will depend on the specific model of your monitor. Most monitors require a Phillips screwdriver to remove the screws that hold the screen in place. Make sure to have the appropriate size and shape of screwdriver to avoid damaging the screws.
A soft cloth or microfiber cloth is another crucial tool. This will be used to clean the screen and remove any fingerprints or dust. It’s important to use a soft cloth to prevent scratching the surface of the screen. Avoid using paper towels or rough materials that could cause further damage.
Double-sided adhesive tape is necessary for attaching the new screen to the monitor. This tape will provide a secure bond between the screen and the frame. Make sure to choose adhesive tape specifically designed for electronics to ensure it is strong enough to hold the screen in place.
A replacement screen is obviously an essential tool for fixing your cracked monitor screen. When purchasing a replacement screen, ensure that it is compatible with your monitor model. Consider the size, resolution, and other specifications to ensure a proper fit. Replacement screens can be found online or through authorized dealers.
Lastly, a plastic pry tool is helpful for safely removing the cracked screen from the monitor. This tool is designed to gently loosen the edges of the screen without causing further damage. Be cautious when using the pry tool and apply gentle pressure to avoid any accidental damage.
With these tools in hand, you’ll be well-equipped to tackle the repair process. It’s always a good idea to gather all the necessary tools before starting any repair to minimize interruptions and ensure a smooth workflow.
Remember to also have a clean and organized workspace to make the repair process easier. Clear any clutter and provide adequate lighting to see the components clearly. Taking these precautions will contribute to a successful and efficient repair of your cracked monitor screen.
Protecting Yourself
Before you embark on the process of fixing your cracked monitor screen, it’s important to take precautions to protect yourself from potential hazards. Working with electronics involves certain risks, and ensuring your safety should be a top priority.
The first step in protecting yourself is to disconnect the monitor from its power source. Unplug the power cord from the outlet and remove any other cables connected to the monitor, such as HDMI or VGA cables. This will prevent any accidental electrical shock while working on the screen.
It’s also important to avoid touching any exposed wires or components inside the monitor. Even with the power off, there may still be residual electrical charges present that could cause harm. Handling the cracked screen and other internal components with caution will minimize the risk of injury.
Wearing protective gloves can provide an extra layer of safety when working on the monitor screen. Gloves will not only protect your hands from any sharp edges or broken glass but also help reduce the risk of static electricity discharge that could damage the delicate electronics.
Eye protection is another crucial aspect of ensuring your safety during the repair process. Small fragments of glass or debris may be dislodged when working with a cracked screen. Wearing safety goggles or glasses will protect your eyes from potential injury and should be worn throughout the repair process.
Finally, it’s important to work in a well-ventilated area. Some adhesives or cleaning solvents used during the repair process may emit fumes that can be harmful if inhaled. Opening windows or using a fan to circulate fresh air will help mitigate any potential health risks associated with these substances.
By following these safety precautions, you can minimize the risks involved in fixing a cracked monitor screen and ensure a safe repair process. Remember to always prioritize your well-being and take the necessary steps to protect yourself from potential hazards.
Turning off the Monitor
Before you begin working on your cracked monitor screen, it’s crucial to turn off the monitor completely. This step ensures your safety and prevents any potential damage to the monitor during the repair process.
To turn off the monitor, locate the power button. It is typically located either on the front or side of the monitor. Press and hold the power button for a few seconds until you see the screen power down and go completely black. Some monitors may have an LED indicator that turns off when the power is successfully shut down.
Once the monitor is powered off, it’s important to disconnect any additional cables that are connected to it. This includes HDMI, VGA, or any other cables that may be plugged into the monitor. Carefully unplug these cables one by one, ensuring not to exert excessive force that could damage either the cables or the ports.
Turning off the monitor and disconnecting the cables serve two main purposes. Firstly, it eliminates the risk of electric shock while working on the screen. With the power source disconnected, you can safely handle the screen and perform the repair without any electrical hazards.
Secondly, it prevents any unwanted interference or damage that could occur if the monitor were still powered on. Working on the screen while it’s active could lead to accidental input or malfunctioning of the interface. By turning off the monitor, you can focus solely on the repair process without any distractions or complications.
Also, turning off the monitor and disconnecting the cables allows for a seamless transition to the next steps in the repair process. With the power source disconnected, you can easily proceed to the removal of the cracked screen without any hindrances.
Always remember to exercise caution when handling the monitor and its cables, even after the power is turned off. Gentle movements and an attentive approach will minimize the risk of causing any inadvertent damage.
By following these steps to turn off the monitor and disconnect the cables, you can ensure a safe and efficient repair process for your cracked monitor screen.
Removing the Cracked Screen
Once you have turned off the monitor and disconnected the cables, the next step in fixing a cracked monitor screen is to remove the damaged screen itself. This process requires careful handling to avoid any further damage to the monitor.
Using a plastic pry tool, gently insert the tool between the edge of the screen and the frame of the monitor. Apply light pressure to pry the screen away from the frame, working your way around the entire perimeter of the screen. Take your time and be patient to prevent any accidental damage.
As you pry the cracked screen away, you may encounter adhesive holding it in place. If that’s the case, try to gently loosen the adhesive by applying slight pressure to separate the screen from the frame. Avoid using excessive force, as it may cause the screen to shatter or further damage the monitor.
Continue moving around the screen, releasing the adhesive or clips that hold the screen in place. Take note of any areas that seem particularly resistant, and approach them with caution. If needed, use the plastic pry tool to carefully separate the screen from these stubborn areas.
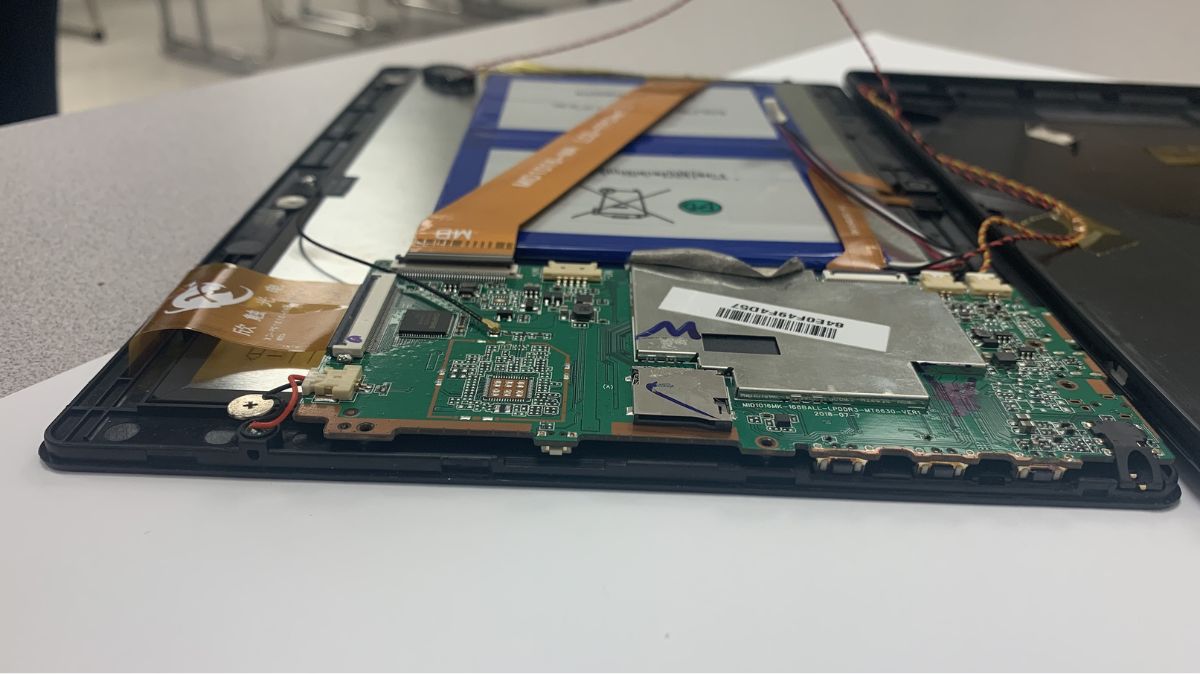
Once all the edges are free, slowly lift and remove the cracked screen from the monitor, taking care not to damage any internal components or cables. It’s important to maintain a steady hand and be mindful of any potential obstructions as you remove the cracked screen.
Place the removed screen on a soft, clean surface, such as a microfiber cloth, to prevent further damage. Inspect the removed screen for any shards of glass or remaining debris. If necessary, use the cloth to gently wipe away any loose particles.
At this point, it’s a good idea to take a moment to clean the interior of the monitor frame. Use a soft cloth or can of compressed air to remove any dust or debris that may have accumulated. This will ensure a clean and optimal environment for the installation of the new screen.
Removing the cracked screen is a delicate process that requires patience and precision. By following these careful steps, you can successfully detach the damaged screen from the monitor without causing any further harm.
Preparing the New Screen
After removing the cracked screen from your monitor, the next step in the repair process is to prepare the new screen for installation. Proper preparation ensures a smooth and successful replacement of the damaged screen.
Start by inspecting the new screen for any defects or damage. Look for scratches, cracks, or any other imperfections that could affect the functionality or appearance of the screen. It’s important to address any issues before proceeding with the installation.
Clean the new screen thoroughly using a soft cloth or microfiber cloth. Remove any fingerprints, dust, or smudges that may have accumulated during the handling process. This will help ensure a clear and pristine display once the new screen is installed.
If the new screen comes with adhesive backing, carefully remove the protective film or covering to expose the adhesive. Be cautious to avoid accidentally touching or damaging the adhesive surface, as this can compromise the effectiveness of the bond between the screen and the monitor.
Ensure that the dimensions of the new screen match those of the old one. Verify that the connectors and interfaces on the new screen align with the corresponding components inside the monitor. These measures will ensure compatibility and a proper fit during the installation process.
If necessary, refer to the manufacturer’s instructions or online resources for any specific guidance regarding the preparation of the new screen. Some screens may have unique requirements or additional steps that need to be followed.
Finally, double-check that you have all the necessary tools and materials ready for the installation. Ensure that you have the appropriate screwdriver, adhesive tape, and any other components required based on the specific instructions or guidelines provided with the new screen.
By carefully preparing the new screen, you increase the chances of a successful and seamless installation. Taking the time to inspect, clean, and verify compatibility ensures that the replacement screen is ready to be installed and will provide optimal performance once in place.
Installing the New Screen
With the new screen prepared, it’s time to proceed with the installation process. Installing the new screen requires precision and attention to detail to ensure a secure and functional replacement.
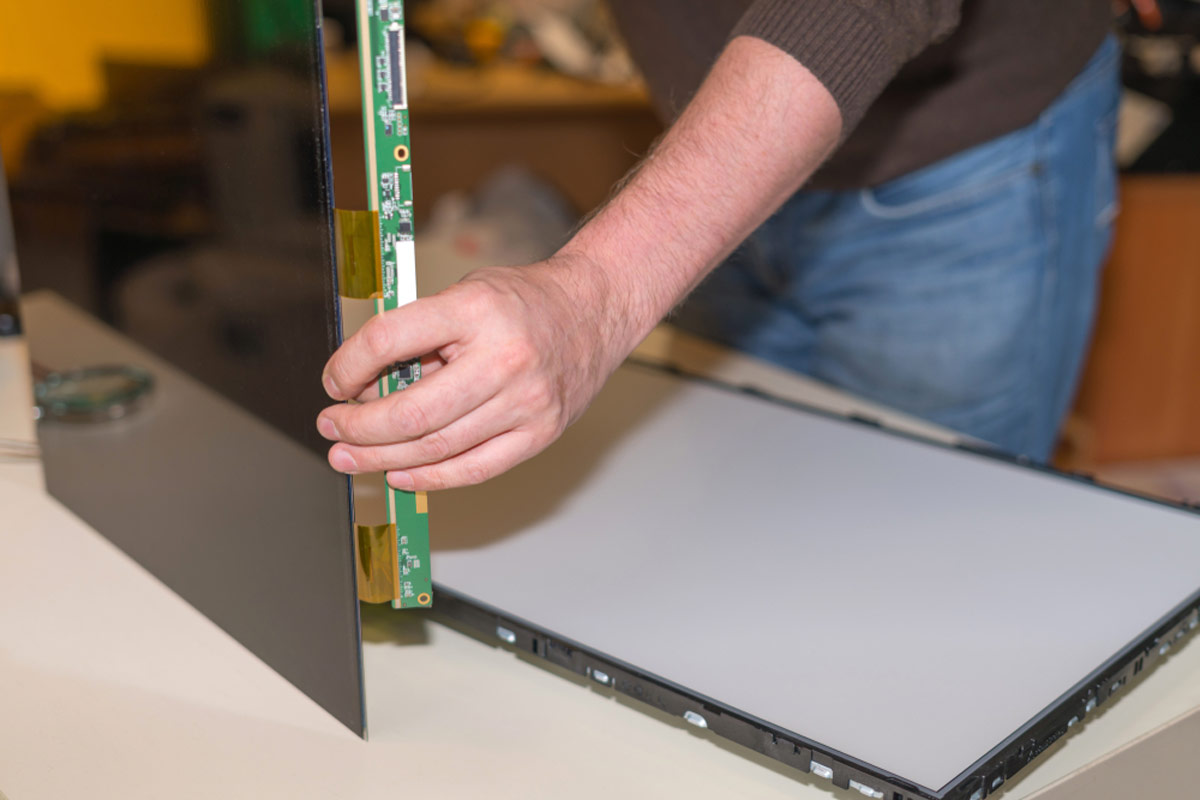
Begin by aligning the new screen with the frame of the monitor. Carefully position the screen, ensuring that it lines up correctly with the edges and corners of the frame. Take note of any clips or slots that need to match up for a proper fit.
If the new screen came with adhesive backing, slowly and carefully press it onto the frame. Start at one edge of the screen and gradually work your way around, applying even pressure to ensure that the adhesive adheres properly. Be cautious not to apply excessive force that could damage the screen.
If adhesive tape is not included or if additional support is desired, use double-sided adhesive tape to secure the new screen to the frame. Cut the tape into small strips and place them strategically along the edges and corners of the screen to provide a secure bond.
Once the new screen is in place, gently press it down to ensure it is secure and properly attached to the frame. Be mindful of the delicate nature of the screen and avoid any excessive pressure that could cause damage.
Next, if there were any screws holding the old screen in place, refer to the manufacturer’s instructions or guidelines to determine where and how to insert the screws for the new screen. Carefully tighten the screws to secure the new screen to the frame, ensuring they are snug but not overly tight.
After the new screen is securely installed, take a moment to inspect the edges and corners to ensure that everything is aligned correctly and that there are no gaps or loose areas. If necessary, make any necessary adjustments or reposition the screen to achieve proper alignment.
Finally, reconnect any cables that were previously disconnected from the monitor. This includes HDMI, VGA, or any other cables needed for the monitor to function properly. Ensure a secure connection, and double-check that all cables are properly seated in their respective ports.
By following these steps, you can successfully install the new screen and complete the repair process for your cracked monitor. Taking the time to align, secure, and double-check the installation will ensure a functional and visually pleasing replacement.
Testing the Monitor
Once you have installed the new screen in your monitor, it’s crucial to test its functionality to ensure that the repair was successful. Testing the monitor will give you confidence that the replacement screen is working properly and that your monitor is ready to be used again.
Start by reconnecting the monitor to the power source and any other necessary cables, such as HDMI or VGA cables. Once everything is securely connected, turn on the monitor by pressing the power button.
Observe the screen as it powers on. Check for any abnormalities, such as flickering, distorted images, or unusual colors. These may indicate a problem with the installation or with the new screen itself.
Next, test various display modes and settings to ensure that the monitor functions as expected. Adjust the brightness, contrast, and other settings to find the optimal visual experience. Display a variety of content, such as images and videos, to assess the overall quality and clarity of the new screen.
Pay attention to any dead pixels or areas of the screen that do not display properly. Dead pixels appear as small black spots on the screen and can be an indication of a defective or damaged screen. If dead pixels are present, consult the manufacturer’s warranty or contact customer support for further assistance.
Additionally, check that all touch functions, if applicable, are responsive and accurate. If the new screen has touchscreen capabilities, test its responsiveness by tapping and dragging across the screen using your finger or a stylus.
If, during the testing process, you notice any issues with the new screen or the monitor’s functionality, it is essential to address them promptly. Review the installation steps, double-check the cable connections, or consult the manufacturer’s troubleshooting guide for further assistance.
By conducting a thorough test of the monitor, you can confirm that the repair was successful and that the new screen is functioning optimally. This will give you peace of mind knowing that your monitor is ready to be used again for work, entertainment, or any other purpose.
Tips to Prevent Future Damage
Dealing with a cracked monitor screen can be a frustrating experience. To avoid encountering this issue in the future and prolong the lifespan of your monitor, it’s important to take preventive measures. Here are some tips to help you prevent future damage to your monitor screen:
- Handle with Care: When moving or adjusting your monitor, always handle it with care. Avoid putting excessive pressure on the screen or dropping it, as these actions can easily lead to cracks or other damage.
- Use a Screen Protector: Consider using a screen protector to add an extra layer of protection to your monitor screen. Screen protectors are thin, clear films that adhere to the screen’s surface, safeguarding it against scratches, smudges, and minor impacts.
- Avoid Direct Pressure: Do not rest heavy objects on top of your monitor or apply excessive pressure to the screen. Even seemingly harmless objects can cause cracks or damage if pressed against the screen with force.
- Keep the Area Clean: Regularly clean the monitor’s screen using a soft cloth or microfiber cloth. This will help remove dust, dirt, and fingerprints that can affect the screen’s clarity. Avoid using harsh chemicals or abrasive materials that could damage the screen’s surface.
- Adjust Monitor Positioning: Ensure that your monitor is positioned correctly to avoid unnecessary strain. Adjust the tilt, height, and viewing angles to reduce the risk of accidental damage caused by awkward or uncomfortable positions.
- Be Mindful of Children and Pets: If you have young children or pets, keep them away from the monitor to prevent accidental damage. Children may touch or hit the screen, while pets may scratch or knock over the monitor.
- Invest in a Sturdy Mount or Stand: If your monitor is prone to being bumped or knocked over, consider using a sturdy mount or stand to secure it in place. This will minimize the risk of accidental falls or impacts.
- Unplug During Cleaning: Whenever you clean your monitor, ensure that it is unplugged from the power source. This will prevent electrical accidents and potential damage to the monitor’s internal components.
- Store Properly when Not in Use: If you need to store your monitor temporarily, make sure to place it in a safe and secure location. Keep it protected from excessive heat, moisture, and potential hazards that could cause damage.
- Follow Manufacturer Guidelines: Lastly, always refer to the manufacturer’s guidelines and instructions for proper care and maintenance of your specific monitor model. This will ensure that you are taking the necessary steps to protect your monitor and prevent avoidable damage.
By implementing these preventive measures, you can significantly reduce the risk of future damage to your monitor screen. Taking a proactive approach to monitor care will not only save you from the frustration and expense of dealing with a cracked screen but also contribute to the longevity and optimal performance of your monitor.
Conclusion
Fixing a cracked monitor screen may seem daunting, but with the right approach and tools, it is possible to repair the damage and restore the functionality of your monitor. By following the step-by-step process outlined in this guide, you can confidently tackle the repair process and save on the costs of professional assistance.
Assessing the extent of the damage is crucial in determining whether a DIY repair is feasible. Minor cracks or damage limited to the outer layer of the screen can be fixed, while more severe damage may require a replacement screen or professional intervention.
Preparing the necessary tools and taking safety precautions are important steps to ensure a smooth and secure repair process. From disconnecting the monitor from the power source to using protective gloves and eye gear, prioritizing your safety is key to a successful repair.
Removing the cracked screen carefully and installing the new screen with precision will help achieve a secure and functional replacement. Taking the time to test the monitor and ensuring its proper functionality will provide peace of mind and assurance that the repair was successful.
To prevent future damage, incorporate preventative measures such as handling the monitor with care, using screen protectors, and keeping the area clean. Additionally, follow manufacturer guidelines and invest in sturdy mounts or stands to minimize accidental damage.
In conclusion, fixing a cracked monitor screen is a manageable task that can be accomplished with the right approach and tools. By following the steps outlined in this guide and implementing preventive measures, you can extend the lifespan of your monitor and avoid the inconvenience and expense of dealing with a cracked screen.