Introduction
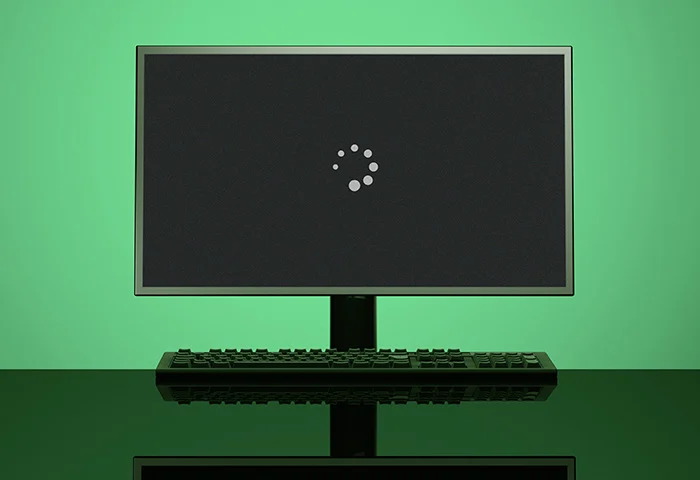
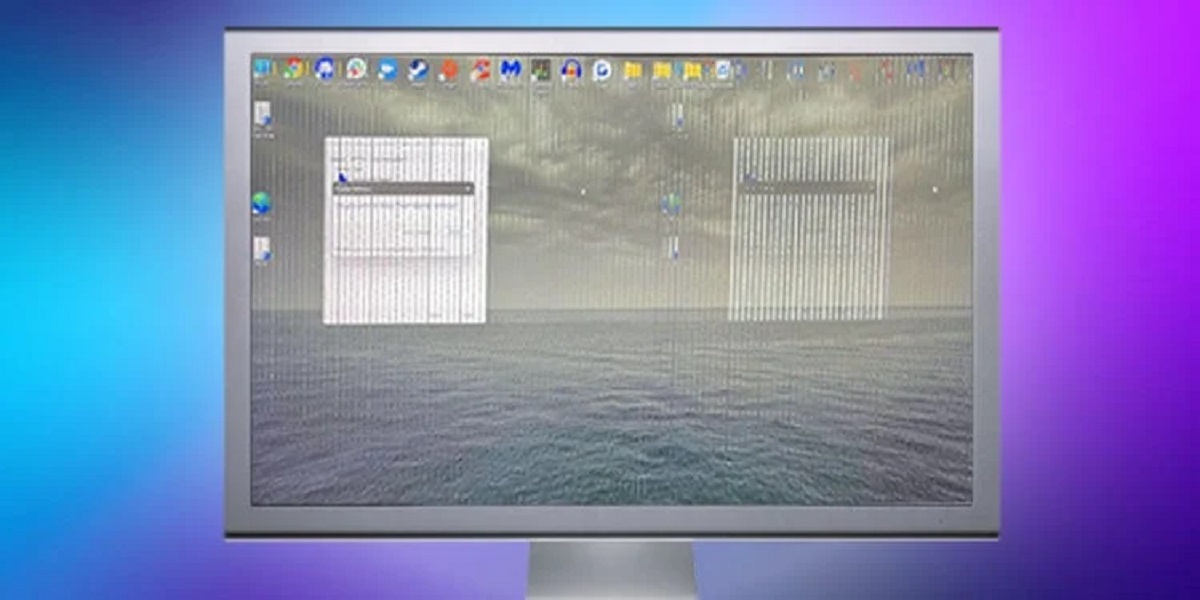
Welcome to our helpful guide on how to fix common issues with your monitor screen. Whether you’re dealing with a flickering screen, blurry images, or no display at all, these troubleshooting tips will help you get your monitor back in working order.
Computer monitors are essential for both work and leisure, so encountering problems can be frustrating. However, before you rush to replace your monitor or seek professional help, it’s worth exploring some simple solutions that can often resolve the issue.
In this article, we will walk you through ten steps to diagnose and fix common monitor screen problems. From checking power connections to updating drivers and testing the monitor on another computer, we will cover a range of potential fixes to help you get your monitor back to its optimal performance.
Keep in mind that the steps provided here are general suggestions and may vary based on the specific model of your monitor. It’s always a good idea to refer to the manufacturer’s instructions or consult their support resources for more tailored troubleshooting steps.
Without further ado, let’s dive into the troubleshooting techniques that will help you fix your monitor screen issues and get back to enjoying a clear and vibrant display.
Check the Power Connection
When experiencing problems with your monitor, the first step is to ensure that it has a solid power connection. Sometimes, the issue may be as simple as a loose power cable or a power outlet that is not functioning.
Here’s what you can do to verify the power connection:
1.1. Check the power cable: Examine the power cable connected to the back of your monitor to ensure it is securely plugged into both the monitor and the power outlet. If in doubt, unplug and reconnect the cable to establish a firm connection.
1.2. Test the power outlet: Plug another device, such as a lamp or a charger, into the same power outlet to confirm it is working correctly. If the other device doesn’t receive power, try plugging your monitor into a different outlet or using a different power cable.
1.3. Use a different power source: If you’re using a power strip or surge protector, try plugging the monitor directly into a wall outlet. Sometimes, power strips can fail or become overloaded, causing issues with the monitor’s power supply.
If you’ve checked the power connection and confirmed it is secure, but your monitor still doesn’t turn on, it’s important to move on to the next troubleshooting steps. The issue may lie elsewhere, such as with the monitor’s settings or the cable connections.
By starting with the power connection, you can eliminate this as a possible cause of the problem. However, if the issue persists, don’t worry. We’ll continue with further troubleshooting steps to help you resolve your monitor screen issues.
Adjust the Brightness and Contrast
If your monitor screen appears too bright, dim, or the colors seem off, it might be a result of incorrect brightness and contrast settings. Calibrating these settings can often resolve issues related to the display quality.
Here’s how you can adjust the brightness and contrast:
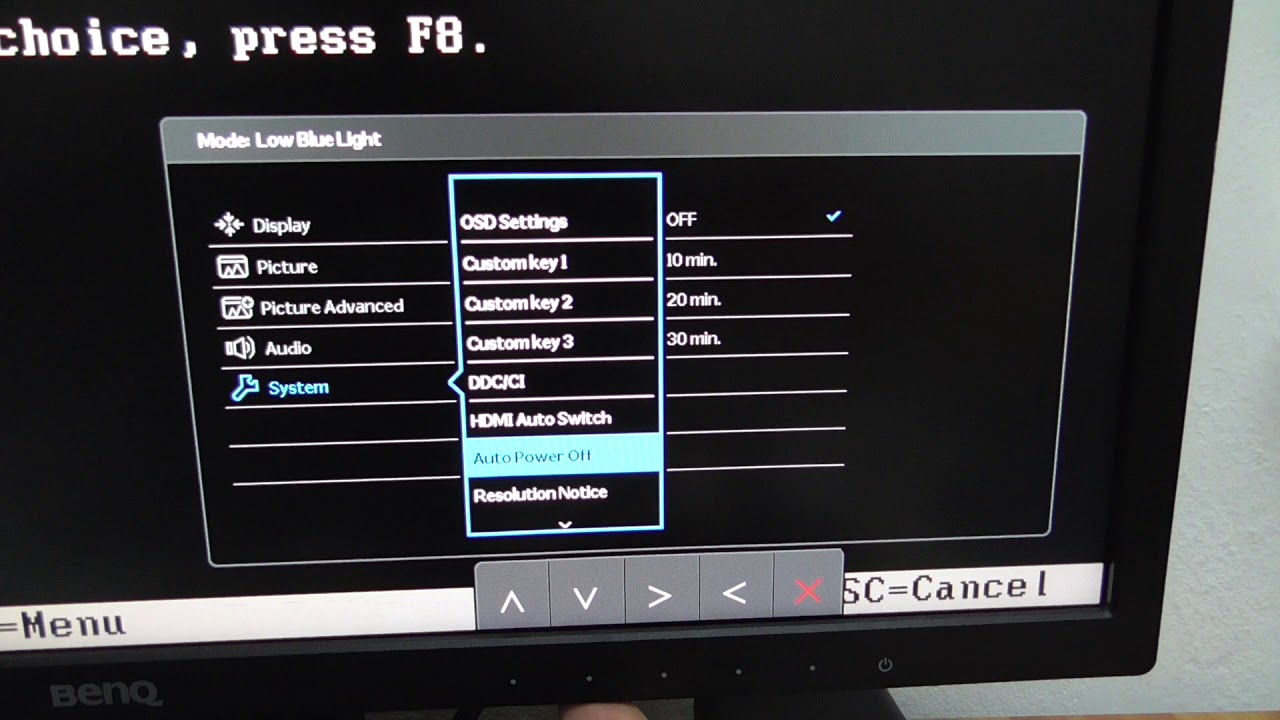
2.1. Locate the monitor’s controls: Most monitors have physical buttons or a menu system that allows you to access their settings. Refer to the monitor’s user manual if you’re unsure how to navigate the controls.
2.2. Enter the display settings menu: Once you’ve located the controls, navigate to the display settings menu. Depending on the monitor model, this menu may be accessed through dedicated buttons or by using a combination of buttons.
2.3. Adjust the brightness: Look for the brightness setting in the display menu and use the monitor’s controls to decrease or increase the brightness level. Make gradual adjustments until the screen appears comfortable to your eyes.
2.4. Fine-tune the contrast: Similarly, locate the contrast setting in the menu and adjust it to your preference. Increasing the contrast can make images appear more vibrant, while decreasing it can make them appear more subdued.
2.5. Save your settings: Once you’re satisfied with the brightness and contrast levels, save the changes in the monitor’s settings menu. Some monitors automatically save the adjustments, while others may require you to confirm the changes.
By adjusting the brightness and contrast settings, you can optimize the display to suit your viewing preferences. Experiment with different levels until you find the balance that provides a clear and visually pleasing experience.
If adjusting the brightness and contrast doesn’t resolve the issue, don’t worry. There are additional steps we can take to troubleshoot and fix any remaining screen problems.
Check the Display Settings on Your Computer
If you’ve verified the power connection and adjusted the brightness and contrast settings on your monitor but are still experiencing screen issues, it’s time to examine the display settings on your computer. Sometimes, incorrect settings or outdated drivers can cause problems with the monitor’s performance.
Follow these steps to check the display settings on your computer:
3.1. Access the display settings: Right-click on your desktop background and select “Display settings” or “Screen resolution” from the context menu. This will open the display settings window.
3.2. Adjust the screen resolution: In the display settings window, you’ll find the option to adjust the screen resolution. Ensure that the resolution is set to the recommended value for your monitor. Using a lower resolution may result in a blurry or stretched display.
3.3. Verify the refresh rate: Check the display settings for the refresh rate of your monitor. Higher refresh rates, such as 75Hz or 120Hz, can provide smoother motion on the screen. However, make sure the selected refresh rate is supported by your monitor.
3.4. Update graphics drivers: Outdated or incompatible graphics drivers can cause various display-related issues. Visit the website of your graphics card manufacturer (e.g., NVIDIA, AMD, Intel) and download the latest drivers for your specific graphics card model. Install the updated drivers to ensure optimum compatibility and performance.
3.5. Adjust color calibration: If colors appear distorted or inaccurate, you can calibrate the color settings in the display settings window. Look for options like “Color calibration” or “Color management” and follow the on-screen instructions to adjust the color balance and gamma settings.
By checking and adjusting the display settings on your computer, you can ensure that they are compatible with your monitor and provide the best possible visual experience. If the issue persists, we’ll continue troubleshooting in the next steps.
Update Graphics Drivers
Outdated or incompatible graphics drivers can be a common culprit behind monitor screen issues. By updating your graphics drivers, you can often resolve compatibility issues and ensure that your monitor is functioning properly.
Follow these steps to update your graphics drivers:
4.1. Identify your graphics card: The first step is to identify the make and model of your graphics card. You can usually find this information in the display settings of your computer or by accessing the device manager. Note down the details of your graphics card for the next step.
4.2. Visit the manufacturer’s website: Once you have the details of your graphics card, visit the website of the manufacturer (e.g., NVIDIA, AMD, Intel). Look for the support or drivers section of the website.
4.3. Download the latest drivers: In the drivers section, locate the drivers for your specific graphics card model. Download the latest drivers that are compatible with your operating system. Ensure that you choose the right drivers for your graphics card and operating system version.
4.4. Install the drivers: After downloading the driver file, run the installation program and follow the on-screen instructions. This will install the updated drivers on your computer. It may require you to restart your system for the changes to take effect.
4.5. Verify successful installation: Once you have installed the updated graphics drivers, go back to the display settings on your computer and check if the issues with your monitor screen have been resolved. If not, move on to the next troubleshooting steps.
Updating your graphics drivers can often resolve compatibility issues and improve the performance of your monitor. It’s recommended to keep your graphics drivers up to date regularly to ensure optimal functionality.
If updating the graphics drivers doesn’t solve the problem, fret not! We still have more troubleshooting steps to explore so that you can enjoy a flawless display on your monitor.
Use the Built-In Monitor Troubleshooting Tools
Many monitors come equipped with built-in troubleshooting tools that can help identify and resolve common screen issues. These tools are designed to diagnose and fix problems specific to the monitor itself, providing a convenient way to troubleshoot without external software or resources.
Here’s how you can use the built-in troubleshooting tools on your monitor:
5.1. Check the monitor’s menu options: Navigate to the menu options using the physical buttons or controls on your monitor. Look for any troubleshooting or diagnostic menus that may be available. These menus can vary depending on the make and model of your monitor.
5.2. Run the built-in diagnostics: Once you’ve accessed the monitor’s troubleshooting menu, locate the option to run diagnostics or tests. These tests can include checks for dead pixels, color accuracy, and screen uniformity. Follow the on-screen instructions to initiate the diagnostic process.
5.3. Follow recommended actions: If the monitor’s diagnostic tool detects any issues, it will likely provide recommended actions to resolve them. These actions may involve adjusting settings, performing a factory reset, or contacting the manufacturer’s support for further assistance.
5.4. Reset the monitor: In some cases, performing a factory reset can help resolve persistent issues. Check if the monitor’s troubleshooting menu includes an option to reset the monitor to its default settings. Keep in mind that a factory reset will erase any customized settings, so be sure to make note of any important configurations beforehand.
Utilizing the built-in troubleshooting tools can be an effective way to diagnose and resolve monitor screen issues. These tools are specifically designed for your monitor and can provide valuable insights into its functionality.
If the built-in troubleshooting tools do not resolve the problem, don’t worry. There are more troubleshooting steps we can take to troubleshoot and fix your monitor screen issues.
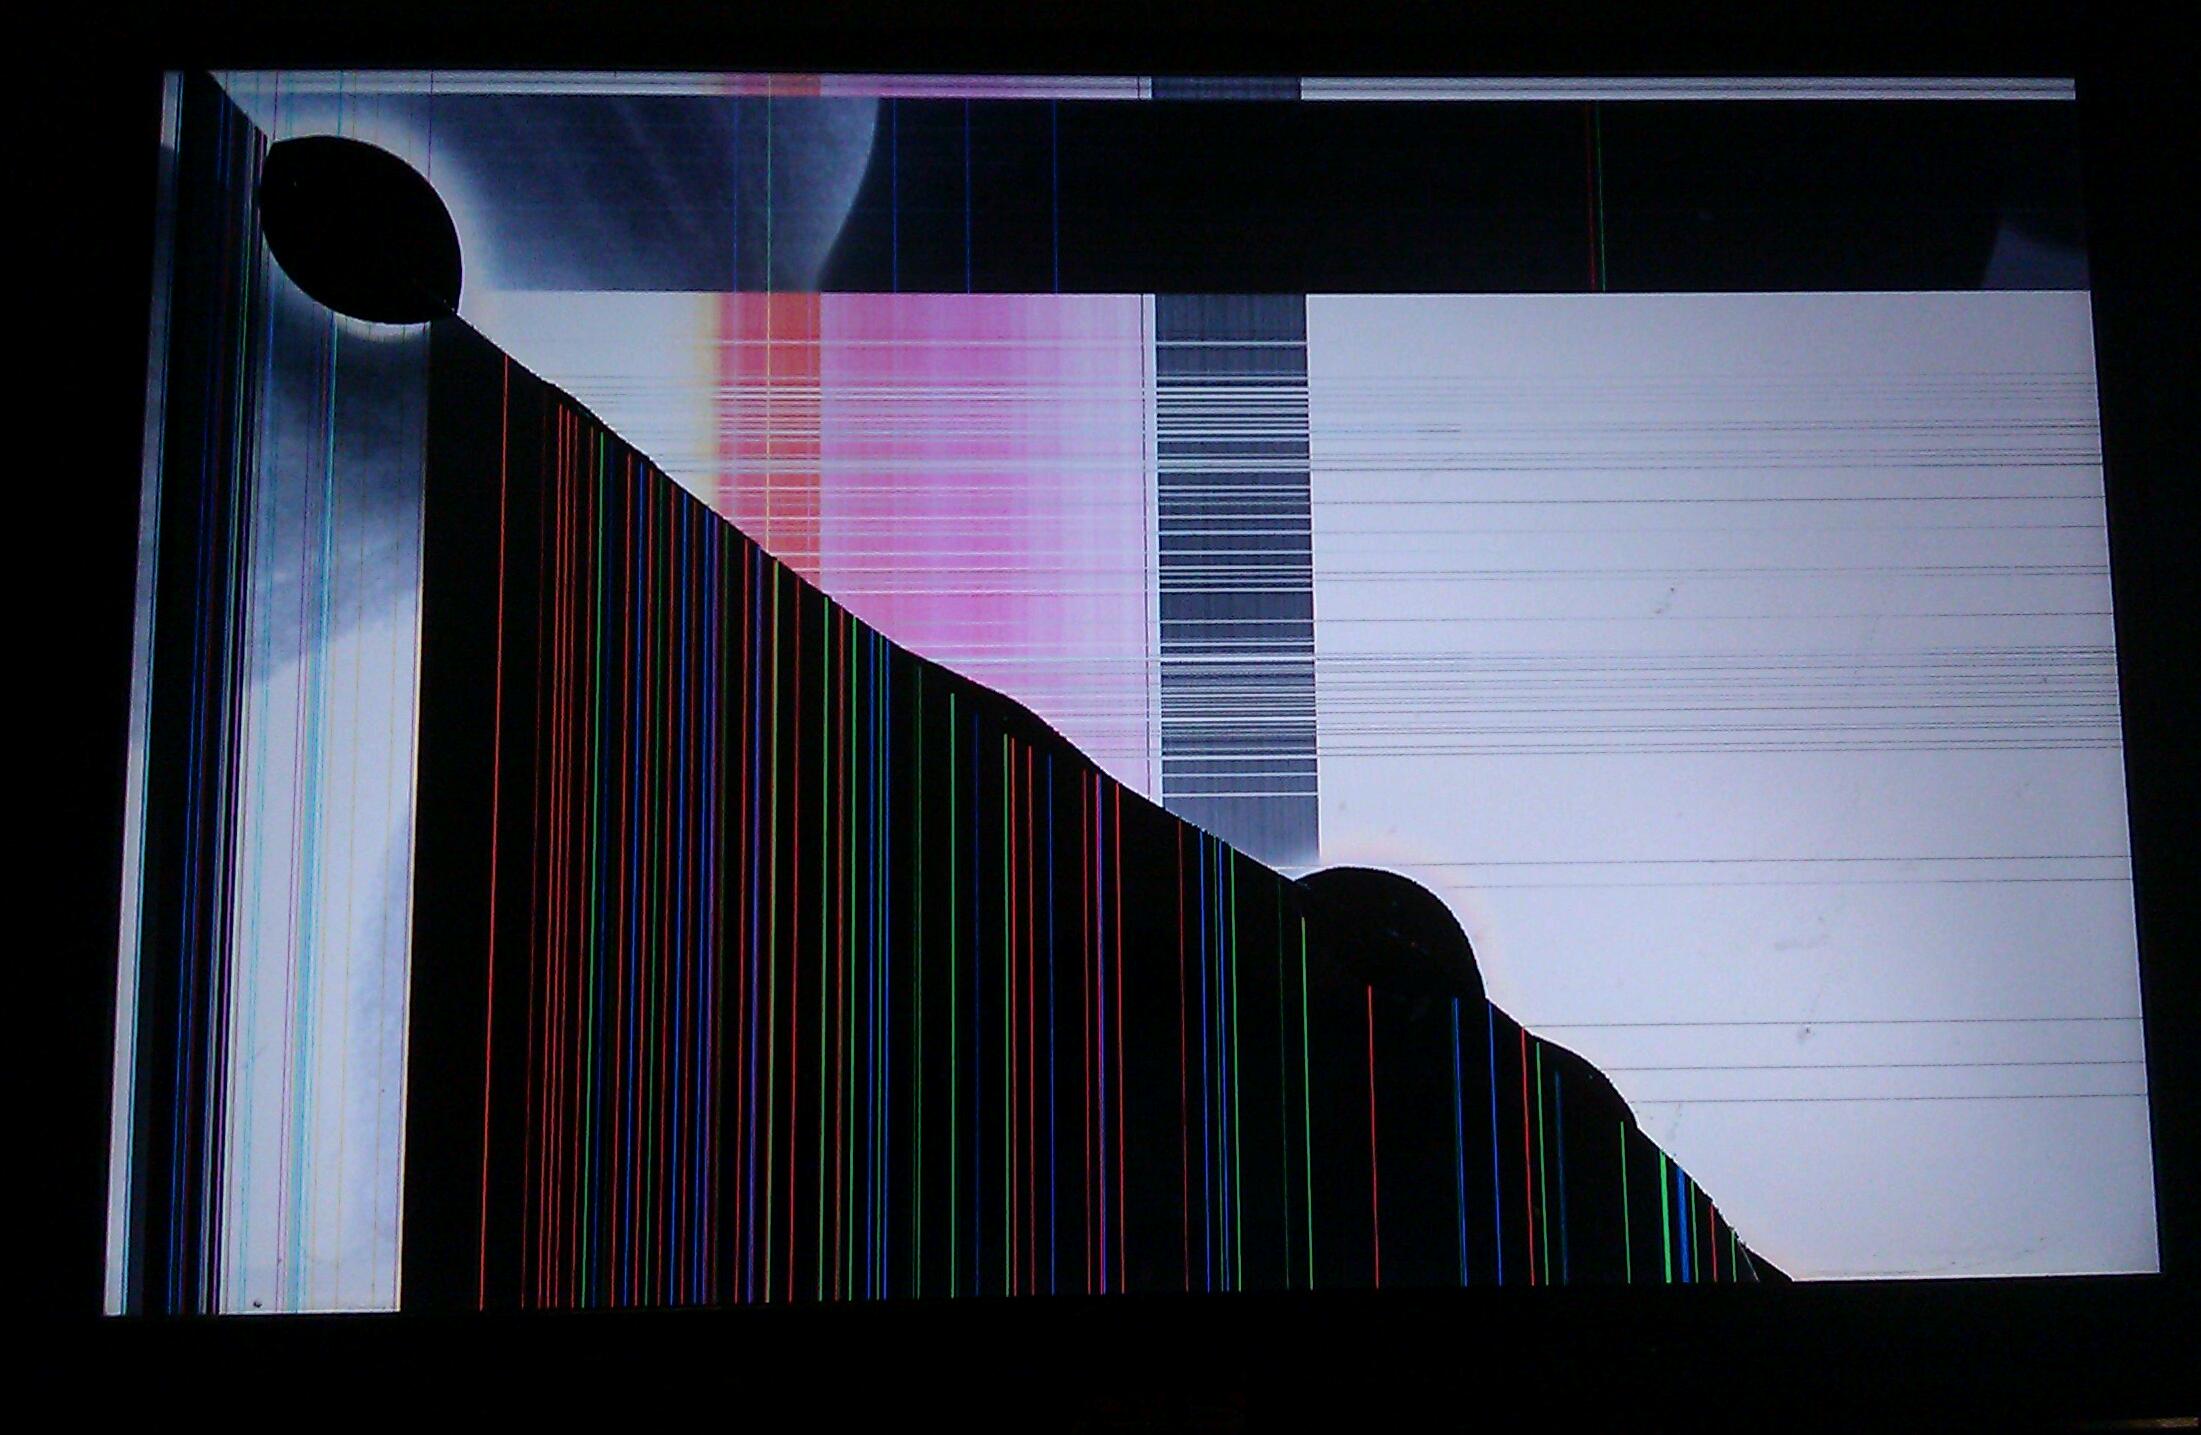
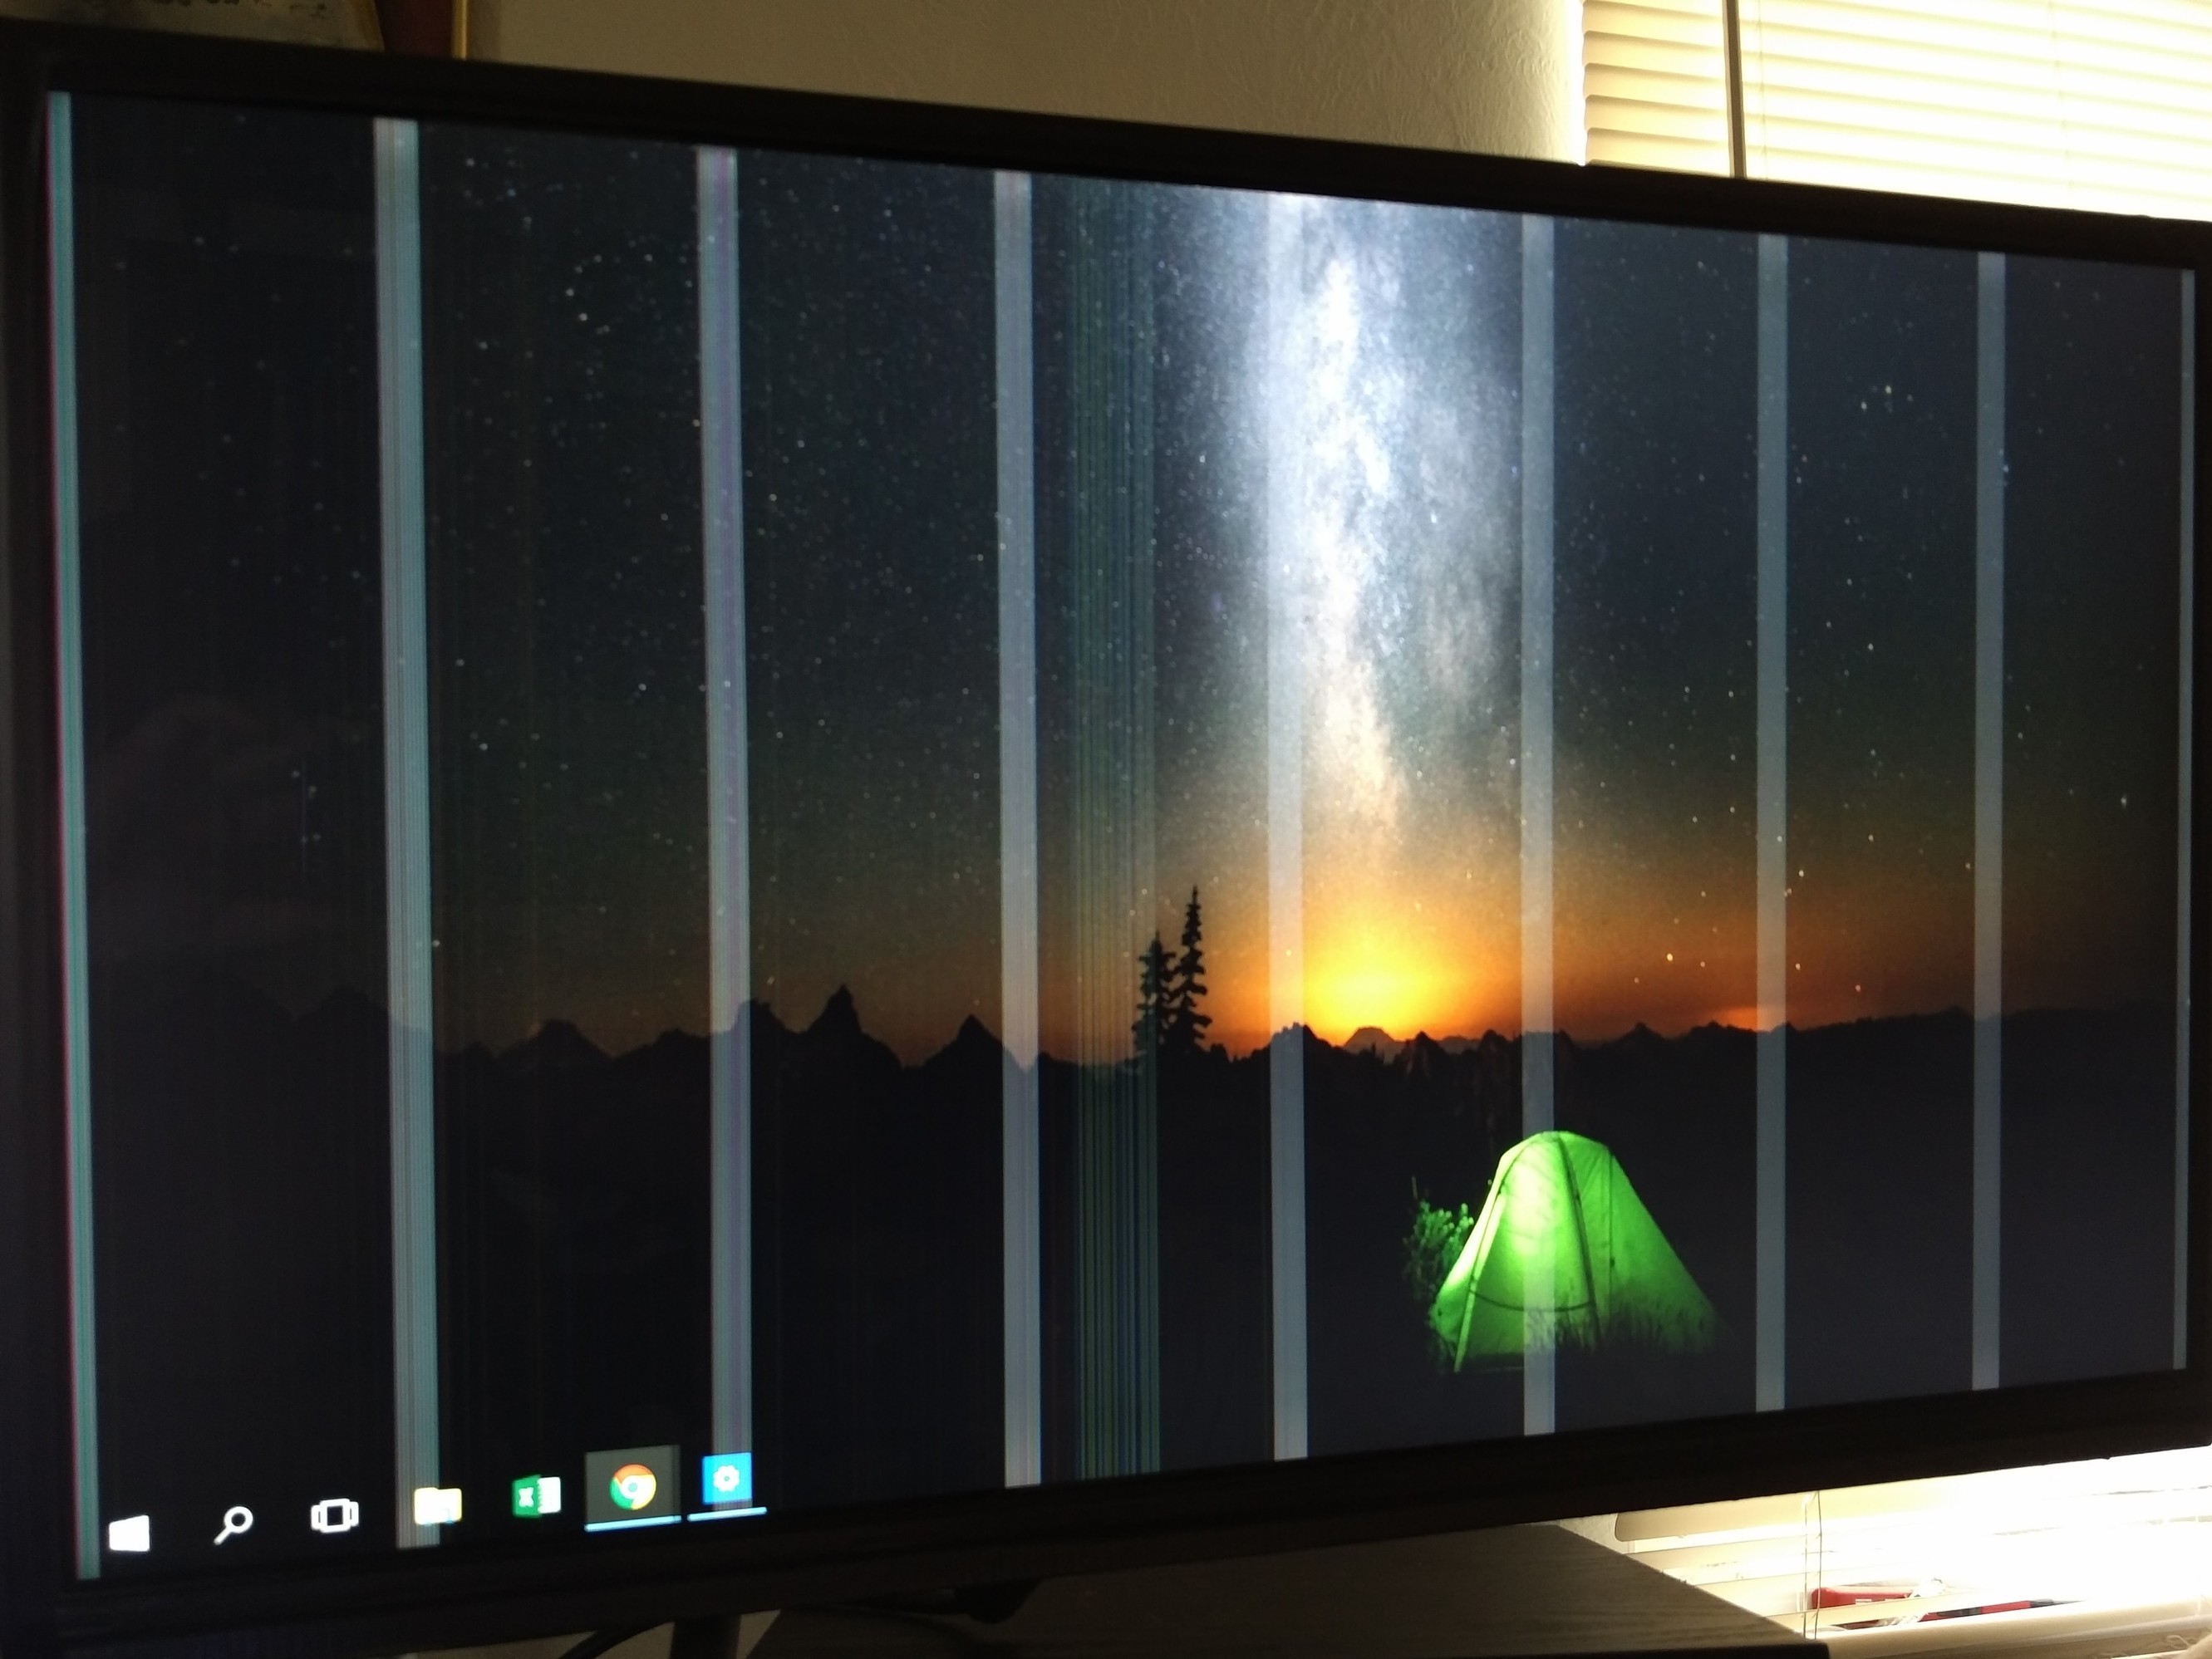
Check the Video Cable Connections
Loose or improperly connected video cables can cause a range of issues with your monitor’s display. It’s important to ensure that the video cables connecting your computer and monitor are secure and properly connected to eliminate any potential sources of problems.
Follow these steps to check the video cable connections:
6.1. Turn off your computer and monitor: Before checking the cables, it’s best to turn off both your computer and monitor to prevent any damage or electrical accidents.
6.2. Examine the video cables: Carefully inspect the video cables connecting your computer’s graphics card or onboard video to your monitor. Look for any signs of damage, such as bent or frayed connectors, and replace if necessary.
6.3. Verify cable connection at both ends: Ensure that the video cable is securely plugged into both the video port on your computer and the corresponding port on your monitor. Wiggle the connector gently to check for a snug fit. If the cable feels loose, unplug and reinsert it to establish a firm connection.
6.4. Check for any additional adapters or converters: If you’re using adapters or converters to connect different types of video cables, make sure they are correctly attached and functioning correctly. Sometimes, faulty adapters can cause display issues.
6.5. Try a different video port: If your computer or monitor has multiple video ports (e.g., HDMI, VGA, DVI, DisplayPort), try connecting the video cable to a different port. This can help determine if the issue lies with a specific port or the cable itself.
Ensuring that the video cables are securely connected is a crucial step in troubleshooting monitor screen issues. Loose or damaged cables can result in intermittent or no display, flickering, or distorted images. Once you’ve checked the video cable connections, move on to the next troubleshooting steps if the issue persists.
Try a Different Video Cable
If you’ve checked the video cable connections and are still experiencing issues with your monitor’s display, it’s worth trying a different video cable. Sometimes, the cable itself may be faulty or incompatible with your monitor or graphics card, leading to poor signal transmission and display problems.
Follow these steps to try a different video cable:
7.1. Identify the current video cable: Take note of the type of video cable you are currently using, such as HDMI, DVI, VGA, or DisplayPort. This information will help you choose the appropriate replacement cable.
7.2. Obtain a compatible video cable: Purchase or borrow a different video cable that is compatible with your monitor and graphics card. Ensure that the cable matches the input/output ports on both your monitor and computer.
7.3. Disconnect the current video cable: Unplug the current video cable from both your monitor and computer, ensuring that you handle it carefully and avoid bending any of the pins or connectors.
7.4. Connect the new video cable: Plug the new video cable securely into the appropriate ports on your monitor and computer. You may need to screw in the connectors or use the locking mechanism, depending on the cable type.
7.5. Test the monitor: Turn on your computer and monitor to see if the new video cable has resolved the display issues. Check for any improvement in image quality, screen flickering, or other problems that you were previously experiencing.
If the new video cable successfully resolves the issues with your monitor’s display, it indicates that the original cable was indeed the source of the problem. Consider replacing the faulty cable to ensure a stable and reliable connection.
However, if the issues persist even with the new video cable, we’ll proceed with additional troubleshooting steps to help identify and fix the root cause of the problem.
Reset the Monitor to Factory Settings
If you’ve tried various troubleshooting steps and are still encountering display issues with your monitor, resetting it to factory settings may help. Resetting the monitor will revert all settings back to their original defaults, potentially resolving any configuration-related problems.
Follow these steps to reset your monitor to factory settings:
8.1. Access the monitor’s settings menu: Use the physical buttons or controls on your monitor to access the settings menu. Refer to the monitor’s user manual if you’re unsure how to navigate the menu.
8.2. Find the reset or default option: Look for a “Reset” or “Factory Reset” option within the settings menu. This option may be located under a general settings category or in a submenu specifically for resetting the monitor.
8.3. Initiate the reset: Select the reset or default option and confirm your choice when prompted. Keep in mind that resetting the monitor will erase any customized settings, so make sure to take note of any important configurations before proceeding.
8.4. Monitor restart: After confirming the reset, the monitor will restart and apply the factory default settings. This process may take a few seconds. Once the restart is complete, check if the display issues have been resolved.
If the display problems persist even after resetting the monitor to factory settings, it may indicate a more complex issue. Consider trying additional troubleshooting steps or contacting the manufacturer’s support for further assistance.
Resetting the monitor can be a useful step in troubleshooting since it eliminates any potential customized settings that may have caused the display issues. However, if the problem persists, we’ll move on to the next steps to ensure all possible solutions are explored for a resolution.
Test the Monitor on Another Computer
If you’ve exhausted the previous troubleshooting steps and are still experiencing issues with your monitor, it’s time to determine whether the problem lies with the monitor itself or with your computer. Testing the monitor on another computer allows you to isolate the source of the problem and take appropriate action.
Follow these steps to test your monitor on another computer:
9.1. Find another computer: Locate another computer that is known to be functioning properly. This could be a laptop or desktop computer belonging to a friend, family member, or colleague.
9.2. Disconnect the current computer: Disconnect the monitor from your current computer, ensuring that both the power and video cables are unplugged from the respective ports.
9.3. Connect the monitor to another computer: Connect your monitor to the available video output on the other computer. Make sure to use the appropriate video cable and secure all connections.
9.4. Power on the monitor and computer: Turn on the monitor and the computer you have connected it to. Wait for both devices to boot up and initialize.
9.5. Check for display issues: Once the computer and monitor are powered on, observe the display on the monitor. Look for any signs of the previous issues, such as flickering, distorted images, or no display at all.
If the monitor functions properly on the other computer without any display issues, it suggests that the problem is likely with your original computer or its settings. Consider exploring further troubleshooting steps specific to your computer’s hardware or software to resolve the issue.
However, if the monitor still exhibits the same display problems on the other computer, it indicates a potential issue with the monitor itself. In this case, it may be necessary to contact the manufacturer’s support or seek professional help for further diagnosis and repair.
Testing the monitor on another computer helps in confirming the root cause of the display problems and guides you towards the appropriate next steps for resolution.
Contact the Manufacturer for Support
If you’ve followed all the previous troubleshooting steps and are still unable to resolve the issues with your monitor, it’s time to reach out to the manufacturer for professional support. The manufacturer’s support team is equipped with the knowledge and expertise to provide guidance and assistance tailored to your specific monitor model.
Here’s what you can do when contacting the manufacturer for support:
10.1. Gather necessary information: Before reaching out to the manufacturer, collect essential details about your monitor, such as the model number, serial number, and any specific error messages or symptoms you’ve encountered. This information will assist the support team in diagnosing the problem more effectively.
10.2. Visit the manufacturer’s website: Navigate to the manufacturer’s website and look for their support section. This section usually provides contact information, including phone numbers, email addresses, and live chat options.
10.3. Contact customer support: Use the provided contact information to reach out to the manufacturer’s customer support team. Explain the issues you’ve been facing, provide the relevant details, and follow any instructions they provide. Be prepared to provide proof of purchase, warranty information, or any other documentation they may require.
10.4. Follow the recommended troubleshooting steps: The support team may guide you through additional troubleshooting steps specific to your monitor. Be patient and follow their instructions carefully. They may also instruct you on how to ship the monitor for repair or offer a warranty claim if applicable.
10.5. Explore warranty options: If your monitor is still within the warranty period, inquire with the manufacturer about their warranty coverage. They may provide repair or replacement services based on the terms and conditions of the warranty.
Remember, the manufacturer’s support team is dedicated to assisting customers with their product-related issues. They have the expertise and resources to guide you through the resolution process. Be polite, provide accurate information, and be open to their suggestions to ensure the best possible outcome.
By contacting the manufacturer for support, you’re taking a proactive step toward resolving your monitor issues with professional assistance.
Conclusion
Dealing with monitor screen issues can be frustrating, but by following these troubleshooting steps, you can increase the chances of resolving the problems and getting your monitor back to optimal performance.
We began by checking the power connection and adjusting the brightness and contrast settings. If the issues persisted, we moved on to checking the display settings on the computer and updating graphics drivers. We also explored the use of built-in monitor troubleshooting tools and tested the monitor on another computer to isolate the source of the problem. If none of these steps resolved the issues, we advised trying a different video cable and resetting the monitor to its factory settings. Finally, if all else fails, we recommended contacting the manufacturer for professional support.
Keep in mind that each monitor may have unique characteristics and troubleshooting steps. It’s essential to consult the manufacturer’s documentation or support resources specific to your monitor if you encounter difficulties along the way.
Remember, troubleshooting monitor screen problems may require some perseverance and patience. By systematically investigating each potential issue, you can overcome the challenges and enjoy a clear and vibrant display once again.
We hope this guide has provided you with valuable insights and solutions to fix your monitor screen problems. If you have any further questions or need additional assistance, do not hesitate to reach out to the manufacturer’s support team or consult a professional technician.