Introduction
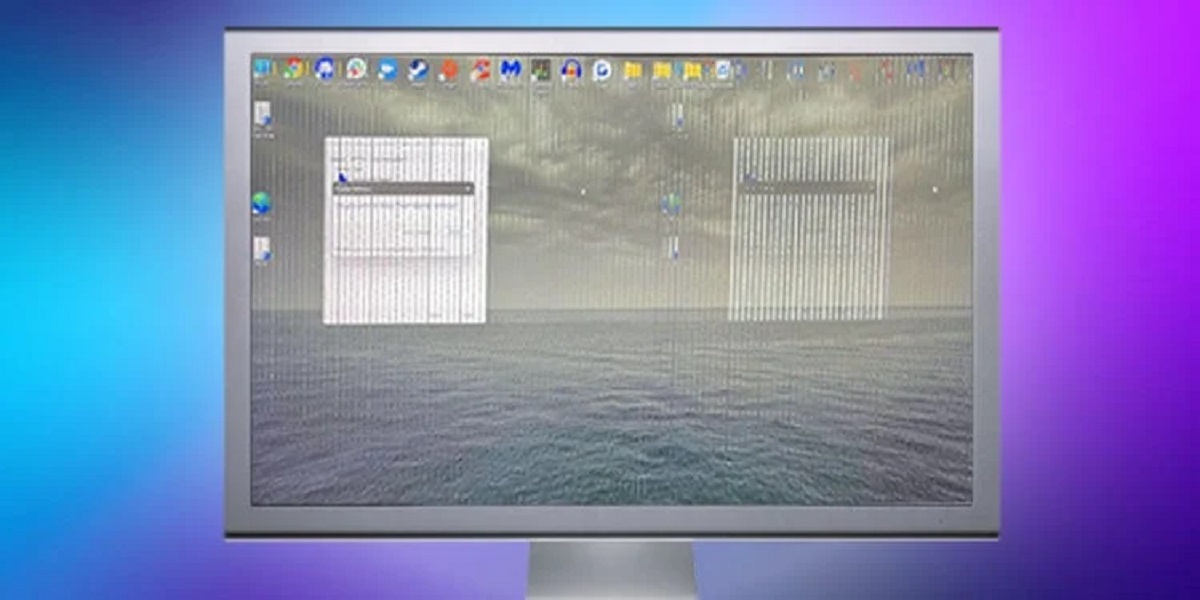
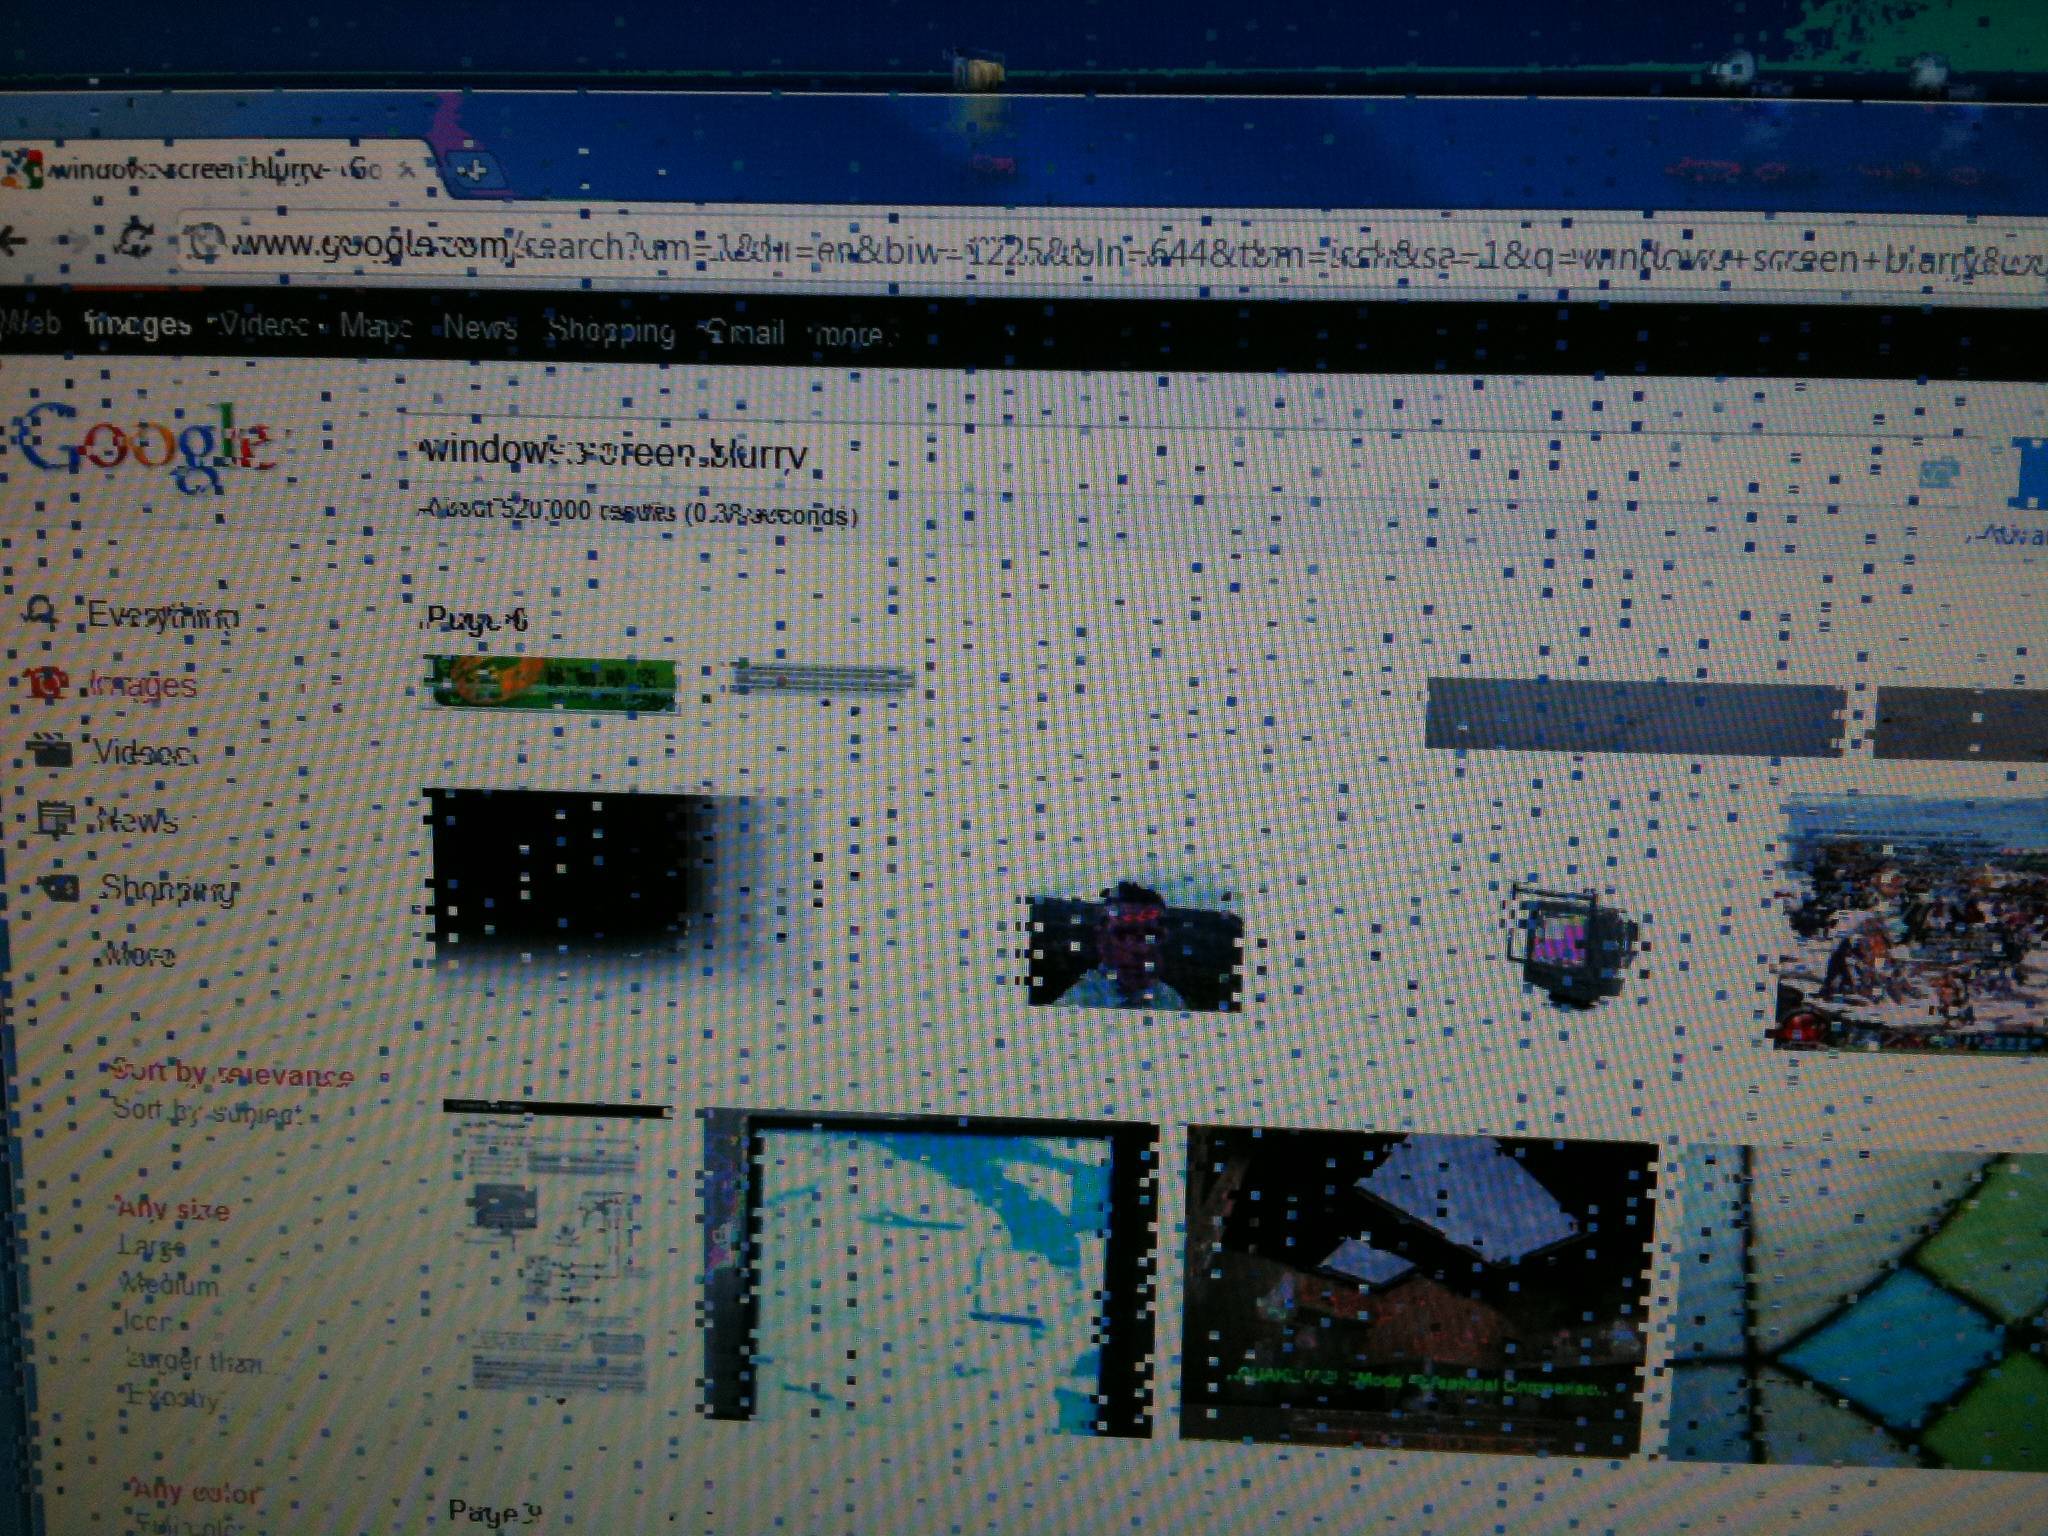
Having a blurry monitor can be frustrating and negatively impact your overall computer experience. Whether you use your computer for work or leisure activities, a clear and sharp display is essential for optimal viewing. Blurriness on your monitor can make text difficult to read, images distorted, and videos less enjoyable.
Fortunately, there are various steps you can take to fix a blurry monitor and improve the overall visual quality. In this article, we will explore the possible causes of a blurry monitor and provide practical solutions to help you restore crystal-clear visuals.
Before we delve into the troubleshooting process, it’s important to understand that a blurry monitor can stem from different factors, such as incorrect display settings, a faulty connection, or even a hardware issue. By identifying the root cause, you can address the problem more effectively.
In the following sections, we will guide you through the steps to adjust the monitor’s resolution, ensure proper display settings, check the monitor’s connection, clean the monitor screen, adjust ClearType text settings, update graphics drivers, calibrate the monitor, and troubleshoot any hardware issues that may be causing the blurriness.
So, if you’re tired of straining your eyes to see clearly or missing out on the full visual experience, let’s dive in and discover how to fix your blurry monitor!
Understanding the Causes of a Blurry Monitor
A blurry monitor can be caused by various factors, and understanding these causes is crucial in effectively resolving the issue. Here are some common reasons why your monitor might be blurry:
- Incorrect resolution: One of the most common causes of blurry monitors is using an incorrect screen resolution. If the resolution is set too low, the display can appear fuzzy or pixelated. On the other hand, setting the resolution too high can make everything appear small and hard to read.
- Improper display settings: Adjusting the brightness, contrast, and sharpness settings incorrectly can result in a blurry image. These settings can be accidentally altered, or they may not be optimized for your specific monitor.
- Loose or faulty connection: A loose or faulty connection between the monitor and the computer can cause signal interference and lead to a blurry display. Checking and securing the cables connecting your monitor to your computer is essential to ensure a clear and stable connection.
- Dirty monitor screen: Dust, fingerprints, and smudges on the monitor screen can distort the display and make it appear blurry. Regularly cleaning the screen using a soft, lint-free cloth can help clear up any visual obstructions and improve the overall image quality.
- Incorrect ClearType text settings: ClearType is a technology used to enhance the legibility of text on LCD monitors. If the ClearType settings are not configured correctly, it can result in blurry text, especially on high-resolution displays.
- Outdated graphics drivers: Graphics drivers play a crucial role in rendering images on your monitor. Outdated or corrupt drivers can lead to compatibility issues, causing a blurry display. Updating your graphics drivers to the latest version can often resolve this problem.
- Improper monitor calibration: Each monitor has its unique color and display characteristics. If your monitor is not calibrated correctly, it may result in inaccurate colors, poor contrast, and a blurry image. Calibrating your monitor can help optimize its performance and ensure a sharp display.
- Hardware issues: In some cases, a blurry monitor can be attributed to hardware problems, such as a defective graphics card or a failing monitor. These issues may require professional assistance or even replacement of the faulty component.
By understanding these various causes, you can troubleshoot and address the issue with your blurry monitor more effectively. In the following sections, we will explore step-by-step solutions to fix these problems and restore the visual clarity you desire.
Adjusting the Monitor’s Resolution
One of the primary causes of a blurry monitor is an incorrect resolution setting. Adjusting the resolution to match your monitor’s native or recommended resolution can significantly improve the clarity of the display. Here’s how you can adjust the resolution:
- Right-click on the desktop: Begin by right-clicking anywhere on your desktop. A context menu will appear.
- Select “Display settings”: From the context menu, select “Display settings” to open the display settings panel.
- Go to the “Display” tab: In the display settings panel, navigate to the “Display” tab.
- Adjust the resolution: Under the “Resolution” section, you will see a slider that allows you to adjust the resolution. Move the slider to select a resolution that matches your monitor’s native or recommended resolution.
- Apply the changes: Once you’ve selected the desired resolution, click on the “Apply” button to apply the changes. The screen may briefly flicker as the resolution is adjusted.
- Confirm the changes: After applying the changes, a confirmation message will appear on your screen. If the new resolution appears clear and sharp, click on the “Keep changes” button. If not, select the “Revert” option to revert back to the previous resolution.
It is important to note that different monitors have different native or recommended resolutions. Finding the optimal resolution for your specific monitor can enhance the visual quality and reduce any blurriness.
If your monitor’s native resolution is not available in the display settings, it could be due to outdated graphics drivers. In that case, ensure that you update your graphics drivers to the latest version, as this may add support for your monitor’s native resolution.
By adjusting the monitor’s resolution to match its native or recommended resolution, you can eliminate blurry visuals and enjoy a clear and crisp display.
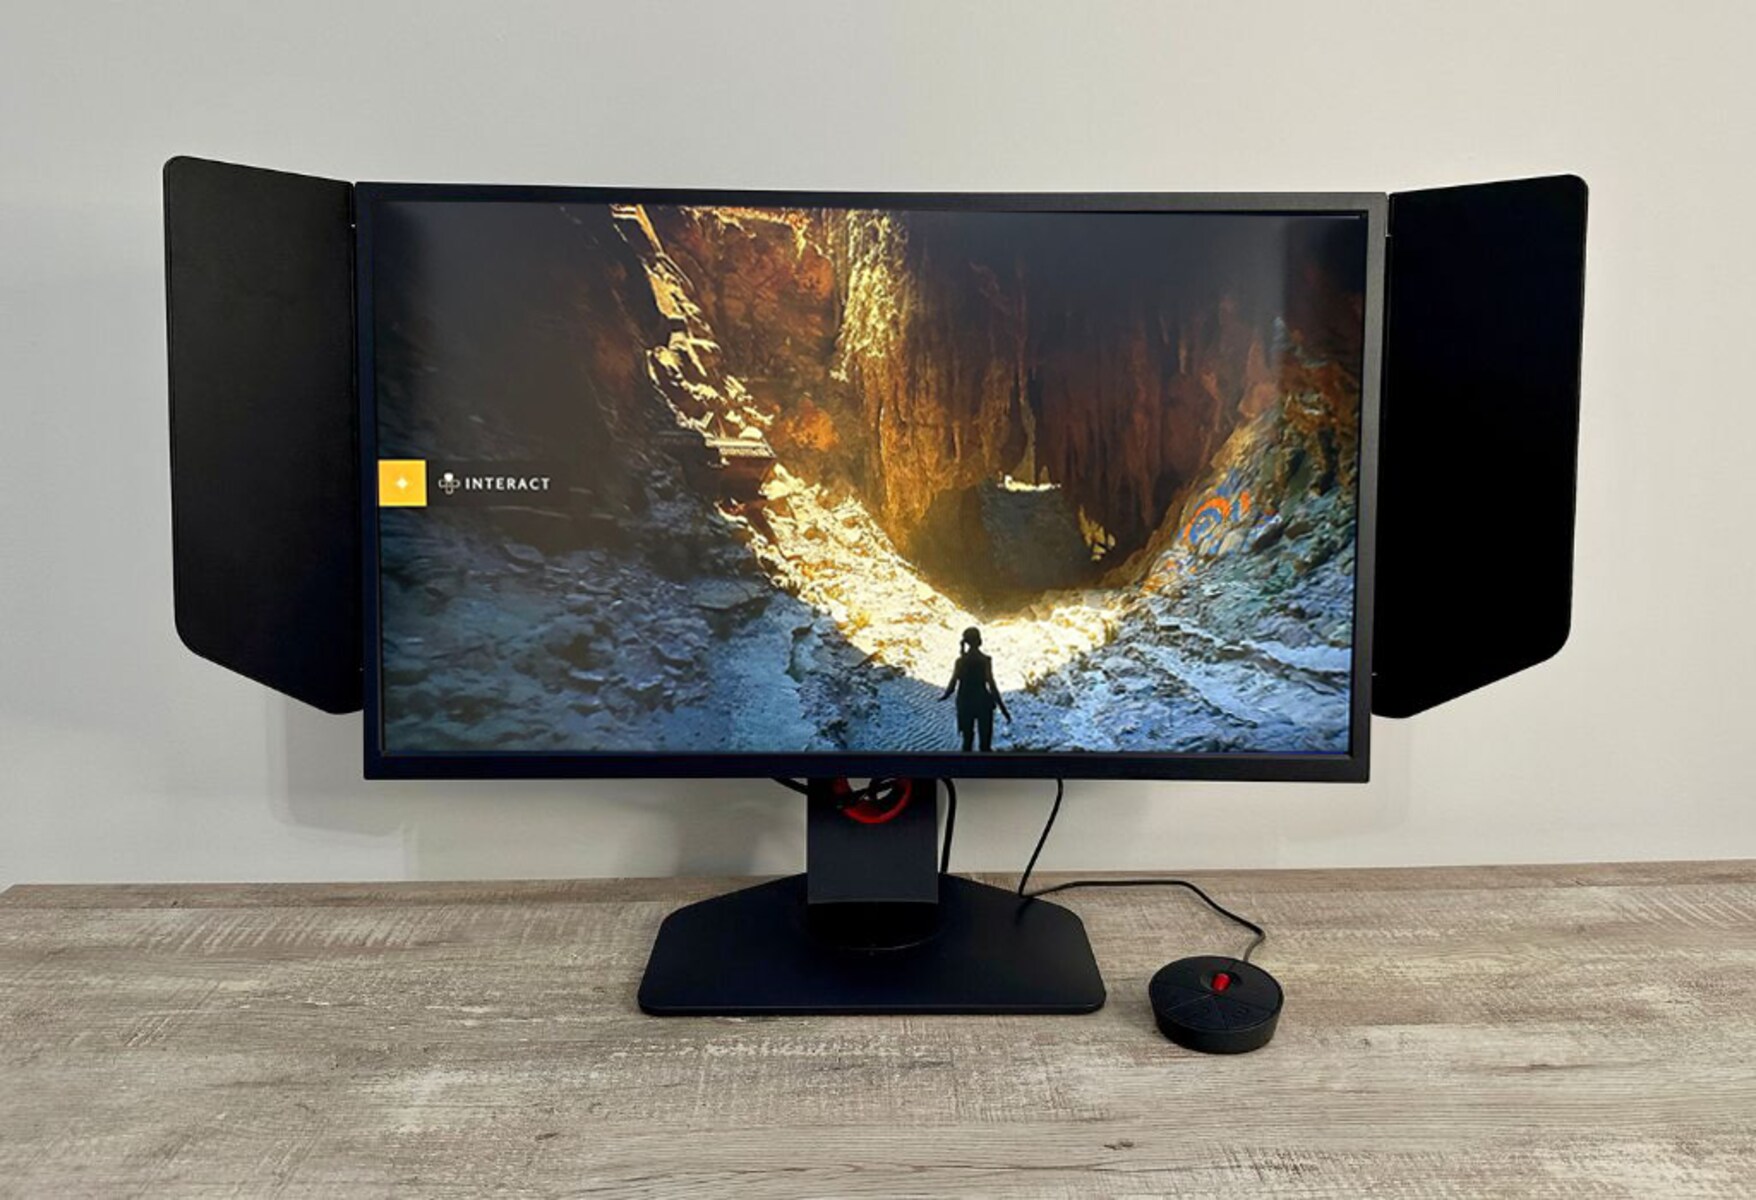
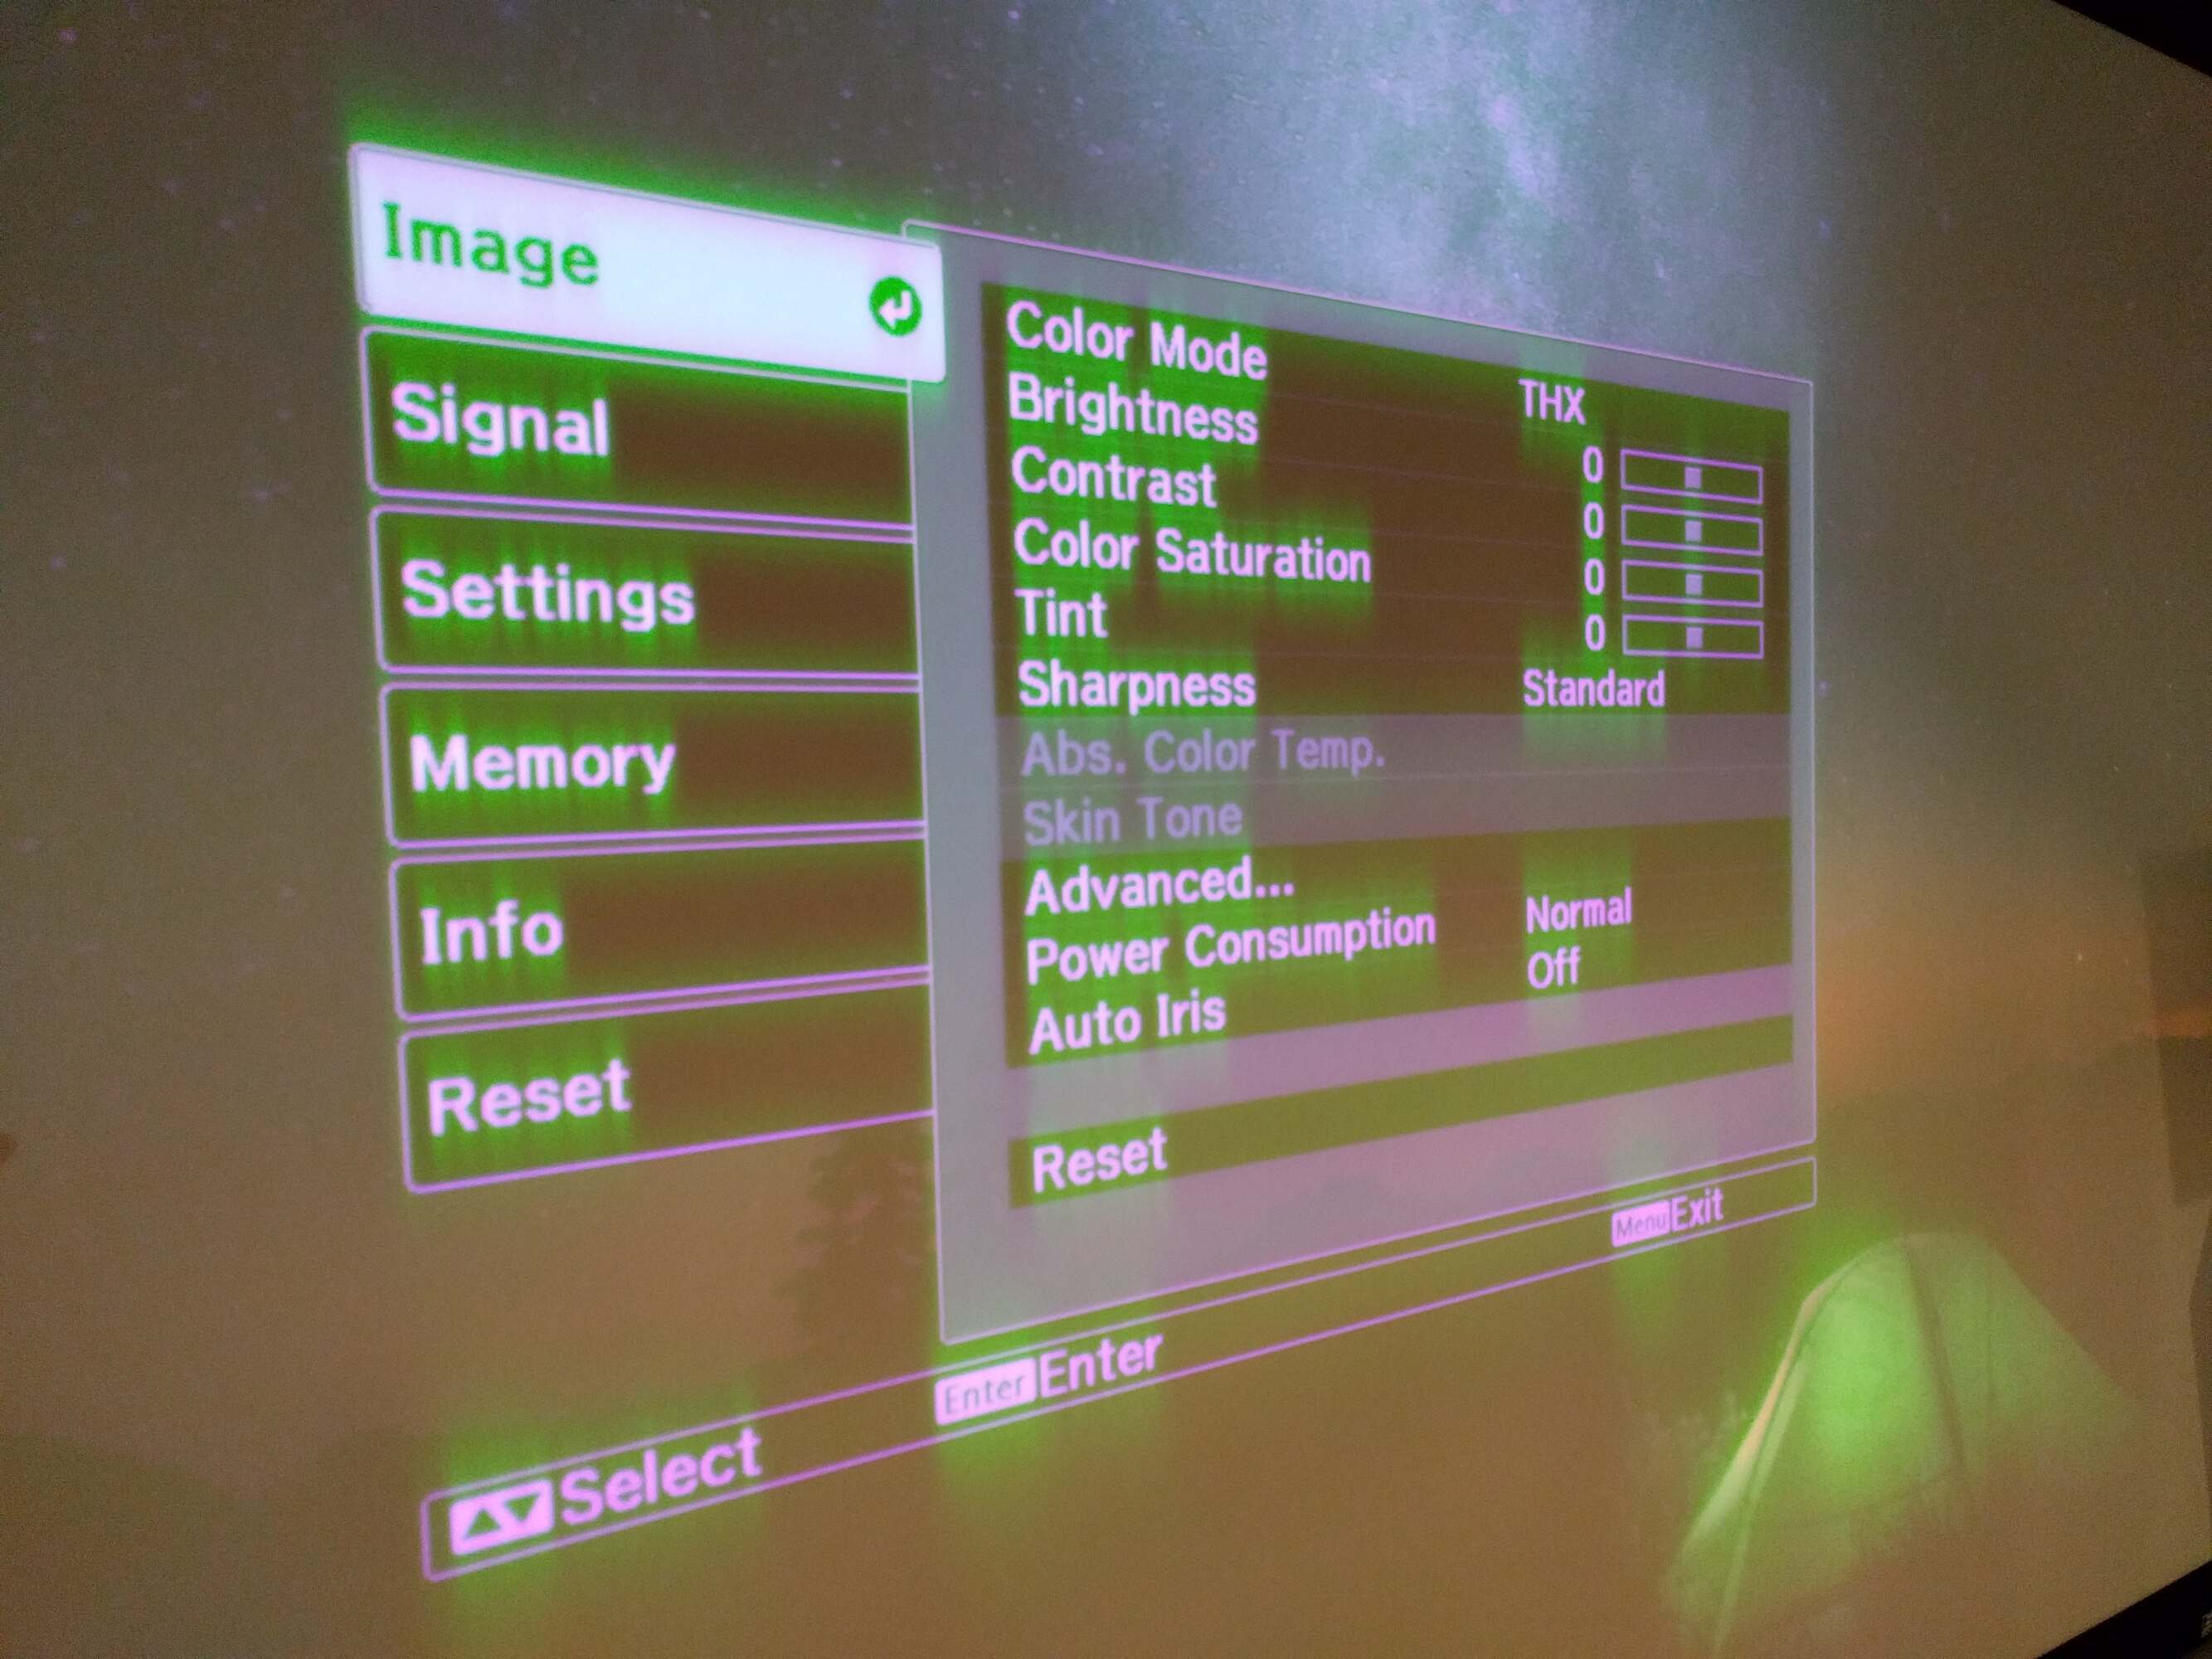
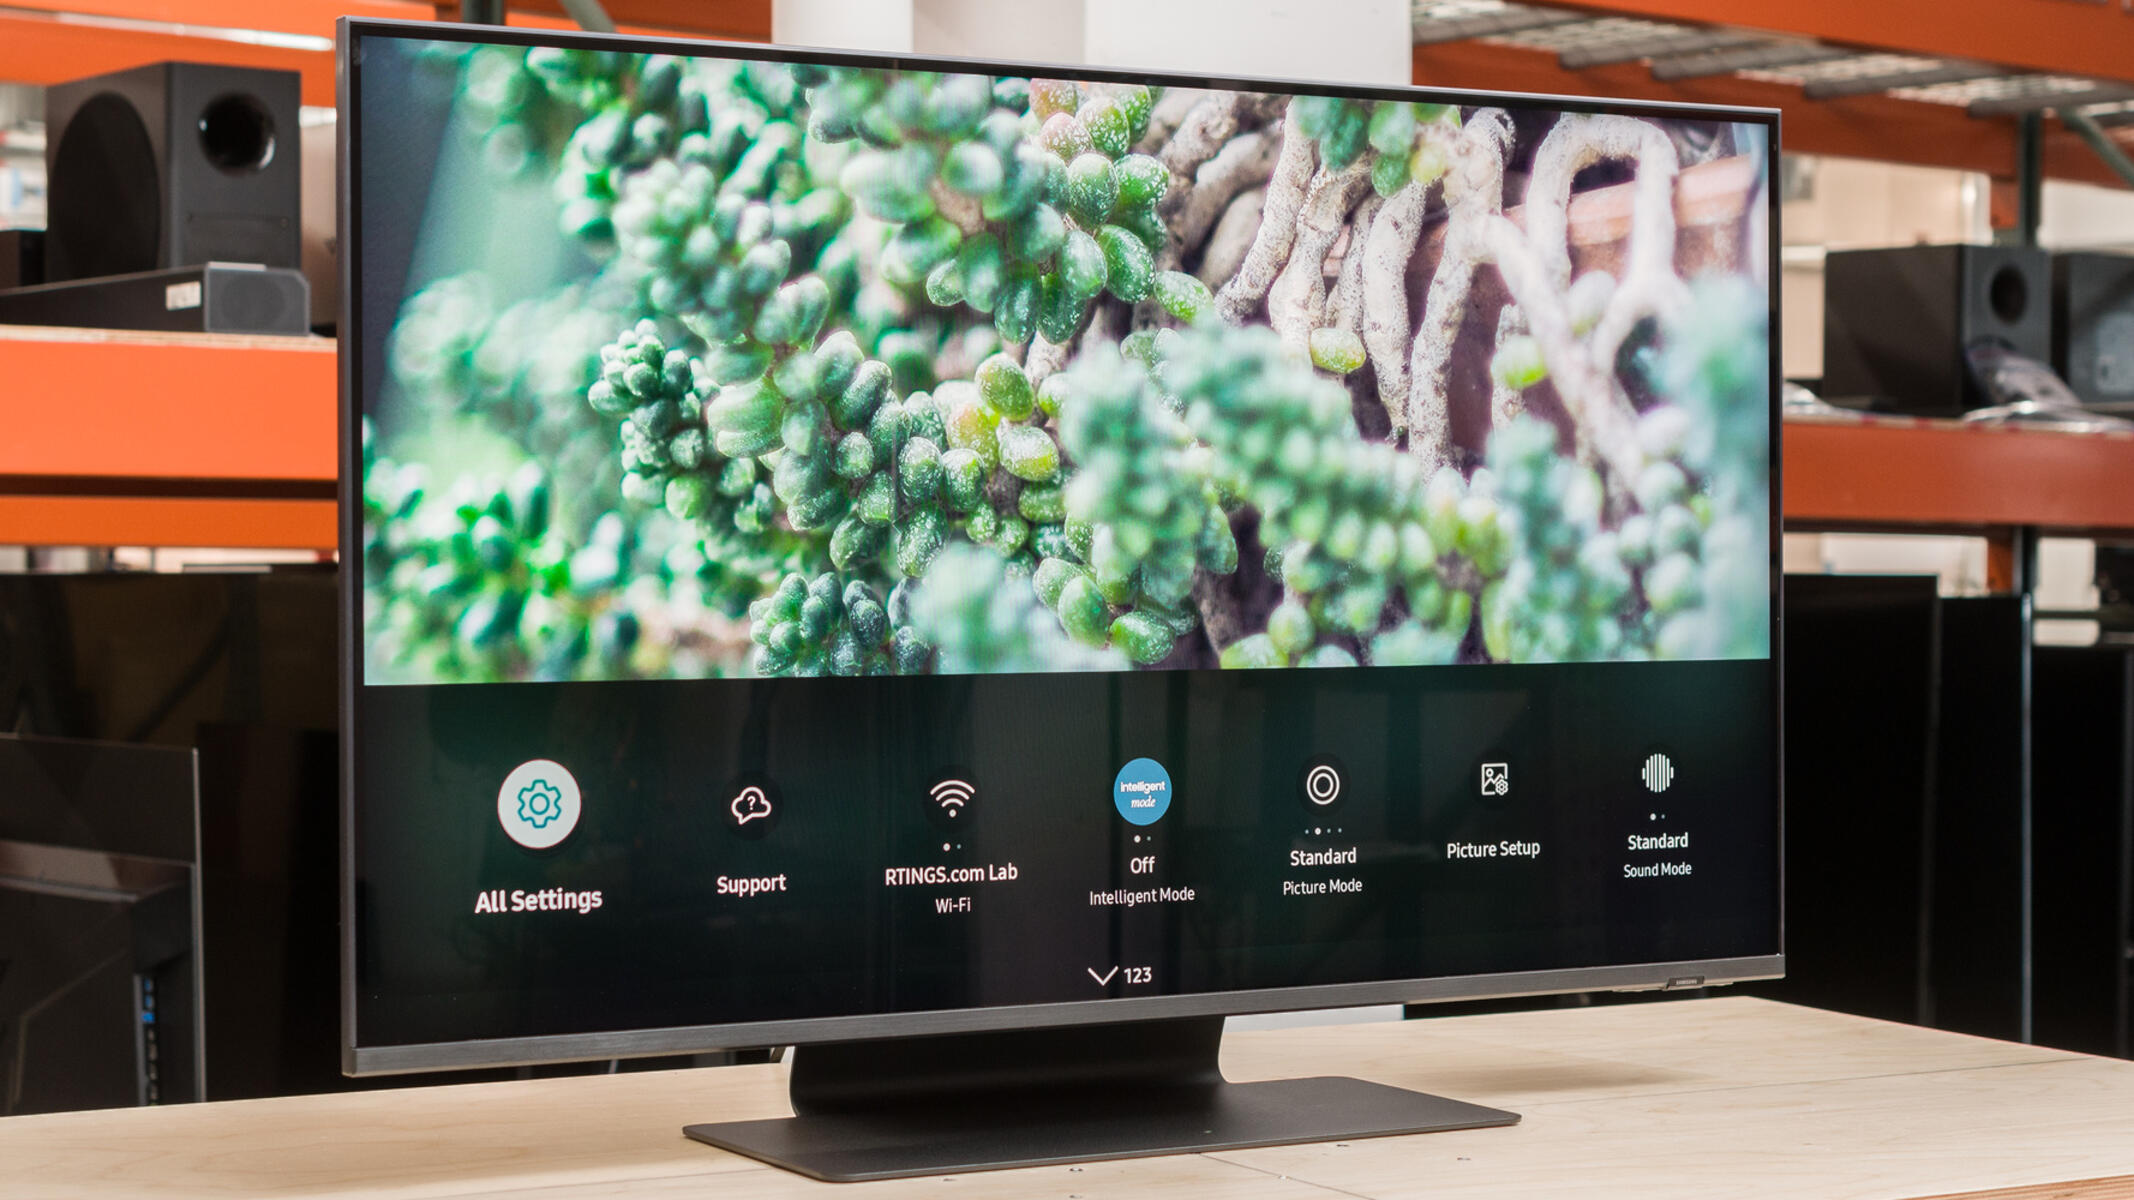
Ensuring Proper Display Settings
Proper display settings are essential for achieving a clear and sharp monitor image. Adjusting various display settings can help enhance the visual quality and reduce blurriness. Here are some important settings to check:
- Brightness: Adjusting the brightness level can make a significant difference in the clarity of your monitor. A brightness level that is too high or too low can result in a blurry or washed-out display. Access the monitor’s on-screen display (OSD) menu and adjust the brightness level until you achieve a comfortable and clear image.
- Contrast: Similar to brightness, the contrast level impacts the sharpness and visibility of your monitor. A proper contrast setting can improve the distinction between different elements on the screen. Again, access the OSD menu and adjust the contrast level to your preference.
- Sharpness: Some monitors offer an adjustable sharpness setting that can further enhance the overall image quality. Experiment with the sharpness setting in the OSD menu to find the optimal level that provides a clear and well-defined display without introducing artifacts or excessive noise.
- Color temperature: The color temperature setting affects the overall color balance and warmth of the monitor. Different color temperature presets (such as Warm, Neutral, and Cool) have varying impacts on color accuracy and clarity. Select a color temperature that suits your viewing preferences and reduces any blurriness or color distortion.
- Refresh rate: The refresh rate refers to the number of times per second that your monitor refreshes the image on the screen. A higher refresh rate can result in smoother motion and clearer images, especially during fast-paced activities like gaming or watching videos. If your monitor supports a higher refresh rate, adjust it in the display settings or graphics control panel.
It’s important to note that accessing and adjusting these settings may vary depending on your monitor’s model and manufacturer. Refer to your monitor’s documentation or manufacturer’s website for detailed instructions on how to access and modify these settings.
By ensuring proper display settings, including adjusting brightness, contrast, sharpness, color temperature, and refresh rate, you can optimize the visual quality of your monitor and reduce any blurriness that may be compromising your viewing experience.
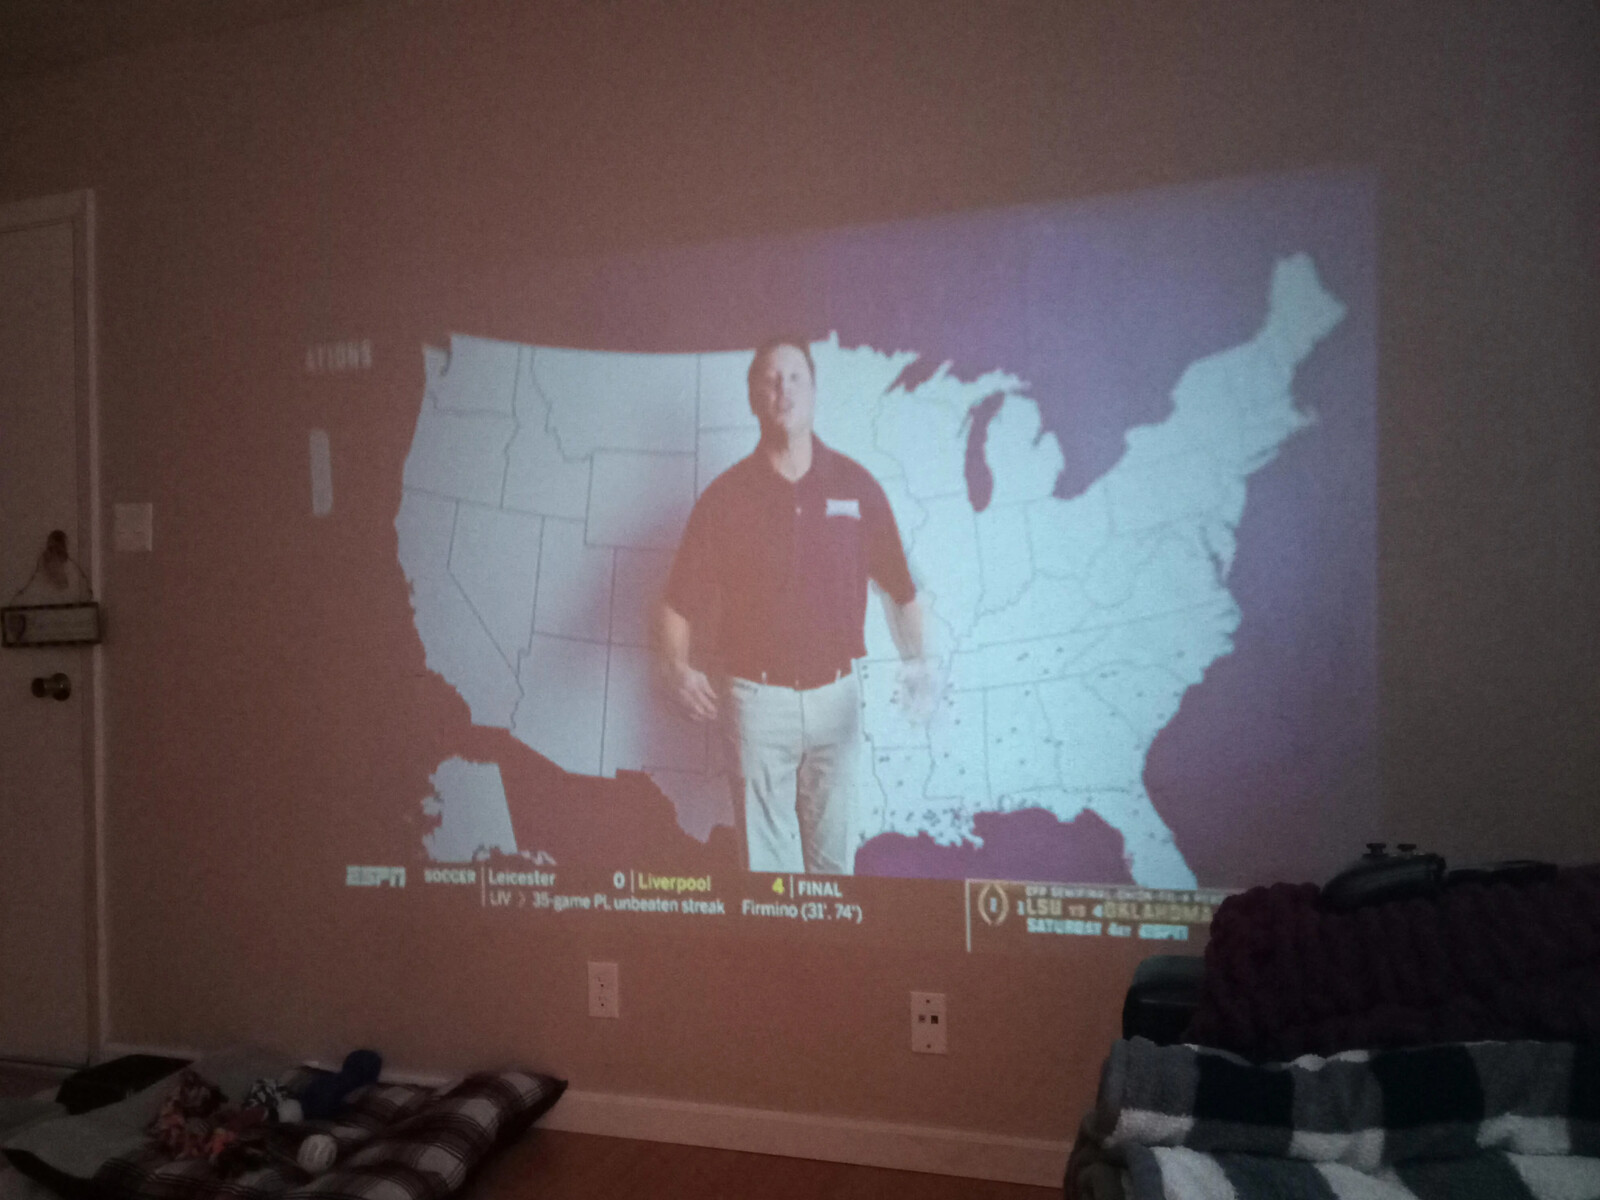
Checking the Monitor’s Connection
A loose or faulty connection between your monitor and the computer can lead to a blurry display. Therefore, it is important to check the monitor’s connection to ensure a stable and clear signal. Follow these steps to check the monitor’s connection:
- Power off your computer and monitor: Before inspecting the connections, make sure to turn off both your computer and monitor. This will help prevent any electrical accidents or damage.
- Inspect the video cables: Start by examining the video cables that connect your monitor to the computer. Ensure that the cables are securely plugged in on both ends, without any looseness or signs of damage.
- Swap the cables: If possible, try using a different video cable to connect your monitor to the computer. Sometimes, faulty or damaged cables can cause signal interference and result in a blurry display. By using a different cable, you can determine if the issue lies with the cable itself.
- Try a different video port: If your computer has multiple video ports, such as HDMI, DVI, or VGA, you can try connecting your monitor to a different port. This can help identify whether the issue is specific to a particular port on your computer.
- Inspect the graphics card: If you are using a desktop computer, ensure that the graphics card is properly seated in its slot on the motherboard. If the graphics card is loose or not functioning correctly, it can cause display issues, including blurriness.
- Restart your computer: After verifying and adjusting the connections, power on your computer and monitor. Sometimes, a simple restart can fix minor connection-related issues and restore the clarity of your display.
By meticulously checking and securing the monitor’s connections, you can eliminate any signal interference and improve the overall visual quality of your display. If the blurry display persists after checking the connections, move on to the next troubleshooting steps to further diagnose and resolve the issue.
Cleaning the Monitor Screen
Dust, fingerprints, and smudges on the monitor screen can contribute to a blurry display. Cleaning the monitor screen regularly can help remove these obstructions and restore clarity. Follow these steps to clean your monitor screen properly:
- Power off the monitor: Before cleaning the screen, make sure to turn off the monitor and unplug it from the power source. This will ensure your safety and prevent any potential damage to the monitor.
- Use a soft, lint-free cloth: Take a soft, lint-free cloth, such as a microfiber cloth or a screen cleaning cloth. Avoid using paper towels, tissues, or rough materials that may scratch the screen.
- Gently wipe the screen: Start by gently wiping the screen in a circular motion, applying minimal pressure. Be careful not to press too hard, as excessive pressure can damage the screen. Ensure that you cover the entire surface of the screen, including the edges.
- Focus on stubborn stains: If there are stubborn stains or fingerprints on the screen, lightly dampen the cloth with distilled water or a screen cleaning solution specifically designed for monitors. Avoid using regular glass cleaners or harsh chemicals, as they can damage the screen’s coating.
- Avoid moisture near openings: When cleaning the monitor, be cautious not to let any moisture seep near the openings or vents. Moisture can damage internal components and lead to further issues.
- Dry the screen: After cleaning, use a dry portion of the cloth to gently wipe off any remaining moisture or streaks on the screen. Ensure the screen is completely dry before turning the monitor back on.
Regularly cleaning your monitor screen will help maintain optimal visual quality and prevent blurriness caused by dirt or fingerprints. Aim to clean the screen at least once a month or as needed, depending on your environment and usage.
By following these simple steps and using the appropriate cleaning materials, you can effectively remove dirt and smudges from your monitor screen, resulting in a clearer and more enjoyable viewing experience.
Adjusting ClearType Text Settings
ClearType is a technology developed by Microsoft to improve the legibility of text on LCD monitors. If the ClearType settings are not configured correctly, it can lead to blurry or difficult-to-read text. Adjusting the ClearType settings can significantly enhance the sharpness and clarity of text on your monitor. Here’s how you can adjust ClearType text settings:
- Open the ClearType Text Tuner: Press the Windows key on your keyboard and type “ClearType” in the search bar. Click on the “Adjust ClearType text” option from the search results to open the ClearType Text Tuner.
- Enable ClearType: In the ClearType Text Tuner window, make sure the “Turn on ClearType” checkbox is selected. This enables ClearType technology on your monitor.
- Proceed with the tuning: Click on the “Next” button to proceed with the tuning process. The ClearType Tuner will display a series of text samples for you to evaluate.
- Choose the clearest text samples: For each text sample, select the option that appears the clearest and easiest to read. Follow the instructions on the screen to navigate through the sample text.
- Complete the tuning process: After evaluating all the text samples, the ClearType Tuner will apply the selected settings. Click on the “Finish” button to complete the tuning process.
- Review the changes: Once the tuning process is complete, review the changes on your monitor. You should notice a significant improvement in the sharpness and clarity of the text.
- Re-tune if necessary: If you feel that the ClearType settings are not satisfactory, you can rerun the ClearType Text Tuner and readjust the settings. Experiment with different options until you are satisfied with the text clarity.
By adjusting the ClearType text settings according to your preference, you can ensure that the text on your monitor appears sharp and easy to read. This is particularly beneficial when working with text-intensive tasks or when browsing the web.
Note that ClearType settings are specific to each user account on the computer. Therefore, you may need to adjust the ClearType settings individually for each user account if multiple people use the same computer.
With ClearType technology optimized for your specific monitor and preferences, you can enjoy clear, sharp, and easily readable text on your display.
Updating Graphics Drivers
Outdated or incompatible graphics drivers are a common cause of blurry displays on monitors. Graphics drivers are responsible for rendering images and ensuring optimal performance of your monitor. By updating your graphics drivers to the latest version, you can resolve compatibility issues and improve the overall visual quality. Here’s how you can update your graphics drivers:
- Identify your graphics card: The first step is to identify the model and manufacturer of your graphics card. You can usually find this information in the Device Manager or by visiting the manufacturer’s website for your computer or graphics card.
- Visit the manufacturer’s website: Once you have the necessary information, visit the website of the graphics card manufacturer, such as NVIDIA, AMD, or Intel.
- Find the drivers section: Navigate to the drivers or support section of the manufacturer’s website. Look for options related to downloading or updating drivers.
- Enter your graphics card details: Input the specific details of your graphics card, such as the model, operating system, and version, as prompted. This will help the website provide you with the appropriate drivers for your system.
- Download and install the drivers: Once you have selected the correct drivers, download them to your computer. Follow the on-screen instructions to install the drivers, and ensure that you follow any additional recommendations or prompts provided by the manufacturer.
- Restart your computer: After installing the updated graphics drivers, it is often necessary to restart your computer. This allows the changes to take effect and ensures proper functioning of the updated drivers.
- Confirm the driver update: Once your computer has restarted, verify that the graphics drivers have been successfully updated. You can do this by checking the Device Manager or the graphics card control panel.
Updating your graphics drivers to the latest version ensures compatibility with your operating system and can fix issues that may cause a blurry display. It is considered good practice to periodically check for driver updates to ensure optimal performance and visual quality.
If you are unsure about how to update your graphics drivers, you can also use driver update software that scans your system and automatically determines the necessary driver updates.
By keeping your graphics drivers up to date, you can address potential compatibility issues and enjoy a clear and crisp display on your monitor.
Calibrating the Monitor
Each monitor has its unique characteristics and may require calibration to achieve accurate colors, contrast, and brightness levels. Calibrating your monitor can help eliminate blurriness, improve color accuracy, and enhance the overall visual experience. Here’s how you can calibrate your monitor:
- Adjust basic settings: Start by resetting the monitor’s settings to default. This ensures that you are starting from a neutral point before making any adjustments.
- Control panel or OSD menu: Depending on your monitor model, access the monitor calibration options either through the control panel on your computer or the on-screen display (OSD) menu on the monitor itself.
- Brightness and contrast: Begin by adjusting the brightness and contrast levels. Strive for a balance where the whites are bright but not overly dazzling, and the blacks are deep but still retain detail.
- Color calibration: Use a calibration tool or proceed with manual adjustments to achieve accurate colors. Adjust the red, green, and blue (RGB) color sliders to ensure that colors appear vibrant and true to life, without any tint or saturation issues.
- Gamma settings: Fine-tune the gamma settings to adjust the overall brightness and contrast of mid-tones. This helps maintain detail and tonal accuracy across the entire color spectrum.
- Color temperature: Calibrate the color temperature to achieve a natural and neutral color balance. Aim for a temperature that suits your preference and the nature of your work, such as a warmer tone for graphic design or a cooler tone for reading text.
- Verify the calibration: Use reference images, photographs, or color charts to verify the accuracy of your calibration. This helps ensure that colors and details are displayed as intended.
- Save the settings: Once you are satisfied with the calibration adjustments, save the settings either through the control panel or OSD menu. This way, the monitor will retain the calibrated settings even after power cycles.
It’s important to note that monitor calibration is a subjective process, and preferences may vary. However, accurate calibration ensures that your monitor displays images and colors as faithfully as possible.
If you require precise color accuracy for professional work, such as graphic design or photo editing, consider using hardware calibration tools or consulting with a professional calibrator for more accurate results.
By calibrating your monitor according to your preferences and adjusting it to display accurate colors and contrast levels, you can minimize blurriness and enjoy a visually pleasing and accurate display.
Troubleshooting Hardware Issues
If you have tried all the previous steps and your monitor is still blurry, it is possible that there might be hardware issues causing the problem. Addressing these hardware issues can help restore a clear display. Here are some troubleshooting steps to consider:
- Check the monitor’s power source: Ensure that the monitor is properly plugged into a working power outlet. If using a power strip or surge protector, try connecting the monitor directly to the wall socket to rule out any issues with the power source.
- Inspect the monitor’s cables and connectors: Examine the video cables and connectors for any visible damage or loose connections. Replace any damaged cables with new ones and ensure a secure connection between the monitor and the computer.
- Test the monitor on a different computer: Connect your monitor to a different computer to check if the issue persists. If the display remains blurry on another computer, it indicates a problem with the monitor itself.
- Try a different monitor on your computer: If possible, connect a different monitor to your computer to see if the blurriness persists. If the problem is resolved with a different monitor, it suggests a fault with your original monitor.
- Reset the monitor to factory settings: Some monitors have an option to reset all settings to their default values. Refer to your monitor’s manual or on-screen display (OSD) menu to locate the reset option, and perform a factory reset to eliminate any malfunctioning settings.
- Get professional assistance: If none of the above steps resolve the issue, it might be best to seek professional assistance. Contact the manufacturer’s technical support or consult with a qualified technician who can diagnose and repair any hardware problems with your monitor.
It’s important to remember that troubleshooting hardware issues can be complex and may require specialized knowledge or tools. Attempting to repair hardware issues without proper expertise could potentially cause further damage.
By systematically checking the power source, cables, connectors, and testing the monitor on different systems, you can pinpoint and address any hardware-related problems that may be leading to a blurry display.
Conclusion
A blurry monitor can be a frustrating issue that hampers your viewing experience and affects productivity. However, by following the troubleshooting steps outlined in this article, you can diagnose and resolve the problem effectively.
We started by understanding the common causes of a blurry monitor, such as incorrect resolution, improper display settings, loose connections, dirty screens, ClearType text settings, outdated graphics drivers, and hardware issues. Each cause was addressed with specific solutions to tackle the problem.
Adjusting the monitor’s resolution, ensuring proper display settings, checking the monitor’s connection, cleaning the monitor screen, adjusting ClearType text settings, updating graphics drivers, calibrating the monitor, and troubleshooting hardware issues are all part of the step-by-step process outlined in this article.
Remember, each step is crucial, and it may require some trial and error to find the specific solution that works for your situation. It’s important to have patience and thoroughly follow each troubleshooting step to achieve the best results.
If at any point you feel uncertain or uncomfortable performing the troubleshooting steps, it’s advisable to seek professional assistance. Experts can provide specialized knowledge and tools to diagnose and resolve complex issues.
By implementing the remedies suggested in this article, you can significantly improve the visual quality of your monitor and enjoy a clear, sharp, and vibrant display once again. Regular maintenance and periodic checks will help ensure that your monitor continues to deliver optimal performance in the long run.
So, don’t let a blurry monitor hinder your experience any longer. Take charge, troubleshoot the problem with confidence, and restore visual clarity to your monitor!