Introduction
Welcome to our guide on how to fix GPU artifacts. If you are experiencing glitchy or distorted graphics on your computer screen, you may be dealing with GPU artifacts. These visual abnormalities can be frustrating and impact your overall computing experience. However, with a little troubleshooting and some adjustments, you can often resolve these issues and restore your graphics to their optimal state.
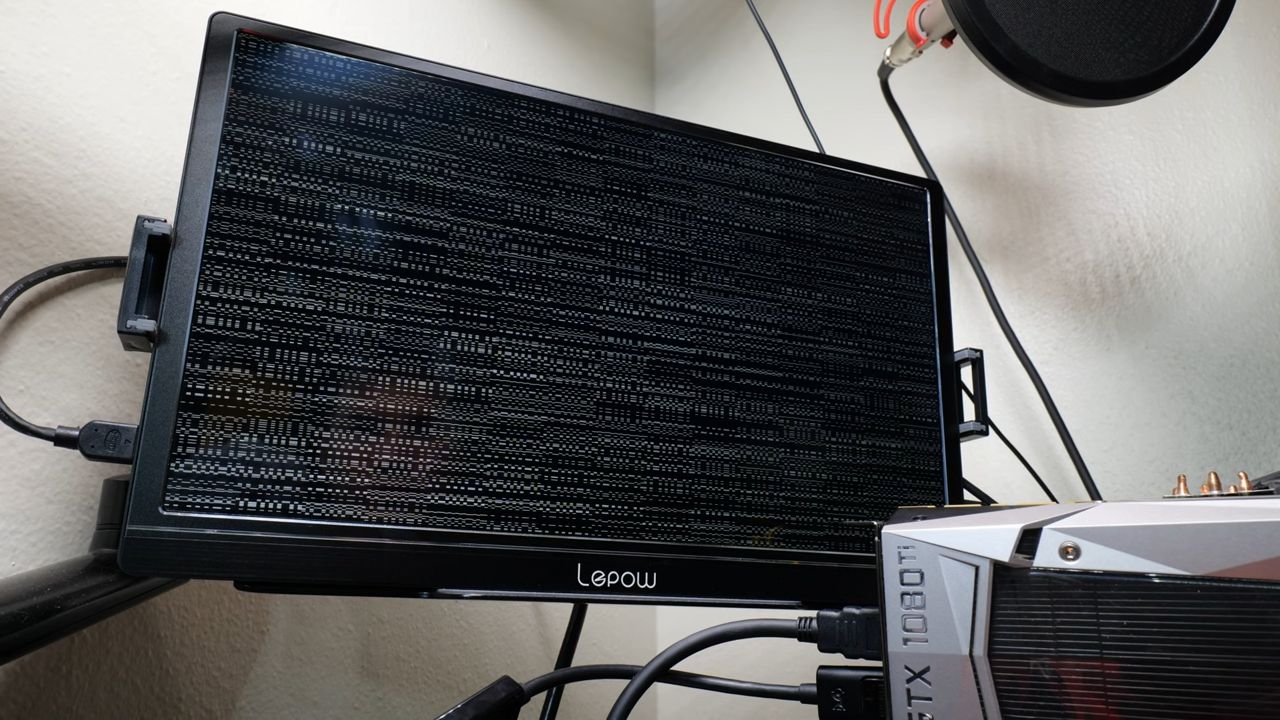
Understanding GPU artifacts is crucial in order to effectively address them. Essentially, GPU artifacts are visual anomalies that manifest as pixelated textures, flickering, color distortion, or even complete screen freezes. These artifacts can occur in various situations, such as when playing graphics-intensive games, performing demanding tasks, or even during idle system conditions.
There are several possible causes for GPU artifacts, including outdated or corrupted GPU drivers, overheating, improper overclocking, dust accumulation on GPU components, or even hardware defects. Identifying the specific cause of the artifacts is essential to determine the appropriate troubleshooting steps.
In this guide, we will discuss the common causes of GPU artifacts and provide a step-by-step approach to fixing them. Whether you are a seasoned gamer or a casual computer user, our guide will help you resolve these issues and regain optimal graphics performance. So, let’s dive in and learn how to fix GPU artifacts!
Understanding GPU Artifacts
Before diving into the process of fixing GPU artifacts, it’s essential to have a clear understanding of what they are. GPU artifacts are visual anomalies that manifest as abnormalities in your computer’s graphics display. These abnormalities can range from pixelated textures, flickering screens, color distortion, to even complete screen freezes.
The graphics processing unit (GPU) is responsible for rendering and displaying images, videos, and animations on your computer screen. It works in conjunction with the graphics card installed in your system. When the GPU encounters issues or malfunctions, it can result in the appearance of artifacts.
GPU artifacts can occur in various scenarios. For gamers, artifacts may appear during graphics-intensive gameplay, causing a frustrating and distracting gaming experience. Professionals who work with graphic designing, video editing, or 3D modeling software may also encounter artifacts during resource-demanding tasks. In some cases, artifacts can even show up when the system is idle.
One common type of GPU artifact is texture flickering, where certain textures in a game or application change rapidly and unpredictably. This can make the visuals blurry or inconsistent, affecting the overall visual quality. Another type is pixelation, where individual pixels become distorted or enlarged, resulting in a blocky and pixelated appearance. Color artifacts may occur when the colors on the screen appear incorrect or distorted, making images or videos look unnatural.
Understanding the different types of GPU artifacts and how they manifest will help you diagnose the specific issue you are facing. By identifying the type of artifact, you can narrow down the potential causes and troubleshoot accordingly.
In the next sections, we’ll discuss the common causes of GPU artifacts and provide step-by-step instructions on how to fix them. By following these troubleshooting tips, you can resolve GPU artifact problems and restore your computer’s graphics display to its optimal state.
Common Causes of GPU Artifacts and How to Identify Them
GPU artifacts can arise from a variety of factors, ranging from software-related issues to hardware malfunctions. In order to effectively address GPU artifacts, it’s important to identify the underlying cause. Let’s explore the most common causes and how to identify them:
- Outdated or Corrupted GPU Drivers: GPU drivers are an essential piece of software that facilitate communication between the operating system and the graphics card. Outdated or corrupted drivers can cause compatibility issues, resulting in GPU artifacts. To identify if outdated or corrupted drivers are the cause, check for updates using the manufacturer’s official website or a reliable driver update tool.
- Overheating: High temperatures can lead to GPU artifacts. When the GPU reaches its maximum temperature threshold, it may start experiencing performance issues, resulting in artifacts. To identify if overheating is the cause, monitor the GPU temperature using third-party software or the manufacturer’s GPU management tool. If temperatures exceed the recommended range (usually around 80-85 degrees Celsius), overheating is likely the culprit.
- Improper Overclocking: Overclocking your GPU beyond its recommended limits can cause instability and lead to artifacts. If you have overclocked your GPU, restore it to its default settings and check if the artifacts persist. This will help determine if overclocking is the cause.
- Dust Accumulation on GPU Components: Over time, dust and debris can build up on the GPU’s components, impeding proper airflow and causing the temperature to rise. To identify if dust accumulation is the issue, visually inspect the GPU for any visible dust or use compressed air to clean the components gently.
- Hardware Defects: Occasionally, GPU artifacts can occur due to hardware defects or malfunctions. These defects could be related to the PCB, memory modules, or other components on the graphics card. Identifying hardware defects requires in-depth troubleshooting, including testing the graphics card in a different system or contacting the manufacturer for assistance.
Identifying the specific cause of GPU artifacts is crucial in order to implement the appropriate solution. By carefully considering the factors mentioned above and conducting the necessary tests, you can pinpoint the underlying issue and proceed with the appropriate troubleshooting steps.
Troubleshooting GPU Artifacts
Troubleshooting GPU artifacts involves a systematic approach to identify and resolve the underlying issues causing the visual abnormalities. By following these steps, you can effectively troubleshoot and fix GPU artifacts:
- Cleaning GPU Components: Start by inspecting your GPU for any visible dust or debris. Dust accumulation can hinder proper airflow and cause overheating, leading to GPU artifacts. Carefully clean the GPU components using compressed air or a soft brush to remove any dust or debris.
- Updating GPU Drivers: Outdated or corrupted GPU drivers can cause compatibility issues and result in artifacts. Visit the official website of your GPU manufacturer and download the latest drivers for your specific model. Install the updated drivers and restart your computer to see if the artifacts persist.
- Adjusting GPU Settings: Sometimes, incorrect GPU settings can lead to graphics issues. Open the graphics control panel of your GPU, adjust settings like anti-aliasing, texture filtering, and vertical sync, and test if the artifacts disappear or diminish. Experiment with different settings to find the optimal configuration for your system.
- Checking GPU Temperature: Overheating can cause GPU artifacts, so monitoring the temperature is essential. Use monitoring software or the manufacturer’s GPU management tool to keep an eye on the temperature. If temperatures exceed the recommended range, ensure proper cooling by cleaning fans and heatsinks, improving airflow in the case, or considering additional cooling solutions.
- Testing with a Different Graphics Card: If possible, test your system with a different graphics card. This step helps determine if the artifacts are specific to your GPU or if there are other underlying system issues causing the problem. If the artifacts persist with a different GPU, further troubleshooting may be necessary.
- Resetting GPU Overclocking: If you have overclocked your GPU, return it to its default settings. Overclocking can cause instability and lead to artifacts. Resetting to default settings will help determine if overclocking is the cause of the problem.
Remember, troubleshooting GPU artifacts may require a combination of these steps and some experimentation. Carefully follow each step and test the system after implementing any changes. Be patient and methodical in your approach to isolate and resolve the underlying issues causing the GPU artifacts.
Fixing GPU Artifacts: Step-by-Step Guide
Fixing GPU artifacts requires a systematic approach to address the specific issues causing the visual abnormalities. Follow this step-by-step guide to effectively fix GPU artifacts:
- Clean GPU Components: Start by cleaning the GPU components to remove any dust or debris that may be hindering proper airflow. Use compressed air or a soft brush to gently clean the fans, heatsinks, and other GPU components. Dust accumulation can lead to overheating and result in GPU artifacts.
- Update GPU Drivers: Visit the official website of your GPU manufacturer and download the latest drivers for your specific model. Install the updated drivers and restart your computer. Outdated or corrupted GPU drivers can cause compatibility issues and lead to artifacts. Updating the drivers often resolves these issues.
- Adjust GPU Settings: Open the graphics control panel of your GPU and adjust the settings. Experiment with settings like anti-aliasing, texture filtering, and vertical sync to find the optimal configuration for your system. Incorrect GPU settings can contribute to graphics issues and artifacts.
- Check GPU Temperature: Monitor the GPU temperature using software or the manufacturer’s GPU management tool. If the temperature exceeds the recommended range, take steps to improve cooling. Clean the fans and heatsinks, ensure proper airflow in the case, and consider additional cooling options like adding case fans or liquid cooling solutions.
- Test with a Different Graphics Card: If possible, test your system with a different graphics card. This step helps determine if the artifacts are specific to your GPU or if there are other underlying issues in the system causing the problem. If the artifacts persist with a different GPU, further troubleshooting may be necessary.
- Reset GPU Overclocking: If you have overclocked your GPU, revert it to its default settings. Overclocking can cause instability and lead to artifacts. Resetting to default settings will help determine if overclocking is the cause of the problem.
Remember to test your system after implementing any changes or fixes. Be patient and thorough in your troubleshooting process, as GPU artifacts can have multiple causes. By following this step-by-step guide, you can effectively address and resolve GPU artifacts, restoring optimal graphics performance to your computer.
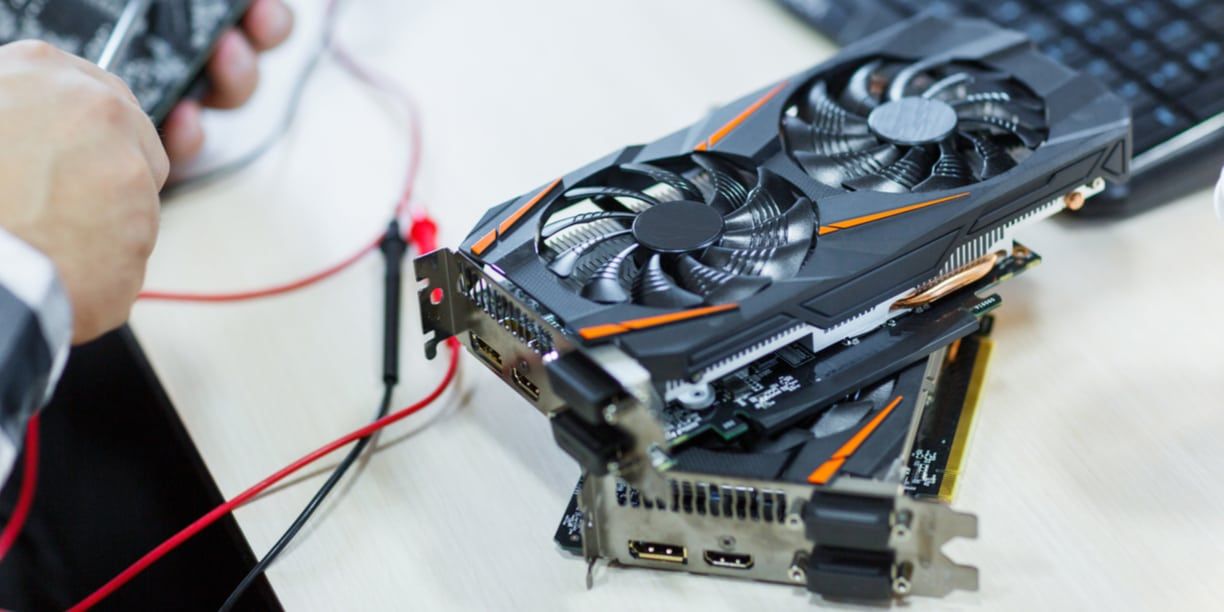
Cleaning GPU Components
Regularly cleaning your GPU components is an essential step in maintaining optimal performance and preventing GPU artifacts. Over time, dust, debris, and even small particles can accumulate on the fans, heatsinks, and other components of your graphics card. This accumulation can obstruct airflow, lead to overheating, and result in visual abnormalities such as artifacts. Follow these steps to clean your GPU components effectively:
- Prepare for Cleaning: Before starting the cleaning process, shut down your computer and unplug it from the power source. Ensure that you are working in a well-ventilated area to avoid inhaling dust particles.
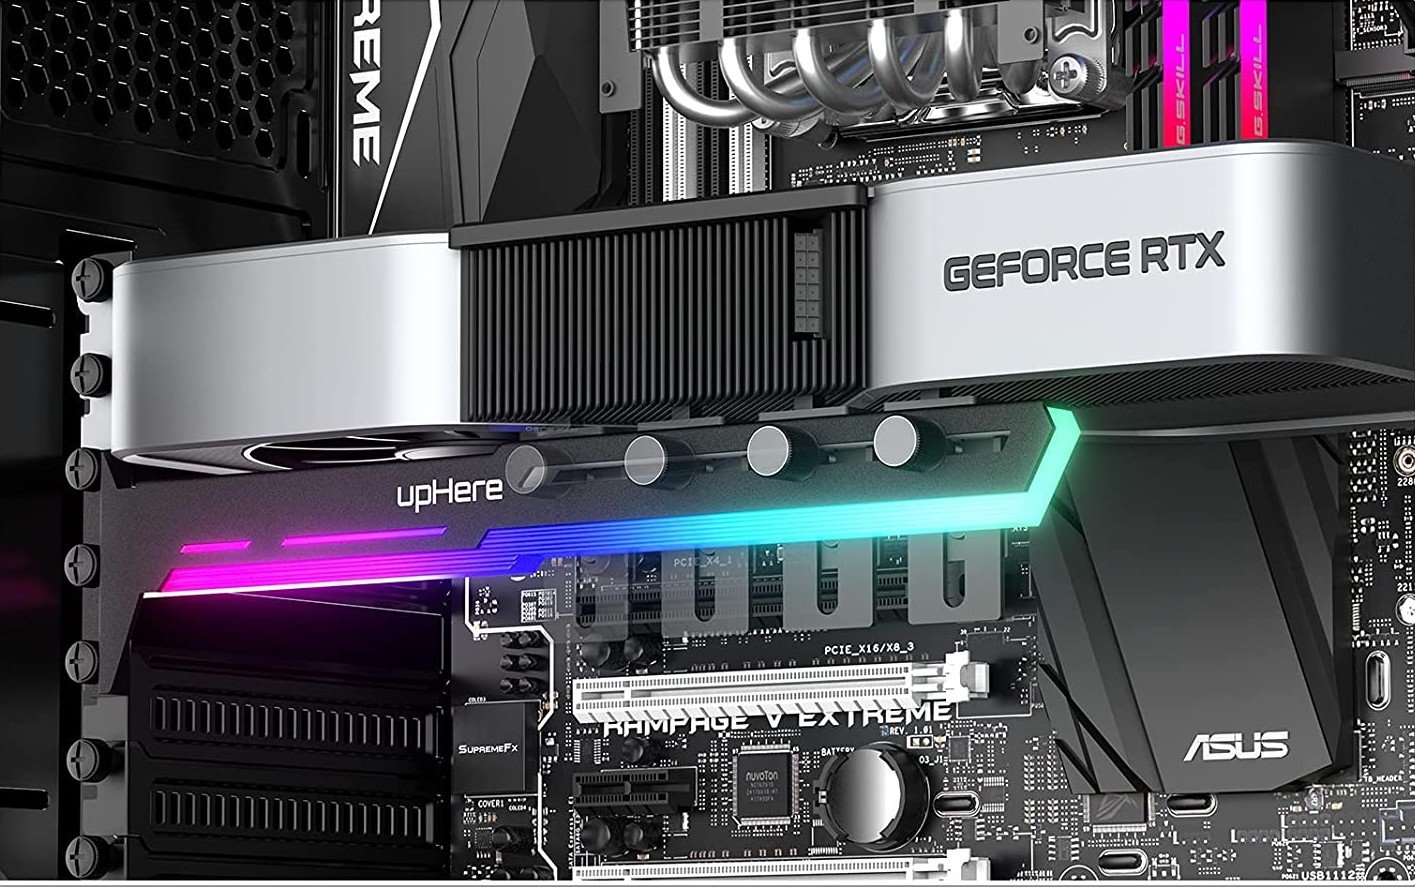
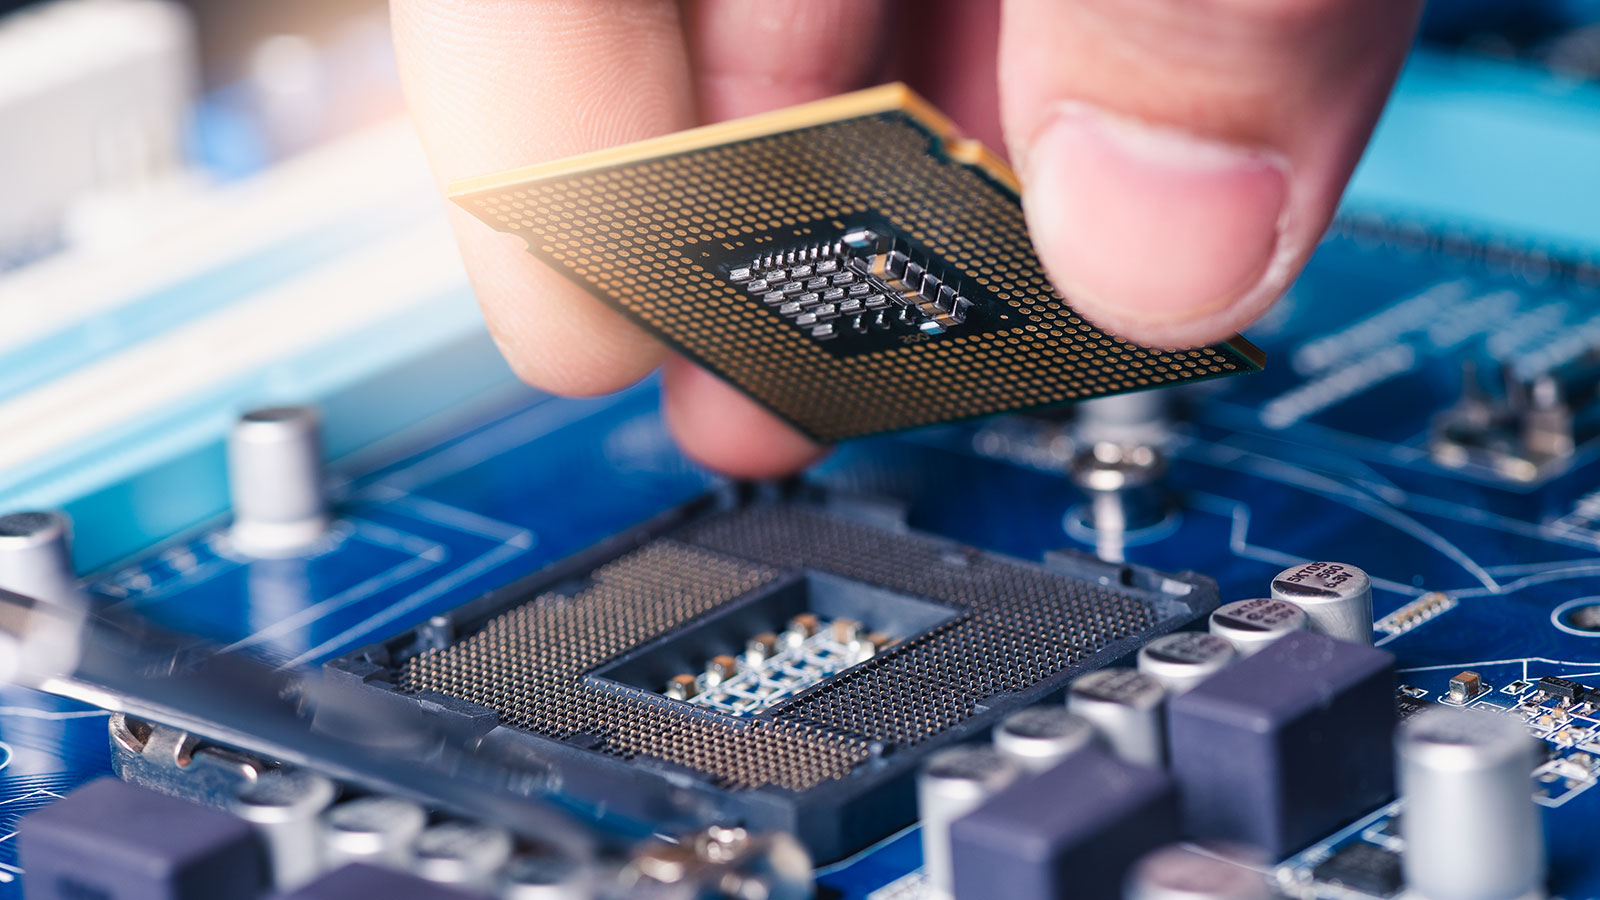
- Access the Graphics Card: Open your computer case and locate the graphics card. Most modern GPUs are easily accessible and can be found in a PCIe slot on the motherboard. Detach any power cables or connectors attached to the card.
- Gently Remove Dust: Use compressed air to blow away dust and debris from the GPU components. Hold the can of compressed air upright and use short bursts of air to prevent any moisture from entering the card. Pay special attention to the fans, heatsinks, and any crevices where dust may have accumulated.
- Brush Away Stubborn Dust: For stubborn dust or debris that the compressed air didn’t remove, use a soft brush or a clean, dry paintbrush to gently loosen and brush it away. Be careful not to apply excessive pressure or to touch any sensitive components.
- Inspect for Remaining Dust: After cleaning, inspect the GPU components for any remaining dust or debris. If necessary, repeat the compressed air or brushing steps to ensure thorough cleaning.
- Reconnect and Test: Once the cleaning process is complete, carefully reattach the graphics card to the motherboard and reconnect any power cables or connectors. Close the computer case, plug in your computer, and power it on. Monitor the system for any improvements and check if the GPU artifacts have been resolved.
Regularly cleaning your GPU components can help prevent dust buildup and keep your graphics card running smoothly. Aim to clean your GPU at least once every three to six months, or more frequently if your computer is located in a particularly dusty environment. By taking these steps to maintain a clean GPU, you can reduce the risk of GPU artifacts and ensure optimal performance for your graphics card.
Updating GPU Drivers
Ensuring that your GPU drivers are up to date is crucial for maintaining the best performance and compatibility with your graphics card. Outdated or corrupted GPU drivers can often cause issues, including GPU artifacts. Updating your GPU drivers can help resolve these problems and improve overall graphics performance. Follow these steps to update your GPU drivers:
- Identify the Graphics Card: Determine the make and model of your graphics card. You can find this information in your computer’s Device Manager or by checking the documentation that came with your system or graphics card.
- Visit the Manufacturer’s Website: Go to the official website of your GPU manufacturer, such as NVIDIA, AMD, or Intel. Look for the “Support” or “Drivers” section of the website.
- Select the Correct Drivers: Look for the drivers specific to your graphics card model and operating system. Ensure that you download the latest stable or recommended drivers for your GPU.
- Download and Install Drivers: Click on the appropriate driver download link and follow the on-screen instructions to download the driver package. Once downloaded, run the installer and follow the prompts to install the updated drivers on your system.
- Restart Your Computer: After the driver installation is complete, it is recommended to restart your computer. This allows the new drivers to take effect and ensures a clean start for your system.
- Verify Driver Installation: To confirm that the updated drivers are installed correctly, you can check the Device Manager or use a third-party driver update tool. These tools can scan your system and provide information on the installed drivers, indicating whether they are up to date or not.
Regularly checking and updating your GPU drivers can prevent issues like GPU artifacts and ensure that your graphics card operates at its best. If you continue to experience GPU artifacts after updating the drivers, consider rolling back to a previous driver version or seeking additional support from the GPU manufacturer.
Adjusting GPU Settings
Adjusting GPU settings can be an effective solution to address graphics issues, including GPU artifacts. Sometimes, incorrect settings or configurations can lead to visual abnormalities on your screen. By making adjustments to your GPU settings, you can potentially eliminate or diminish GPU artifacts. Follow these steps to adjust your GPU settings:
- Access the Graphics Control Panel: Open the graphics control panel for your GPU. This can typically be done by right-clicking on the desktop and selecting the graphics control panel option from the context menu. Alternatively, you can access it through the system’s control panel.
- Explore the Graphics Settings: Within the control panel, look for options related to graphics, display, or performance settings. These options may vary depending on the GPU manufacturer and the specific graphics control panel software installed on your system.
- Experiment with Anti-Aliasing: Anti-aliasing is a technique used in computer graphics to smooth jagged edges and reduce pixelation. Adjust the anti-aliasing setting to find the level that works best for your system. Higher anti-aliasing settings may improve image quality but can also put more strain on your GPU, potentially causing artifacts.
- Try Different Texture Filtering Levels: Texture filtering enhances the quality and clarity of textures in games and applications. Experiment with different texture filtering levels, such as bilinear, trilinear, or anisotropic filtering, to find the setting that provides the best balance between image quality and GPU performance.
- Adjust Vertical Sync: Vertical sync, or V-Sync, syncs the frame rate of your GPU with the refresh rate of your monitor. Enabling V-Sync can reduce artifacts such as screen tearing, but it may also introduce input lag. Test with both V-Sync enabled and disabled to see if it affects the appearance of GPU artifacts.
- Apply Settings and Test: After adjusting the GPU settings, apply the changes and test your system. Run graphics-intensive applications or games that previously caused artifacts and observe if the visual abnormalities have been resolved or reduced.
Remember, each system is unique, and the optimal GPU settings can vary. Experimenting with different settings and observing the impact on GPU artifacts will help you find the configuration that works best for your setup. Make sure to test the system thoroughly after each adjustment to ensure stability and compatibility with your GPU.
Checking GPU Temperature
Monitoring the temperature of your GPU is crucial in preventing GPU artifacts and maintaining optimal performance. When a GPU overheats, it can lead to various issues, including visual abnormalities such as artifacts. By regularly checking the temperature and ensuring it stays within a safe range, you can prevent overheating and potential damage to your graphics card. Follow these steps to check the GPU temperature:
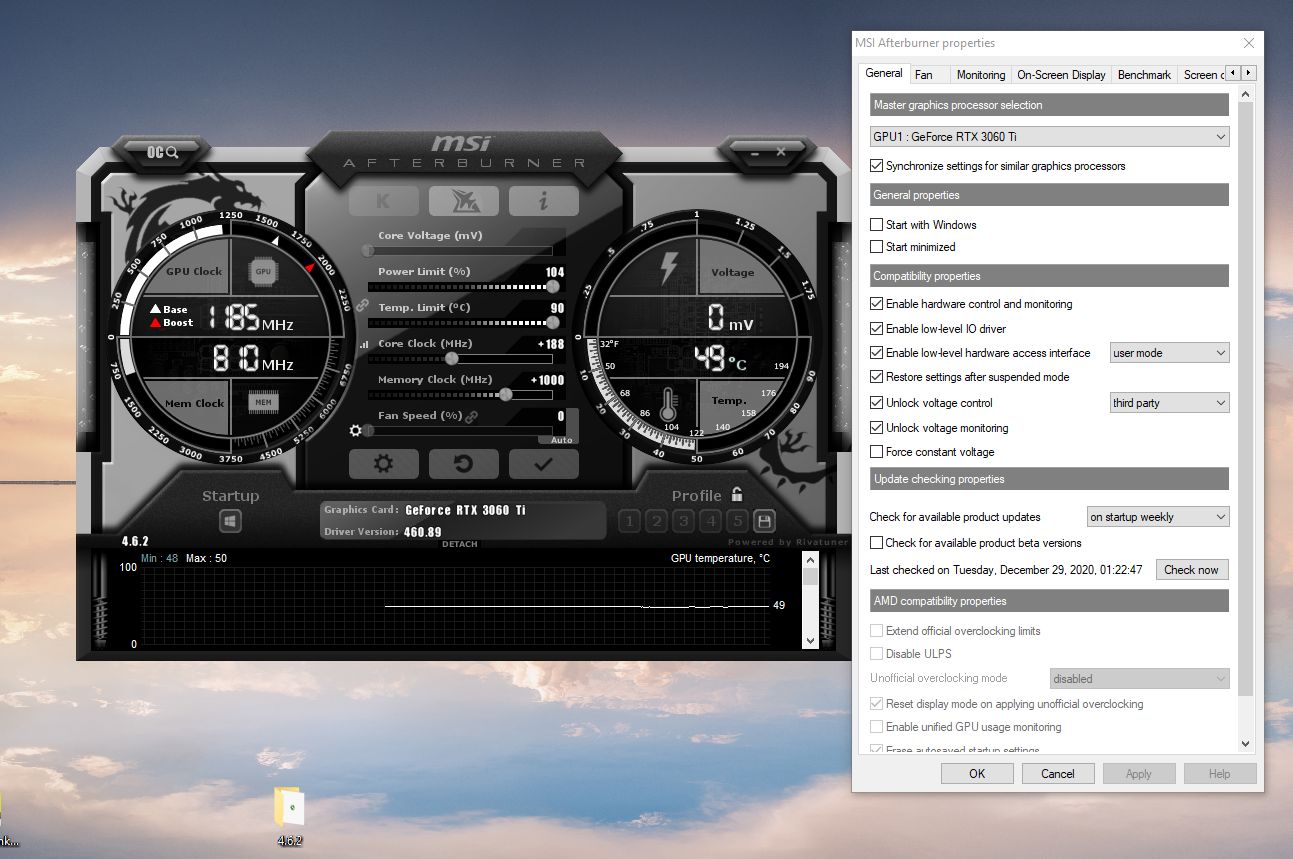
- Use GPU Monitoring Software: Install a GPU monitoring software such as MSI Afterburner, HWMonitor, or GPU-Z. These tools provide real-time temperature readings and other useful information about your GPU.
- Monitor the GPU Temperature: Open the monitoring software and look for the temperature readings for your GPU. Depending on the software, the temperature may be displayed as a single value or as a graph showing temperature fluctuations over time.
- Compare with Recommended Temperature Range: Check the recommended temperature range for your specific GPU model, which can usually be found in the manufacturer’s documentation or on their website. Ideally, the GPU temperature should stay below 80-85 degrees Celsius, although specific temperature limits may vary depending on the GPU model.
- Improve GPU Cooling: If the GPU temperature exceeds the recommended range, consider improving the cooling of your system. Start by cleaning any dust or debris that may have accumulated on the GPU and its components. Ensure that the fans are spinning properly and that there is adequate airflow within your computer case. You may also consider installing additional case fans or upgrading your GPU’s cooling solution.
- Consider Undervolting or Underclocking: If your GPU consistently runs hot, you might consider undervolting or underclocking your graphics card. Undervolting reduces the voltage supplied to the GPU, while underclocking reduces the clock speed. Both methods can help lower the GPU temperature, although they may result in a slight decrease in performance.
- Perform Stress Tests: To further evaluate the GPU temperature, run stress tests like Heaven Benchmark or FurMark. These tests put your GPU under heavy load and help identify any potential overheating issues. Monitor the temperature during the stress tests and observe if it stays within the acceptable range.
By regularly checking the GPU temperature and taking appropriate measures to keep it within the recommended range, you can minimize the risk of GPU artifacts and ensure smooth operation of your graphics card.
Overclocking and GPU Artifacts
Overclocking your GPU can provide a significant performance boost, allowing you to achieve higher frame rates in games and demanding applications. However, it’s important to note that overclocking can also increase the likelihood of experiencing GPU artifacts. When you push your GPU beyond its recommended limits, it can become unstable and result in visual abnormalities on your screen. Understanding the relationship between overclocking and GPU artifacts is essential to prevent these issues. Here’s what you need to know:
What is Overclocking?
Overclocking involves increasing the clock speeds of your GPU’s core and memory beyond their default values. This is done by adjusting settings in your GPU control panel or using third-party software. Overclocking can potentially enhance performance but also increases the power draw and heat generated by your GPU.
The Connection with GPU Artifacts
When a GPU is overclocked too aggressively or lacks sufficient cooling, it can become unstable and produce artifacts. These artifacts can manifest as distorted images, flickering screens, or pixelated textures. Overclocking puts additional stress on the GPU, causing it to process more data and generate more heat. If the GPU cannot handle the increased workload or if the cooling solution is inadequate, it can result in artifacts.
Preventing GPU Artifacts from Overclocking
To prevent GPU artifacts when overclocking, consider the following tips:
- Start with Conservative Overclock Settings: Begin by gradually increasing the clock speeds in small increments. Test stability after each adjustment, running benchmark tests or demanding applications to check for artifacts. This helps find the optimal balance between performance and stability.
- Check GPU Temperatures: Overclocking increases the GPU’s heat output. Ensure that your cooling system is sufficient to dissipate the additional heat. Monitor the GPU temperature during stress tests and adjust the overclock settings if temperatures exceed safe limits.
- Consider Undervolting: Undervolting reduces the voltage supplied to the GPU, which can help manage temperatures and stability. By finding the right balance between clock speeds and voltage, you can potentially lower the risk of artifacts.
- Test for Stability: After applying your overclock settings, stress test the GPU for an extended period to ensure stability. Some popular stress testing tools include FurMark and 3DMark. If artifacts occur during the stress tests, it indicates that the overclock is not stable, and you should either lower the clock speeds or increase the cooling capabilities.
- Consider Aftermarket Cooling Solutions: If you’re planning to push your GPU to its limits with aggressive overclocking, investing in aftermarket cooling solutions like high-performance fans or liquid cooling can help keep temperatures in check, reducing the risk of artifacts.
Remember that overclocking, while potentially beneficial, introduces additional risks and voids warranties. Carefully assess the performance gains against the potential stability issues and artifacts before deciding to overclock your GPU. Ensure that you are comfortable with the process and take precautionary measures to prevent GPU artifacts.
Conclusion
GPU artifacts can be frustrating and affect your overall computing experience. However, with proper troubleshooting and adjustments, you can effectively fix them and restore optimal graphics performance. Throughout this guide, we have discussed the common causes of GPU artifacts and provided step-by-step instructions to address them.
Understanding GPU artifacts is key to identifying the underlying issues. Whether it’s outdated drivers, overheating, improper overclocking, dust accumulation, or hardware defects, pinpointing the cause allows you to apply the appropriate solution. Cleaning GPU components, updating GPU drivers, adjusting GPU settings, checking GPU temperature, and considering the impact of overclocking are all crucial steps in resolving GPU artifacts.
Remember to approach troubleshooting in a systematic and patient manner. Test your system after each adjustment and observe the results. It may require a combination of solutions or further investigation to completely resolve the issue. Additionally, consider implementing preventive measures like regular cleaning and monitoring to maintain optimal GPU performance and prevent future artifacts.
By following the guidance provided in this guide, you can alleviate GPU artifacts and enjoy smooth and visually pleasing graphics on your computer. If you encounter persistent issues or need further assistance, don’t hesitate to consult the manufacturer’s support resources or seek professional help.