Introduction
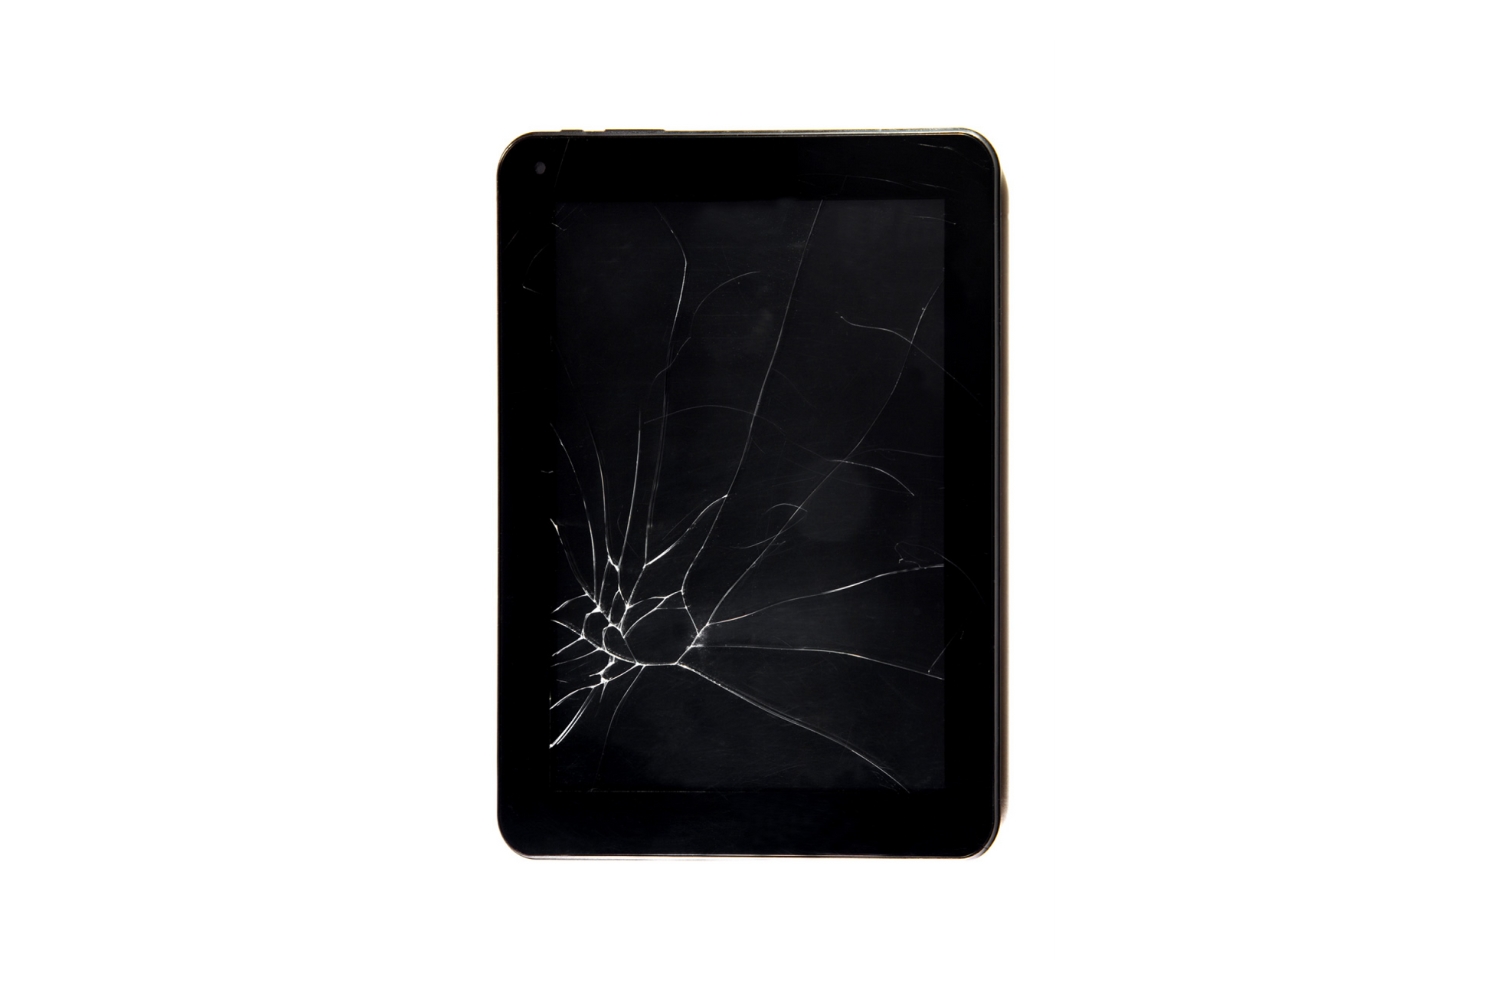
Tablets have become an integral part of our daily lives, serving as portable entertainment hubs, productivity tools, and communication devices. Unfortunately, accidents happen, and one of the most common mishaps is a cracked screen. Whether it’s the result of a fall, impact, or even pressure applied in the wrong place, a cracked tablet screen can be frustrating and even render the device unusable.
In this guide, we will walk you through the steps to fix a cracked screen on your tablet. By following these instructions, you can potentially save yourself the cost and inconvenience of having to purchase a new tablet. However, it’s important to keep in mind that repairing a cracked screen requires some technical knowledge and skill. If you do not feel confident in your abilities, it’s always recommended to seek professional help or consult the manufacturer.
Before we dive into the repair process, it’s essential to assess the extent of the damage. Is it just a minor crack or a shattered screen? The severity of the damage will determine the appropriate course of action and the tools and materials you will need. Additionally, it’s important to take note of the tablet’s make and model, as different tablets may require specific repair procedures.
Now that you have a basic understanding of what lies ahead, let’s get started on fixing that cracked screen and bringing your tablet back to life!
Assessing the Damage
Before you proceed with any repair, it’s crucial to assess the extent of the damage to your tablet’s screen. By doing so, you can determine the appropriate repair method and gather the necessary tools and materials.
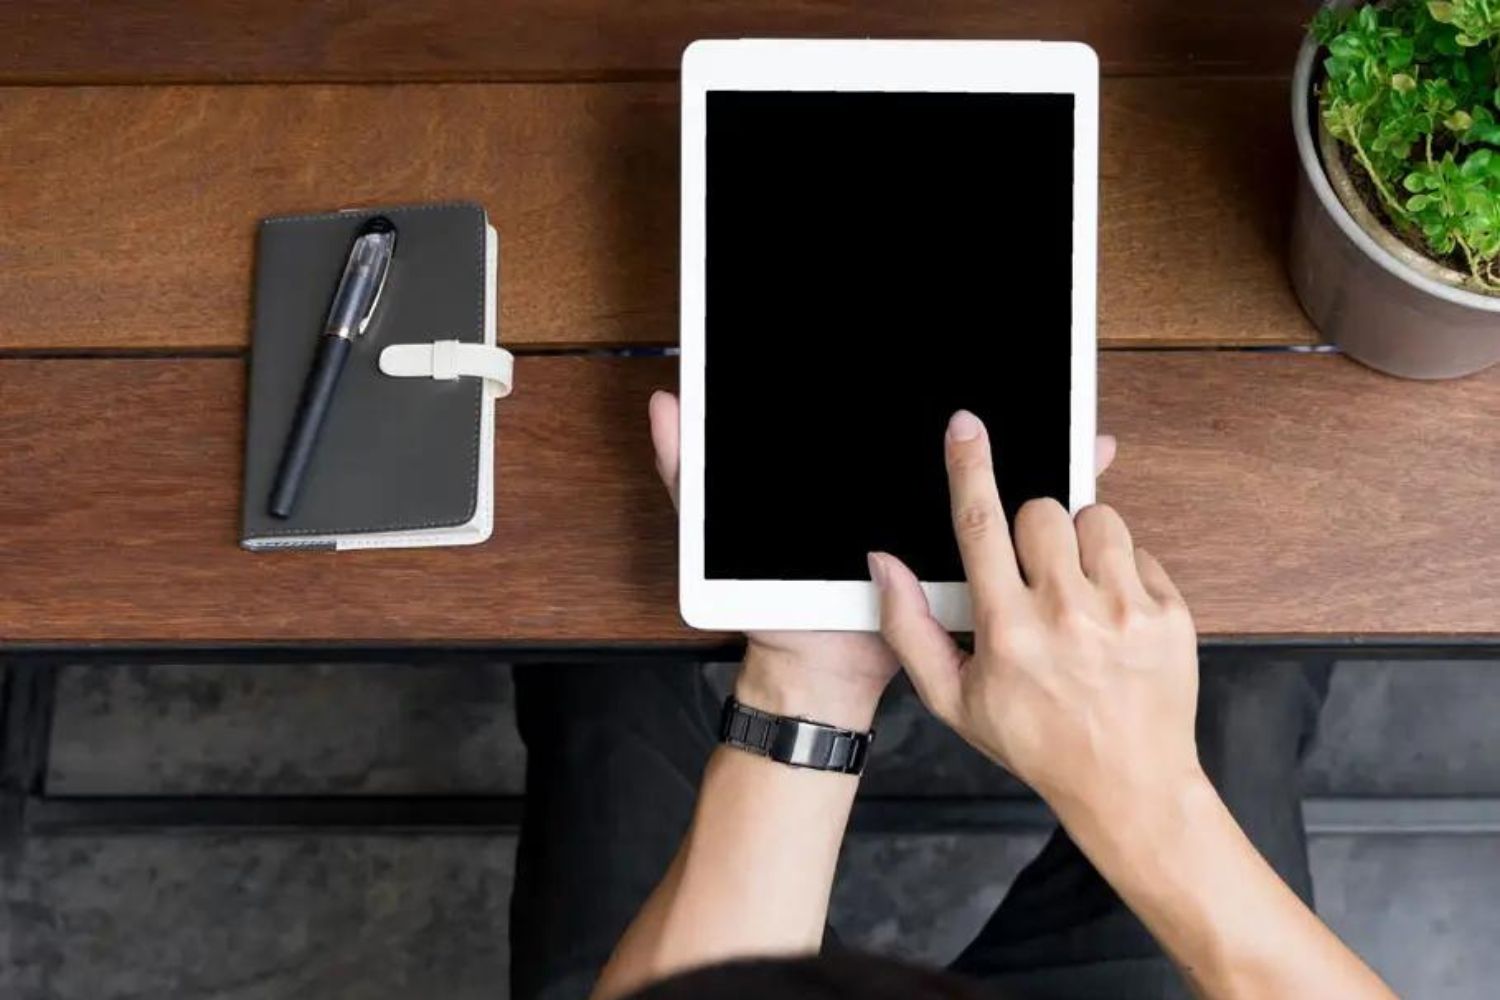
Start by examining the screen for visible cracks. Take note of the location, size, and number of cracks. Sometimes, a minor crack may not affect the functionality of the tablet, while a larger crack or multiple cracks may result in touch responsiveness issues or complete screen failure.
Next, test the touch functionality of the screen. Use your finger or a stylus to navigate through various areas of the screen and observe if any unresponsive or erratic behavior occurs. Pay attention to any dead spots or areas where touch input doesn’t register. This will help you determine if the underlying digitizer, which registers touch input, is also damaged.
Take a close look at the LCD display for any abnormalities. Look for discoloration, flickering, or lines appearing on the screen. These signs indicate possible damage to the LCD, and if present, the screen may need to be replaced entirely.
Once you have assessed the damage, consider your options. If the cracks are minor, the touch functionality is unaffected, and there are no issues with the LCD display, you may be able to opt for a simple screen protector to prevent further damage. However, if the damage is extensive and impacts the tablet’s usability, you will likely need to replace the screen.
By carefully assessing the damage, you can determine the best course of action for repairing your tablet’s cracked screen. In the next section, we will guide you through gathering the necessary tools and materials.
Gathering the Tools and Materials
Now that you have assessed the damage to your tablet’s screen, it’s time to gather the tools and materials needed for the repair process. Having everything prepared beforehand will ensure a smoother and more efficient repair experience.
Here is a list of the essential tools and materials you will need:
- Replacement screen: Order a new screen that is compatible with your tablet’s make and model. Make sure to purchase a high-quality replacement screen from a reputable source to ensure optimal performance.
- Screwdriver set: Purchase a set of small screwdrivers, including Philips and flathead screwdrivers, to remove the necessary screws during the repair process.
- Plastic pry tools: These specialized tools are designed to safely separate the components of your tablet without causing damage.
- Tweezers: Use tweezers to handle small components and delicate cables during the repair process.
- Microfiber cloth: A microfiber cloth is essential for cleaning the tablet screen and removing any dust or fingerprints.
- Adhesive: Depending on the type of tablet, you may need adhesive to secure the new screen in place. Check the manufacturer’s instructions or online resources to determine the appropriate adhesive for your tablet model.
- Heat gun or hairdryer: Heat is often required to loosen adhesive bonds when removing the old screen. Use a heat gun or a hairdryer on low heat settings to gently warm the screen and make it easier to separate.
It’s important to note that the specific tools and materials needed may vary depending on your tablet’s make and model. Before proceeding, consult the manufacturer’s repair guides or online resources to ensure you have all the necessary items for your particular tablet.
With these tools and materials at hand, you are now ready to begin the repair process. The next section will cover important safety precautions to follow while working on your tablet.
Safety Precautions
When repairing a cracked screen on your tablet, it’s important to prioritize safety to avoid any accidents or further damage. Here are some essential safety precautions to keep in mind:
- Turn off the tablet: Before you begin the repair process, power off your tablet completely to avoid any electrical mishaps.
- Work in a clean and well-lit area: Find a spacious and well-lit workspace to perform the repair. A clutter-free area will minimize the chances of losing small screws or components.
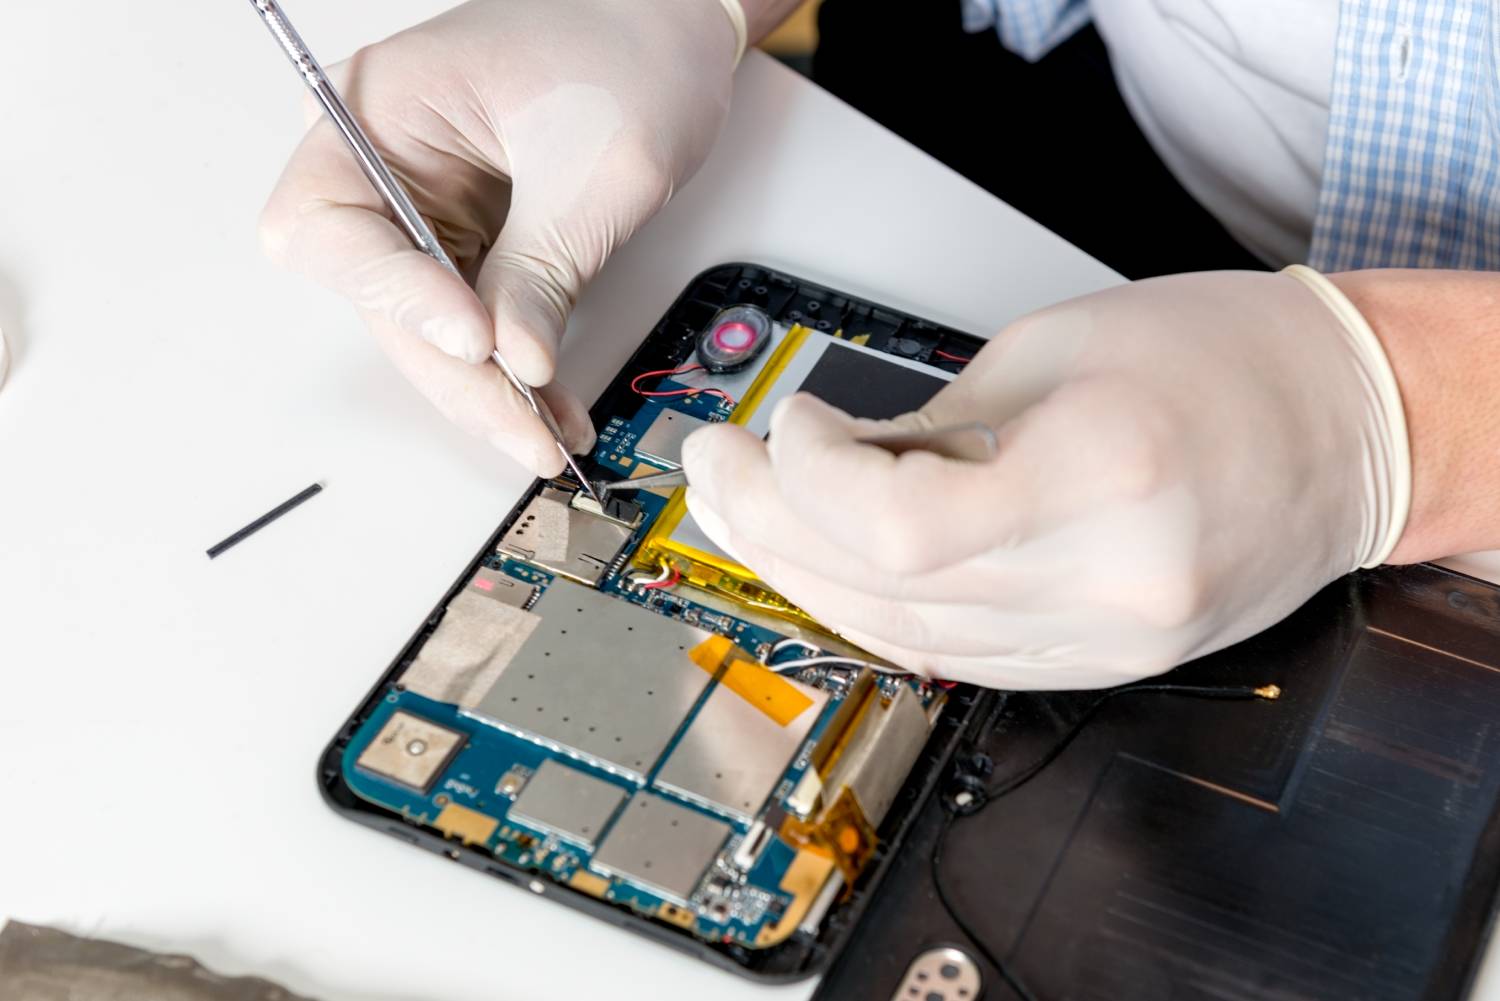
- Use proper protective gear: Wear safety glasses and gloves to protect your eyes and hands from any potential injury or exposure to broken glass fragments.
- Disconnect the battery: If possible, disconnect the tablet’s battery before starting the repair. This will help avoid electrical shocks or short circuits while handling the internal components.
- Be gentle and patient: Take your time and be careful during the repair process. Avoid applying excessive force, which may cause further damage to the tablet or its components.
- Follow manufacturer’s instructions: Consult the manufacturer’s official repair guides or online resources for detailed instructions specific to your tablet model. Following the recommended procedures will ensure a safe and successful repair.
- Beware of adhesive and broken glass: Take caution when removing the old screen, as broken glass and residual adhesive can be sharp and potentially cause injury. Use the plastic pry tools and tweezers to carefully handle these components.
- Avoid heat exposure: When using a heat gun or hairdryer to loosen adhesive, be careful not to overheat the tablet. Maintain a safe distance and avoid direct prolonged heat exposure to prevent damage to internal components.
- Keep track of screws and components: As you disassemble the tablet, keep track of the screws and components in an organized manner. This will make reassembly easier and prevent any missing or misplaced parts.
- Dispose of broken parts responsibly: Once the repair is complete, dispose of any broken glass, adhesive, or other damaged parts properly. Check local regulations for safe disposal methods.
By adhering to these safety precautions, you can minimize the risk of injury and ensure a smooth and secure repair process. Now that you’re equipped with vital safety information, let’s move on to the next section: removing the broken screen.
Removing the Broken Screen
Now that you’ve taken the necessary safety precautions, it’s time to remove the broken screen from your tablet. This process may vary slightly depending on the make and model of your tablet, so it’s important to consult the manufacturer’s repair guides or online resources specific to your device.
Here is a general step-by-step guide to removing the broken screen:
- Power off your tablet: Make sure your tablet is turned off completely before starting the removal process.
- Remove any visible screws: Use a suitable screwdriver to carefully remove any screws securing the broken screen to the tablet frame. Keep track of the screws as you remove them, ensuring they are saved in a secure place.
- Apply heat to loosen the adhesive: Use a heat gun or hairdryer on a low heat setting to gently warm the edges of the screen. This will soften the adhesive and make it easier to detach the screen from the tablet frame. Be cautious not to overheat the tablet or the internal components.
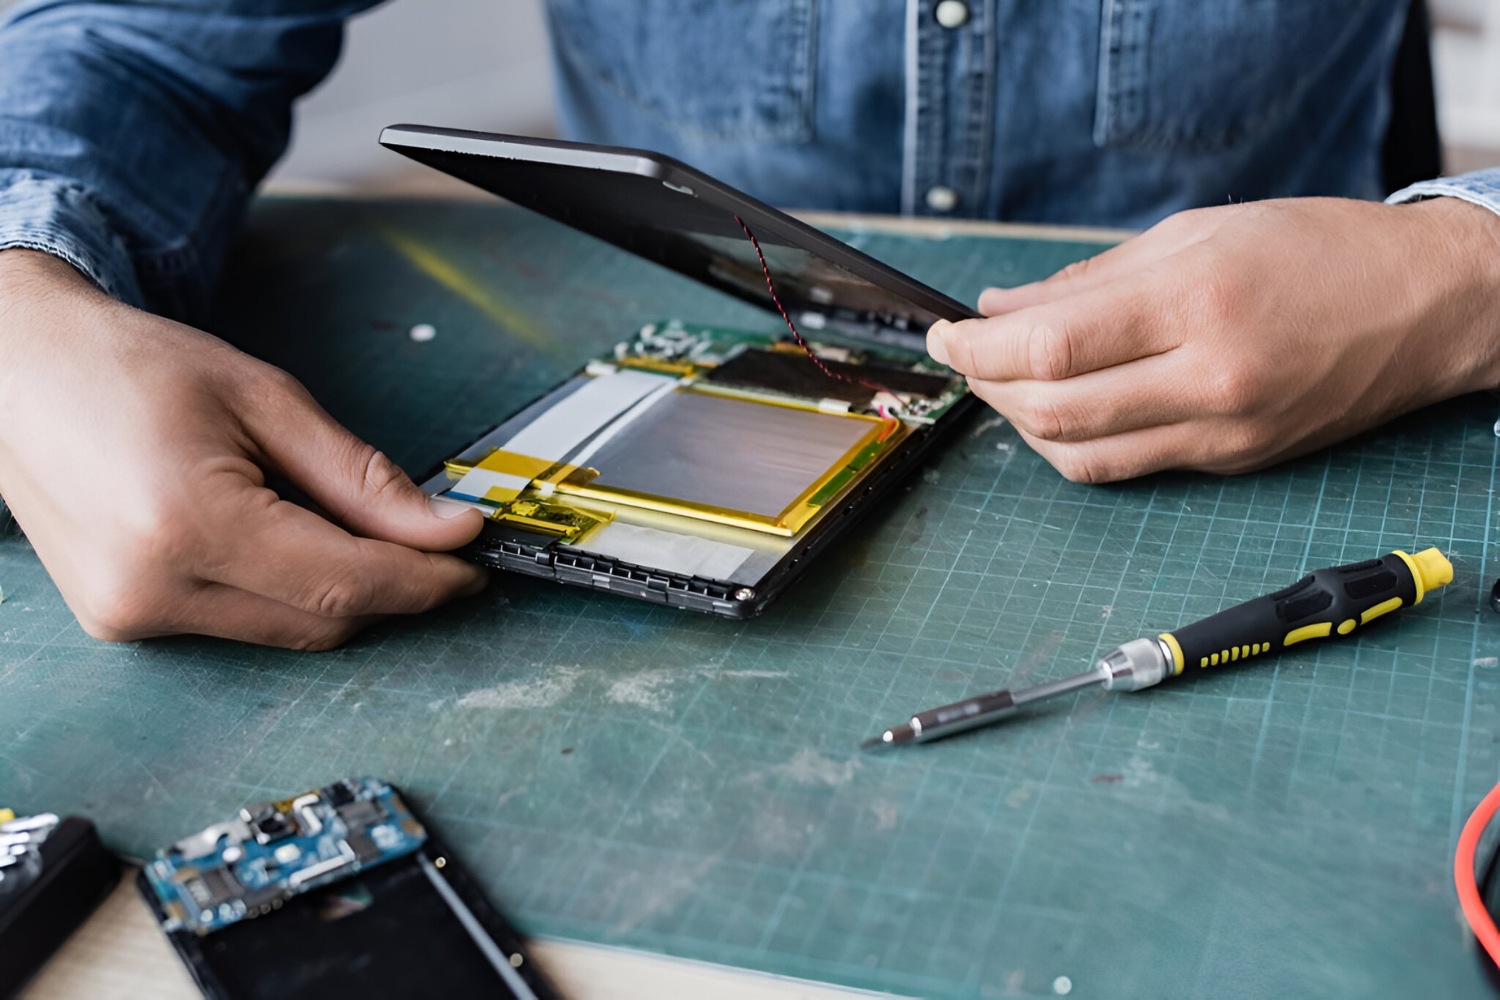
- Insert plastic pry tools: Once the adhesive is loosened, insert plastic pry tools between the cracked screen and the tablet frame. Carefully work your way around the edges, gently prying and lifting the screen to separate it from the adhesive. Take your time and be patient to avoid damaging any internal components.
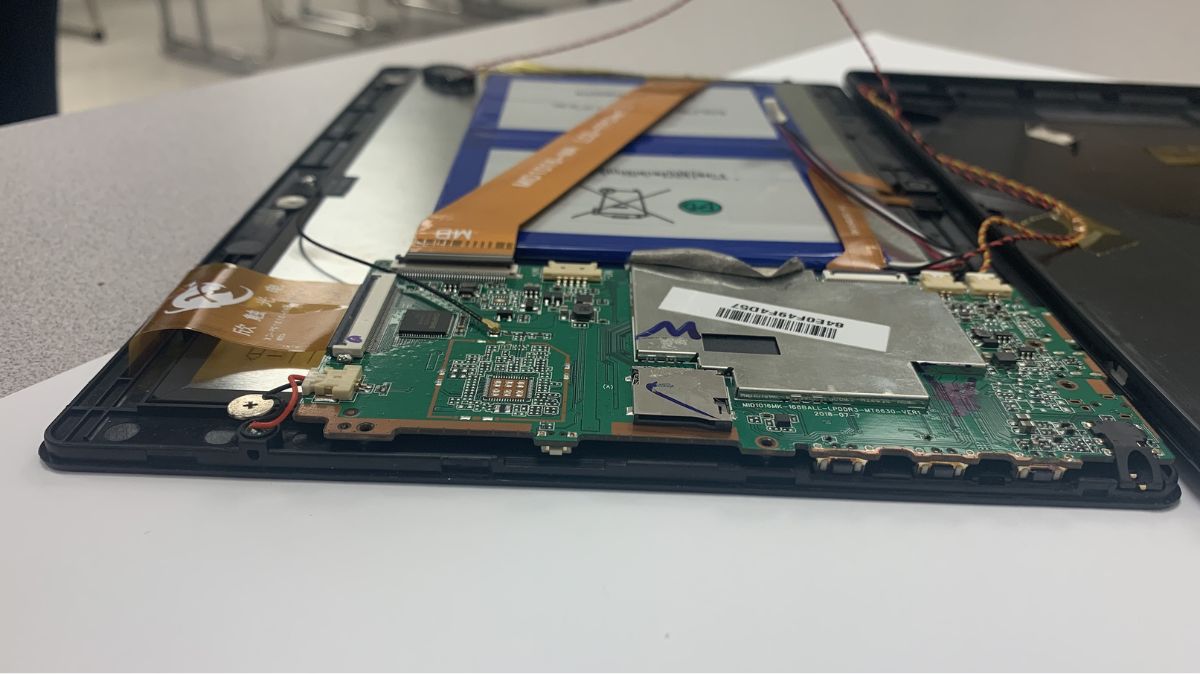
- Disconnect cables: As you lift the broken screen, you may encounter ribbon cables or flex cables connecting the screen to the tablet’s internal components. Carefully disconnect these cables using tweezers or your fingertips as instructed in the manufacturer’s repair guide. Take note of the cable positions and orientation for reassembly.
- Remove the broken screen: Once all cables are disconnected, carefully lift and remove the broken screen from the tablet completely. Be cautious of any broken glass or adhesive remnants that may still be attached. Dispose of the broken screen properly.
It’s important to note that the removal process may require additional steps or specific techniques for your tablet model. Always refer to the manufacturer’s instructions or reliable online resources for detailed guidance tailored to your device.
With the broken screen successfully removed, we can now move on to preparing the new screen for installation.
Preparing the New Screen
Now that you have successfully removed the broken screen, it’s time to prepare the new screen for installation. Before you proceed, double-check that you have the correct replacement screen that is compatible with your tablet’s make and model.
Here are the steps to prepare the new screen:
- Inspect the new screen: Carefully examine the new screen for any visible defects or damage. Ensure there are no cracks, scratches, or missing components before proceeding further. If you notice any issues, contact the supplier or manufacturer for a replacement.
- Clean the new screen: Use a microfiber cloth to wipe the new screen gently. Remove any dust, fingerprints, or smudges that may have accumulated during shipping or handling. This will ensure optimal clarity and visibility once the screen is installed.
- Prepare the adhesive: If your tablet model requires adhesive to secure the new screen, now is the time to apply it. Follow the manufacturer’s instructions or online resources specific to your tablet model for the recommended adhesive application process. Ensure that the adhesive is evenly distributed across the required areas. Be cautious not to use excess adhesive, as it may cause difficulties during installation.
- Connect cables to the new screen: If the new screen does not come pre-connected with cables, refer to the manufacturer’s instructions to determine the correct cable connections. Carefully align and attach the ribbon cables or flex cables to their respective connectors on the back of the new screen. Be gentle to avoid any damage to the cables or connectors.
- Check the functionality of the new screen: Before proceeding with the installation, it’s a good practice to test the new screen to ensure its functionality. Connect the necessary cables as instructed and power on the tablet. Check for proper display, touch responsiveness, and any potential issues. If you notice any abnormalities, disconnect the power and cables, and troubleshoot the problem before proceeding further.
By following these steps, you can ensure that the new screen is in optimal condition and ready for installation. Taking the time to prepare the new screen properly will result in a smoother installation process. In the next section, we will guide you through the installation of the new screen on your tablet.
Installing the New Screen
With the new screen prepared and checked for functionality, it’s time to install it onto your tablet. This step requires precision and careful handling to ensure a successful installation. Make sure you have all the necessary tools and materials ready before you begin.
Follow these steps to install the new screen:
- Position the new screen: Carefully align the new screen with the tablet frame, ensuring that all the necessary connectors and openings are properly aligned.
- Secure the new screen: If your tablet model requires adhesive, gently press the new screen onto the adhesive, applying even pressure to ensure it adheres properly. Be cautious not to apply excessive force that could damage the screen or internal components.
- Reconnect cables: Attach the ribbon cables or flex cables from the new screen to their respective connectors on the tablet’s circuit board. Pay close attention to proper alignment and orientation, taking care not to force any connections.
- Reassemble the tablet: Begin reassembling the tablet frame by securing the necessary screws in the correct positions according to the manufacturer’s instructions. Take your time and ensure that all screws are tight but not over-tightened.
- Test the new screen: Once the tablet is reassembled, power it on and test the functionality of the new screen. Check for proper display, touch responsiveness, and overall performance. If any issues arise, double-check cable connections and troubleshoot as necessary.
It’s important to note that the installation process may vary depending on the make and model of your tablet. Always refer to the manufacturer’s repair guides or online resources specific to your device for detailed instructions tailored to your tablet.
Once you have successfully installed the new screen and confirmed its functionality, proceed to the next section to ensure the new screen is securely in place and properly tested.
Securing and Testing the New Screen
Having installed the new screen on your tablet, it’s crucial to ensure that it is securely in place and functioning properly. This final step will help ensure that the repair is successful and that you can enjoy your tablet with a fully functional screen once again.
Follow these steps to secure and test the new screen:
- Double-check connections: Before closing up the tablet, inspect the cable connections to ensure they are properly seated and securely attached. Misaligned or loose connections can result in display or touch issues.
- Tighten screws: Make sure all screws that were removed during the repair process are tightened securely. However, be cautious not to over-tighten them, as this may damage the tablet or exert unnecessary pressure on the new screen.
- Power on the tablet: Turn on your tablet and verify that the new screen is displaying correctly. Check for any abnormalities in color, brightness, or visual artifacts.
- Test touch functionality: Use your finger or a stylus to test the touch responsiveness of the new screen. Navigate through various applications and screens to ensure that touch input is registering accurately and without any delays or dead spots.
- Verify other functions: Test other features and functions of the tablet, such as the volume buttons, power button, and any physical or touch-sensitive buttons. Ensure that they are all working correctly.
- Check for screen sensitivity: Adjust the screen sensitivity settings, if available, to your preference. Test the accuracy and responsiveness of touch input at different pressure levels to ensure an optimal user experience.
- Inspect for any issues: Carefully examine the new screen for any signs of visual defects or performance issues. Look for pixel abnormalities, backlight bleeding, or uneven brightness across the screen.
By taking the time to secure and thoroughly test the new screen, you can identify any potential issues and address them promptly. If you encounter any problems during this stage, consult the manufacturer’s repair guides or seek professional assistance to rectify the issue.
Once you are satisfied with the functionality and performance of the new screen, it’s important to implement preventive measures to avoid future screen damage, which we will cover in the next section.
Taking Preventive Measures for the Future
Now that you’ve successfully repaired your tablet’s cracked screen, it’s essential to take preventive measures to avoid future damage and prolong the lifespan of your device. By following these measures, you can minimize the risk of encountering screen-related issues in the future:
- Invest in a protective case: Purchase a high-quality protective case that offers reliable shock absorption and screen protection. Look for cases with reinforced corners and raised edges to safeguard the screen from accidental drops and impacts.
- Apply a tempered glass screen protector: A tempered glass screen protector acts as an additional layer of protection against scratches, cracks, and minor impacts. It’s easy to install and replace, providing an extra defense for your tablet’s screen.
- Handle with care: Be mindful of how you handle and carry your tablet. Avoid placing heavy objects on top of it or placing it in crowded bags or pockets where it might get squeezed or bumped.
- Avoid extreme temperatures: Extremes of heat or cold can cause damage to the screen. Avoid exposing your tablet to direct sunlight for extended periods or leaving it in extremely hot or cold environments.
- Be cautious during usage: Avoid exerting excessive pressure on the screen or applying force when using touch-sensitive gestures. Use a gentle touch, and if using a stylus, ensure it is specifically designed for tablet screens to prevent scratches or damage.
- Regularly clean the screen: Use a soft, lint-free cloth to regularly clean the tablet’s screen. Avoid using harsh chemicals or abrasive materials that could scratch or damage the screen. Keeping the screen clean helps maintain visibility and prevents debris from causing scratches over time.
- Backup your data: Regularly backup the data on your tablet to ensure that if any damage occurs, you won’t lose important files, photos, or documents. This will also make the transition to a new device smoother, should the need arise.
- Stay up to date: Install software updates for your tablet as they become available. These updates often include important bug fixes, security enhancements, and performance improvements, ensuring the smooth operation of your device.
By implementing these preventive measures, you can significantly reduce the likelihood of encountering future screen-related issues and protect your tablet investment. Remember to regularly assess the condition of your screen and promptly address any signs of damage or deterioration to prevent further complications.
Congratulations on successfully repairing your tablet’s cracked screen and taking preventative measures for the future. Follow these best practices, and you’ll enjoy a well-functioning tablet for years to come!
Conclusion
Repairing a cracked screen on your tablet can be a challenging but rewarding process. By following the steps outlined in this guide, you have taken the initiative to fix your tablet and potentially save yourself the cost of a replacement.
From assessing the damage to removing the broken screen, preparing and installing the new screen, and taking preventive measures for the future, each step played a crucial role in restoring your tablet’s functionality. Throughout the process, it’s important to prioritize safety, adhere to manufacturer instructions, and exercise caution to avoid further damage to your device.
Remember, if you ever feel unsure or uncomfortable with the repair process, it’s best to seek professional assistance or consult the manufacturer’s support services for guidance specific to your tablet model.
Now that your tablet is up and running again with a new screen, be sure to implement preventive measures to protect it from future damage. Investing in a protective case, applying a tempered glass screen protector, and handling your tablet with care can go a long way in prolonging its lifespan.
Regular maintenance, such as cleaning the screen, staying up to date with software updates, and backing up your data, will contribute to the smooth operation of your tablet and help you avoid any potential issues.
Remember, this guide serves as a general reference and may vary depending on your specific tablet model. Always consult the manufacturer’s instructions or reliable online resources for device-specific repair information.
Congratulations on successfully repairing your tablet’s cracked screen! Enjoy using your device with its restored functionality, and may it continue to bring you joy and convenience for years to come.