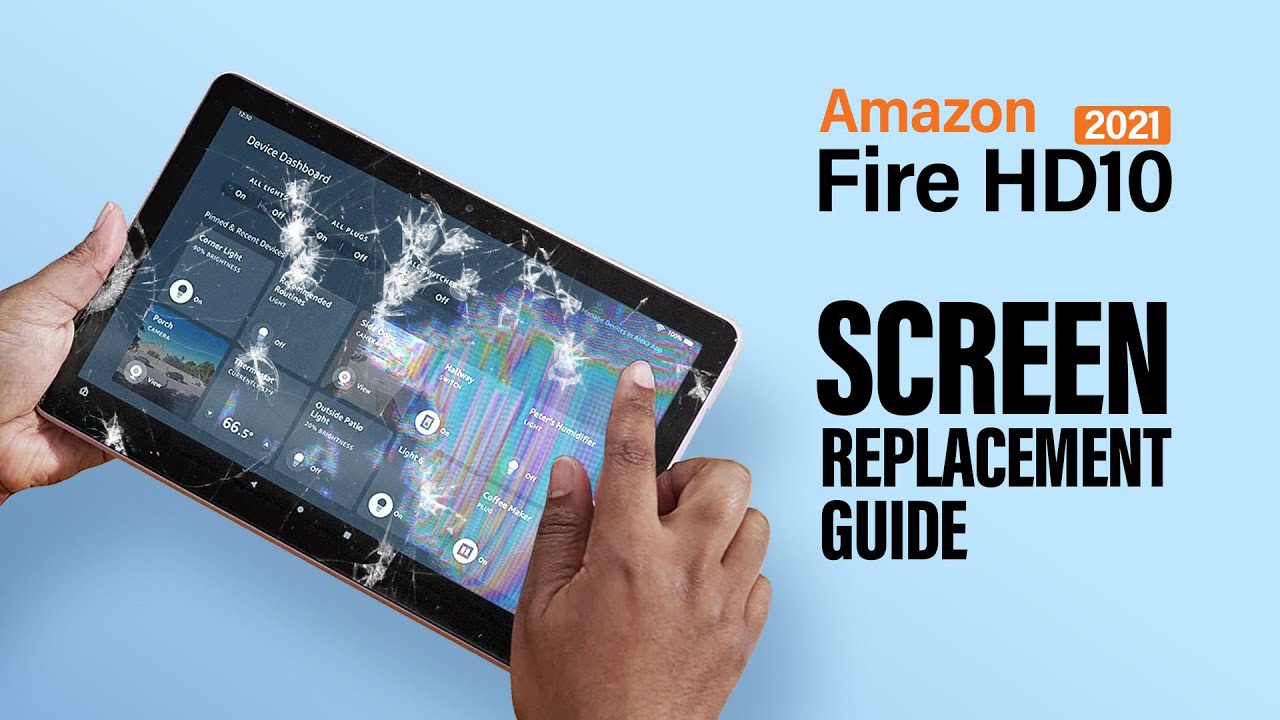
Introduction
Cracked or broken tablet screens can be frustrating and leave you wondering how to fix them. Whether it’s due to an accidental drop or mishap, a broken tablet screen doesn’t have to mean the end of your device. With a little knowledge and the right tools, you can replace the broken screen and get your tablet back to its former glory.
In this article, we will guide you through the steps on how to fix your broken tablet screen. We’ll cover everything from assessing the damage to troubleshooting common issues. By following these steps, you’ll be able to replace the screen and save yourself the cost of a professional repair.
Before we dive into the process, it’s important to note that tablet screens vary by make and model. The steps outlined in this article are general guidelines that apply to most tablets, but always refer to your device’s manual or manufacturer’s website for specific instructions.
Now, let’s get started on fixing your broken tablet screen!
Step 1: Assess the Damage
Before attempting to fix your broken tablet screen, it’s important to assess the extent of the damage. This will help you determine the severity of the problem and decide whether a screen replacement is necessary. Here’s what you need to do:
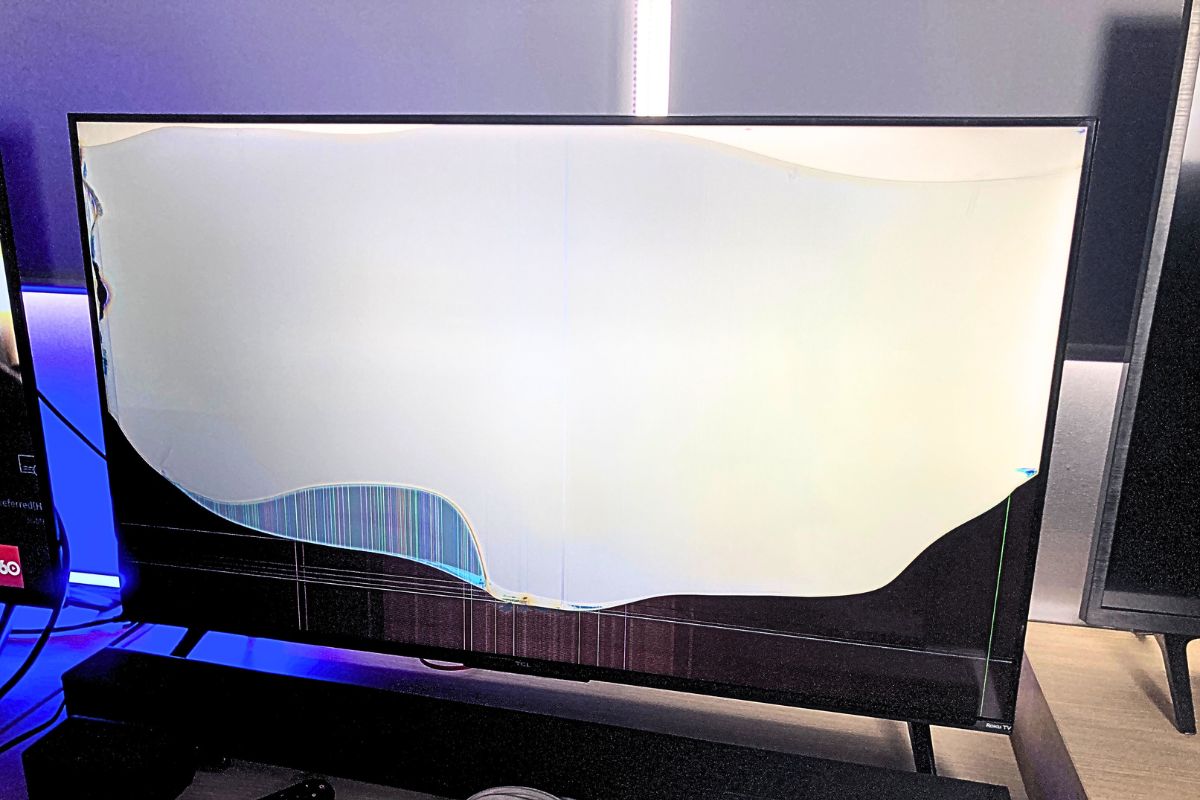
- Inspect the screen: Carefully examine your tablet’s screen for any cracks, shattered glass, or black spots. If the screen is completely unresponsive or flickering, it may indicate deeper issues beyond just a cracked screen.
- Test the touch functionality: Check if the touch functionality still works despite the cracks. Try tapping various areas of the screen to see if it registers the input. If the touch is unresponsive or registers incorrect gestures, you may need to consider a complete screen replacement.
- Assess the LCD: Look for any signs of liquid damage or discoloration on the LCD beneath the glass. If there are visible patterns or lines on the screen, it could indicate a damaged LCD panel that will require replacement.
After assessing the damage, you’ll have a clearer picture of the condition of your tablet and whether a screen replacement is necessary. Keep in mind that minor cracks or unresponsive touch functionality can sometimes be fixed without a complete screen replacement. There are DIY kits available that can help repair minor cracks, but they are not guaranteed solutions and may only provide temporary fixes.
If you’re unsure about the extent of the damage or lack the confidence to fix it yourself, it’s always a good idea to consult a professional technician or contact the manufacturer for assistance. They can provide guidance and recommend the best course of action for your specific tablet model.
Step 2: Prepare the Necessary Tools
Before you can begin fixing your broken tablet screen, you’ll need to gather the necessary tools. Having the right tools on hand will make the process smoother and ensure that you can complete the task successfully. Here’s a list of essential tools you’ll need:
- Screwdriver set: Tablets often have small screws that secure the screen. A precision screwdriver set with various sizes and types of heads will allow you to remove them easily.
- Plastic pry tools: These tools are designed to safely separate the screen from the frame without causing any damage. They come in handy when you need to gently pry off the broken screen.
- Tweezers: Tweezers help with the precision handling of small components, such as screws or connectors. Opt for tweezers with a fine tip for better control.
- Microfiber cloth: A lint-free microfiber cloth is essential for cleaning the tablet’s screen and ensuring a dust-free installation of the new screen.
- Adhesive strips or adhesive glue: Depending on your tablet model, you’ll either need adhesive strips or adhesive glue to secure the new screen into place. Check your tablet’s manual or consult the manufacturer to determine the appropriate adhesive.
- Heat gun or hairdryer (optional): If your tablet’s screen is held in place with adhesive, you may need to heat it slightly to soften the adhesive for easier removal. A heat gun or hairdryer can help with this process, but use them cautiously and keep a safe distance to avoid damaging the device.
Ensure that you have all the necessary tools before proceeding with the screen replacement. If you’re missing any items, you can find them at electronics stores or order them online. Remember, using the correct tools will not only make the process more manageable but also minimize the risk of further damage to your tablet.
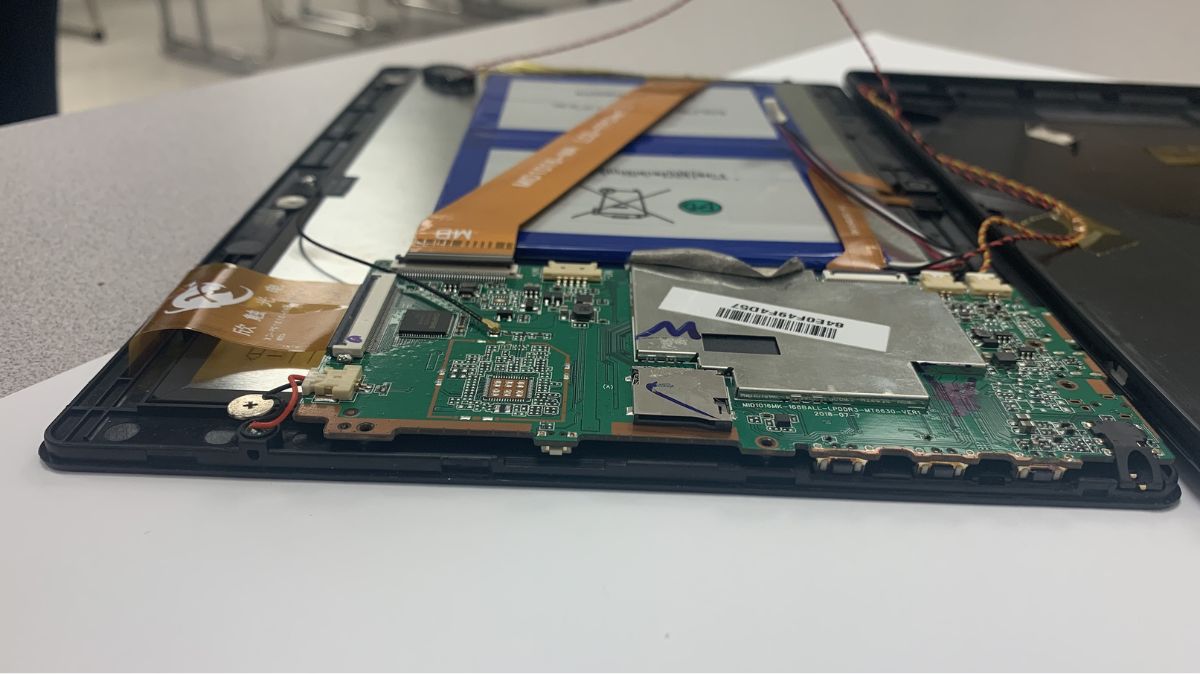
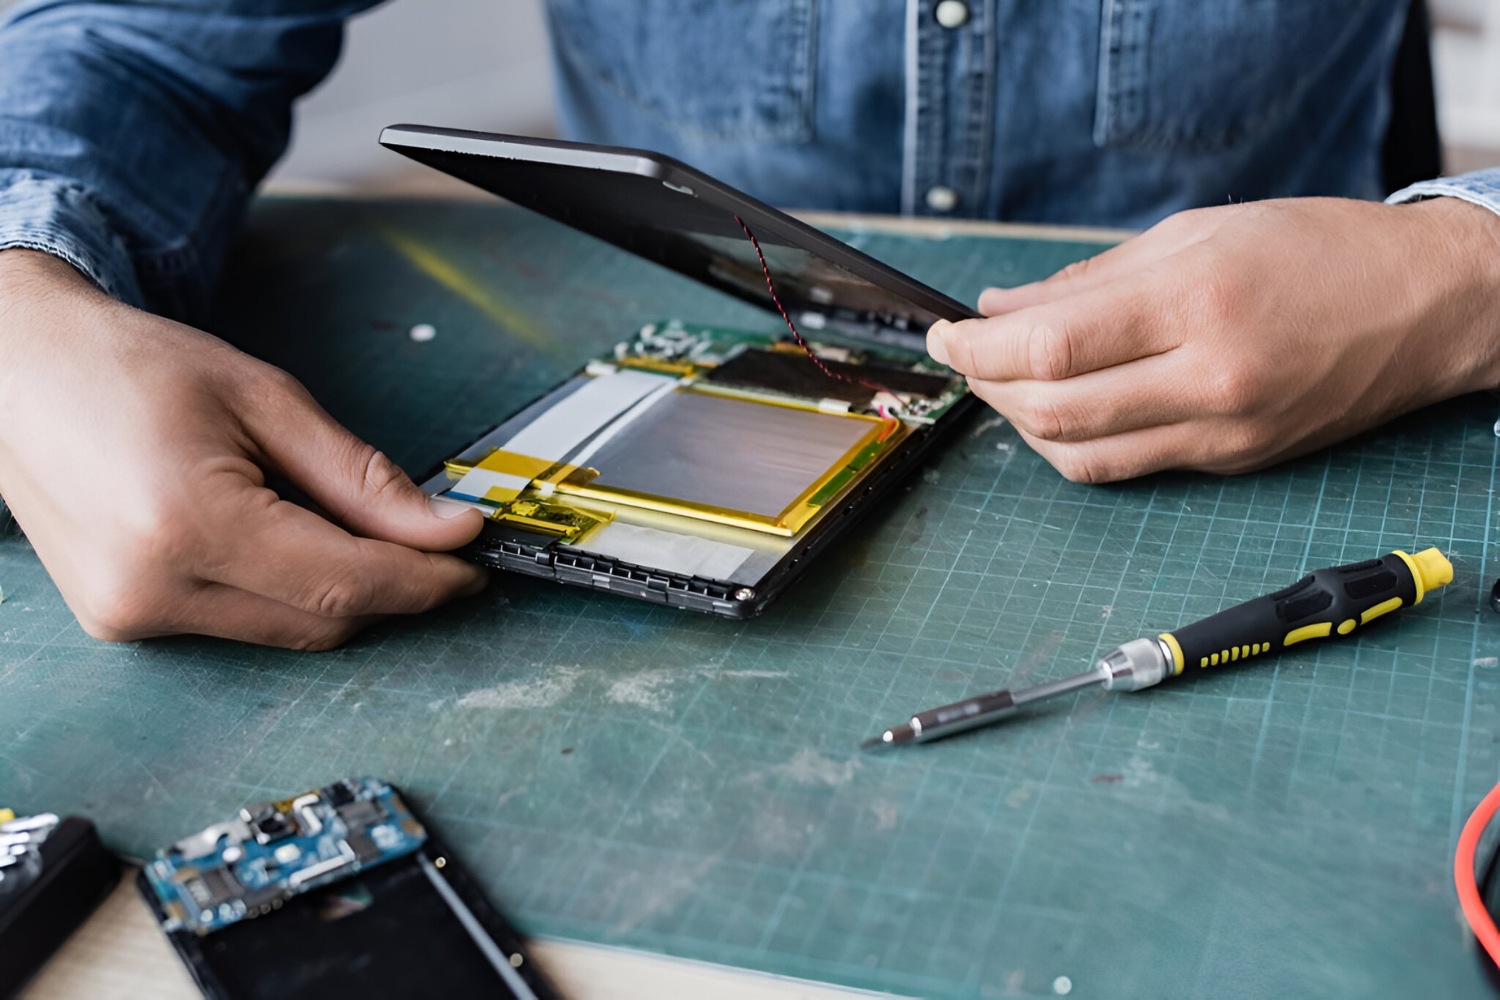
Step 3: Remove the Broken Screen
Now that you have assessed the damage and gathered the necessary tools, it’s time to remove the broken screen from your tablet. This step requires caution and precision to avoid causing any additional damage. Here’s how to do it:
- Power off the tablet: Before starting any repairs, power off your tablet to prevent any accidental damage or electrical shock.
- Remove the outer frame or back cover (if applicable): Depending on your tablet model, you may need to remove the outer frame or back cover to access the screen properly. Refer to your tablet’s manual or search for specific instructions online.
- Locate and remove the screws: Using the appropriate screwdriver from your set, locate and remove the screws holding the broken screen in place. Keep these screws in a safe place as you will need them later.
- Separate the screen from the frame: Carefully insert the plastic pry tools between the screen and the frame. Gently apply pressure to pry off the broken screen. Take your time and work around the edges of the screen, ensuring not to damage any cables or connectors.
- Disconnect the cables: Once the screen is partially or fully detached, locate the cables that connect the screen to the tablet’s motherboard. Use tweezers or your fingers to unplug these cables, being careful not to pull too forcefully.
- Remove the broken screen: With the cables disconnected, lift and remove the broken screen from the tablet. Place it aside or dispose of it properly.
It’s important to note that the screen removal process may vary slightly depending on your tablet’s make and model. Always consult your tablet’s manual or search for specific instructions online to ensure a proper and safe removal.
Once the broken screen is removed, you’re one step closer to fixing your tablet. Take a moment to clean the area to ensure no debris or adhesive residue remains before proceeding to the next step.
Step 4: Clean the Surface
After removing the broken screen from your tablet, it’s crucial to clean the surface thoroughly before installing the new screen. This step ensures a smooth and secure fit, minimizing the risk of any future issues. Here’s how to clean the surface:
- Prepare a clean workspace: Find a well-lit and dust-free area to work on your tablet. Lay down a soft cloth or pad to protect the tablet’s display from scratches or damage.
- Use a microfiber cloth: Take a lint-free microfiber cloth and gently wipe the tablet’s display, frame, and any adhesive residue left behind from the broken screen. Ensure that the surface is completely clean and free from any dust or debris.
- Apply cleaning solution (if necessary): If there are stubborn stains or adhesive residue, you can dampen the microfiber cloth with a gentle cleaning solution specifically designed for electronic devices. Avoid using excessive liquid and be cautious not to wet any exposed circuitry.
- Dry the surface: Once you have wiped down the surface, use a dry section of the microfiber cloth to remove any excess moisture and ensure a completely dry surface.
It’s important to be gentle while cleaning to avoid scratching your tablet’s display. Take your time and pay attention to detail to ensure that the surface is pristine and ready for the installation of the new screen.
Remember, a clean surface will provide the best adhesion for the new screen, ensuring a secure fit and optimal functionality. Once the surface is clean and dry, you’re ready to proceed to the next step: installing the new screen.
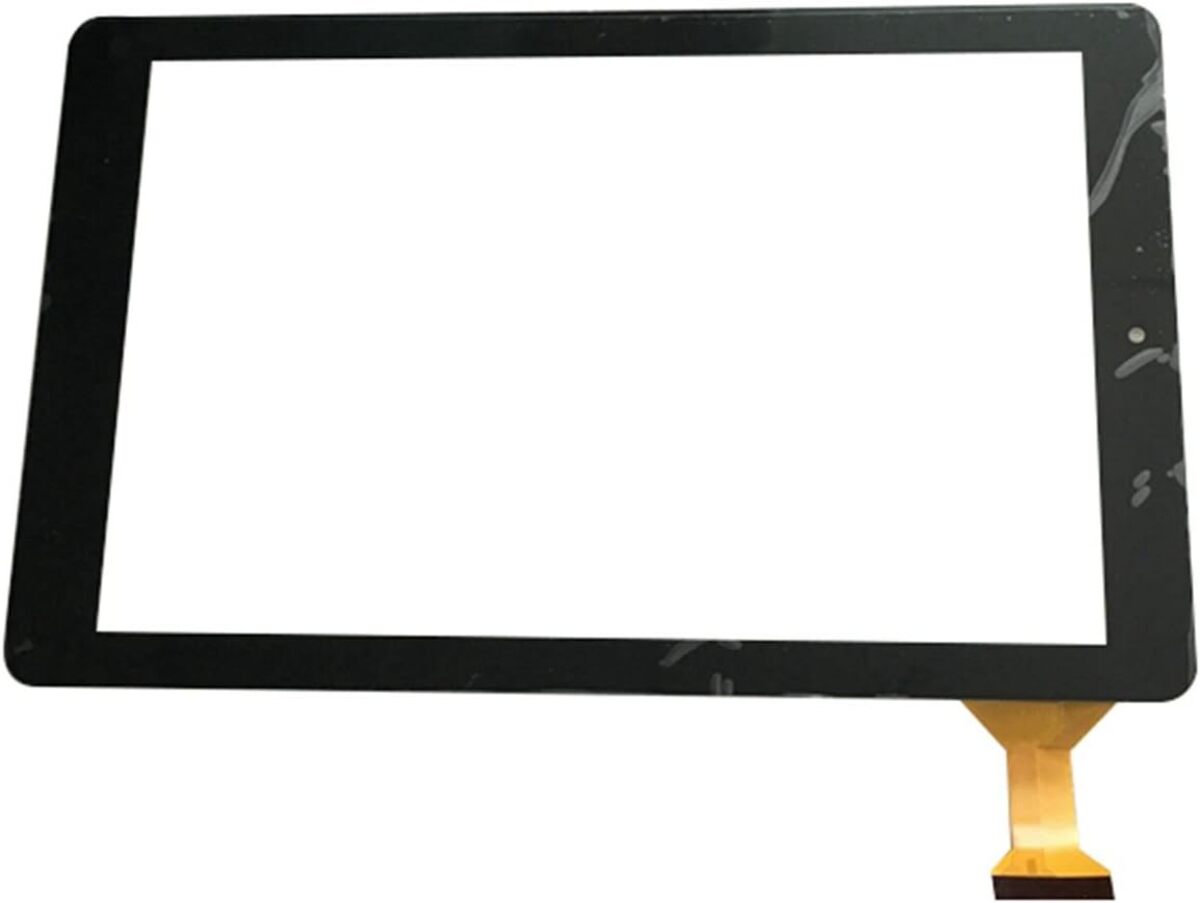
Step 5: Install the New Screen
With a clean surface prepared, it’s time to install the new screen onto your tablet. This step requires careful handling and precise alignment to ensure a successful replacement. Here’s how to install the new screen:
- Align the new screen: Carefully align the new screen with the tablet’s frame, ensuring that all the necessary cables and connectors match up. Take your time and make sure the orientation is correct to avoid any issues.
- Connect the cables: Once the new screen is aligned, gently connect the cables to the appropriate connectors on the tablet’s motherboard. Ensure that the connections are secure but avoid applying excessive force to prevent damage.
- Secure the screen: If your tablet requires adhesive strips, apply them to the frame of the tablet or the edges of the new screen. If your tablet requires adhesive glue, carefully apply a small amount to the frame or screen, following the manufacturer’s instructions.
- Press down the screen: After applying the adhesive, gently press down on the new screen to ensure it sticks to the frame firmly. Apply even pressure to avoid any unevenness or bubbles.
- Reattach the screws: Using the screws you removed earlier, reattach the new screen to the tablet’s frame. Start with the corners and work your way around, tightening them securely but carefully. Take care not to overtighten and strip the screws.
Throughout the installation process, it’s important to handle the new screen with care to avoid any damage. Avoid touching the screen’s surface with your fingers and use the edges or corners to hold it. Additionally, refer to your tablet’s manual or manufacturer’s instructions for any specific installation guidelines.
Once the new screen is securely installed, you’re almost done. In the next step, we’ll test the functionality of the new screen to ensure it’s working correctly before completing the process.
Step 6: Test the New Screen
After successfully installing the new screen, it’s important to test its functionality before finalizing the repair. This step ensures that the screen is working properly and that all touch inputs are being registered accurately. Here’s how to test the new screen:
- Power on the tablet: Turn on your tablet and wait for it to boot up. Ensure that it is functioning normally and that the screen illuminates properly.
- Check for touch responsiveness: Use your fingers or a stylus to interact with the screen. Test various functions, such as tapping, swiping, and typing, to ensure that the touch functionality is accurate and responsive.
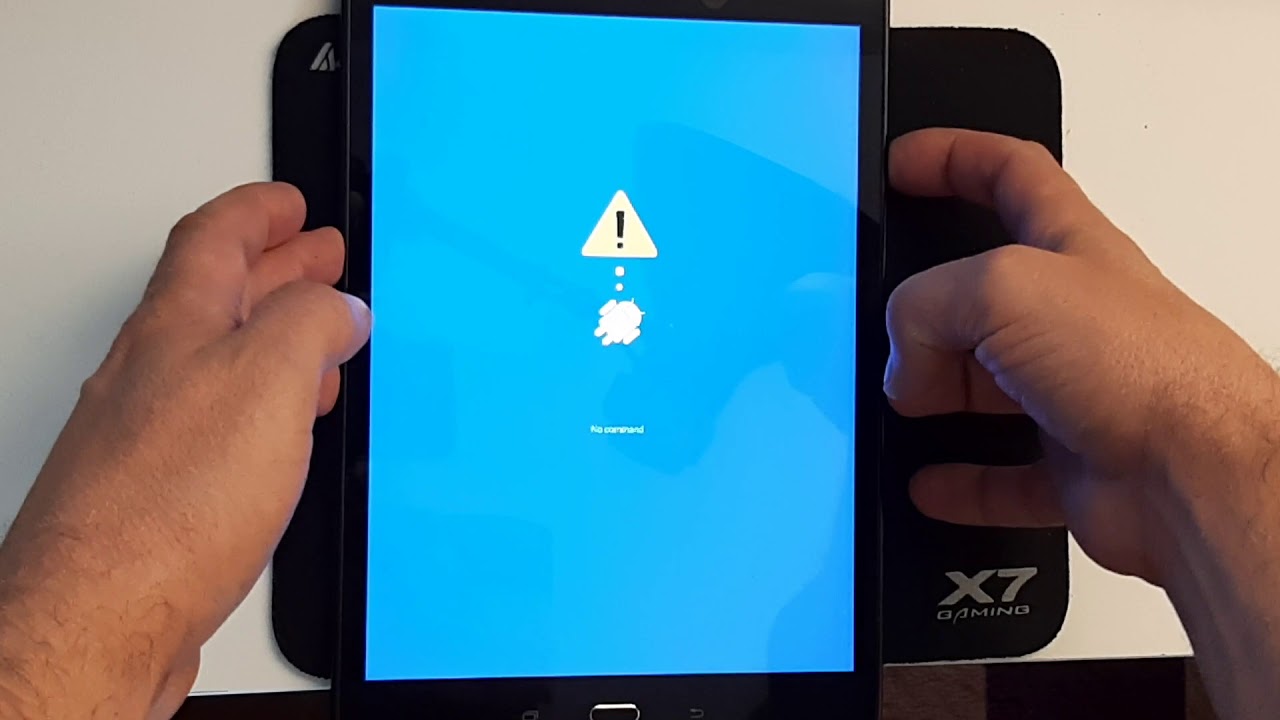
- Inspect for any anomalies: Carefully examine the screen for any dead pixels, discoloration, or abnormal lines. Check if the screen is displaying content correctly and if the colors appear vibrant and accurate.
- Test additional features and sensors: If your tablet has additional features, such as a camera, fingerprint scanner, or accelerometer, test them to ensure everything is functioning as expected.
If you notice any issues during the testing phase, it may indicate a problem with the installation or the screen itself. Double-check all the connections and make sure the screen is properly aligned. If the issues persist, you may need to remove and reinstall the screen or consult a professional for further assistance.
However, if the new screen passes the testing phase and functions correctly, congratulations! You have successfully replaced your broken tablet screen. Now it’s time to secure the new screen in place and troubleshoot any common issues that may arise.
Step 7: Securing the New Screen
After testing the functionality of the new screen, the next step is to ensure it is securely fastened in place. Properly securing the screen will prevent any potential shifting or loosening over time. Here’s how to secure the new screen:
- Inspect the adhesive: If you used adhesive strips, check to ensure they are firmly attached to both the frame and the edges of the new screen. If any of the adhesive strips are loose or not properly adhered, carefully readjust or replace them as needed.
- Apply pressure: Once you have confirmed the placement of the adhesive, press firmly on the edges of the screen to ensure a proper bond with the frame. Apply even pressure and work your way around the screen to ensure it is securely in place.
- Reassemble the tablet: If you had to remove any outer frames or back covers, carefully reattach them following the manufacturer’s instructions. Take your time to align everything correctly and ensure a seamless appearance.
It’s crucial to follow the manufacturer’s instructions or consult your tablet’s manual when securing the new screen. Different tablet models may have slight variations in the securing process, such as using clips or additional screws.
Once you have successfully secured the new screen, give it a final visual inspection to ensure that it is aligned correctly and properly seated. With the screen securely in place, you’re ready to move on to the final step: troubleshooting common issues that may arise after replacing a tablet screen.
Step 8: Troubleshooting Common Issues
After replacing a tablet screen, it’s possible that you may encounter some common issues that require troubleshooting. Here are a few common problems and their possible solutions:
- Unresponsive Touch: If you find that the touch functionality is not working properly or registering inaccurately, double-check the connections between the screen and the motherboard. Ensure that the cables are securely plugged in and that there is no debris or dust causing interference. If the issue persists, you may need to remove and reinstall the screen, ensuring a proper connection.
- Display Issues: If you notice any abnormalities in the display, such as flickering, color distortion, or dead pixels, it could indicate a problem with the new screen. In this case, you may need to contact the manufacturer or supplier to discuss a warranty replacement.
- Uneven Brightness: If you observe uneven brightness levels across the screen, it may indicate a problem with the backlight. Ensure that it is properly connected and seated. If the problem persists, consult professional help or consider seeking a replacement.
- Inconsistent Performance: If the tablet experiences lag, freezes, or crashes after screen replacement, it could be due to a software issue. Try performing a software update or factory reset to resolve any software-related problems. If the issue persists, consult the tablet’s manufacturer or seek professional assistance.
These are just a few common issues that you may encounter after replacing a tablet screen. Always refer to your tablet’s manual or contact the manufacturer for specific troubleshooting steps related to your device model.
Remember, if you are unsure about performing any troubleshooting steps or encounter more complex issues, it’s always recommended to seek professional assistance. They have the expertise and specialized tools to diagnose and resolve any problems effectively.
With the troubleshooting steps completed, you should have successfully fixed your broken tablet screen and resolved any common issues that may have arisen during the process.
Conclusion
Fixing a broken tablet screen may seem like a daunting task, but with the right knowledge, tools, and patience, it can be accomplished successfully. By following the step-by-step guide outlined in this article, you can replace your broken tablet screen and restore your device to full functionality.
Remember to begin by assessing the damage, preparing the necessary tools, and removing the broken screen carefully. Clean the surface thoroughly before installing the new screen, ensuring that it aligns correctly and is securely fastened. Test the functionality of the new screen to ensure it’s working properly, and then proceed with securing it in place.
If any common issues arise, such as unresponsive touch or display abnormalities, troubleshooting steps can help resolve them. However, if the issues persist or if you encounter more complex problems, it’s always recommended to consult professionals or contact the manufacturer for assistance.
Lastly, it’s important to note that each tablet model may have its specific instructions and requirements. Always refer to your tablet’s manual or the manufacturer’s guidelines for more accurate and detailed information.
By following these steps and taking the necessary precautions, you can successfully fix your broken tablet screen and save yourself the cost of professional repair. Remember to work in a well-lit and clean environment, exercise caution when handling tools and components, and be patient throughout the process. With determination and a little bit of technical skill, you can breathe new life into your tablet and enjoy its full functionality once again.