Introduction
LED TVs have become a popular choice for many households due to their superior picture quality and energy efficiency. However, accidents happen, and a cracked LED TV can be a frustrating and costly problem to deal with. Before you rush to replace the entire TV, it’s worth considering if the cracked panel can be fixed.
Repairing a cracked LED TV requires some technical skills, but with the right tools and guidance, it can be a feasible DIY project. In this article, we will provide you with a step-by-step guide on how to fix a cracked LED TV. Please note that this guide is intended for informational purposes only and does not guarantee a successful repair.
Before getting started, it’s important to assess the extent of the damage. In some cases, a minor crack may not affect the functionality of the TV, while in severe cases, the TV may be irreparable. Nevertheless, if you are up for the challenge, continue reading to learn the necessary steps to fix a cracked LED TV.
Throughout the process, it is crucial to take safety precautions, such as wearing gloves and ensuring that the TV is disconnected from any power source. Additionally, keep in mind that attempting to repair a cracked LED TV may void any existing warranties, so proceed at your own risk.
Now, let’s gather the tools and materials you will need for this repair project.
Tools and Materials Needed
Before you begin repairing your cracked LED TV, it’s important to gather the necessary tools and materials. Having everything prepared will make the process smoother and more efficient. Here’s a list of what you’ll need:
- Screwdriver set: A set of screwdrivers with various sizes and types will be essential for disassembling the TV.
- Plastic pry tools: These tools are designed to help you safely separate the different components of the TV without causing any damage.
- Tweezers: Tweezers will come in handy for delicate tasks, such as removing small screws or connectors.
- Microfiber cloth: This soft cloth will help you clean the TV and remove any dust or smudges.
- Replacement panel: Depending on the extent of the damage, you may need to order a replacement panel for your LED TV. Make sure you have the correct model number and specifications when purchasing the replacement.
- Adhesive tape: Certain parts of the TV may need to be secured with adhesive tape during disassembly or reassembly.
- Anti-static wrist strap: This strap will help protect the TV’s internal components from static electricity during the repair process.
- Protective gloves: Wearing gloves will help protect your hands from sharp edges or any potential debris.
- Container or organizer: To avoid losing small screws or other components, use a container or organizer to keep everything organized.
Ensure that you have all the mentioned tools and materials readily available before proceeding with the repair. It’s also a good idea to have a clean, well-lit workspace where you can comfortably work on your TV without any distractions or obstructions.
Now that you have your tools and materials prepared, it’s time to assess the damage and determine the next steps in the repair process.
Assessing the Damage
Before you can proceed with repairing your cracked LED TV, it’s important to assess the extent of the damage. This step will help you determine whether the TV is worth repairing and if a replacement panel is necessary.
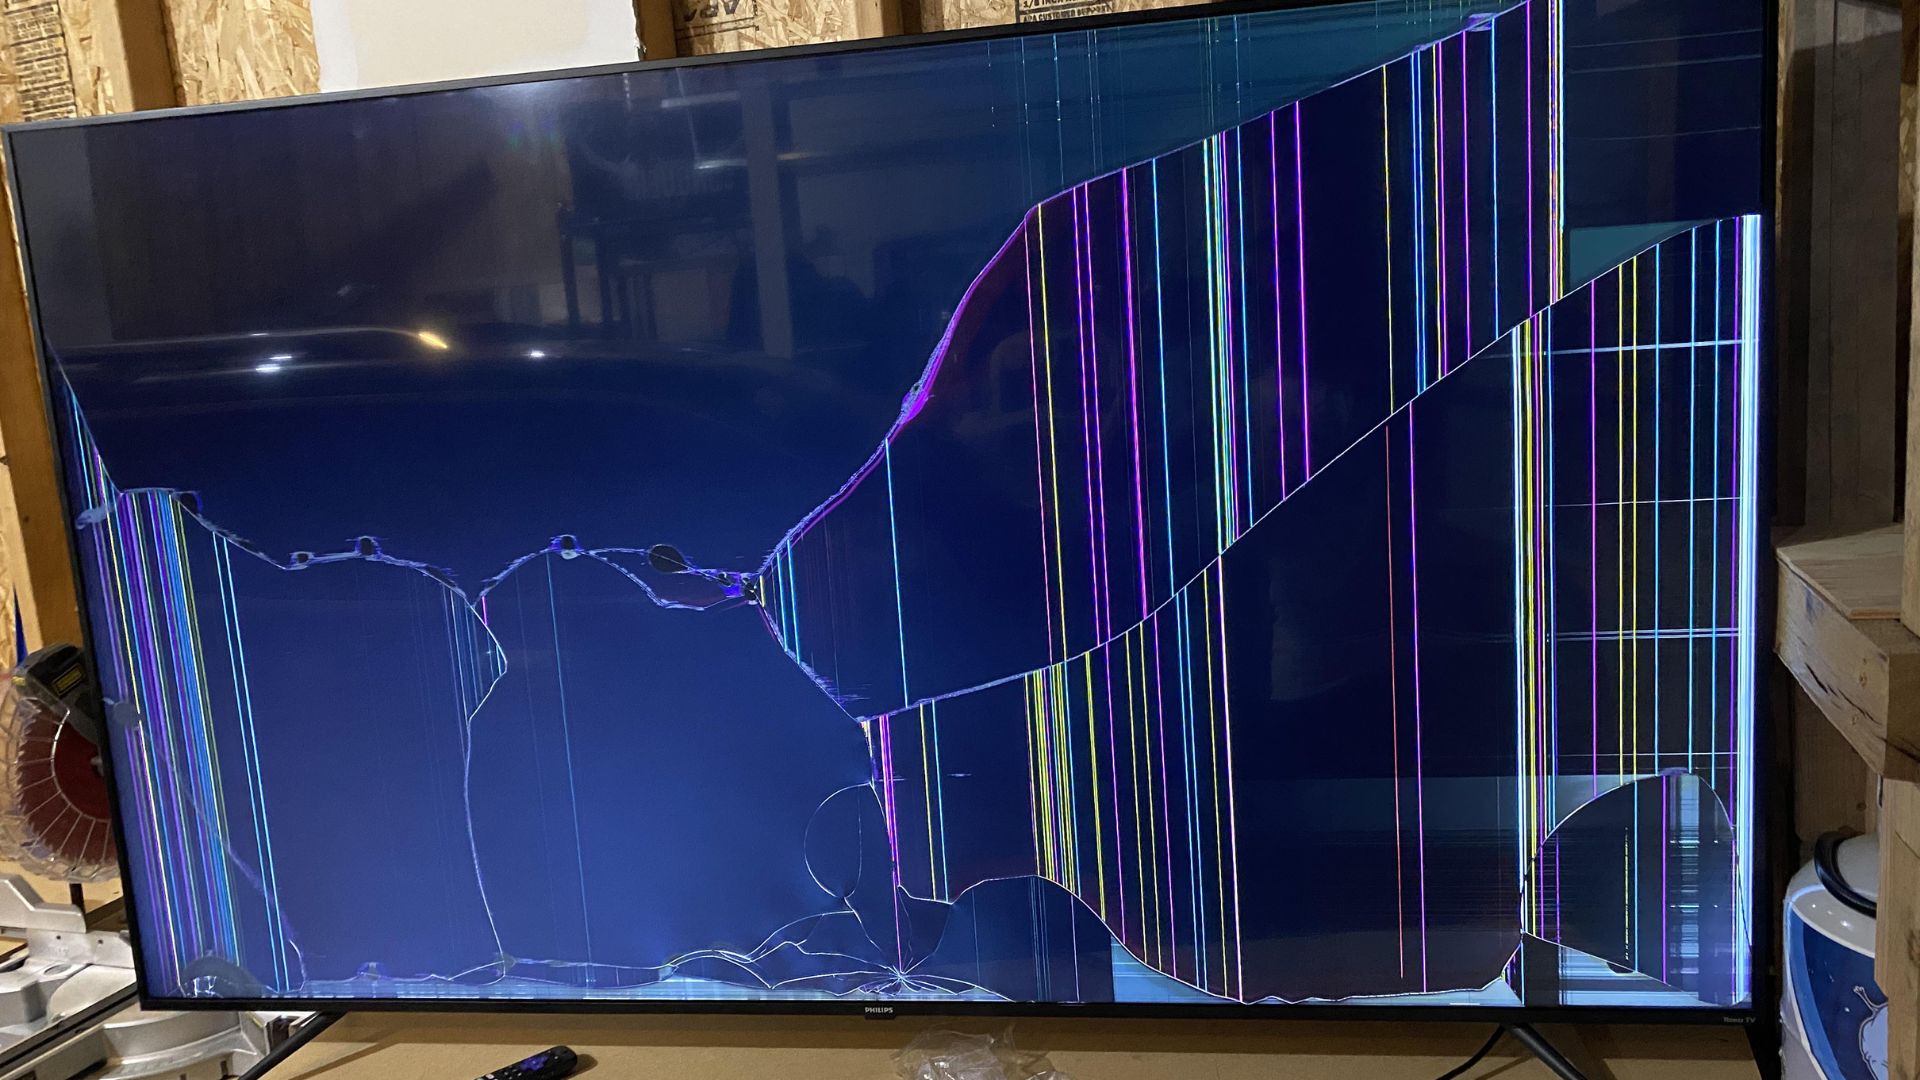
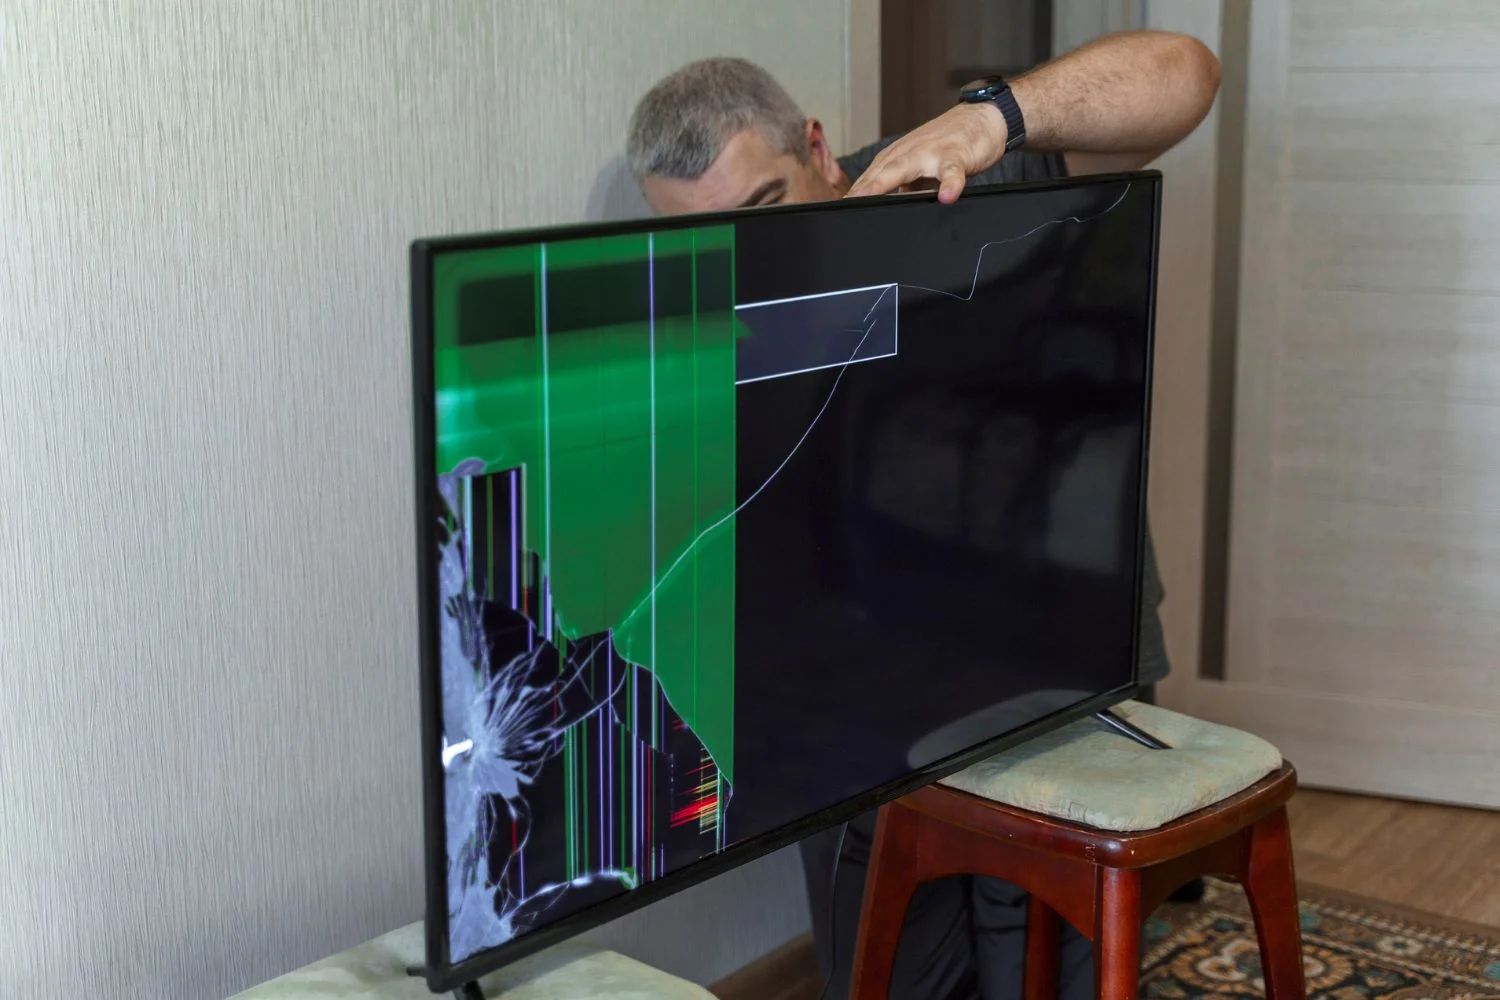
Start by examining the cracked panel closely. Look for any visible signs of damage, such as shattered glass or visible cracks. Take note of the size and location of the crack, as this will be essential information when ordering a replacement panel.
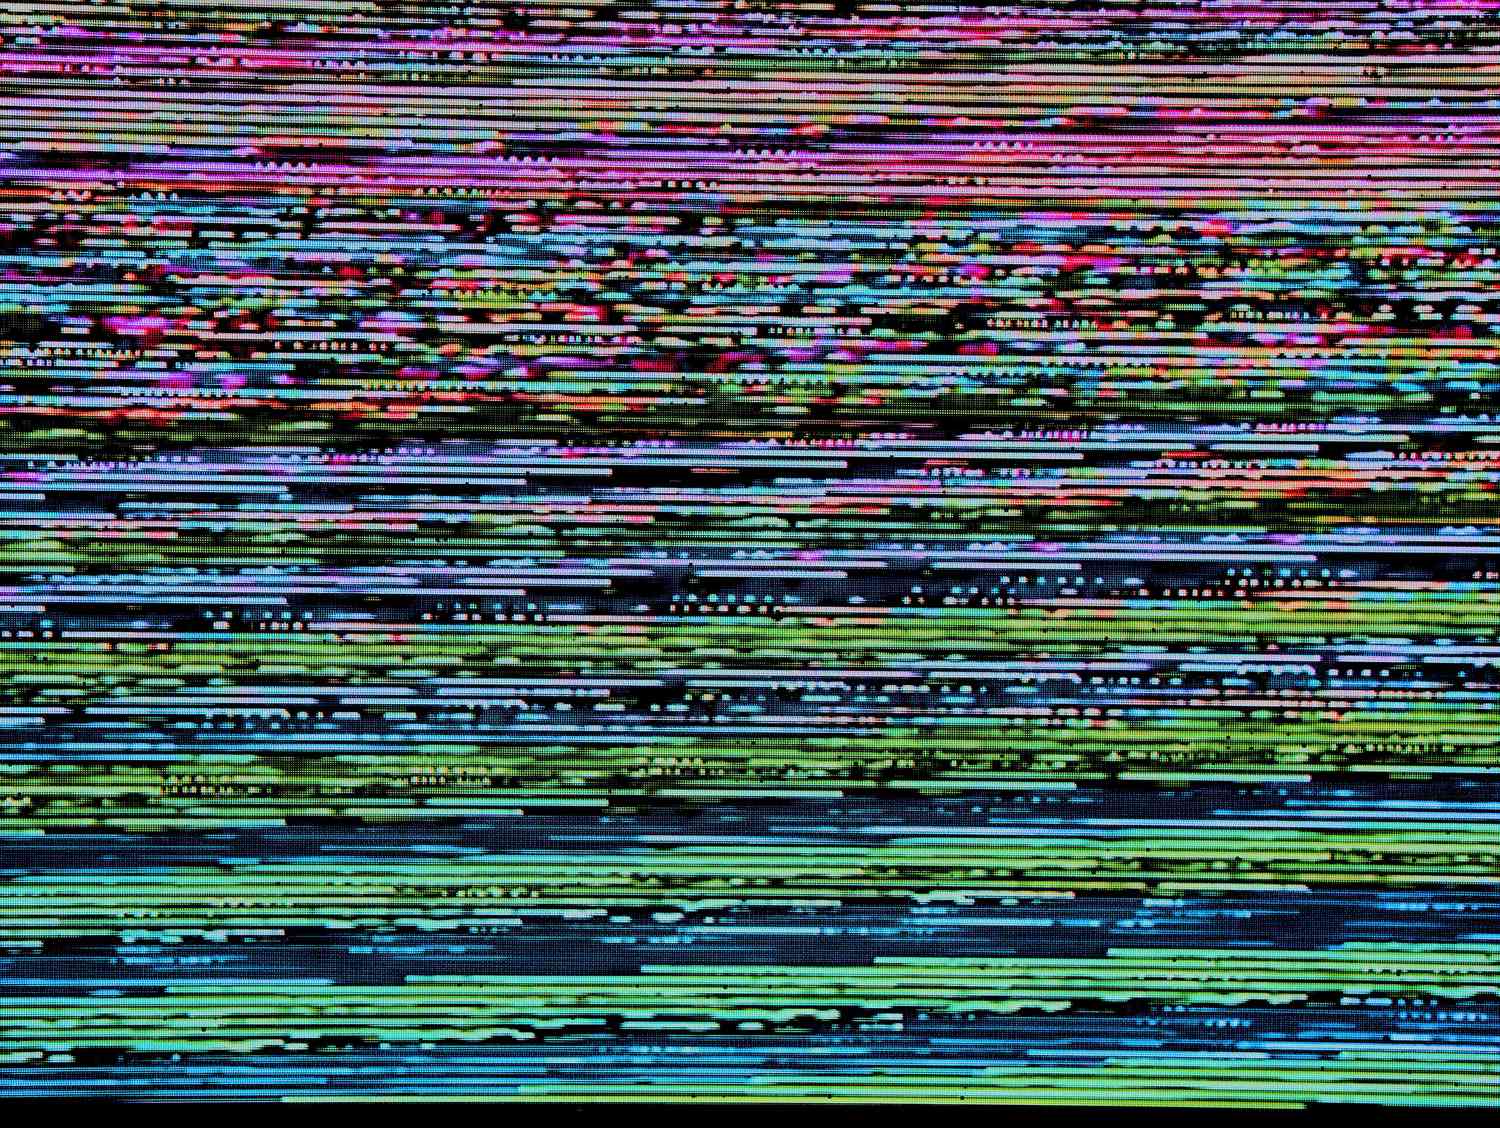
Next, turn on your TV and check for any abnormalities in the display. Look for lines, discoloration, or pixelation that may be caused by the cracked panel. Take note of any changes in the picture quality or performance.
If the crack is only superficial, without any noticeable impact on the display or performance, you may not need to replace the panel. In such cases, you can consider using a temporary fix, such as applying a clear adhesive film designed for TV screens to prevent further damage.
However, if the crack significantly affects the picture quality or creates visible distortions, it’s likely that the panel needs to be replaced. In this case, continue reading this guide to learn how to proceed with ordering a replacement panel and performing the repair.
It’s important to note that repairing a cracked LED TV may not always be cost-effective, especially for older models or smaller TVs. Consider the age and value of your TV before investing time and money into the repair. In some cases, it may be more practical to purchase a new TV instead.
Once you have assessed the damage, you can confidently move on to the next steps, which include disconnecting the TV and disassembling it to access the cracked panel. Let’s continue to the following section to learn how to safely perform these tasks.
Disconnecting the TV
Before you begin disassembling your LED TV to fix the cracked panel, it’s crucial to disconnect the TV from all power sources to ensure your safety. Here are the steps to follow:
- Unplug the TV: Start by unplugging the TV from the power outlet. This will eliminate the risk of electric shock as you work on the TV.
- Remove any external devices: Disconnect any external devices connected to the TV, such as gaming consoles, DVD players, or sound systems. This will make it easier to handle the TV without any obstructions.
- Allow the TV to cool down: If the TV has been recently used, give it some time to cool down. This will prevent any potential burns or injuries from touching hot components.
- Remove the TV stand or wall-mount: If your TV is mounted on a stand or attached to a wall-mount, follow the manufacturer’s instructions on how to safely remove it. This will provide you with better access to the back of the TV.
Once you have disconnected the TV and removed any external devices or attachments, you can proceed to the next step of disassembling the TV. It’s important to handle the TV with care and avoid placing it in a position where it may tip over or get damaged during the disassembly process. Use a soft cloth or padding to protect the screen and lay the TV on a stable surface.
Note: If you feel uncomfortable or unsure about handling the disassembly process, it’s recommended to seek professional assistance. Disassembling an LED TV requires precision and caution to prevent any further damage to the TV or injury to yourself.
Now that the TV is disconnected and ready for disassembly, we can move on to the next section where we will guide you through the process of safely taking apart the TV to access the cracked panel.
Disassembling the TV
Disassembling your LED TV is the next step in fixing the cracked panel. It’s important to approach this process with caution and follow the steps carefully to avoid causing any additional damage to the TV. Here’s a step-by-step guide to disassembling your TV:
- Refer to the user manual: Consult the user manual or service manual that came with your TV. These documents often include detailed instructions on how to disassemble the TV safely. If you can’t find the manual, search for the specific model’s manual online or contact the manufacturer for guidance.
- Identify the screws: Look for the screws that hold the TV’s back panel in place. They are usually located around the edges of the TV or in specific areas as indicated in the user manual. Use the appropriate screwdriver from your set to carefully remove the screws. Place the screws in a container or organizer to prevent losing them.
- Separate the back panel: Once all the screws are removed, gently slide or lift the back panel away from the TV’s chassis. Take care not to force or bend the panel, as it may still be connected to internal components.
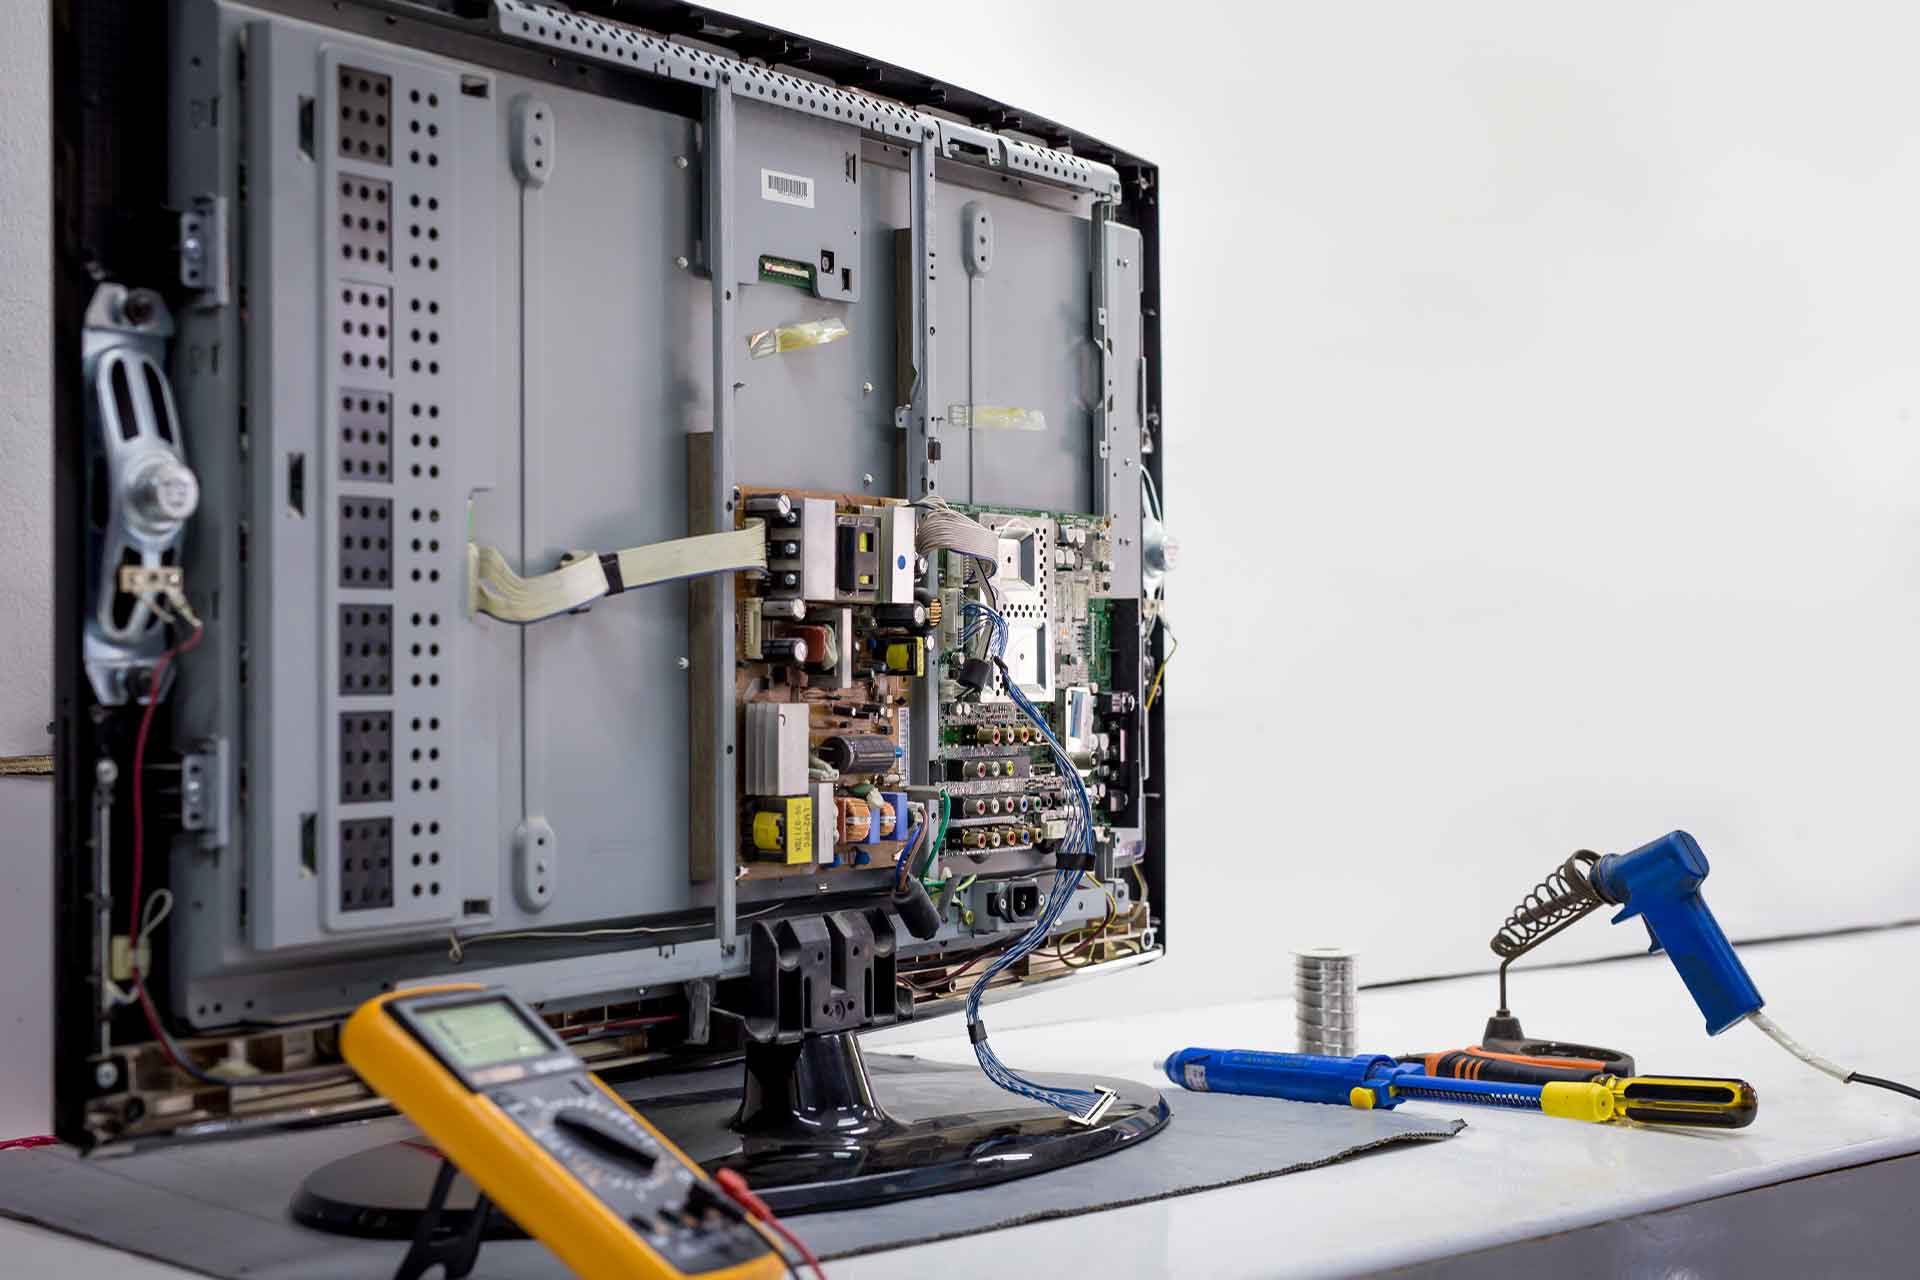
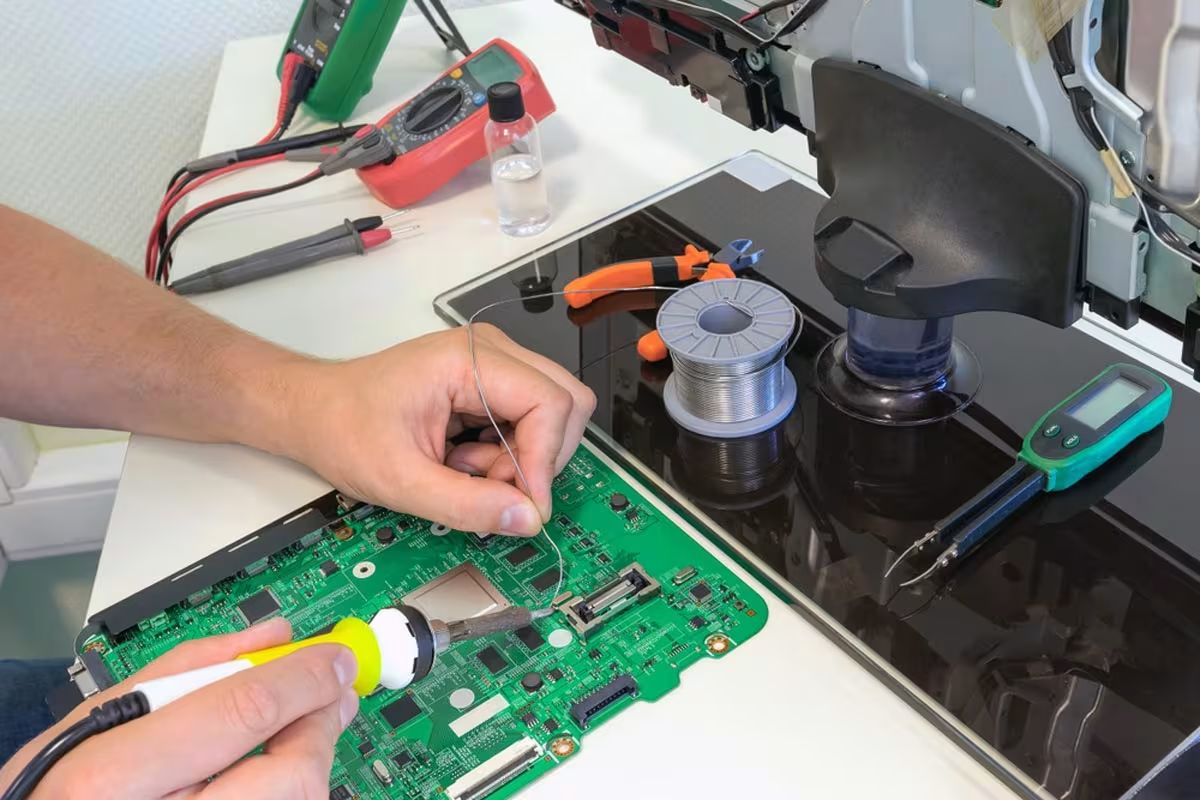
- Disconnect internal cables: Inside the TV, you will find various cables connecting the different components. Locate the cables that connect the main board, power supply, and other modules to the panel. Carefully disconnect these cables by gently pulling them straight out from their connectors. Avoid pulling on the wires themselves, as this can damage them.
- Remove the speaker assembly: In some cases, the speaker assembly may be attached to the back panel or the frame of the TV. Unscrew any screws or detach any clips holding the speaker assembly in place. Once removed, you will have better access to the internal components.
- Remove any additional screws or fasteners: Take note of any other screws or fasteners securing the internal components. Remove them as necessary, keeping track of their placement.
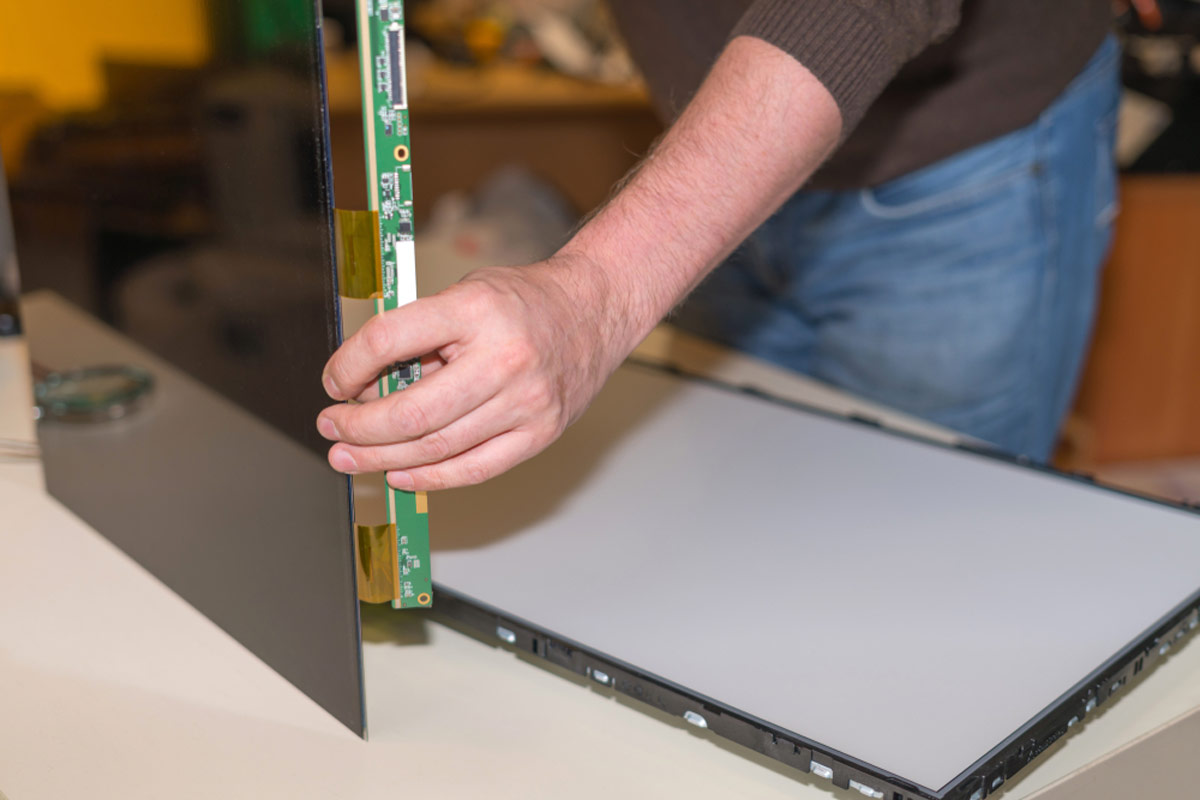
- Separate the display panel: At this point, you will be able to see the display panel, including the cracked panel that needs to be replaced. Gently lift or slide the display panel away from the frame of the TV, taking care not to damage any delicate components.
During the disassembly process, it’s important to work slowly and methodically. Avoid using excessive force or rushing through the steps, as this can lead to accidental damage to the TV. If you encounter any difficulties during the disassembly, refer back to the user manual or seek professional assistance.
Now that you have successfully disassembled the TV and accessed the cracked panel, the next step is ordering a replacement panel. We will provide guidance on this process in the following section.
Locating the Cracked Panel
After disassembling your LED TV, it’s time to locate the cracked panel that needs to be replaced. This step is crucial to ensure you order the correct replacement panel and proceed with the repair effectively. Here’s how to identify the cracked panel:
- Inspect the display panel: Carefully examine the display panel that you have removed from the TV. Look for any visible cracks, shattered glass, or signs of damage. Take note of the exact location and size of the crack.
- Compare the crack to the screen layout: Familiarize yourself with the layout of the screen by referring to the user manual or official documentation. Identify the portion of the screen where the crack is located, such as the upper left corner or the lower right corner. This will help you accurately describe the location when ordering the replacement panel.
- Check the model number and specifications: Look for the model number of your TV and compare it to the specifications mentioned in the user manual or on the manufacturer’s website. Ensure that the replacement panel you order is compatible with your specific TV model.
- Take pictures or make notes: To ensure accuracy, take pictures of the cracked panel from various angles. This will serve as a reference when searching for the replacement or discussing the issue with suppliers or repair technicians. Additionally, make notes about the orientation of any connectors or cables attached to the damaged panel.
- Order the replacement panel: Once you have gathered all the necessary information, it’s time to order a new panel. Contact the manufacturer or search for reputable suppliers online. Provide them with the model number, location of the crack, and any other relevant details to ensure you receive the correct replacement panel.
Note that ordering a replacement panel may take some time, especially if it’s not readily available. Be patient and follow up with the supplier or manufacturer for updates on the delivery. While waiting for the replacement panel to arrive, store the disassembled TV and components in a safe place where they won’t get damaged.
Now that you have successfully located the cracked panel and ordered a replacement, the next section will guide you through the process of removing the cracked panel and installing the new one.
Ordering a Replacement Panel
Once you have identified the cracked panel in your LED TV, the next step is to order a replacement panel. It’s crucial to ensure you order the correct panel that is compatible with your specific TV model. Here’s a guide on how to successfully order a replacement panel:
- Consult the manufacturer: Start by contacting the manufacturer of your TV. They are the best source for obtaining genuine replacement parts. Inquire about the availability of the specific panel you need and the procedure for ordering it.
- Check online suppliers: If the manufacturer is unable to provide you with a replacement panel, search for reputable online suppliers that specialize in TV parts. Look for suppliers who have a good reputation and positive customer reviews.
- Gather necessary information: Before reaching out to a supplier, gather all the necessary information about your TV. This includes the model number, serial number, and any other relevant specifications. These details will ensure you receive the correct replacement panel.
- Submit a request: Contact the supplier and provide them with all the information about your TV and the specific panel you require. Be as detailed as possible, including the location of the crack, the size of the panel, and any additional specifications that are essential.
- Verify compatibility: Once you receive a response from the supplier, double-check if the replacement panel is compatible with your TV model. Ensure that it matches the required specifications, such as screen size, resolution, and connector compatibility.
- Review warranty or return policy: Before finalizing your order, review the warranty or return policy provided by the supplier. It’s essential to understand the terms and conditions, especially in case the replacement panel arrives damaged or is incompatible with your TV.
- Place the order: If everything looks good, proceed with placing the order. Provide the supplier with the necessary payment and shipping information. Keep track of the order and obtain a confirmation or tracking number for reference.
Ordering a replacement panel may take some time, depending on availability and shipping logistics. Be patient and follow up with the supplier for updates on the progress of your order. In the meantime, store the disassembled TV and components in a safe place where they won’t get damaged.
Once the replacement panel arrives, you can proceed to the next section where we will guide you through the process of safely removing the cracked panel and installing the new one.
Removing the Cracked Panel
Now that you have received the replacement panel for your LED TV, it’s time to remove the cracked panel and prepare for the installation of the new one. Here’s a step-by-step guide on how to safely remove the cracked panel:
- Ensure safety precautions: Before you begin, ensure that the TV is disconnected from any power source and that you are wearing appropriate protective gear, such as gloves.
- Refer to the user manual or online resources: Consult the TV’s user manual or search for online resources specific to your TV model for disassembly instructions. These resources will provide you with guidance on how to access and remove the cracked panel.
- Identify the connectors: Locate the cables and connectors that are attached to the cracked panel. These connectors may include ribbon cables, flex cables, or wire harnesses. Take note of their locations and any locking mechanisms they may have.
- Disconnect the connectors: Gently and carefully disconnect the cables and connectors from the cracked panel. If the connectors have locking mechanisms, release them before pulling out the cables. Avoid using excessive force and ensure a firm grip on the connectors to prevent damage.
- Remove any additional attachments: In some cases, there may be adhesive tape or screws securing the panel to the TV frame. Carefully remove any tape or unscrew any fasteners without applying excessive force, taking care not to damage nearby components.
- Release the panel from the frame: Once all the connectors and attachments are removed, gently detach the cracked panel from the TV frame. Be cautious when handling the fragile panel to prevent further damage or injury.
- Store the cracked panel: Safely store the cracked panel in a secure and protected location. This is important in case you need to return it to the supplier or for future reference.
By following these steps, you will be able to safely remove the cracked panel from your LED TV. Take your time and double-check all the connections and attachments before proceeding to the installation of the replacement panel.
In the next section, we will guide you through the process of installing the new panel and reassembling your TV.
Installing the New Panel
With the cracked panel removed, it’s time to install the new replacement panel in your LED TV. This step requires careful handling and precision to ensure a successful installation. Follow these steps to install the new panel:
- Inspect the replacement panel: Before installing the new panel, carefully inspect it for any signs of damage or defects. Ensure that it matches the required specifications and that all connectors are intact.
- Align the new panel: Carefully align the new panel with the TV frame, making sure that it fits properly in the designated area. Take note of any notches or guides that can help you align the panel correctly.
- Connect the cables and connectors: Gently connect the cables and connectors to the corresponding ports on the new panel. Ensure that they are securely attached and properly aligned. Use caution to avoid bending or damaging the connectors.
- Secure the panel: If there are any adhesive tapes or fasteners provided with the replacement panel, use them to secure the panel in place. Follow any included instructions or guidelines for proper installation.
- Double-check the connections: Before proceeding, double-check all the cable connections and confirm that they are securely attached. This step is crucial to ensure proper functionality of the new panel.
- Reattach any additional attachments: If there were any adhesive tapes or screws that secured the previous panel to the TV frame, reattach them to the new panel as per the manufacturer’s instructions.
- Refer to the user manual: Consult the user manual or online resources for your specific TV model to verify any additional steps or guidelines regarding installing the new panel. There may be specific instructions or precautions provided by the manufacturer.
Take your time during the installation process to ensure that the new panel is properly aligned and securely attached. Avoid using excessive force or rushing through the steps, as this can cause damage to the new panel or other components of the TV.
Once the new panel is successfully installed, you can proceed to the next section where we will guide you through the process of reassembling your TV.
Reassembling the TV
With the new panel securely installed, it’s time to reassemble your LED TV. This step involves putting the various components back together to restore the TV’s original structure. Follow these steps for reassembling the TV:
- Refer to the user manual or online resources: Consult the user manual or search for online resources specific to your TV model for reassembly instructions. These resources will provide guidance on how to properly put the TV back together.
- Reattach the speaker assembly: If you had previously removed the speaker assembly, reattach it to the designated area or mounting points as per the manufacturer’s instructions. Use screws or clips to secure it in place.
- Connect internal cables: Reconnect the internal cables and connectors, following the notes or pictures you took during the disassembly process. Ensure that each cable is securely plugged into its corresponding port, taking care not to force or bend the connectors.
- Secure the back panel: Carefully position the back panel onto the TV’s chassis, aligning it with the screw holes. Insert the screws appropriately and tighten them to secure the panel. Use caution not to overtighten and damage the screw threads.
- Double-check the connections: Before proceeding further, double-check all the cable connections to ensure they are properly connected and secure. This includes checking the power supply, main board connections, and any other essential cables.
- Clean the screen and surfaces: Before turning on the TV, use a microfiber cloth to clean the screen and other surfaces. Remove any dust or fingerprints to ensure a clear and clean display.
- Replace the TV stand or wall-mount: If you had removed the TV stand or wall-mount, reattach it according to the manufacturer’s instructions. Ensure that it is securely fixed to provide stability and support to the TV.
Throughout the reassembly process, handle the TV components with care, avoiding excessive force or causing any unnecessary stress on the delicate components. Follow the provided instructions closely to ensure a successful reassembly.
Now that your LED TV is reassembled, it’s time to test it and verify that the new panel is functioning properly. The next section will guide you through the testing process.
Testing the TV
After successfully reassembling your LED TV with the new panel, it’s important to test it to ensure that everything is functioning properly. Follow these steps to thoroughly test your TV:
- Connect the TV to power: Plug the TV back into a power source and ensure that it is receiving power. Check for any power indicators or lights on the TV to confirm that it is properly connected.
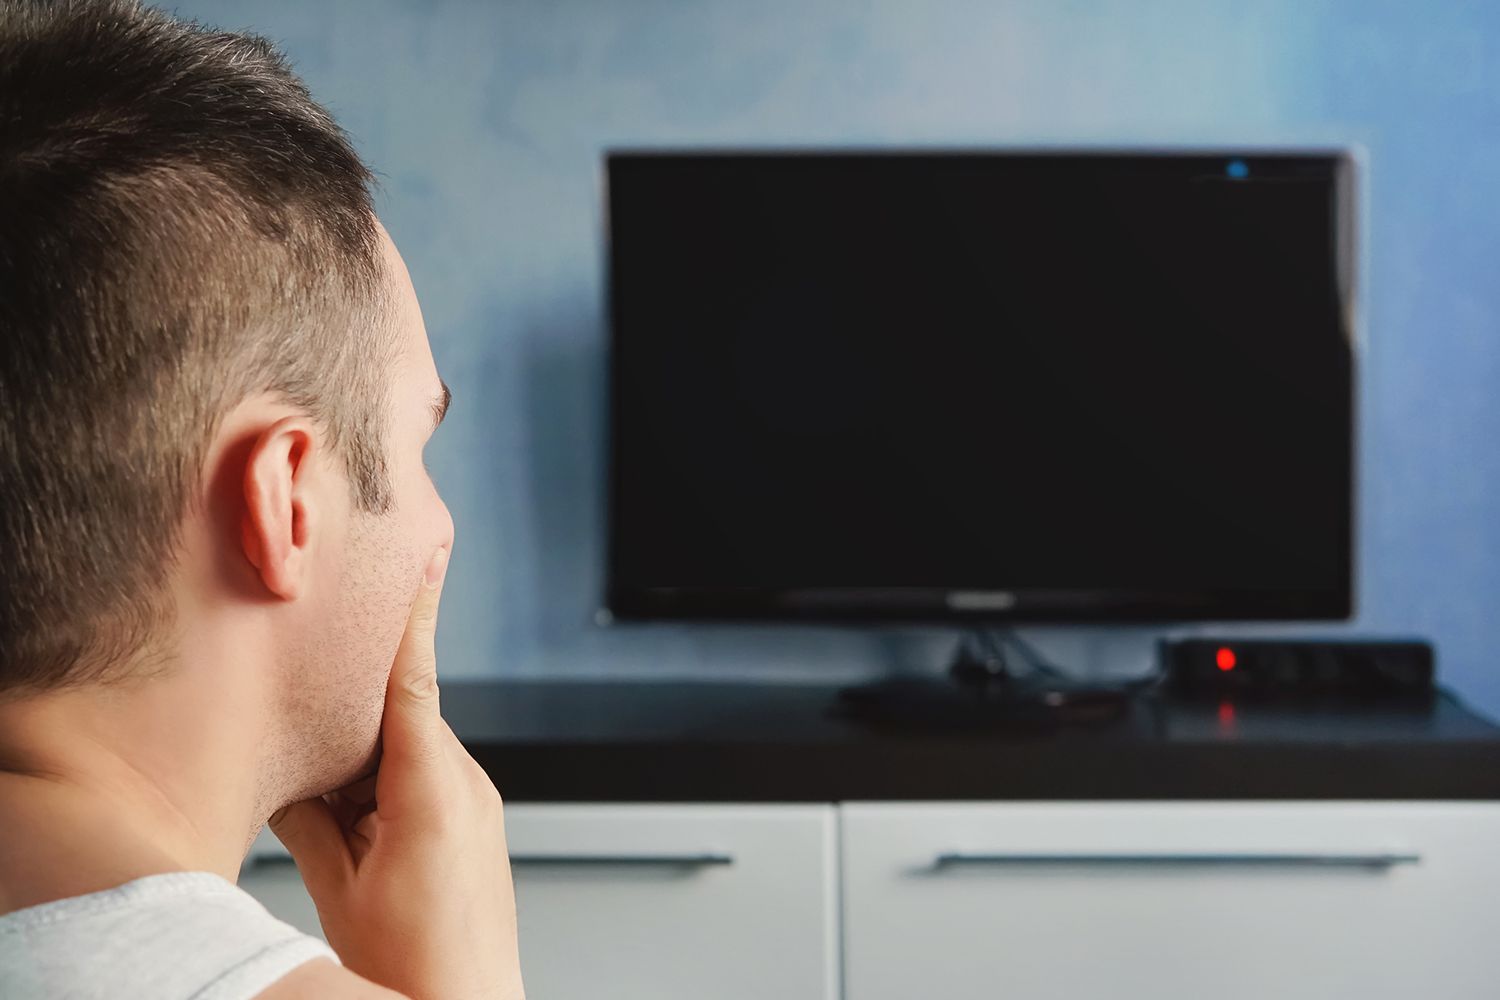
- Turn on the TV: Press the power button on the TV or the remote control to turn on the TV. Observe the screen to see if it powers up without any issues.
- Check for visual abnormalities: Look closely at the display to ensure that there are no visible lines, distortions, or discolorations. Examine different areas of the screen to verify that the new panel is working correctly.
- Test different inputs and channels: Switch between different inputs (e.g., HDMI, AV) and channels to test the TV’s functionality. Ensure that the audio and video are working properly on each input source.
- Inspect for any audio issues: Play some audio content and listen for any abnormalities in sound quality or volume. Check that the speakers are producing clear and balanced audio.
- Adjust settings and features: Navigate through the TV’s settings menu to ensure that all features and options are accessible and functioning as expected. Test various settings such as brightness, contrast, and audio settings.
- Test remote control functionality: Use the TV’s remote control to navigate through the menu, change channels, adjust volume, and perform other functions. Ensure that the remote control is communicating properly with the TV.
- Repeat testing and observation: Repeat the above steps multiple times to thoroughly test the TV from different angles, sources, and settings. Pay attention to any persisting issues or inconsistencies.
If you notice any problems during the testing phase, such as persistent lines, flickering, or audio abnormalities, it may indicate an issue with the new panel or other components. In such cases, it’s recommended to consult a professional or contact the manufacturer for further assistance.
Once you are satisfied that the TV is functioning properly, you can proceed to enjoy your repaired LED TV. However, remember to keep an eye on the TV and monitor any signs of future issues, as prevention and regular maintenance are essential for prolonging the life of your TV.
Conclusion
Repairing a cracked LED TV can be a challenging but feasible DIY project if you have the necessary tools, skills, and patience. By following the steps outlined in this guide, you can successfully fix a cracked panel and restore your TV’s functionality. However, keep in mind that handling electronic devices requires caution, and if you feel uncomfortable or unsure, it’s always best to seek professional assistance.
From assessing the damage to disconnecting the TV, disassembling it, and locating the cracked panel, the process requires careful attention and precision. Ordering the correct replacement panel and safely removing the cracked panel are essential steps to ensure a successful repair. Reassembling the TV and performing thorough testing confirm whether the new panel is functioning properly.
It’s worth noting that repairing a cracked LED TV may not be cost-effective in all cases. Factors such as the TV’s age, value, and availability of replacement parts should be considered when deciding whether to repair or replace the TV. Additionally, keep in mind that attempting to repair the TV may void any existing warranties.
Remember to take safety precautions throughout the repair process, such as wearing protective gloves, disconnecting the TV from power sources, and handling delicate components with care. If you encounter any difficulties or uncertainties, consult the TV’s user manual, manufacturer, or seek assistance from a professional technician.
The satisfaction of successfully repairing a cracked LED TV can be immensely rewarding. By carefully following the steps outlined in this guide and taking the necessary precautions, you can restore your TV to its former glory and enjoy high-quality entertainment once again!