Introduction
Having a Samsung LED TV with a faulty display can be frustrating, especially if you rely on it for entertainment. However, before you rush to buy a new TV, it’s worth considering that you may be able to repair the display yourself. With some troubleshooting and basic repairs, you may be able to get your Samsung LED TV back to its full functionality.
In this guide, we will take you through the step-by-step process of repairing a Samsung LED TV display. From identifying the problem to carrying out the necessary repairs, we will provide you with the knowledge and guidance you need to get your TV working again.
It’s important to note that repairing a TV display requires some technical skills and knowledge of electronics. If you are not comfortable working with electronic components, it might be best to seek professional help. However, if you are confident in your abilities and willing to take on the challenge, let’s get started!
Tools and Materials You Will Need
Before you begin repairing your Samsung LED TV display, it’s important to gather the necessary tools and materials. Having the right equipment will ensure that you can carry out the repairs effectively and with minimal hassle. Here are the tools and materials you will need:
- Screwdriver set: You will need a set of screwdrivers with various sizes and types to remove the screws holding the TV’s back cover and other components in place.
- Multimeter: A multimeter is a crucial tool for troubleshooting electrical issues. It will help you measure voltage, continuity, and resistance, allowing you to identify faulty components.
- Replacement LEDs: If you determine that the LEDs in your TV display are faulty, you will need to replace them. Make sure to get the correct type and size of LEDs for your specific TV model.
- Heat gun or soldering iron: Depending on the type of repair you need to carry out, you may need a heat gun or soldering iron. These tools are essential for tasks such as reflowing solder or replacing components on circuit boards.
- T-con board replacement (optional): If the issue lies with the T-con board, you may need to replace it. Check the specific model of your TV to ensure you purchase the correct replacement.
- Main board replacement (optional): Similarly, if the main board is the culprit, you may need to replace it. Make sure to select the appropriate replacement board for your TV model.
- Backlight inverter replacement (optional): In some cases, the backlight inverter may be causing the display problem. If that’s the case, you may need to replace it. Verify the correct replacement part for your TV.
It’s important to note that the optional replacements mentioned above should only be considered after proper troubleshooting. Thoroughly inspect and diagnose the issue before purchasing replacement boards or inverters.
By having these tools and materials on hand, you will be well-prepared to tackle the repair process and increase your chances of successfully fixing your Samsung LED TV display.
Step 1: Troubleshooting the Issue
Before diving into any repairs, it’s essential to troubleshoot the issue with your Samsung LED TV display. By systematically identifying the problem, you can determine the appropriate course of action. Here’s how you can troubleshoot the display issue:
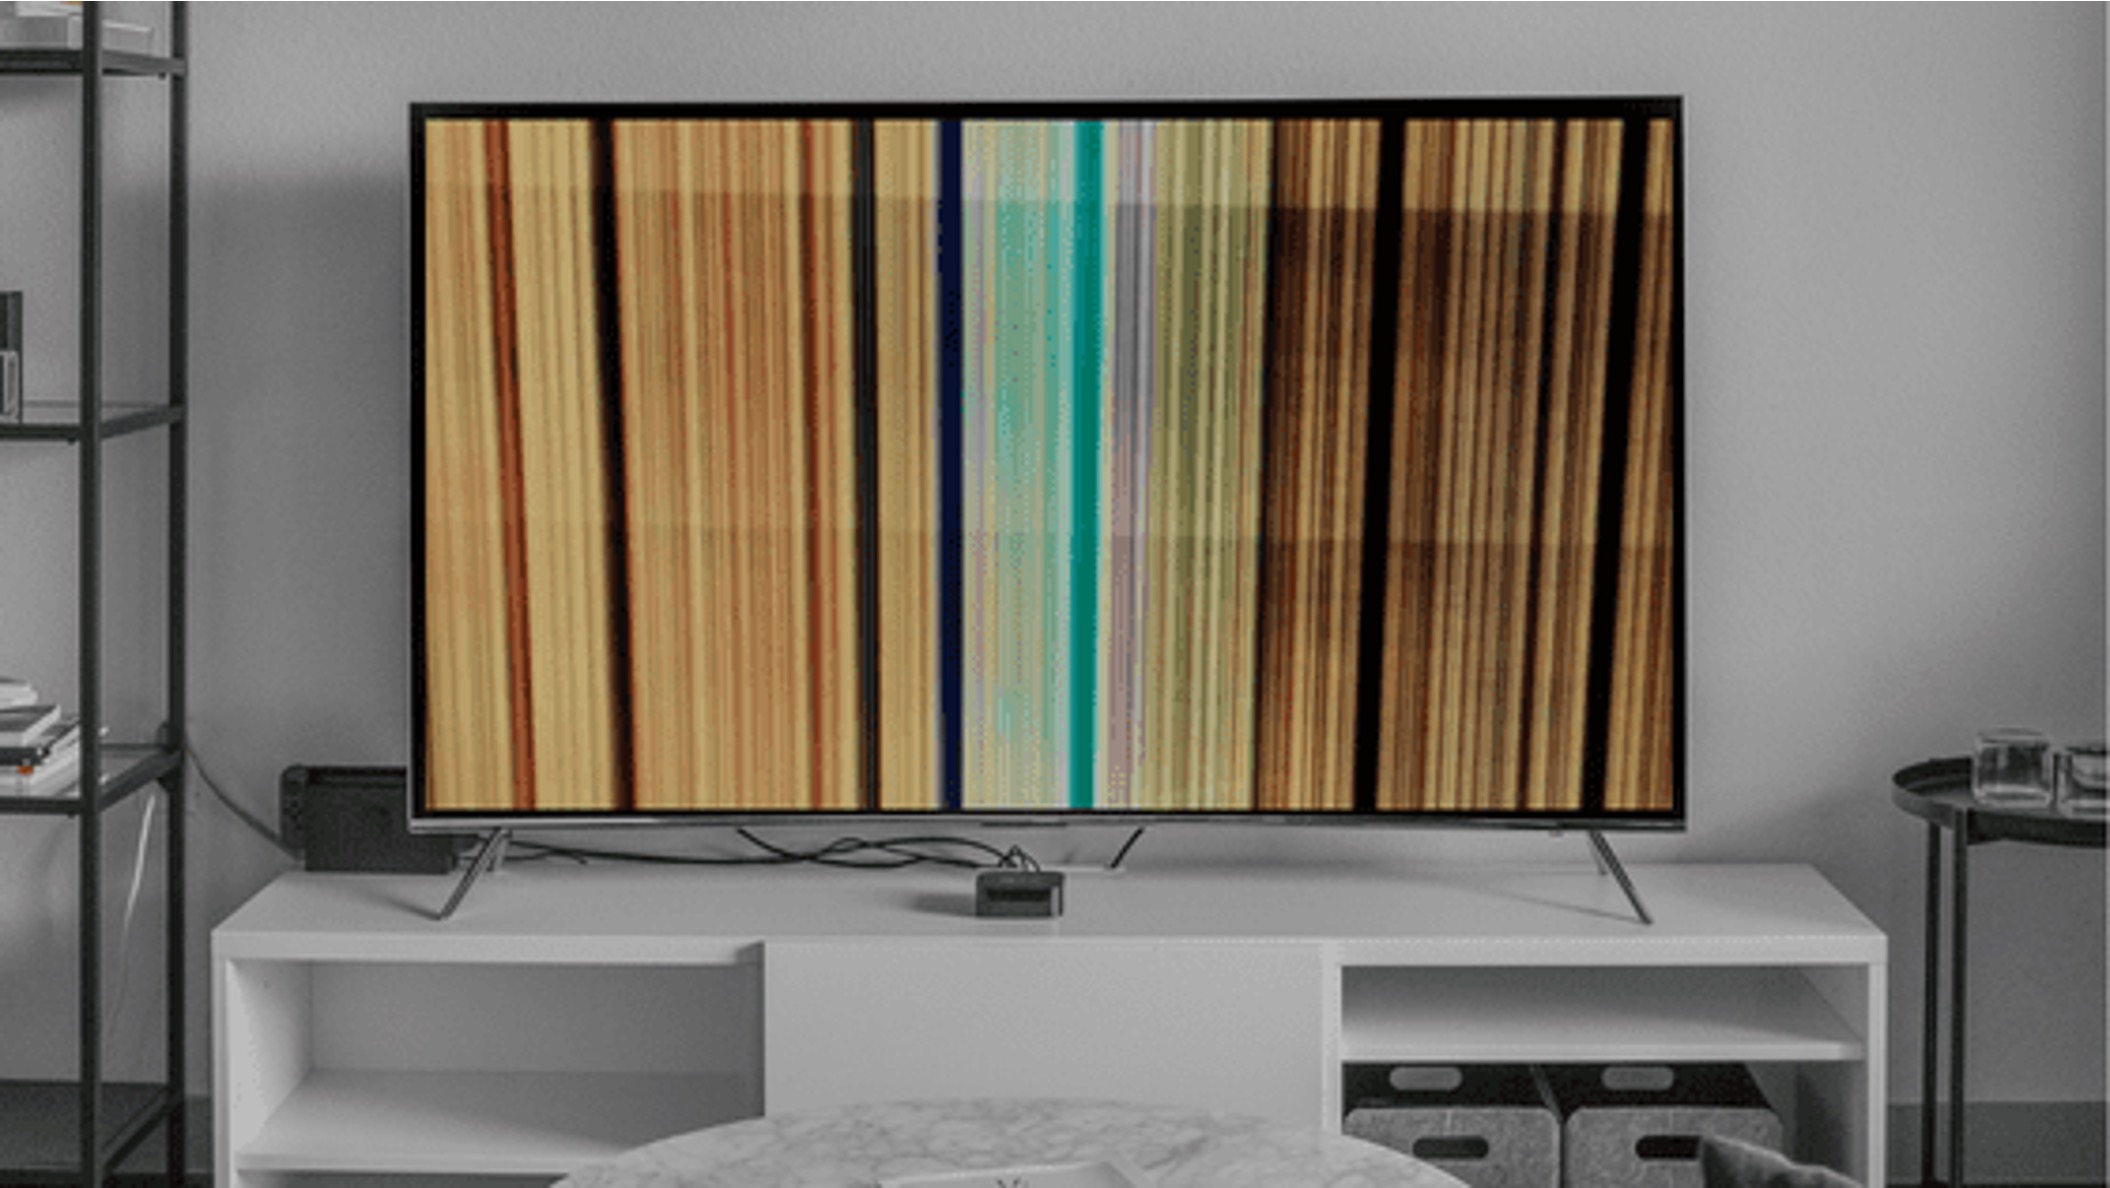
- Inspect for physical damage: Begin by carefully examining the TV screen for any visible signs of physical damage, such as cracks or broken parts. If you spot any, it’s likely that the display needs to be replaced.
- Check for power supply issues: Ensure that the TV is properly connected to a power source and that the power cable is intact. Confirm that the power outlet is working by plugging in another device. If the TV still doesn’t turn on, the power supply unit may be faulty.
- Test different inputs: Connect different devices, such as a DVD player or gaming console, to your TV using different input ports. If the display works with some inputs but not others, there may be an issue with the specific ports or cables.
- Verify the settings: Check the TV’s settings menu for any adjustments that may affect the display. Ensure that the brightness, contrast, and other settings are properly configured. Additionally, check for any firmware updates available for your TV model.
- Look for error codes: If your Samsung LED TV has an error code display feature, pay attention to any error codes that appear. Refer to the TV’s user manual or online resources to diagnose the specific error and determine the required fix.
- Perform a factory reset: If all else fails, performing a factory reset may resolve software-related issues. Keep in mind that a factory reset will erase all customized settings and stored data on your TV, so consider this as a last resort.
Troubleshooting the issue will help you narrow down the source of the problem and determine the appropriate repair steps. If you are unable to identify the issue or if the problem persists after troubleshooting, it may be necessary to move on to the next step: checking the power supply.
Step 2: Checking the Power Supply
When dealing with a Samsung LED TV display issue, it’s crucial to inspect the power supply unit (PSU) as it can often be the root cause of the problem. Here’s how you can check the power supply:
- Make sure the TV is unplugged: Before proceeding, ensure that your TV is completely disconnected from the power source to avoid any potential electrical hazards.
- Remove the back cover: Use a screwdriver to carefully remove the screws holding the TV’s back cover in place. Once the screws are removed, gently lift off the back cover, exposing the internal components.
- Locate the power supply board: Look for the power supply board, usually situated near where the power cord connects to the TV. It is typically a larger circuit board with various connectors and capacitors.
- Check for bulging or leaking capacitors: Inspect the power supply board for any capacitors that appear to be bulging or leaking. These are common indicators of a faulty power supply. If you spot any, they will need to be replaced.
- Examine the fuse: Locate the fuse on the power supply board and visually inspect it for any signs of damage. If the fuse is blown or has a broken filament, it will need to be replaced with a new one of the same rating.
- Test the power supply voltages: Using a multimeter set to DC voltage, carefully test the voltage outputs of the power supply board. Refer to your TV’s service manual or online resources to determine the correct voltage values for each output. If any of the voltages are significantly off or missing, it may indicate a faulty power supply.
If you find any faulty capacitors or a blown fuse, you can replace them with new components of the same specifications. However, if the power supply voltages are incorrect or missing, it may require further troubleshooting or replacement of the entire power supply board.
Remember to take pictures or make notes of the connections before removing any components to ensure proper reassembly. Additionally, exercise caution when working with the internal components of your TV to prevent damage or injury.
Once you have checked the power supply and made any necessary repairs, you can proceed to the next step: inspecting the LED strips.
Step 3: Inspecting the LED Strips
When dealing with display issues on a Samsung LED TV, it’s important to closely inspect the LED strips. These strips are responsible for illuminating the screen and can often be a common source of problems. Here’s how you can inspect the LED strips:
- Ensure the TV is unplugged: Before beginning any inspection, make sure your TV is disconnected from the power source to prevent any potential electrical accidents.
- Remove the back cover: Using a screwdriver, carefully remove the screws holding the TV’s back cover in place. Gently lift off the back cover to expose the internal components.
- Locate the LED strips: The LED strips are typically found along the edges of the TV screen. They are thin, elongated strips that provide the backlighting for the display.
- Inspect for physical damage: Examine the LED strips for any signs of physical damage, such as cracks, breaks, or dark spots. These can indicate that the LED strips are faulty and need to be replaced.
- Check for loose connections: Ensure that the connections between the LED strips and the LED driver boards or the main board are secure. Loose or damaged connections can result in display issues.
- Test the LED strips: If you have a multimeter with a diode testing function, you can test the LED strips for continuity. By checking the continuity of each LED on the strip, you can identify any defective LEDs that may be causing the display problem.
If you find any LED strips with physical damage or faulty LEDs, they will need to be replaced. You can purchase replacement LED strips online or from a reputable electronics store. Make sure to select LED strips that are compatible with your specific Samsung TV model.
When working with LED strips, handle them carefully to avoid causing further damage. Take note of the connections and placement of the strips before removing them to ensure proper reinstallation.
Once you have inspected the LED strips and made any necessary replacements, you can proceed to the next step: replacing faulty LEDs, if required.
Step 4: Replacing Faulty LEDs
If you have determined that the display issue on your Samsung LED TV is due to faulty LEDs, you can replace them to restore the functionality of the screen. Here’s how you can replace faulty LEDs:
- Ensure the TV is unplugged: Before starting any repair work, make sure your TV is completely disconnected from the power source to prevent electric shocks or damage.
- Remove the back cover: Use a screwdriver to carefully remove the screws that hold the back cover of the TV in place. Once the screws are removed, gently lift off the back cover to access the internal components.
- Locate the faulty LEDs: The LED strips are typically located along the edges of the TV screen. Carefully inspect the strips and identify any LEDs that are not functioning or are visibly damaged.
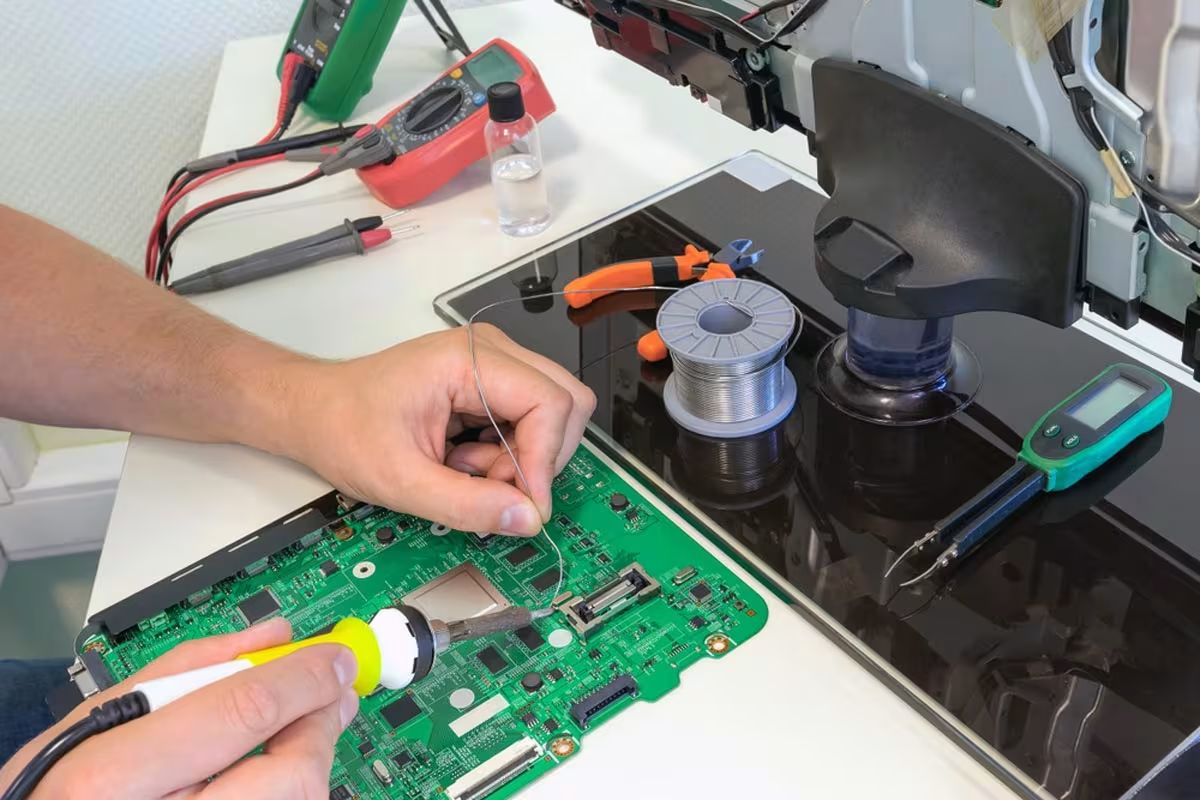
- Desolder the faulty LEDs: Using a soldering iron and desoldering pump or wick, desolder the connections of the faulty LEDs from the LED strips. Be careful to avoid excessive heat, as it can damage the surrounding components.
- Replace with new LEDs: Purchase replacement LEDs that match the specifications of your Samsung TV model. Solder the new LEDs into place, ensuring proper alignment and secure connections. Take note of the polarity of the LEDs during the replacement process.
- Test the replaced LEDs: Once the new LEDs are soldered in place, carefully reconnect the strips to the LED driver boards or main board. Plug in the TV and turn it on to verify that the replaced LEDs are functioning correctly.
It’s important to exercise caution while working with a soldering iron to avoid burns or damage to the TV’s components. If you are not comfortable with soldering, you may consider seeking assistance from a professional technician.
Remember to handle the LED strips and components with care and take note of the original placement and connections before removing any components for replacement.
After replacing the faulty LEDs, test the TV to ensure that the display is now functioning properly. If the issue persists, you should move on to the next step: checking the T-con board.
Step 5: Checking the T-con Board
The T-con (Timing Control) board is a crucial component responsible for processing and driving the signals to the display panel. If you have ruled out issues with the power supply and LED strips, it’s time to check the T-con board. Here’s how to proceed:
- Ensure the TV is unplugged: Before starting any inspection or repair work, make sure your TV is disconnected from the power source to avoid any electrical accidents.
- Locate the T-con board: The T-con board is typically located at the top or bottom of the TV, usually attached to the back of the display panel. Consult your TV’s manual or online resources to identify the exact location.
- Inspect for physical damage: Examine the T-con board for any signs of physical damage, such as burnt or swollen components, loose connections, or broken traces. These visual cues may indicate that the T-con board is faulty.
- Check for faulty ICs: Inspect the integrated circuits (ICs) on the T-con board, ensuring they are properly soldered and not damaged. Look for any signs of burnt or discolored components, which could be indicative of a problem.
- Verify ribbon cable connections: The T-con board is often connected to the display panel via ribbon cables. Ensure these connections are secure and properly aligned. Disconnect and reconnect them to eliminate any potential loose connection issues.
- Test with a known working T-con board (optional): If you have access to a known working T-con board of the same model, you can swap it with the existing one to see if the display issue is resolved. If the new board solves the problem, it may indicate a faulty T-con board that needs to be replaced.
It’s important to exercise caution when handling and inspecting the T-con board. Avoid applying excessive force or pressure, and be mindful of electrostatic discharge (ESD) precautions to prevent damage to delicate components.
If you find any physical damage or suspect a faulty T-con board, you may need to replace it. Consult your TV’s service manual or contact a professional technician for guidance on acquiring the correct replacement T-con board for your specific TV model.
Once you have checked the T-con board and made any necessary repairs or replacements, you can proceed to the next step: checking the main board.
Step 6: Repairing the T-con Board
If you have determined that the T-con (Timing Control) board of your Samsung LED TV is faulty, you may attempt to repair it before considering a replacement. Here are the steps to repair the T-con board:
- Ensure the TV is unplugged: Before starting any repair work, make sure your TV is disconnected from the power source to avoid any potential electrical accidents.
- Remove the T-con board: Carefully detach the T-con board from its mounting position on the TV. Take note of the connections and any screws or clips that secure it in place.
- Inspect for visible damage: Thoroughly examine the T-con board for any visible signs of damage, such as burnt or swollen components, broken traces, or loose connections. These issues may be repairable, depending on the severity.
- Repair loose connections: If you find any loose or poorly connected wires or cables, carefully reattach them, ensuring they are secure and properly aligned. Use a soldering iron if necessary to strengthen the connection.
- Repair damaged traces: If you spot any broken traces on the T-con board, you can attempt to repair them using conductive ink or by carefully soldering jumper wires to bridge the gaps. Take caution not to cause further damage during the process.
- Replace faulty components: If you identify any faulty components on the T-con board, such as burnt ICs or capacitors, you may try replacing them with new components of the same specifications. Make sure to use appropriate tools and techniques for desoldering and soldering.
- Perform a functionality test: Once the necessary repairs or component replacements are made, reinstall the T-con board into the TV and reconnect all necessary cables. Plug in the TV and observe if the display issue is resolved or improved.
Repairing the T-con board requires intermediate-level electronics knowledge and skill in soldering. If you’re not confident in your abilities, it’s advisable to seek assistance from a professional technician who specializes in TV repairs.
If the T-con board is beyond repair or if repairing it doesn’t resolve the display issue, you may need to consider replacing the T-con board altogether. Refer to your TV’s service manual or consult a professional technician to ensure you obtain the correct replacement T-con board for your specific Samsung LED TV model.
Once you have completed the repair or replacement of the T-con board, you can move on to the next step: checking the main board.
Step 7: Checking the Main Board
The main board is a crucial component of your Samsung LED TV that controls various functions and processes the incoming signals. If you have ruled out issues with the power supply, T-con board, and other components, it’s time to check the main board. Here’s how to proceed:
- Ensure the TV is unplugged: Before starting any inspection or repair work, make sure your TV is completely disconnected from the power source to prevent any potential electrical accidents.
- Locate the main board: The main board is usually located in the center or rear of the TV. Refer to your TV’s manual or online resources to pinpoint its exact location.
- Inspect for physical damage: Carefully examine the main board for any signs of physical damage, such as burnt or swollen components, loose connections, or damaged traces. These visual cues may indicate that the main board is faulty.
- Verify component connections: Ensure that all the connectors on the main board are securely attached. Check for any loose cables or improperly seated component connections. Reconnect or reseat any loose connections as needed.
- Check for blown capacitors: Inspect the capacitors on the main board for any signs of bulging, leaking, or blown tops. Faulty capacitors can cause display issues. If you find any, they will need to be replaced.
- Inspect ICs and other components: Examine the integrated circuits (ICs) and other components on the main board for any signs of damage or irregularities. Look for burnt or discolored components, which could be indicative of a problem.
- Test the voltage regulators: Using a multimeter, test the voltage regulators on the main board to ensure they are producing the correct outputs. Compare the measured values with the specifications provided in your TV’s service manual.
- Consider firmware updates: Check if there are any available firmware updates for your TV model. Outdated firmware can sometimes cause display issues. Consult Samsung’s official website for instructions on how to update the firmware.
Be cautious when working with the main board, as it is a sensitive and intricate component. Avoid applying excessive force or pressure, and be mindful of proper electrostatic discharge (ESD) precautions to prevent damage to delicate components.
If you find any physical damage, faulty capacitors, or suspect a faulty IC on the main board, it may be necessary to repair or replace the main board. Consult your TV’s service manual or seek assistance from a professional technician to ensure you obtain the correct replacement main board.
Once you have checked the main board and made any necessary repairs or replacements, you can proceed to the next step: checking the backlight inverter.
Step 8: Repairing the Main Board
If you have identified issues with the main board of your Samsung LED TV, you may attempt to repair it before considering a replacement. Here are the steps to repair the main board:
- Ensure the TV is unplugged: Before starting any repair work, make sure your TV is disconnected from the power source to avoid any potential electrical accidents.
- Remove the main board: Carefully detach the main board from its mounting position in the TV. Take note of the connections and any screws or clips that secure it in place.
- Inspect for visible damage: Thoroughly examine the main board for any visible signs of damage, such as burnt components, broken traces, or loose connections. These issues may be repairable, depending on the severity.
- Repair loose connections: If you find any loose or poorly connected wires or cables, carefully reattach them, ensuring they are secure and properly aligned. Use a soldering iron if necessary to strengthen the connection.
- Repair damaged traces: If you spot any broken or damaged traces on the main board, you can attempt to repair them using conductive ink or by carefully soldering jumper wires to bridge the gaps. Take caution not to cause further damage during the repair process.
- Replace faulty components: If you identify any faulty components, such as burnt ICs, capacitors, or resistors, you can replace them with new components of the same specifications. Use appropriate tools and techniques for desoldering and soldering.
- Perform a functionality test: Once you have completed the necessary repairs or component replacements, reinstall the main board into the TV and reconnect all necessary cables. Plug in the TV and test if the display issue is resolved or improved.
Repairing the main board requires intermediate-level electronics knowledge and skill in soldering. If you’re not confident in your abilities, it’s advisable to seek assistance from a professional technician who specializes in TV repairs.
If the main board is beyond repair or if repairing it doesn’t resolve the display issue, a replacement main board may be necessary. Refer to your TV’s service manual or consult a professional technician to ensure you obtain the correct replacement main board for your specific Samsung LED TV model.
Once you have completed the repair or replacement of the main board, you can move on to the next step: checking the backlight inverter.
Step 9: Checking the Backlight Inverter
The backlight inverter plays a crucial role in illuminating the screen of your Samsung LED TV. If you have exhausted other troubleshooting steps and the display still has issues, it’s time to check the backlight inverter. Here’s how to proceed:
- Ensure the TV is unplugged: Before starting any inspection or repair work, make sure your TV is completely disconnected from the power source to avoid any potential electrical accidents.
- Locate the backlight inverter: The backlight inverter is usually situated somewhere near the bottom edge of the TV, close to the LED strips. Refer to your TV’s manual or online resources if you’re unsure of its exact location.
- Inspect for physical damage: Carefully examine the backlight inverter for any signs of physical damage, such as burnt components, loose connections, or broken traces. These issues may indicate a faulty or malfunctioning backlight inverter.
- Verify power supply to the inverter: Check if the backlight inverter is receiving the proper power supply. Use a multimeter to measure the voltage at the input pins of the inverter board. Consult your TV’s service manual for the correct voltage values.
- Inspect the output voltage: If the power supply is accurate, use a multimeter to measure the output voltage of the inverter. Compare the measured values with the specifications provided in your TV’s service manual. Any significant deviations can indicate a faulty inverter.
- Check for faulty transformers or capacitors: Examine the transformers and capacitors on the inverter board for any signs of damage, such as burnt or swollen components. Faulty transformers or capacitors can impact the backlight illumination.
- Inspect the backlight cables: Verify the integrity of the cables connecting the backlight inverter to the LED strips. Ensure they are securely connected and free from damage or loose connections.
- Consider testing with a known working inverter (optional): If you have access to a known working backlight inverter of the same model or compatible with your TV, you can try swapping it out to see if the display issue is resolved. If the new inverter works, it’s likely that the original one is faulty and needs to be replaced.
Take care when handling the backlight inverter and its components, as they are sensitive and can be easily damaged. Avoid excessive force or pressure, and follow proper electrostatic discharge (ESD) precautions to prevent any harm to the components.
If you find physical damage or suspect a faulty backlight inverter, you may need to consider replacing it. Refer to your TV’s service manual or consult a professional technician to ensure you obtain the correct replacement backlight inverter for your specific Samsung LED TV model.
Once you have checked the backlight inverter and made any necessary repairs or replacements, you can proceed to the final step: concluding the repair process and testing the TV.
Step 10: Repairing the Backlight Inverter
If you have determined that the backlight inverter of your Samsung LED TV is faulty, you may attempt to repair it before considering a replacement. Here are the steps to repair the backlight inverter:
- Ensure the TV is unplugged: Before starting any repair work, make sure your TV is disconnected from the power source to avoid any potential electrical accidents.
- Remove the backlight inverter: Carefully detach the backlight inverter from its mounting position near the LED strips. Take note of the connections and any screws or clips that secure it in place.
- Inspect for visible damage: Thoroughly examine the backlight inverter for any signs of physical damage, such as burnt components, loose connections, or damaged traces. These issues may be repairable, depending on the severity.
- Repair loose connections: If you find any loose or poorly connected wires or cables, carefully reattach them, ensuring they are secure and properly aligned. Use a soldering iron if necessary to strengthen the connection.
- Replace faulty components: If you identify any faulty components, such as transformers or capacitors, you can replace them with new components of the same specifications. Use appropriate tools and techniques for desoldering and soldering.
- Perform a functionality test: Once the necessary repairs or component replacements are made, reinstall the backlight inverter into the TV and reconnect all necessary cables. Plug in the TV and test if the display issue is resolved or improved.
Repairing the backlight inverter requires intermediate-level electronics knowledge and skill in soldering. If you’re not confident in your abilities, it’s advisable to seek assistance from a professional technician who specializes in TV repairs.
If the backlight inverter is beyond repair or if repairing it doesn’t resolve the display issue, a replacement backlight inverter may be necessary. Refer to your TV’s service manual or consult a professional technician to ensure you obtain the correct replacement backlight inverter for your specific Samsung LED TV model.
Once you have completed the repair or replacement of the backlight inverter, you can proceed to reassemble the TV and perform a thorough test to ensure that the display is now fully functional.
Conclusion
Repairing a Samsung LED TV display is a challenging but rewarding process. By following the step-by-step troubleshooting and repair methods outlined in this guide, you can attempt to fix common display issues on your own. However, it’s important to remember that TV repair involves handling sensitive electronic components, so if you lack experience or confidence, it’s best to seek professional assistance.
Throughout the repair process, you have learned how to troubleshoot the issue, check the power supply, inspect the LED strips, replace faulty LEDs, examine the T-con board, repair or replace the main board, diagnose the backlight inverter, and repair it if necessary.
Remember that troubleshooting and repairing a Samsung LED TV display require careful attention to detail, proper tools, and a good understanding of electronics. Take note of safety precautions and consult your TV’s service manual or seek professional advice when necessary.
If you are unsuccessful in resolving the display issue, it may indicate a more complex problem that requires the expertise of a professional technician. They have the necessary equipment and knowledge to diagnose and repair intricate TV components.
Repairing a Samsung LED TV display can save you money from having to purchase a new TV. It also provides you with an opportunity to gain valuable knowledge and skills in electronics repair. Whether you successfully fix the issue or determine that professional help is required, you can take pride in your willingness to explore the possibilities of repair before resorting to replacement.
Remember to exercise caution, be patient, and enjoy the process of troubleshooting and repairing your Samsung LED TV display. Good luck with your TV repair journey!