Introduction
Asana is a powerful project management tool that allows teams to collaborate seamlessly and stay organized. It offers a wide range of features to help manage tasks, track progress, and streamline workflows. However, there may be instances where you need to analyze or share your project data in a more versatile format, such as Excel. This can be especially useful for generating reports, conducting further analysis, or simply presenting the information to stakeholders who are more comfortable with Excel.
Exporting your Asana project to Excel can be done with just a few simple steps, and in this article, we will guide you through the process. We will show you how to access your Asana project, export it to Excel, review the exported file, and customize it according to your needs. By following these steps, you’ll be able to harness the power of Asana and Excel together, enhancing your project management capabilities.
Whether you are looking to analyze your project data, track specific metrics, or create visually appealing reports, exporting your Asana project to Excel can provide you with more flexibility and deeper insights. Let’s dive in and learn how to export your Asana project to Excel!
Step 1: Accessing the Asana Project
The first step in exporting your Asana project to Excel is to access the project you want to export. This requires signing in to your Asana account and navigating to the specific project you wish to export. Here’s how you can do it:
- Open your preferred web browser and go to the Asana website (www.asana.com).
- Sign in to your Asana account using your username and password.
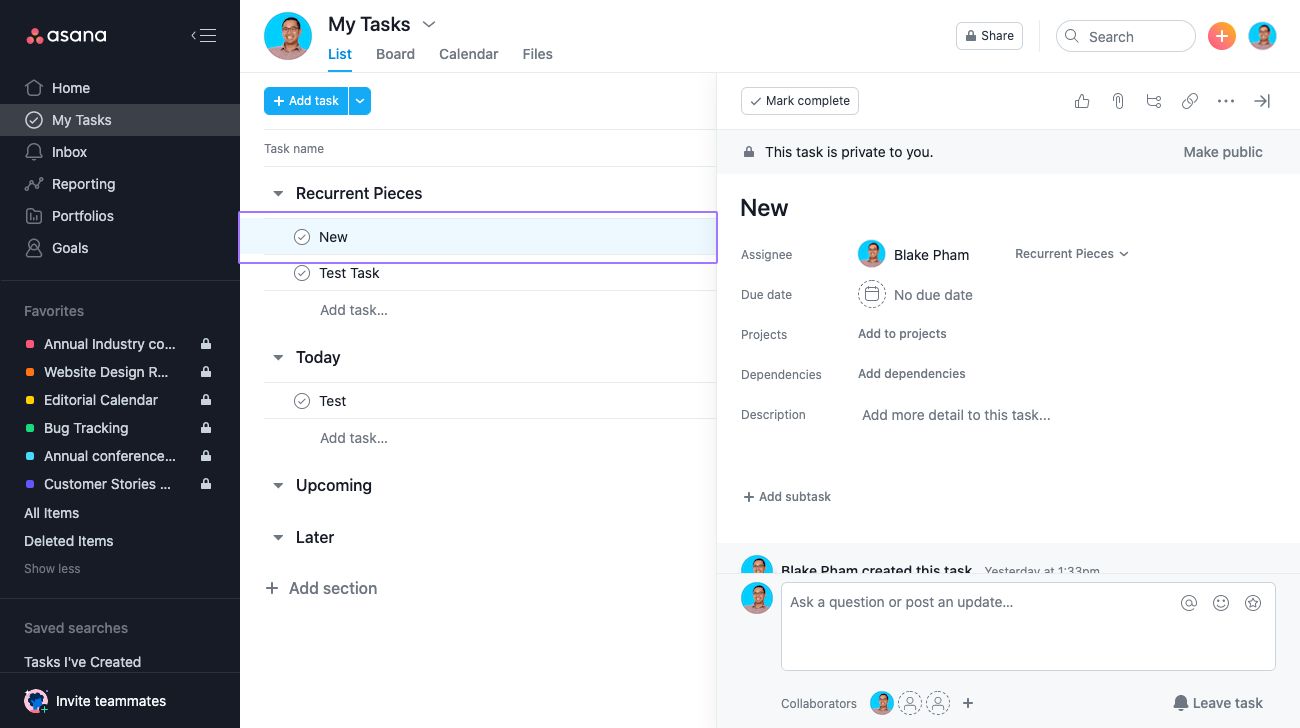
- Once logged in, you will be taken to your Asana dashboard. Here, you will see a list of your projects, tasks, and other relevant information.
- Select the project you want to export to Excel by clicking on its name or thumbnail.
- You will now be redirected to the project’s page, where you can view all the tasks, subtasks, and project details.
It’s important to note that you must have the necessary permissions to access and export the project. If you are not the owner or a member of the project, make sure you have been granted access by the project owner or administrator.
Once you have successfully accessed the Asana project you want to export, you are ready to proceed to the next step: exporting the project to Excel.
Step 2: Exporting the Asana Project to Excel
Now that you have accessed the Asana project you want to export, it’s time to convert it into an Excel file. Asana provides a built-in export feature that allows you to export your project data in a spreadsheet-friendly format. Follow the steps below to export your Asana project to Excel:
- In the top navigation bar of your Asana project, locate and click on the “Export” option. It is usually represented by an icon that looks like an arrow pointing downwards.
- A drop-down menu will appear with different export options. Select the “Export to CSV” or “Export to Excel” option.
- Depending on your browser settings, the exported file may automatically download or prompt you to choose a location to save it. If prompted, select the desired location on your computer and click “Save”.
- Wait for the export process to complete. This may take a few moments, especially if you have a large project with numerous tasks and subtasks.
- Once the export is finished, you will have an Excel file (.xlsx) or a CSV file (.csv) containing your Asana project data.
It’s worth noting that when exporting to Excel, Asana will include various fields and columns in the spreadsheet, such as task names, descriptions, due dates, assignees, and more. The specific information included will depend on the project settings and the data that was entered for each task in Asana.
In the next step, we will review the exported Excel file to ensure that all the necessary project data has been correctly exported.
Step 3: Reviewing the Exported Excel File
After exporting your Asana project to Excel, it’s essential to review the exported file to ensure that all the project data has been accurately transferred. Follow these steps to review the exported Excel file:
- Locate the Excel file that you exported from Asana. Open it using Microsoft Excel or any other software that can open Excel files.
- Take a moment to look at the column headers. These headers represent the different data fields from Asana, such as task names, due dates, assignees, and more. Make sure that all the necessary information for your project is present and correctly labeled.
- Scroll through the rows of the Excel file, checking that all the tasks and subtasks from your Asana project are included. Pay attention to any missing or duplicated entries.
- Review the task details within each row, such as descriptions, due dates, and assignees. Make sure they match what you had in Asana, and check for any inconsistencies or formatting issues.
- If you have custom fields or additional data in Asana, verify if they have been successfully exported and are displayed in the Excel file.
During the review process, it’s common to identify minor formatting discrepancies, especially if your project contains rich text or special characters. You may need to adjust the formatting in Excel to ensure optimal visibility and readability.
By carefully reviewing the exported Excel file, you can confirm that all the necessary project data has been accurately transferred. In the next step, we will explore how to format and customize the Excel file according to your specific requirements.
Step 4: Formatting and Customizing the Excel File
Once you have reviewed the exported Excel file and confirmed the accuracy of the project data, you can proceed to format and customize the file according to your specific preferences. This step allows you to enhance the readability and presentation of the data, making it easier to analyze and share. Follow these tips to format and customize your Excel file:
- Apply formatting: Format the cells, rows, and columns to improve readability. This can include adjusting the font, font size, cell alignment, and adding background colors or borders.
- Sort and filter: Utilize Excel’s sort and filter features to organize and analyze the data based on specific criteria. This can help you identify trends, prioritize tasks, or filter out unnecessary information.
- Add formulas and calculations: Use Excel’s formulas and functions to perform calculations or derive insights from the project data. This can include calculating durations, tracking progress, or generating summary statistics.
- Visualize data: Create charts, graphs, or visual representations of the project data to make it easier to understand and interpret. Excel offers various chart types and customization options for you to choose from.
- Customize column widths: Adjust the widths of the columns to ensure that all the information is visible and not truncated. You can manually adjust the widths or use the “AutoFit” feature in Excel.
- Add headers and footers: Include headers and footers in your Excel file to provide additional context, such as project names, dates, or page numbers. This can make the file more professional and organized.
By formatting and customizing the Excel file, you can transform it into a visually appealing and easily understandable representation of your Asana project data. Take the time to experiment with various formatting options and find a layout that best suits your needs.
Once you are satisfied with the formatting and customization of the Excel file, you are ready for the final step: saving and sharing the exported file.
Step 5: Saving and Sharing the Exported Excel File
After formatting and customizing the Excel file to your liking, it’s time to save and share the exported Asana project. Follow these steps to ensure the file is saved in a secure location and shared with the appropriate stakeholders:
- Save the Excel file: Click on the “File” tab in Excel and select “Save” or use the shortcut Ctrl + S (Windows) or Command + S (Mac). Choose a location on your computer or cloud storage where you want to save the file. Consider giving the file a descriptive name that accurately reflects its content for easy identification.
- Consider file compatibility: If you need to share the Excel file with others, make sure to check the Excel file format (e.g., .xlsx). Ensure that the recipients have software that supports this format, or consider saving and sharing the file in a compatible format like CSV if broader compatibility is required.
- Protect sensitive data: If your Asana project contains sensitive information, such as confidential client details or employee data, you may want to password-protect the Excel file. Use Excel’s built-in encryption feature to set a password that restricts access to authorized individuals.
- Share securely: Determine the appropriate method of sharing the Excel file. You can send it as an email attachment, share it through cloud storage platforms like Google Drive or Dropbox, or use collaboration tools like Microsoft Teams or Slack to share the file within your team.
- Provide instructions, context, or analysis: When sharing the Excel file, consider providing additional instructions or context to help recipients understand the data and its purpose. You can include a brief summary of the project, key insights, or any necessary instructions for further analysis or collaboration.
By saving and sharing the exported Excel file, you ensure that your Asana project data is accessible to the relevant individuals who need it. Regularly update the shared file as you make progress on your project to provide the most accurate information to all stakeholders.
With the completion of this final step, you have successfully exported your Asana project to Excel, reviewed and customized the file according to your preferences, and saved and shared it with the necessary stakeholders. Enjoy the increased flexibility and insights that come from having your Asana project data in Excel!
Conclusion
Exporting your Asana project to Excel can greatly enhance your project management capabilities by providing more flexibility, customization, and analysis options. In this article, we have walked you through the step-by-step process of accessing your Asana project, exporting it to Excel, reviewing the exported file, formatting and customizing it, and finally saving and sharing it with stakeholders.
By exporting your Asana project to Excel, you can analyze your project data, track specific metrics, create visually appealing reports, and communicate progress with stakeholders who are more comfortable with Excel. The flexibility offered by Excel allows you to sort, filter, calculate, visualize, and customize your project data according to your specific needs and preferences.
Remember to review the exported Excel file carefully to ensure the accuracy of data transfer and make any necessary adjustments for optimal visibility and readability. Take advantage of Excel’s formatting features and customization options to create a clean and organized representation of your project data.
Finally, save and share the Excel file securely with relevant individuals, providing any necessary instructions, context, or analysis to facilitate their understanding and collaboration. Regularly update the shared file to provide real-time and accurate information about your project’s progress.
By following these steps, you can effectively export your Asana project to Excel and harness the synergy between these two powerful tools, unlocking new possibilities for project management and data analysis. Embrace the potential of Asana and Excel together, and elevate your project management to new heights!


