Introduction
Welcome to the world of Asana, a powerful project management tool designed to help you and your team stay organized, collaborate efficiently, and accomplish your goals. One of the key features that sets Asana apart is its built-in time tracking functionality, which allows you to easily keep track of the time spent on tasks and projects.
Tracking time in Asana offers numerous benefits, whether you are a freelancer managing multiple clients, a small business owner keeping tabs on project progress, or a team leader looking to allocate resources effectively. By accurately tracking time, you can gain insights into how long specific tasks take, identify areas where productivity can be improved, and evaluate the overall efficiency of your projects.
In this comprehensive guide, we will explore the various aspects of time tracking in Asana. From enabling time tracking and using the timer feature to manual time entry and tracking time on mobile devices, we will cover everything you need to know to effectively track and manage time in Asana. We will also delve into assigning time estimates to tasks, viewing time tracked for a project, analyzing time data, and even integrating Asana with external time tracking tools.
Whether you are new to Asana or a seasoned user, this guide will equip you with the knowledge and strategies to make the most of Asana’s time tracking functionality. So, let’s dive in and discover how you can master time tracking in Asana to supercharge your productivity and ensure the successful completion of your projects.
Why Track Time in Asana?
Time tracking is a crucial aspect of project management, and Asana provides a seamless and integrated solution to help you effectively track and manage time. Here are several compelling reasons why tracking time in Asana is essential:
- Accurate Billing: For freelancers and service-based businesses, tracking time in Asana ensures that you accurately bill clients for the work done. With the ability to assign specific tasks and projects to clients, you can easily generate accurate invoices based on the time spent on each task.
- Resource Allocation: Tracking time allows you to gain insights into how much time is spent on each task or project. This information is invaluable when it comes to managing resources effectively, as you can identify bottlenecks, allocate resources based on workload, and make informed decisions to optimize efficiency.
- Identifying Productivity Trends: By tracking time, you can identify patterns and productivity trends within your team or organization. Perhaps certain tasks take longer than expected or certain team members consistently take more time on specific assignments. This data enables you to address these issues and find strategies to boost productivity.
- Meeting Deadlines: Time tracking in Asana helps you stay on top of deadlines by providing a clear overview of how much time has been spent on a task and how much is remaining. This way, you can ensure that projects are completed in a timely manner and avoid any delays.
- Improving Project Estimation: By tracking time, you can enhance your ability to estimate the time required for future projects. Historical time data can serve as a reference point for similar tasks or projects, assisting you in setting more accurate project timelines and avoiding underestimation or overestimation.
- Effective Time Management: Time tracking helps you prioritize tasks, understand where your time is being spent, and identify areas where you can eliminate time-wasting activities. With this knowledge, you can optimize your time management skills and focus on high-value activities that drive progress towards your goals.
By tracking time in Asana, you gain a wealth of information that empowers you to make data-driven decisions, improve productivity, and deliver successful projects. The next section will guide you through the process of enabling time tracking in Asana and making the most out of this powerful feature.
How to Enable Time Tracking in Asana
Enabling time tracking in Asana is a simple process that allows you and your team to start tracking and managing time for tasks and projects. Follow these steps to enable time tracking:
- Create a Workspace or Project: To begin, create a workspace or project in Asana where you will be tracking time. Workspaces provide a high-level overview of multiple projects, while projects focus on specific tasks and assignments.
- Enable the Time Tracking Feature: Once you have created the workspace or project, navigate to the top right corner of your screen and click on the three dots. From the dropdown menu, select “Edit Settings” for the desired workspace or project. Scroll down to the “Advanced” section and toggle the switch next to “Enable time tracking” to turn on the feature.
- Add Time Tracking Column: After enabling time tracking, you can add the time tracking column to your project view. This column allows you to input and track the time spent on individual tasks. To add the column, click on the “+” icon in the project view and select “Time.” This will add the time tracking column to your project layout.
- Assign Time Estimates: Once the time tracking column is added, you can assign time estimates to each task. Click on the task, enter the estimated time in the time tracking column, and press “Enter” to save the estimate. This helps you plan and allocate resources effectively.
- Start Tracking Time: To start tracking time for a task, simply click on the timer icon next to the task name. This will initiate the timer, and you can pause and resume as needed. The timer will run in the background while you work, accurately capturing the time spent on the task.
By following these steps, you can enable time tracking in Asana and begin effectively managing and monitoring the time spent on your tasks and projects. In the next section, we will explore how to use the timer feature in Asana to further enhance your time tracking capabilities.
Using the Timer in Asana
The timer feature in Asana allows you to track time for your tasks with precision and ease. Here’s how you can make the most of the timer in Asana:
- Starting the Timer: To start the timer for a task, locate the task in your project view. Click on the timer icon next to the task name, and the timer will begin counting the elapsed time. The timer will run in the background, allowing you to continue working on your task without interruptions.
- Pausing and Resuming: If you need to take a break or temporarily stop working on the task, simply click on the pause button in the timer. This will pause the timer, and you can resume it whenever you’re ready to continue. Pausing and resuming the timer helps ensure accurate tracking of your work time.
- Tracking Multiple Tasks: With Asana, you can track time for multiple tasks simultaneously. If you switch to another task while the timer is running, the timer will pause automatically for the current task and start running for the new task. This feature allows you to easily switch between tasks without worrying about manually tracking time.
- Automatic Time Calculations: Asana automatically calculates the total time spent on a task based on the timer data. You can view the total time tracked in the time tracking column of the task. This provides valuable insights into the actual time invested in completing a task, helping you improve future project estimations.
- Tracking Time Across Devices: Whether you’re working on a desktop, laptop, or mobile device, Asana provides a seamless experience for tracking time. The timer synchronizes across devices, allowing you to switch between devices without losing any time tracking data.
The timer feature in Asana simplifies and streamlines the time tracking process, ensuring accurate measurement of work duration. By using the timer, you can effortlessly track and manage your time, improve productivity, and gain valuable insights into your work patterns. In the next section, we will explore how to manually enter time in Asana when needed.
Manual Time Entry
In addition to using the timer, Asana also allows you to manually enter time for tasks if needed. Manual time entry is useful when you have already completed a task or if you forgot to start the timer. Follow these steps to manually enter time in Asana:
- Select the Task: Locate the task for which you want to enter time in your project view. Click on the task to open the task details panel on the right side of the screen.
- Click on the Time Tracking Field: In the task details panel, find the time tracking field or column. Click on the time tracking field to activate it and allow manual time entry.
- Enter the Time: Enter the amount of time you want to track for the task. You can use various time formats, such as hours and minutes (e.g., 1h 30m) or decimal numbers (e.g., 1.5).
- Save the Time: After entering the time, press “Enter” or click outside the time tracking field to save the manually entered time. Asana will update the total time tracked for the task accordingly.
Manual time entry enables you to accurately record the time spent on tasks, even if you didn’t use the timer. This ensures that your time tracking data remains comprehensive and reliable.
Note that manual time entry can also be beneficial if you are using Asana to track time spent on non-work-related tasks, such as personal projects or hobbies. By manually entering the time, you can keep a comprehensive record of all your activities in one place.
Now that you have learned how to manually enter time in Asana, let’s explore how to track time on mobile devices with the Asana mobile app in the next section.
Tracking Time on Mobile Devices
Asana offers a powerful mobile app that allows you to track time on the go, ensuring that you can keep up with your tasks and projects wherever you are. Here’s how you can track time on mobile devices:
- Download and Install the Asana Mobile App: Begin by downloading the Asana app from your device’s app store. Install the app and log in with your Asana account credentials to access your tasks and projects.
- Select the Task: Open the Asana app and navigate to the project view where the task you want to track time for is located. Tap on the task to open its details.
- Start the Timer: In the task details, you will find the timer icon. Tap on the timer icon to start tracking time for the task. The timer will begin counting the elapsed time.
- Pause and Resume: Similar to the desktop version, you can pause and resume the timer on the mobile app. Tap the pause button to temporarily stop the timer, and tap it again to resume tracking time.
- Manually Enter Time: If you need to manually enter time on the mobile app, follow the same steps as mentioned in the previous section. Tap on the time tracking field, enter the time, and save it to update the total time tracked for the task.
Tracking time on mobile devices allows for flexibility and convenience, enabling you to stay on top of your tasks even when you’re away from your computer. Whether you’re attending meetings, working off-site, or traveling, the Asana mobile app ensures that you can accurately track and manage your time.
Now that you know how to track time on your mobile devices using the Asana app, let’s explore how to assign time estimates to tasks in the next section.
Assigning Time Estimates to Tasks
Assigning time estimates to tasks in Asana helps you plan and allocate resources effectively, giving you a clear understanding of the expected duration for each task. Here’s how you can assign time estimates to tasks:
- Select the Task: Open the project or workspace where the task is located. Locate the task for which you want to assign a time estimate.
- Locate the Time Tracking Field: In the task details, find the time tracking field or column. This is where you can enter the time estimate for the task.
- Enter the Time Estimate: Click on the time tracking field and enter the estimated time for the task. You can use various time formats, such as hours and minutes (e.g., 1h 30m) or decimal numbers (e.g., 1.5).
- Save the Time Estimate: After entering the time estimate, press “Enter” or click outside the time tracking field to save it. Asana will update the time estimate for the task.
Assigning time estimates helps you set realistic deadlines, manage workloads, and ensure that tasks are completed within the expected timeframe. By having a clear understanding of how long each task is expected to take, you can prioritize your work effectively and make informed decisions.
Remember that time estimates are not set in stone and can be adjusted as needed. As you progress through your tasks, you may need to revise the estimates based on actual time tracked or unforeseen circumstances. Asana provides the flexibility to adapt and update time estimates as your projects evolve.
Now that you understand how to assign time estimates to tasks in Asana, let’s move on to the next section where we will explore how to view the time tracked for a project.
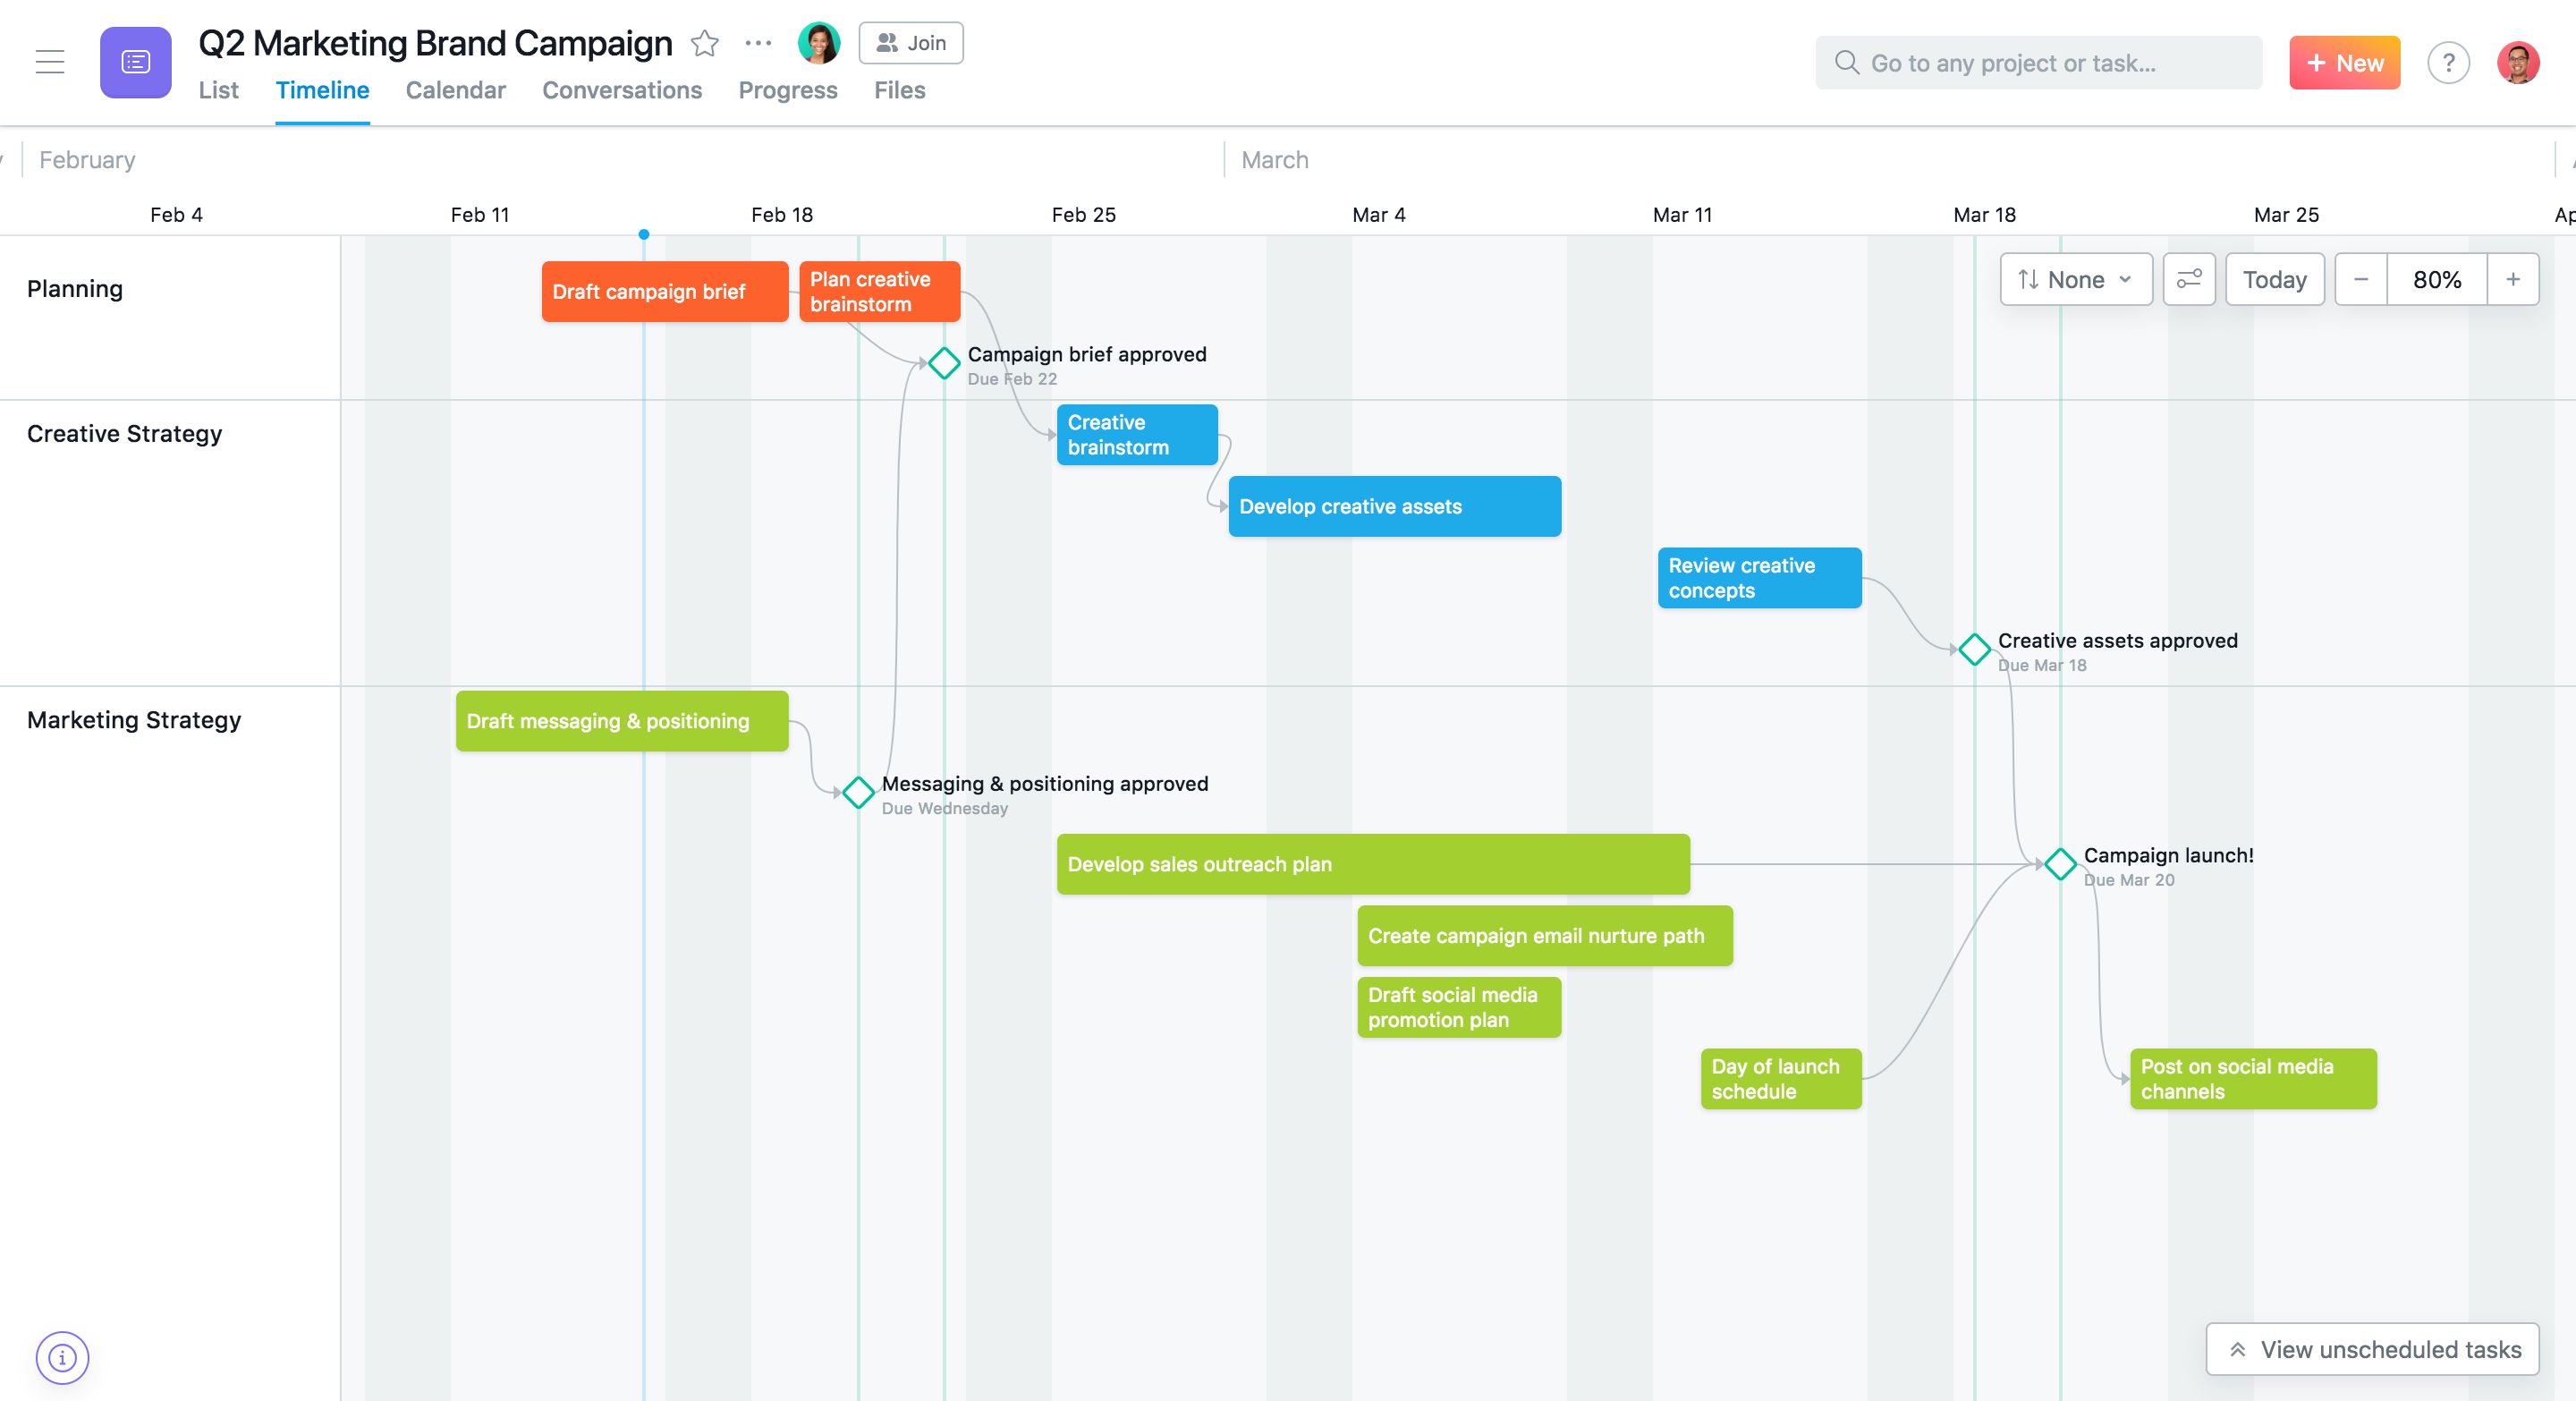
Viewing Time Tracked for a Project
Asana provides valuable insights into the total time tracked for a project, allowing you to assess the overall progress and evaluate the time investment. Here’s how you can view the time tracked for a project:
- Navigate to the Project: Open the Asana app or log in to the Asana web app. Locate the project for which you want to view the time tracked.
- Access Project Insights: In the project view, look for the “Insights” tab or menu option. Click on it to access project insights and analytics.
- Time Tracking Overview: Within the project insights, you will find a dedicated section for time tracking. This overview provides a summary of the total time tracked for the project.
- Detailed Time Tracking: To delve deeper into the time tracked, explore the detailed time tracking data available within the project insights. This can include breakdowns by tasks, team members, or specific time periods, giving you a granular view of the project’s time utilization.
- Exporting Time Data: If you need to analyze or share the time tracking data outside of Asana, you can export the time data as a report. This allows you to further analyze and present the time data as needed.
Viewing the time tracked for a project gives you a comprehensive understanding of the time invested in completing the tasks and achieving project milestones. This data-driven approach enables you to identify trends, assess project efficiency, and make informed decisions for future planning.
By regularly reviewing the time tracked for a project, you can stay proactive, identify areas of improvement, and ensure that your team’s time and resources are utilized effectively.
Now that you know how to view the time tracked for a project, let’s explore how to analyze time data in Asana in the next section.
Analyzing Time Data in Asana
Asana provides powerful tools for analyzing time data, giving you the ability to gain insights, identify patterns, and make data-driven decisions. Here’s how you can analyze time data in Asana:
- Utilize Project Insights: As mentioned earlier, project insights in Asana provide a wealth of data related to time tracking. Explore the various metrics and visualizations available to understand how time is allocated across tasks, team members, and time periods.
- Compare Estimated Time vs. Actual Time: Use the time data in Asana to compare the estimated time for tasks against the actual time tracked. This analysis helps you evaluate the accuracy of your time estimates and adjust future estimations as needed.
- Identify Time-Intensive Tasks: By analyzing time data, you can identify tasks that consistently require more time than anticipated. This insight allows you to investigate underlying causes, optimize processes, or provide additional support to improve efficiency.
- Spot Productivity Trends: Analyzing time data can help you identify productivity trends within your team or organization. Look for patterns such as peak productivity times, common time-wasting activities, or tasks that frequently exceed time estimates. This information enables you to refine workflows and enhance overall productivity.
- Adjust Resource Allocation: Based on the analysis of time data, you can make informed decisions regarding resource allocation. Identify overburdened team members, bottlenecks in project timelines, or tasks that consistently require more resources. This allows you to optimize resource allocation for maximum efficiency.
Analyzing time data in Asana empowers you to make data-driven decisions, optimize processes, and enhance project outcomes. By leveraging the insights provided by Asana’s time tracking features, you can continually improve your project management practices and achieve better results.
Now that you understand how to analyze time data in Asana, let’s explore how you can integrate Asana with external time tracking tools in the next section.
Integrating Asana with Time Tracking Tools
Asana offers the flexibility to integrate with external time tracking tools, allowing you to leverage additional functionalities and streamline your workflow. Here’s how you can integrate Asana with time tracking tools:
- Explore Available Integrations: Asana has a variety of integrations that seamlessly connect with popular time tracking tools. These integrations can sync time tracking data between Asana and the external tool, providing you with a consolidated view of your time management.
- Select and Install the Integration: Choose the time tracking tool that best suits your needs and project requirements. Follow the instructions provided by the integration to install and configure the integration within Asana.
- Sync Time Data: Once the integration is set up, you can sync time data between Asana and the external tool. This allows you to track time directly in the external tool while still benefiting from the project management features and collaboration capabilities of Asana.
- Review and Analyze Data: With the integration in place, you can review and analyze time data in the external time tracking tool. This may include additional reporting and analytics features that offer further insights into your time utilization and project progress.
- Improve Workflow Efficiency: By integrating Asana with time tracking tools, you can enhance your workflow efficiency by having a centralized platform for project management and time tracking. This integration saves you time and effort by eliminating the need for manual data entry and providing a comprehensive overview of your tasks and time data.
Integrating Asana with time tracking tools streamlines your time management processes, enhances productivity, and ensures accurate tracking of time for your tasks and projects. It enables you to leverage the strengths of both Asana and the external time tracking tool to optimize your workflow.
Now that you understand how to integrate Asana with time tracking tools, let’s conclude our guide on tracking time in Asana.
Conclusion
Tracking time in Asana is a powerful feature that allows you to manage your tasks and projects more efficiently. By enabling time tracking, you can accurately measure the time spent on tasks, gain insights into productivity trends, and make informed decisions for resource allocation and project planning.
In this guide, we explored the various aspects of time tracking in Asana. We learned how to enable time tracking, use the timer feature, manually enter time, track time on mobile devices, assign time estimates to tasks, view time tracked for a project, analyze time data, and integrate Asana with external time tracking tools.
By leveraging these functionalities, you can effortlessly track and manage your time, improve productivity, and achieve successful project outcomes. Asana’s intuitive interface, along with its robust time tracking capabilities, ensures that you have the tools you need to stay organized, collaborate effectively, and meet deadlines.
So why wait? Start implementing time tracking in Asana today and unlock the potential to optimize your productivity and achieve greater success in your projects. Embrace the power of time tracking in Asana and take control of your time like never before.