Overview
In today’s fast-paced and dynamic work environments, staying organized and managing tasks effectively is crucial. Asana is a powerful project management tool that can help individuals and teams streamline their workflows and collaborate seamlessly. One useful feature of Asana is the ability to create subtasks within tasks, allowing for more detailed task management.
With subtasks, you can break down complex tasks into smaller, more manageable steps, assign them to team members, set due dates, and track progress. Additionally, converting a subtask into its own separate task can provide better visibility and flexibility in project planning and execution.
In this tutorial, we will guide you through the process of making a subtask a task in Asana, enabling you to organize and prioritize your work more effectively. Whether you are a project manager, team lead, or individual contributor, understanding this feature can greatly enhance your productivity and task management capabilities.
By the end of this tutorial, you will have a clear understanding of how to create subtasks, convert them into independent tasks, and efficiently organize and assign them within Asana. So let’s dive in and explore the steps required to make a subtask a task in Asana.
Step 1: Open Asana
To begin the process of making a subtask a task in Asana, you first need to open the Asana web or mobile application. If you don’t have an Asana account, you can easily create one by visiting the Asana website and signing up for free.
Once you have signed in to your Asana account, you will be greeted with the main dashboard. This is where you can view and manage all of your projects, tasks, and subtasks. Take a moment to familiarize yourself with the layout and navigation of the Asana interface.
If you are using the web application, you will see a sidebar on the left-hand side of the screen with options such as “My Tasks,” “Inbox,” “Projects,” and more. You can navigate through these sections to access different features and functionalities within Asana.
On the other hand, if you are using the mobile application, you will find the main menu at the bottom of the screen. Tap on the menu icon to access various sections of the app, including “My Tasks,” “Projects,” “Inbox,” and more.
Now that you are familiar with accessing Asana, you are ready to move on to the next step: creating a new task.
Step 2: Create a New Task
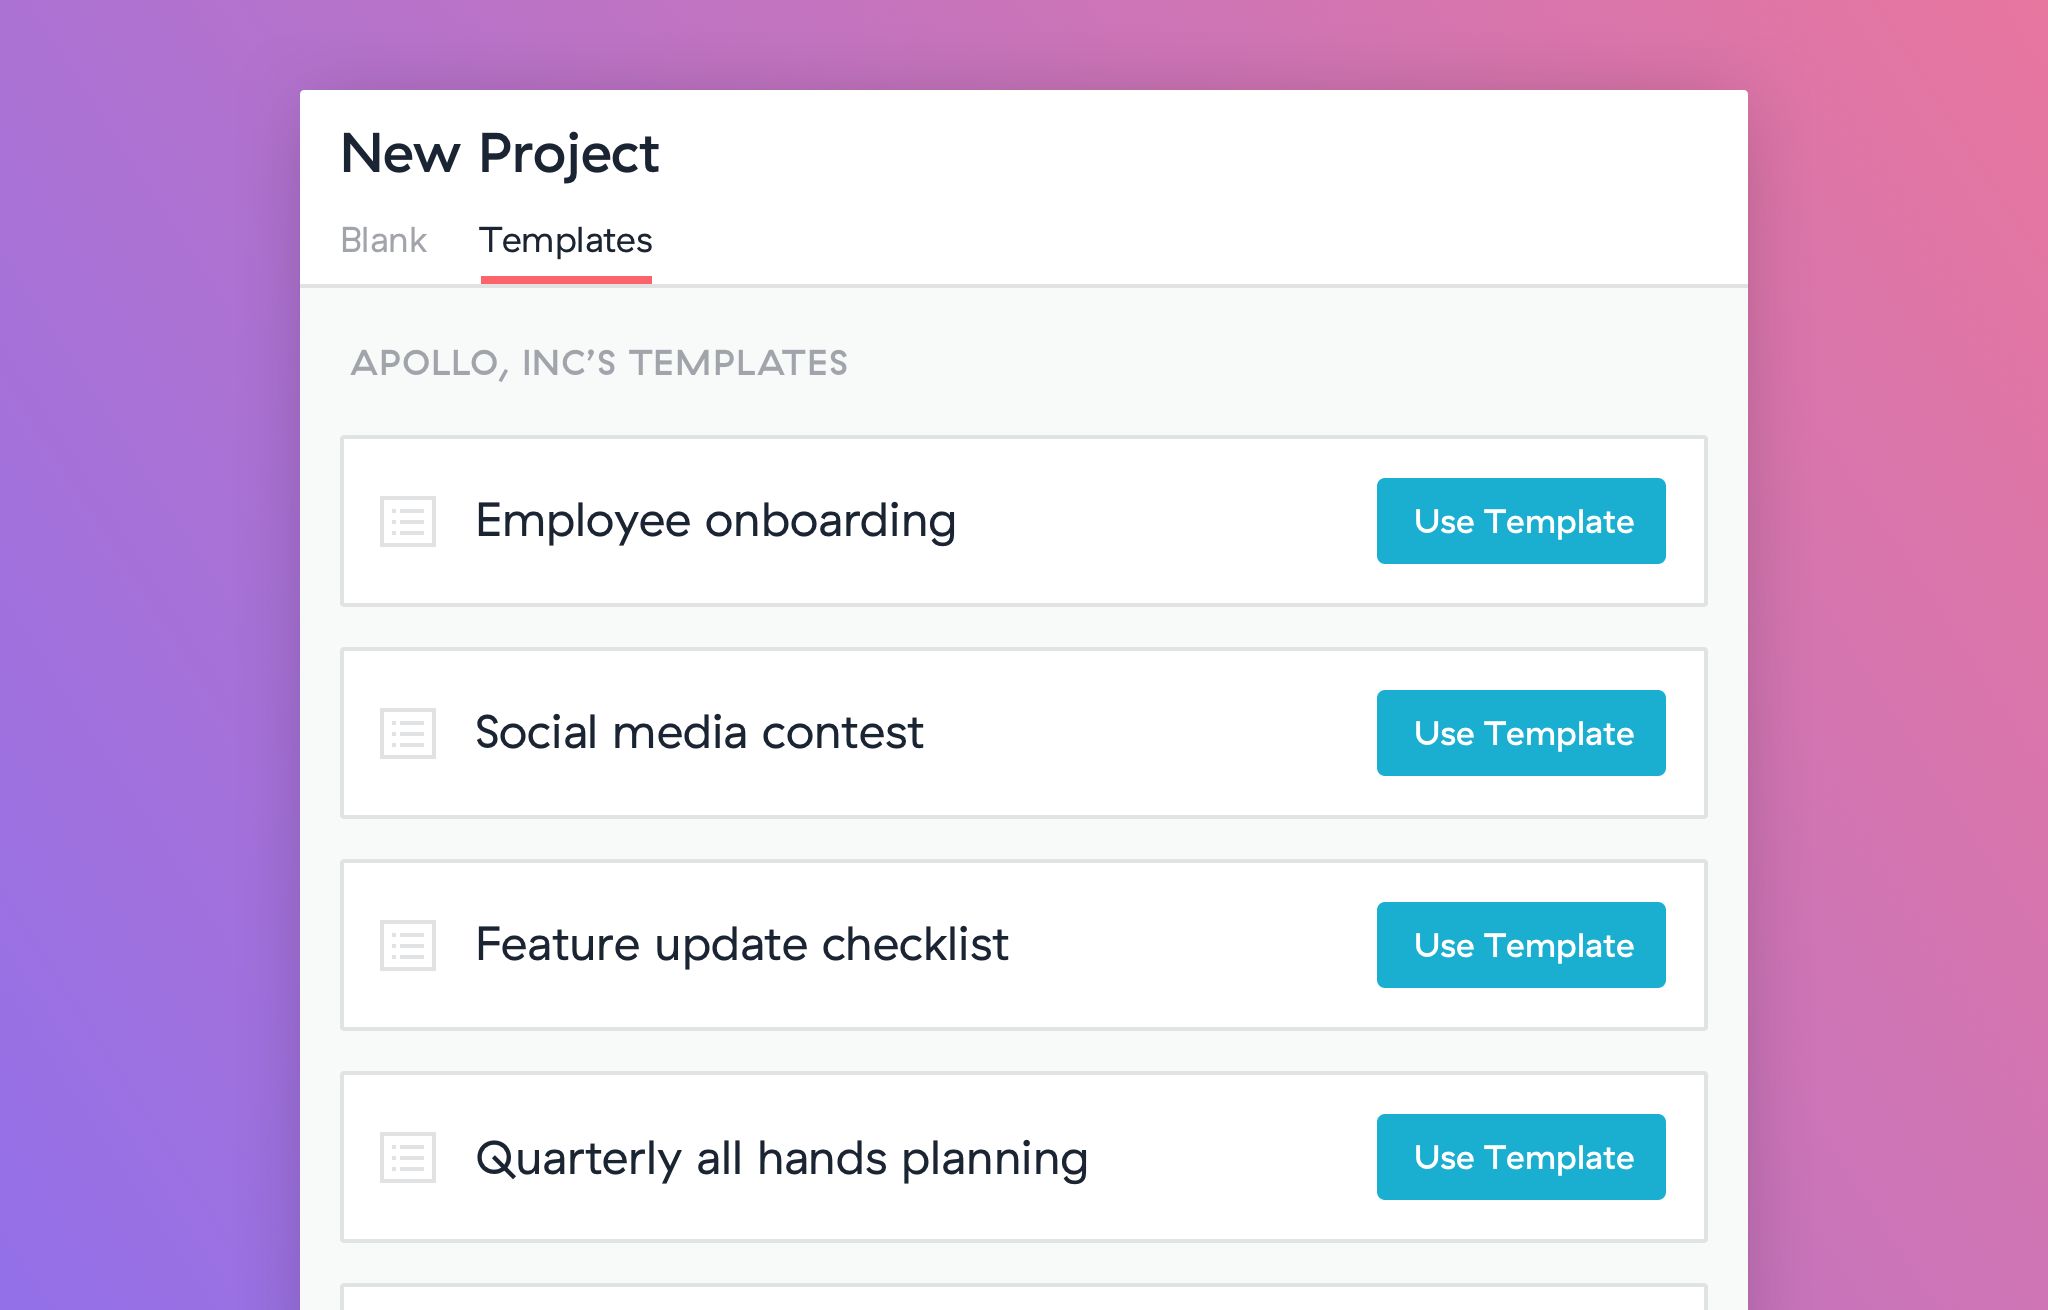
Once you have opened Asana and navigated to the desired project or task list, it’s time to create a new task. You can create a task at the project level or within a specific task list. Follow these steps to create a new task:
- Click on the “+ Add task” button located at the top or bottom of the project or task list. Alternatively, you can use the shortcut key ‘T’ to swiftly create a new task.
- A new task field will appear, and you can enter a title for the task. Be descriptive and concise to ensure clarity.
- If needed, add additional details to the task by utilizing the task description field. Here, you can provide more context, instructions, or specifications for the task.
- Assign the task to yourself or to the appropriate team member by clicking on the “Assignee” field and selecting the relevant person’s name from the dropdown menu. This step is optional but beneficial for task ownership and accountability.
- Set a due date for the task by clicking on the “Due date” field and selecting the desired date from the calendar. This helps in setting priorities and managing deadlines effectively.
- Additionally, you can assign the task to specific project sections or labels by clicking on the respective fields and choosing the relevant options. This step aids in organizing and categorizing tasks.
- Lastly, click on the “Add task” button to create the task.
Congratulations! You have successfully created a new task in Asana. Now, let’s move on to the next step to learn how to add subtasks to this task.
Step 3: Add Subtask
Once you have created a task in Asana, you can begin adding subtasks to break down the main task into smaller, actionable steps. Adding subtasks allows for better organization and tracking of progress. Here’s how you can add subtasks in Asana:
- Navigate to the task for which you want to add subtasks. You can find it in the project or task list where you created it.
- Once you are on the task details page, scroll down to the “Subtasks” section.
- Click on the “+ Add subtask” button located below the existing subtasks, if any.
- A new subtask field will appear, where you can enter the title of the subtask.
- Continue adding as many subtasks as needed, one at a time, by clicking on the “+ Add subtask” button each time.
- You can also assign subtasks to different team members, set due dates, and add additional details using the same options available for creating tasks.
- After adding all the necessary subtasks, you can rearrange their order by dragging and dropping them as per priority.
By adding subtasks, you can break down complex tasks into smaller, more manageable steps, allowing for improved collaboration and efficient task completion. Asana provides flexibility and customization options to organize subtasks according to your specific project needs.
With subtasks added, you are one step closer to making a subtask a task in Asana. Let’s proceed to the next step to learn how to convert a subtask into an independent task.
Step 4: Convert Subtask to Task
At times, you may realize that a subtask needs to be treated as a separate task due to its complexity or importance. Asana allows you to easily convert a subtask into an independent task. Here’s how you can do it:
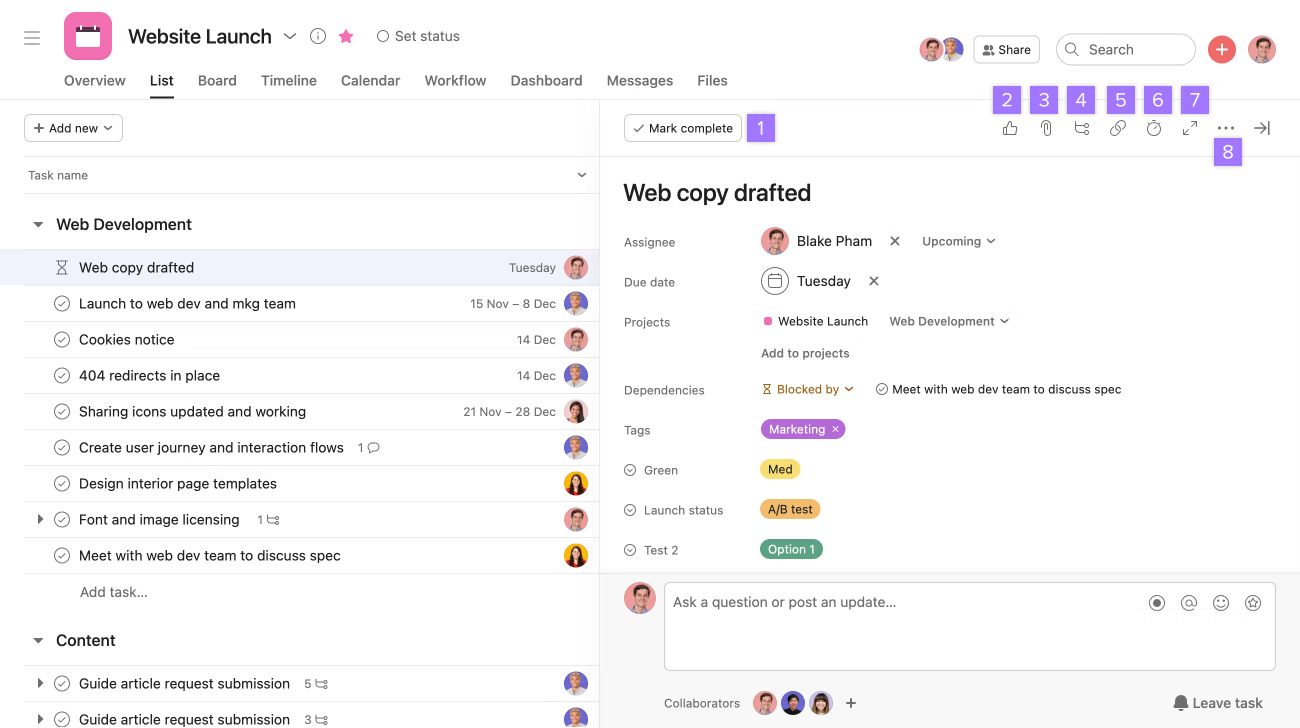
- Go to the task details page where the subtasks are listed. You can access this by clicking on the task title in the project or task list.
- Locate the subtask that you want to convert into a task.
- Click on the three-dot menu icon (also known as the “ellipsis” icon) next to the subtask.
- In the dropdown menu that appears, click on the “Convert to task” option.
- The subtask will now be converted into a separate task, with its own title, details, and assigned team members.
Converting a subtask into a task can provide more visibility and flexibility in managing and prioritizing your work. It allows the task to exist independently and be tracked alongside other tasks, making it easier to monitor progress and allocate resources.
By following these simple steps, you can effortlessly convert subtasks into tasks as needed, adapting your task management strategy based on the evolving needs of your project.
Now that you know how to convert subtasks into independent tasks, let’s move on to the next step to learn how to organize tasks and subtasks effectively.
Step 5: Organize Tasks and Subtasks
Keeping your tasks and subtasks well-organized is key to maintaining clarity and efficiency in your workflows. Asana offers various features to help you effectively organize and structure your tasks and subtasks. Let’s explore some ways to achieve this:
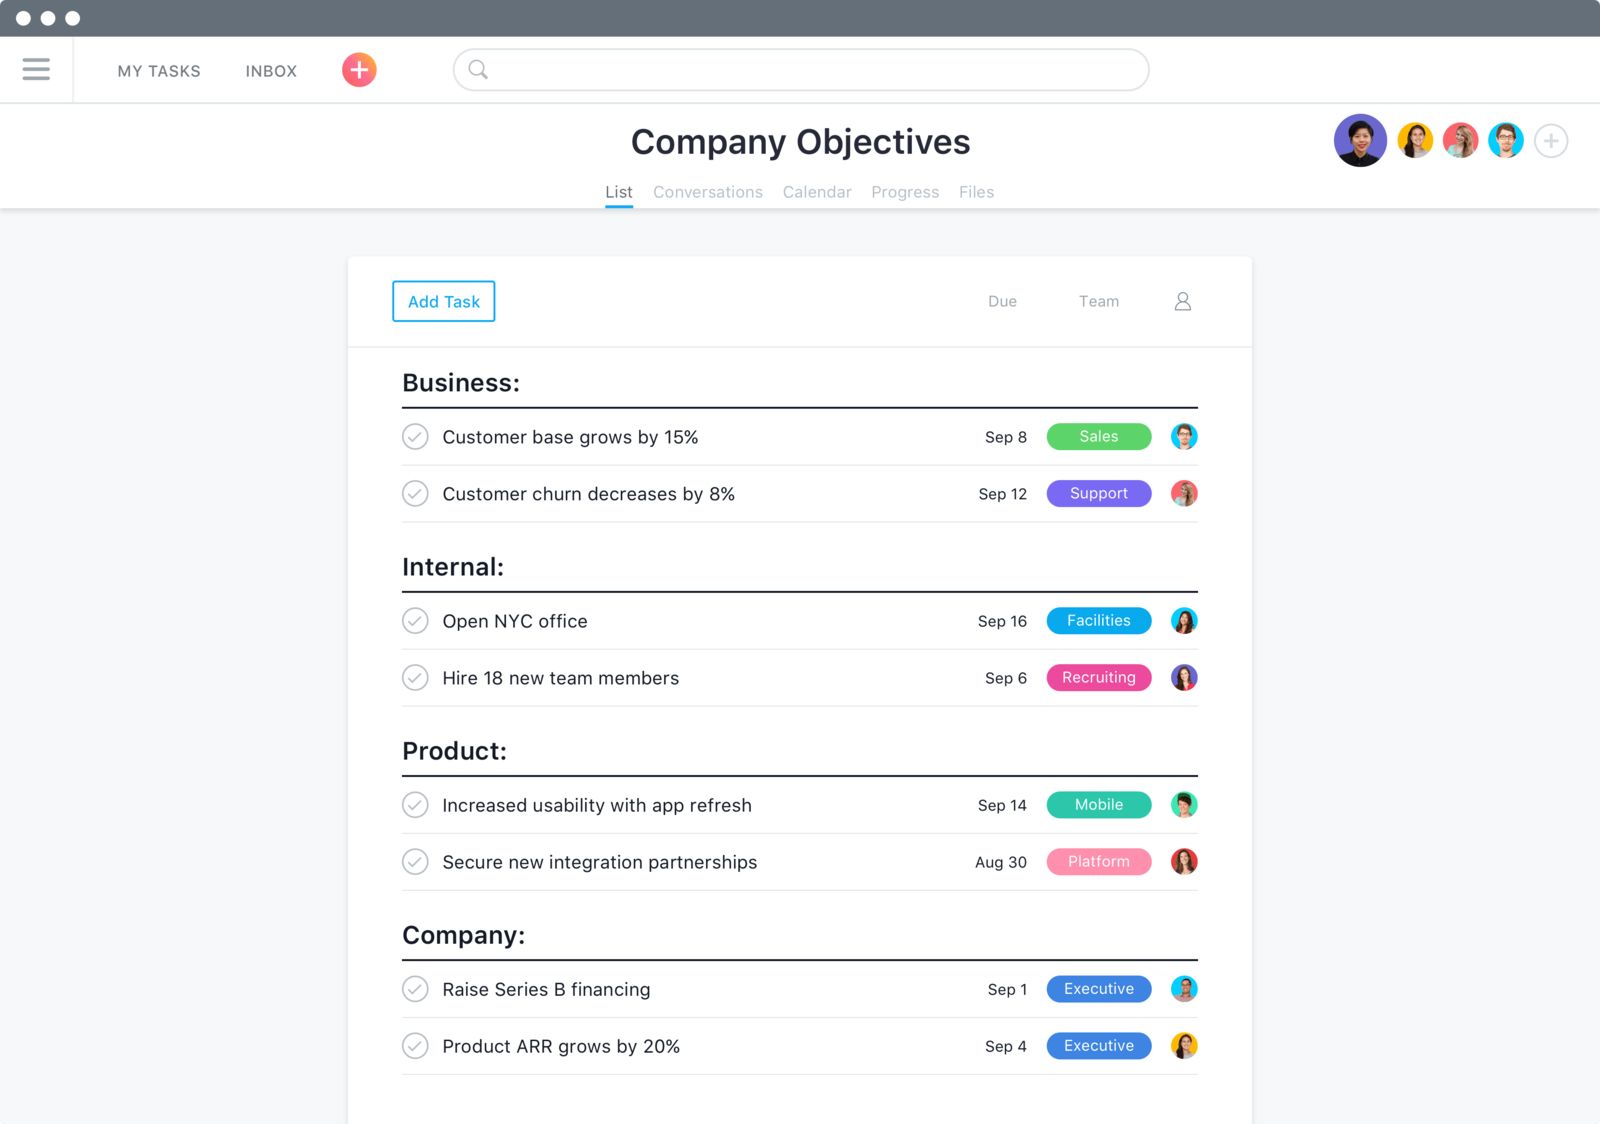
- Utilize projects and task lists: Create projects to group related tasks together. Within each project, create task lists to further categorize and organize tasks.
- Create sections within tasks: Use sections to divide tasks into different phases, stages, or categories. This helps in visualizing the overall progress of your project.
- Use labels or tags: Assign labels or tags to tasks and subtasks to easily identify their attributes, priority levels, or specific criteria. This allows for quick sorting and filtering based on specific labels.
- Set due dates: Assign due dates to tasks and subtasks to establish deadlines and prioritize work. Asana provides options for setting due dates with reminders and recurring patterns.
- Establish dependencies: Define task dependencies to ensure that tasks are completed in the correct order. This helps in preventing bottlenecks and keeping your project on track.
- Reorder tasks and subtasks: As priorities change, you can easily rearrange the order of tasks and subtasks by dragging and dropping them within a project or task list.
By utilizing these organization features in Asana, you can maintain a clear and structured view of your tasks and subtasks, enabling better coordination, collaboration, and project management.
Now that you have organized your tasks and subtasks effectively, let’s move on to the final step: assigning tasks and subtasks to team members.
Step 6: Assign Tasks and Subtasks
Assigning tasks and subtasks to the right team members is crucial for effective collaboration and ensuring that work gets done efficiently. Asana allows you to easily assign tasks and subtasks, keeping everyone on the same page. Follow these steps to assign tasks and subtasks in Asana:
- Open the task or subtask that you want to assign to someone.
- Click on the “Assignee” field within the task or subtask details.
- Select the team member’s name from the dropdown menu. You can assign the task to multiple team members if needed.
- When assigning a subtask, it inherits the assignee from the parent task by default. However, you can reassign the subtask to a different team member if necessary.
Assigning tasks and subtasks helps in clarifying responsibilities, ensuring that each team member knows their role and what is expected of them. It also enables transparency and helps in tracking progress as team members update the status of their assigned tasks.
To streamline communication and collaboration, team members assigned to tasks and subtasks can use the comments section to provide updates, ask questions, or share relevant information. This keeps all project-related communication centralized within Asana, making it easily accessible for future reference.
By assigning tasks and subtasks in Asana, you empower your team members to take ownership of their allocated work and enable effective collaboration towards achieving project goals.
Now that you have learned how to assign tasks and subtasks, you are equipped with the knowledge needed to effectively manage and track your work in Asana.
Conclusion
Asana provides a robust platform for managing tasks and projects, and the ability to create subtasks within tasks adds an extra layer of organization and detail to your workflow. Through this step-by-step guide, you have learned how to make a subtask a task in Asana, giving you greater control and flexibility in managing your work.
We started by opening Asana and creating a new task, followed by adding subtasks to break down complex tasks into manageable steps. Then, we explored the process of converting a subtask into an independent task, allowing for better visibility and tracking. Organizing tasks and subtasks effectively ensures clarity and streamlines project management, and Asana offers various features like projects, task lists, sections, labels, due dates, and dependencies to help you achieve this.
Last but not least, we discussed assigning tasks and subtasks to team members, fostering collaboration and accountability. By assigning tasks, you enable clear communication and provide a roadmap for team members to complete their work effectively.
With these skills and knowledge, you are equipped to optimize your Asana experience and enhance your productivity and task management capabilities. Keep exploring Asana’s features and functionalities to find what works best for you and your team.
So, dive into Asana, create tasks, add subtasks, convert when necessary, organize with precision, and assign transparently. Mastering these steps will empower you to stay organized, track progress, and achieve success in your projects.