Introduction
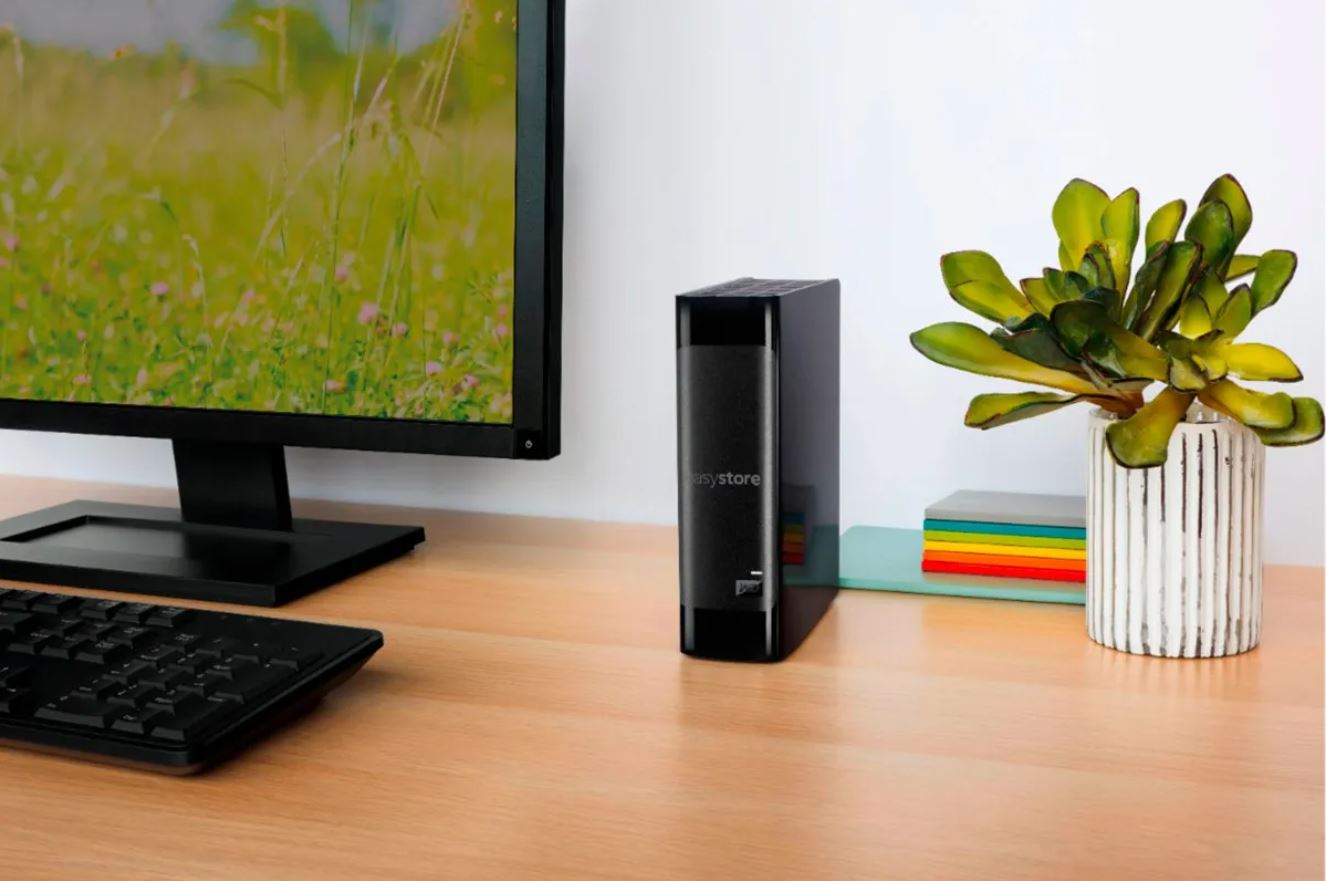
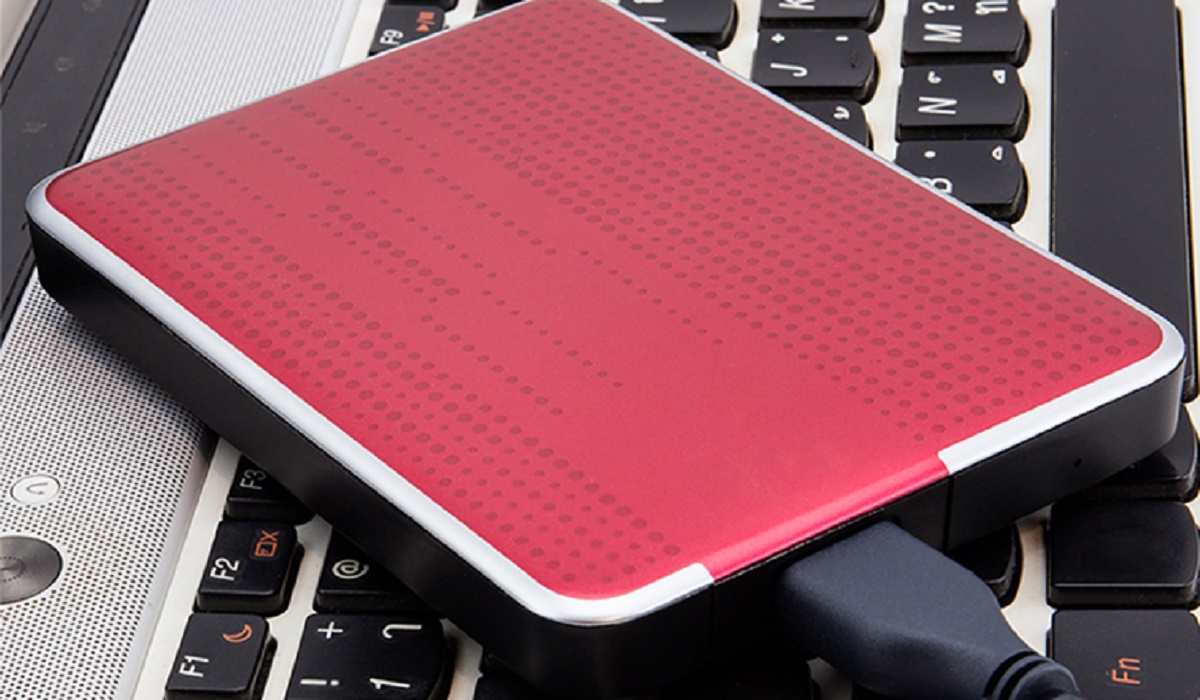
External hard drives have become an essential tool for storing and backing up large amounts of data. Whether you use it for work, media storage, or simply as an extra backup, safely ejecting your external hard drive is crucial to ensure data integrity and prevent potential data loss.
When you connect an external hard drive to your computer, it becomes accessible for reading, writing, and modifying files. However, simply unplugging the drive without properly ejecting it can have negative consequences. When you “eject” or “safely remove” the drive, you are signaling to the operating system that you have finished using it and that it should prepare for disconnection. This process allows the system to complete any pending read/write operations and flush the drive’s cache to prevent data corruption.
In this article, we will explore different methods for safely ejecting an external hard drive on various operating systems. Whether you use Windows, Mac, Chromebook, or Linux, we’ve got you covered. We’ll also discuss common issues that may arise during the ejection process and provide troubleshooting tips to ensure a smooth experience.
Keep in mind that each operating system may have its specific way of ejecting external drives, but the goal remains the same – to safely disconnect the drive and protect your data. So, let’s dive into the methods for safely ejecting an external hard drive!
Why It’s Important to Eject an External Hard Drive
Ejecting an external hard drive may seem like an added step that can be easily skipped, but it is crucial for maintaining the integrity of your data and ensuring the longevity of your storage device. Here are a few reasons why ejecting an external hard drive is important:
1. Data Protection: When you eject an external hard drive, you are giving your operating system the signal to finish any ongoing read or write operations. This ensures that all data is properly written and saved before disconnecting the drive. Failure to eject the drive may result in data loss, file corruption, or damage to the drive itself.
2. Prevent File System Errors: Properly ejecting your external hard drive helps prevent file system errors that can occur when a drive is abruptly disconnected. These errors can lead to issues like data fragmentation or the creation of invalid file entries. By ejecting the drive, you reduce the risk of encountering these problems and help maintain the overall health of the file system.
3. Preserve Hardware Integrity: Disconnecting an external hard drive without ejecting it may cause damage to the drive’s physical components over time. When you eject the drive, the operating system ensures that all read/write heads are parked safely and that the disk platters are not spinning. This reduces the risk of accidental bumps or drops damaging the drive’s internal mechanism.
4. Maintain Drive Performance: Ejecting your external hard drive allows the operating system to properly close any open files and release system resources associated with the drive. This helps free up memory and enhances the overall performance of your computer. Failure to eject the drive can result in system slowdowns, as the operating system may continue to allocate resources to the disconnected drive.
5. Protect Data Integrity: External hard drives often have built-in caching mechanisms to improve performance. When you eject the drive, the operating system ensures that all data from the cache is properly written to the drive. This prevents data loss or corruption that may occur if the cache is not flushed before disconnection.
Ejecting an external hard drive is a simple step that can help prevent potential data loss, ensure the stability of your file system, and protect the longevity of your storage device. By taking a few extra seconds to properly eject your drive, you can safeguard your data and enjoy a trouble-free experience with your external storage device.
Method 1: Ejecting on Windows
If you’re using Windows as your operating system, there are a few different methods you can use to safely eject an external hard drive. Here’s how:
1. Eject Option in File Explorer: The simplest method is to open the File Explorer by pressing the Windows key + E on your keyboard. In the left sidebar, locate the external hard drive under the “This PC” or “Computer” section. Right-click on the drive and select “Eject” from the context menu. You will receive a notification confirming that it’s safe to disconnect the drive. You can now safely unplug the external hard drive.
2. System Tray Eject Option: Another way to eject your external hard drive is by clicking on the system tray located at the bottom-right corner of the screen. Look for an icon resembling a USB drive or a hardware device. Click on the icon and a list of connected devices will appear. Find your external hard drive and click on the “Eject” option next to it. Once you see the confirmation message, you can safely remove the drive.
3. Using the Safely Remove Hardware and Eject Media Tool: Windows also provides a dedicated tool for ejecting external devices. To access it, click on the “Start” menu, type “Safely Remove Hardware and Eject Media,” and press Enter. A window will open, displaying all the currently connected devices. Select your external hard drive from the list and click on the “Eject” button next to it. Wait for the confirmation message, and then you can safely unplug the drive.
4. Keyboard Shortcut: For those who prefer keyboard shortcuts, you can use the following key combination: Windows key + Semicolon (;). This will open the Emoji Panel. At the bottom of the panel, you’ll find a menu icon (⋯). Click on it and select the “Eject” option next to your external hard drive. Once you receive the confirmation message, you can safely remove the drive.
Remember, it’s crucial to wait for the confirmation message before unplugging the external hard drive. This ensures that all pending operations are completed, and data is safely written to the drive. By following these methods, you can ensure the longevity of your external hard drive and protect your valuable data.
Method 2: Ejecting on Mac
If you’re using a Mac computer, ejecting an external hard drive is a straightforward process. Here are a few methods you can use:
1. Finder: The most common way to safely eject an external hard drive on a Mac is through Finder. First, open a Finder window by clicking on the Finder icon in the dock or by pressing Command + Space and searching for “Finder.” Locate the external hard drive under the “Devices” section in the sidebar. Right-click on the drive or hold down Control and click, then select “Eject” from the contextual menu. Once the drive disappears from the desktop, it is safe to disconnect.
2. Disk Utility: Another method you can use is Disk Utility. Go to “Applications” > “Utilities” and open Disk Utility. In the sidebar, you will see a list of drives connected to your Mac. Select your external hard drive, and then click on the “Eject” button at the top of the Disk Utility window. Wait for the drive to disappear from the sidebar before disconnecting it.
3. Menubar: If you prefer a quick method from the menubar, look for the “Eject” symbol, which resembles an upward-pointing arrow with a line under it. This symbol indicates external devices that are connected to your Mac. Click on the “Eject” symbol, and a dropdown menu will appear with a list of connected drives. Locate your external hard drive in the list and click on it. Once the icon disappears from the desktop, you can safely unplug the drive.
It’s important to remember that Mac computers are designed to give you visual cues when it’s safe to eject a drive. The icon for the external hard drive will vanish from the desktop or sidebar, indicating that it is safe to disconnect. Additionally, if any files are still in use by the system or applications running on your Mac, you may receive a warning message when attempting to eject the drive. Make sure to close any open files or applications using the drive before ejecting it.
By following these simple methods, you can safely eject your external hard drive on a Mac and protect your data from potential corruption or loss. Taking the time to properly eject your drive ensures the longevity of your storage device and safeguards your valuable files and documents.
Method 3: Ejecting on Chromebook
Chromebooks have gained popularity for their simplicity and ease of use. If you’re using a Chromebook and want to safely eject an external hard drive, follow these steps:
1. Taskbar: Look for the file manager icon on the taskbar, which resembles a folder. Click on it to open the file manager. In the left sidebar, you will see a list of connected devices. Locate your external hard drive and right-click on it. From the context menu, select the “Eject” option. Once the drive disappears from the file manager, it is safe to unplug the external hard drive.
2. Shelf Menu: Another method on Chromebooks is to use the shelf menu. Click on the system tray located in the bottom-right corner of the screen. Among the icons in the system tray, you should see an icon representing your external hard drive. Right-click on the icon, and a menu will appear. Select the “Eject” option, and once the icon disappears, it is safe to disconnect the drive.
3. Keyboard Shortcut: Chromebooks also offer a quick keyboard shortcut to eject external drives. Press the Search key (often marked with the magnifying glass or the Google logo) and the “E” key at the same time. This will eject any connected external drives, including your external hard drive. Wait for the drive to disappear from the file manager or shelf menu before removing it.
Chromebooks are designed to ensure a seamless and hassle-free user experience. When you eject an external hard drive on a Chromebook, the operating system finalizes any pending read or write operations to protect your data. It’s important to wait for the drive to disappear from the file manager or the shelf menu, indicating that it is safe to unplug the drive.
By following these simple methods, you can safely eject an external hard drive on a Chromebook and prevent potential data loss or corruption. Properly ejecting your drive helps maintain its reliability and ensures that your files are securely saved before disconnecting the storage device from your Chromebook.
Method 4: Ejecting on Linux
If you’re using a Linux-based operating system, there are several methods you can use to safely eject an external hard drive. Here are a few commonly used methods:
1. Command Line: Linux users often prefer using the command line interface (CLI) for various tasks. To eject an external hard drive, open a terminal and use the “umount” command followed by the device’s mount point or the device name. For example:
sudo umount /dev/sdb1
Replace “/dev/sdb1” with the actual device name or mount point of your external hard drive. Once the command completes without any errors, it is safe to disconnect the drive.
2. Graphical User Interface (GUI): If you prefer a graphical method, most Linux distributions provide a file manager with built-in support for ejecting drives. Open the file manager, navigate to the external hard drive, right-click on it, and select “Unmount” or “Eject” from the context menu. Once the drive disappears from the file manager, it is safe to remove the drive.
3. System Tray: Some Linux desktop environments, like GNOME or KDE, have a system tray that displays connected devices. Look for an icon representing your external hard drive in the system tray. Right-click on the icon and choose the “Eject” option. Wait for the drive to unmount, and then safely unplug it.
Remember that Linux provides more flexibility and customization options, so the exact method may vary depending on your specific distribution and desktop environment. Understanding the underlying commands and using the appropriate user interface ensures that you safely eject your external hard drive.
Properly ejecting an external hard drive on Linux is essential for data integrity. By following these methods, you can ensure that all pending operations are completed, and the file system is correctly flushed. Safely ejecting your drive on Linux helps prevent data corruption and ensures the longevity of your storage device.
Troubleshooting Common Issues with Ejecting External Hard Drives
While ejecting an external hard drive is typically a straightforward process, there may be instances where you encounter issues. Here are some common problems and troubleshooting steps to resolve them:
1. “Device is in use” Error: If you receive an error message stating that the device is in use and cannot be ejected, it means that some files or applications are still accessing the drive. Make sure to close any open files or applications that may be using the drive. You can also try restarting your computer to release any lingering processes that may be preventing ejection.
2. Slow Ejection: Sometimes, the ejection process can take longer than expected, especially if there are large files being written to the drive. Be patient and allow the system enough time to complete the necessary operations. Avoid unplugging the drive prematurely, as this may result in data loss or corruption. If the drive remains stuck in the ejection process, you can try restarting your computer before attempting to eject it again.
3. Missing Eject Option: In some cases, you may not see the “Eject” option in the context menu or file manager. This can occur if the drive is not properly recognized or if there are issues with the operating system. Try disconnecting and reconnecting the external hard drive, ensuring a secure connection. If the issue persists, check for any available system updates or consider using a different USB port or cable.
4. Frozen or Unresponsive System: Occasionally, the operating system may become unresponsive during the ejection process, preventing you from safely disconnecting the external hard drive. In such cases, force restarting your computer can help resolve the issue. Press and hold the power button until the system shuts down, and then power it back on. Once the system is up and running, attempt to eject the drive using the appropriate method for your operating system.
5. Disk Errors or Corrupted Files: If you encounter disk errors or corrupted files after ejecting the external hard drive, it may indicate an issue with the drive itself. Run a disk check utility or file system repair tool to scan and fix any errors on the drive. Additionally, backing up your data regularly is essential to safeguard against data loss or corruption caused by potential drive issues.
In case none of the troubleshooting steps resolve the issue, it is advisable to seek technical support from the manufacturer of your external hard drive or consult with a qualified professional. Remember, properly ejecting your external hard drive ensures the safety of your data and helps maintain the overall health of the device.
Conclusion
Ejecting an external hard drive is a crucial step in maintaining data integrity, preventing file system errors, and protecting the longevity of your storage device. Whether you’re using Windows, Mac, Chromebook, or Linux, each operating system offers various methods to safely eject your external hard drive.
On Windows, you can use the File Explorer, system tray, dedicated eject tool, or keyboard shortcuts. Mac users can eject their external hard drives through Finder, Disk Utility, or the menubar. Chromebook users can eject drives from the file manager, shelf menu, or using keyboard shortcuts. Linux users have the flexibility of using command line tools or graphical interfaces like the file manager or system tray.
It’s important to follow the proper ejection methods for your specific operating system to ensure all pending operations are completed and your data is secure. Waiting for the confirmation message or ensuring the drive disappears from the respective file manager, system tray, or desktop before disconnecting it is crucial.
If you encounter any issues during the ejection process, such as a “device in use” error or frozen system, troubleshooting steps like closing open files or applications, restarting the computer, or seeking technical support can help resolve them.
Remember, properly ejecting your external hard drive is a simple yet significant step in protecting your valuable data, preventing file system errors, and prolonging the lifespan of your storage device. By taking the extra time to safely eject your drive, you can enjoy a seamless and trouble-free experience with your external hard drive.


