Introduction
Welcome to the digital age, where memories are captured and stored in the virtual realm. Google Photos is a powerful platform that allows users to organize and store their photos and videos. One of the great features of Google Photos is the ability to create and share albums with friends and family. But what if you want to download an entire album from Google Photos?
In this article, we will guide you through the step-by-step process of downloading an album from Google Photos. Whether you want to keep a backup of your precious memories or simply want to share the album offline, we’ve got you covered. So let’s get started!
Please note that downloading an album from Google Photos requires a computer and an active internet connection. You will also need to have a Google account and access to the specific album you wish to download.
Now that we’ve covered the prerequisites, let’s dive into the exciting world of downloading albums from Google Photos!
Step 1: Open Google Photos
The first step in downloading an album from Google Photos is to open the Google Photos app or website on your computer. If you are using the app, ensure that it is installed and logged in with your Google account. If you prefer to access Google Photos through a web browser, navigate to https://photos.google.com and sign in with your Google account credentials.
Once you have successfully opened Google Photos, you will be greeted with a collection of your stored photos and albums. Take a moment to explore the interface and familiarize yourself with the various options available. This will help you navigate more efficiently through the next steps.
If you already know the specific album you want to download, you can skip ahead to the next step. However, if you’re not sure which album you’d like to download, you can browse through your albums or use the search bar to find the desired album. Google Photos automatically organizes your albums based on dates, locations, and other factors, making it easier to locate the album you’re looking for. Simply click on the album thumbnail to proceed to the next step.
Now that we have successfully opened Google Photos and identified the album we wish to download, it’s time to move on to the next step: selecting the album.
Step 2: Select the Album
Once you have opened Google Photos and located the album you want to download, it’s time to select it. You can do this by clicking on the album thumbnail or selecting it from the list of albums on the left-hand side of the screen.
The album will open, displaying all the photos and videos it contains. Take a moment to scroll through the album and ensure that it is the correct one. If you have multiple albums with similar names or themes, double-checking will help avoid any confusion later on.
If you want to download the entire album, simply proceed to the next step. However, if you only want to download select photos or videos from the album, you can click on each item to select it individually. Hold down the Ctrl or Command key on your keyboard while clicking to select multiple items at once.
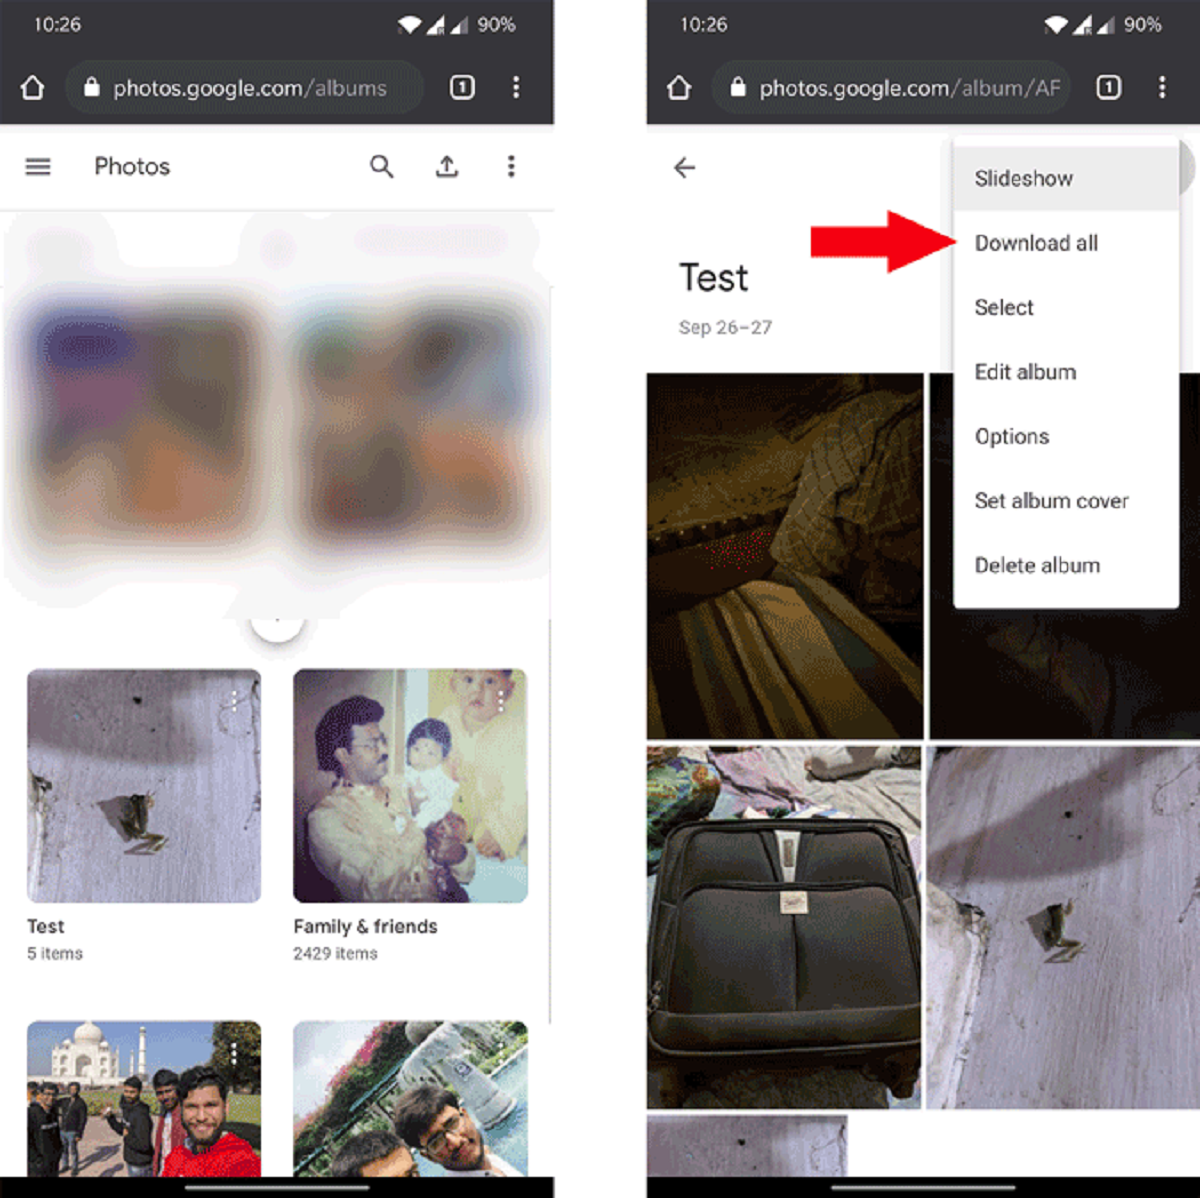
Google Photos also offers the option to select all the items in the album at once. To do this, click on the three dots menu icon in the top-right corner of the album and choose “Select all” from the dropdown menu. This will automatically select all the photos and videos in the album for downloading.
Once you have made your selections, it’s time to move on to the next step: opening the album options.
Step 3: Open Album Options
After selecting the album you want to download or choosing specific photos from it, it’s time to open the options menu for the album. This menu provides various actions you can perform on the album, including downloading it.
To open the album options, look for the three vertical dots icon in the top-right corner of the album page. Click on it, and a dropdown menu will appear with a list of available options.
The options menu may vary slightly depending on whether you are using the Google Photos app or the website. However, the essential options should be present in both versions.
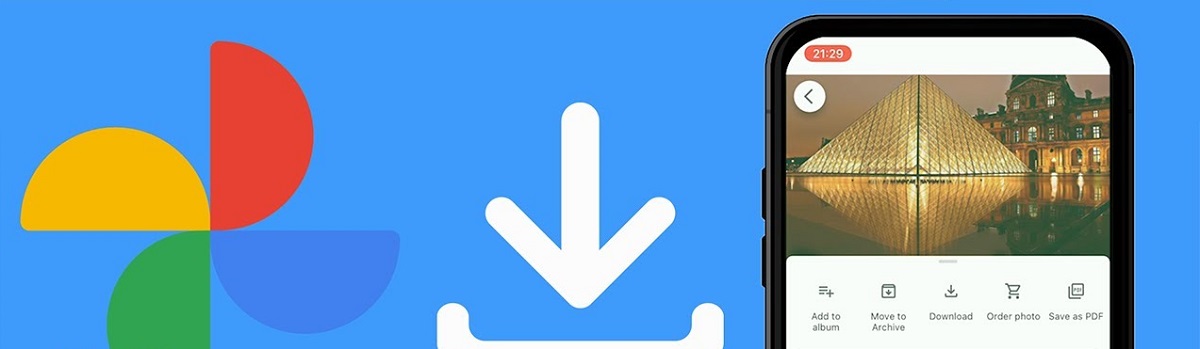
In the options menu, you will find actions such as:
- Download: This option allows you to download the selected album or the specific photos/videos you’ve chosen from the album. Click on this option to proceed with the downloading process.
- Add to album: If you want to add the selected album or specific photos/videos to another existing album, you can choose this option from the menu.
- Share: Google Photos allows you to share albums with others, either by generating a link or sending them directly via email. Choose the Share option if you wish to share the album.
- Delete: If you no longer need the album or want to remove specific photos/videos from it, you can use the Delete option to delete them permanently.
For the purpose of downloading the album, click on the Download option in the album options menu. This will initiate the download process, which we will explore in the next step.
Step 4: Download the Album
After opening the album options and selecting the “Download” option, Google Photos will start preparing the album for download. This process may take a few moments, depending on the size of the album and your internet connection speed.
During the preparation phase, Google Photos will create a ZIP file containing all the photos and videos from the album. This ZIP file will be the format in which the album will be downloaded. Once the preparation is complete, a dialog box will appear, prompting you to choose the download location on your computer.
Browse to the desired folder or directory on your computer where you want to save the downloaded album. You can create a new folder specifically for the album or choose an existing one. Once you have selected the location, click “Save” or “OK” to start the download.
Google Photos will then begin downloading the ZIP file to the chosen location on your computer. A progress bar might be displayed to indicate the download progress, allowing you to track how much of the album has been downloaded.
Depending on the size of the album and your internet connection speed, the download may take a few minutes or longer. It is advisable to ensure that you have a stable internet connection during the download process, as interruptions or disconnects may result in an incomplete or corrupted download.
Once the download is complete, you can go to the specified location on your computer to access the downloaded album in the form of a ZIP file.
With the album successfully downloaded, you can now proceed to the next step to choose the download format.
Step 5: Choose the Download Format
Now that you have successfully downloaded the album as a ZIP file, you may want to choose the format in which you would like the photos and videos to be extracted. By default, Google Photos compresses the images and videos to reduce their file size. However, you have the option to choose the original quality if you prefer.
To choose the download format, locate the downloaded album ZIP file on your computer. Right-click on the ZIP file and select “Extract” from the menu. A dialog box will appear, providing options for extracting the files.
If you want to maintain the original quality of the photos and videos, look for an option that says “Extract to original quality” or “Extract uncompressed.” Select this option to ensure that the extracted files are in their highest quality.
If you are not concerned about the file size and prefer faster extraction, you can choose the default option, which is usually “Extract to compressed size” or something similar. This option will compress the files to a smaller size, making them easier to manage and share.
Once you have selected the desired download format, click “OK” or “Extract” to begin the extraction process. Google Photos will now extract the files from the ZIP archive and save them to the designated location on your computer.
Depending on the size of the album and the extraction format chosen, this process may take a few moments. You can track the progress through a progress bar or dialog box, which will inform you of the status of the extraction.
Once the extraction is complete, you can navigate to the specified location on your computer to access the extracted photos and videos. They will now be available in their designated format, allowing you to view, edit, and share them as desired.
With the download format chosen and the album extracted, you have successfully completed this step. The final step will cover what to do while waiting for the download to complete.
Step 6: Wait for the Download to Complete
After selecting the album to download, opening the album options, and choosing the desired download format, the final step is to wait for the download to complete. The speed of the download will depend on various factors such as the size of the album, your internet connection speed, and the current traffic on the network.
During the download process, it’s important to be patient and avoid interrupting or canceling the download. Interrupting the download may result in an incomplete or corrupted file, requiring you to start the process again.
While waiting for the download to complete, you can utilize this time to engage in other activities or tasks. Checking your emails, browsing the web, or even taking a short break can help pass the time more quickly.
It’s important to ensure that your computer remains powered on and connected to the internet until the download is finished. If your internet connection is unstable or prone to disconnections, consider using a wired connection instead of relying on Wi-Fi for a more reliable and uninterrupted download experience.
Once the download is complete, you will be able to access the downloaded album in the designated location on your computer. Take a moment to verify that all the files have been downloaded successfully before proceeding with any further actions.
Remember to safely store and backup the downloaded album to prevent any accidental loss or deletion. You can store it on an external hard drive, cloud storage service, or any other secure location of your choice.
Congratulations! You have successfully completed all the steps to download an album from Google Photos. Now you can enjoy your cherished memories offline, share them with others, or preserve them for the future.
Conclusion
Downloading an album from Google Photos can be a convenient and practical way to preserve and share your cherished memories. By following the step-by-step guide outlined in this article, you can easily download albums with just a few clicks.
We started by opening Google Photos and locating the desired album. Then, we selected the album and opened the options menu to initiate the download process. After choosing the download format, we patiently waited for the download to complete. Finally, we can enjoy the downloaded album, whether it’s for personal use or sharing with others.
Remember to always have a stable internet connection and sufficient storage space on your computer to accommodate the downloaded album. Additionally, consider downloading the album in its original quality if you prioritize the highest resolution and fidelity.
Downloading albums from Google Photos allows you to have offline access to your precious memories, safeguarding them from any potential loss or changes in the cloud. It also provides you with the flexibility to share the album with others who may not have access to the internet or prefer physical copies.
So, next time you want to download an album from Google Photos, follow these simple steps to safely and efficiently bring your memories into your own digital domain.
Happy downloading!