Introduction
Welcome to the world of web development! If you’re new to programming and want to create a PHP file using Notepad, you’ve come to the right place. PHP (Hypertext Preprocessor) is a widely-used programming language for developing dynamic and interactive websites. One of the great things about PHP is that you can write the code using a simple text editor like Notepad, making it accessible to beginners.
In this step-by-step guide, we will walk you through the process of creating a PHP file using Notepad. Don’t worry if you don’t have any prior experience with coding – we’ll explain every step in a user-friendly manner.
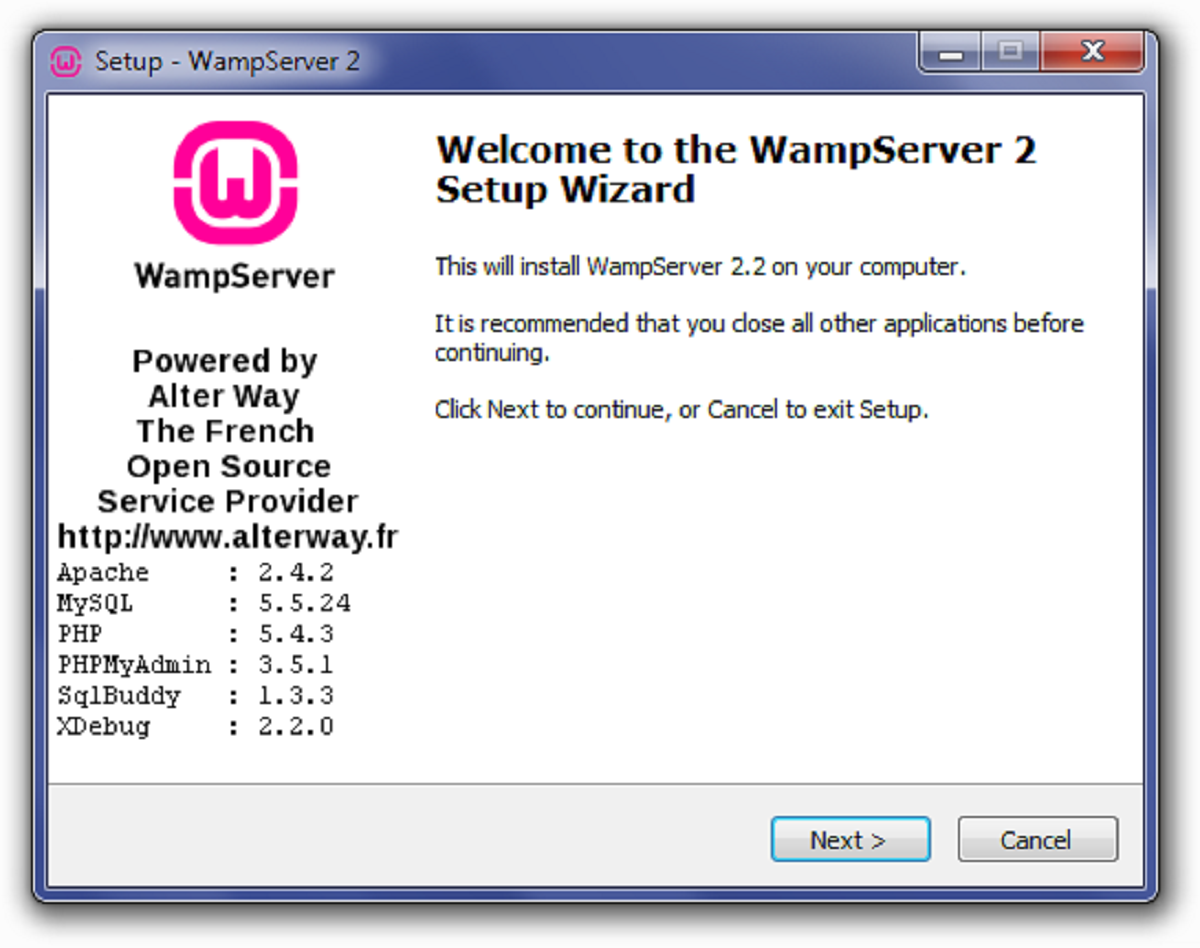
Before we begin, make sure you have a basic understanding of HTML and CSS, as PHP is often used in conjunction with these languages to create dynamic web pages. Additionally, it’s important to note that you will need a local development environment, such as XAMPP or WampServer, installed on your computer to run PHP files locally.
So, let’s dive in and learn how to create a PHP file in Notepad!
Prerequisites
Before we get started, there are a few things you’ll need to have in place to create a PHP file in Notepad:
- A text editor: Notepad, which comes pre-installed on most Windows computers, will suffice for our purposes. However, you can also use any other text editor that you’re comfortable with.
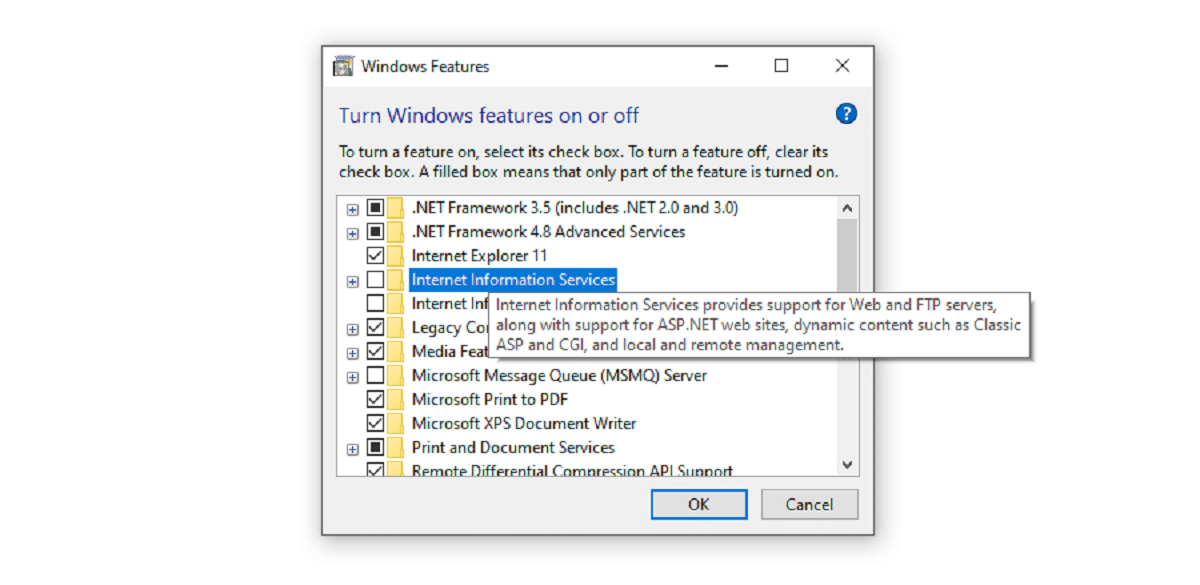
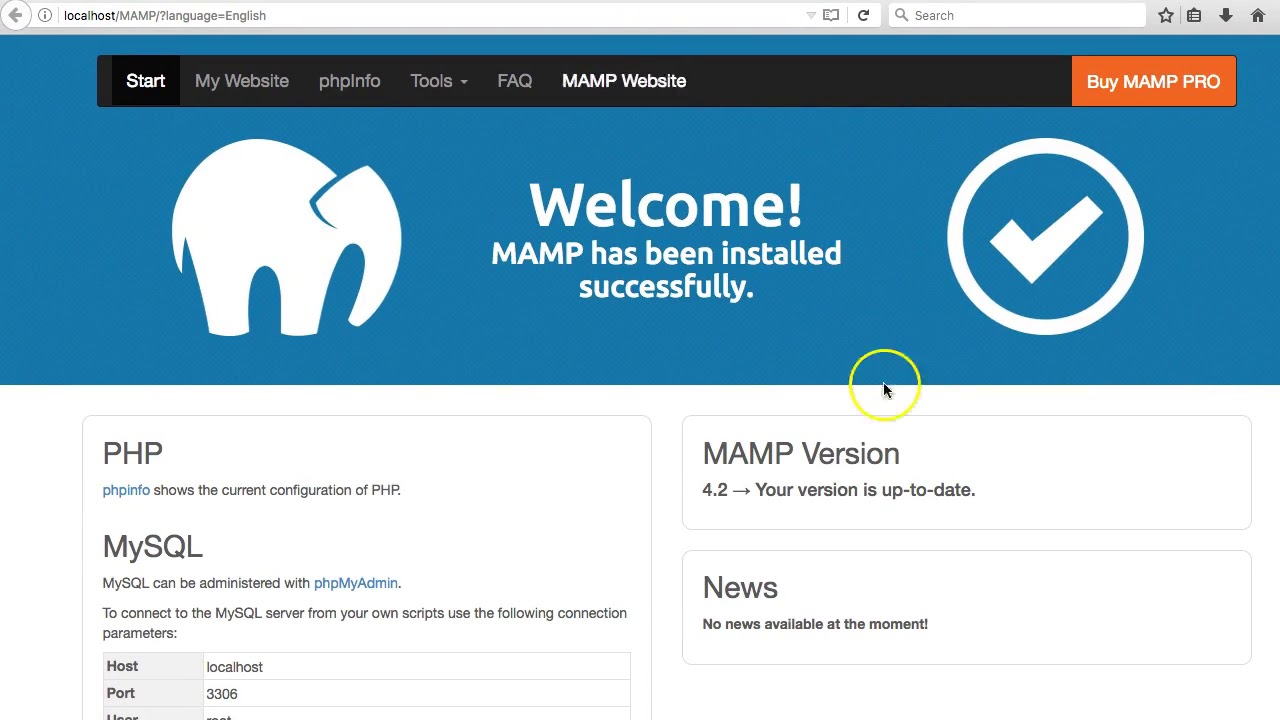
- A local development environment: To run PHP files, you’ll need to set up a local development environment on your computer. There are several options available, such as XAMPP, WampServer, or MAMP, which bundle together PHP, a web server (like Apache), and a MySQL database.
- Basic knowledge of HTML and CSS: While it’s not mandatory to be an expert in HTML and CSS to create a PHP file, having a foundational understanding of these languages will greatly enhance your ability to create dynamic web pages.
If you don’t already have a text editor or a local development environment installed, you can easily find and download them from their respective sources online. Ensure that your text editor supports syntax highlighting for PHP to make the coding process more efficient.
Keep in mind that PHP files are executed on the server-side, so you’ll need a web server to process and deliver the results to the client’s browser. By setting up a local development environment, you can test your PHP code before deploying it to a live server.
Now that you have the necessary tools and knowledge, let’s move on to the step-by-step process of creating a PHP file using Notepad!
Step 1: Opening Notepad
The first step in creating a PHP file in Notepad is to open the text editor on your computer. Notepad is a lightweight and simple text editor that comes pre-installed on most Windows operating systems. Here’s how you can open Notepad:
- Click on the Start menu located at the bottom left corner of your screen.
- Type “Notepad” in the search bar.
- From the search results, click on the Notepad application to launch it.
Once Notepad opens, you will see a blank document where you can start writing your PHP code. Notepad doesn’t have all the advanced features of a dedicated code editor, but it will serve our purpose for creating a simple PHP file.
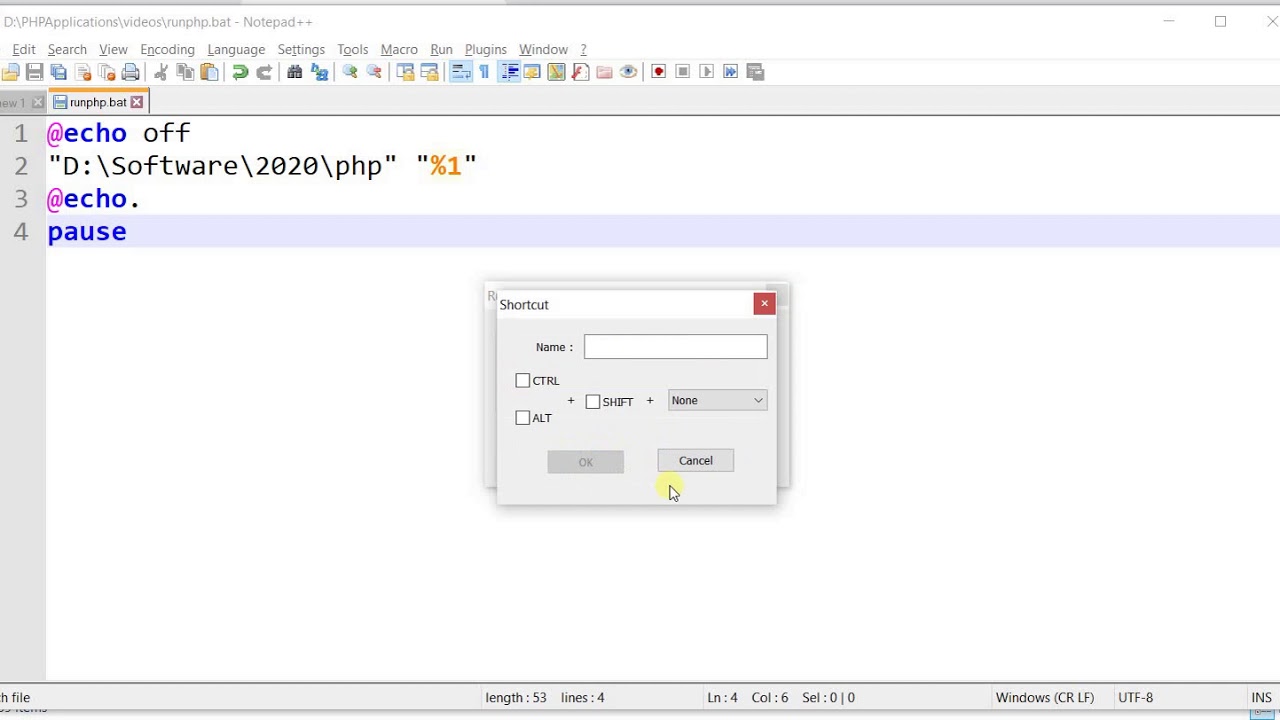
Alternatively, you can use any other text editor that you prefer, such as Notepad++, Sublime Text, or Visual Studio Code. These editors offer additional features like syntax highlighting and auto-completion, which can be beneficial when writing PHP code.
Now that you have Notepad open, let’s move on to the next step of enabling PHP syntax highlighting to make your code more readable and easier to understand.
Step 2: Enabling PHP Syntax Highlighting
To make the PHP code more visually appealing and easier to read, it’s beneficial to enable PHP syntax highlighting in Notepad. Syntax highlighting will colorize different elements of the code, such as keywords, variables, and comments, making it easier to identify and understand the code structure. Here’s how you can enable PHP syntax highlighting in Notepad:
- In Notepad, click on the File menu at the top left corner of the window.
- From the drop-down menu, select the Open option.
- In the file explorer window that appears, navigate to the folder where you have saved your PHP file.
- Select your PHP file and click on the Open button.
Once you have your PHP file open in Notepad, follow the steps below to enable PHP syntax highlighting:
- Click on the Language menu at the top of the Notepad window.
- From the sub-menu that appears, click on the P option to select PHP as the language for syntax highlighting.
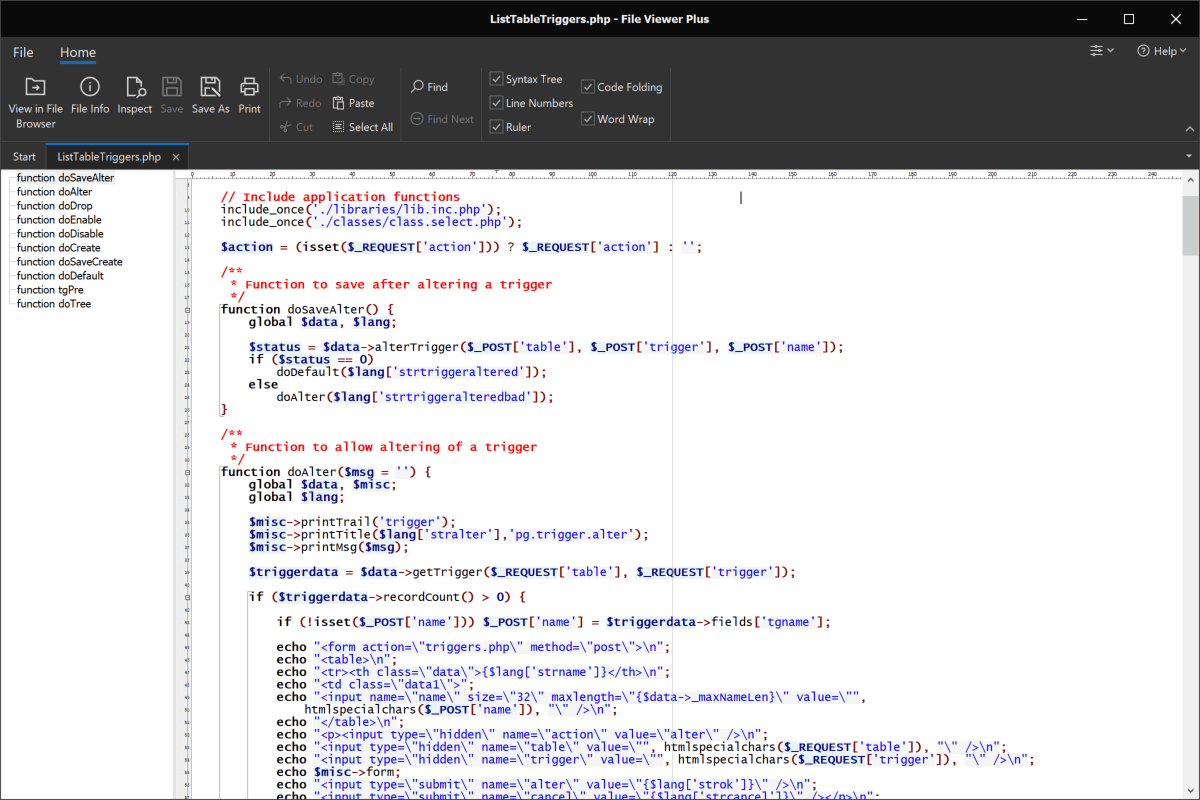
Now, you will notice that the PHP code in your file is highlighted with different colors, depending on the syntax element. This colorization improves code readability and helps you easily identify different parts of your PHP code.
Enabling PHP syntax highlighting is optional but highly recommended, as it enhances your coding experience and reduces the chances of making syntax errors. With syntax highlighting enabled, you’re ready to write your PHP code in Notepad.
Step 3: Writing PHP Code
Now that you have Notepad open and PHP syntax highlighting enabled, it’s time to start writing your PHP code. PHP code is embedded within HTML or standalone PHP files and is enclosed within tags. Here’s how you can write PHP code in Notepad:
- Begin by typing
- Next, write your PHP code between the opening tags.
- You can add any valid PHP code within these tags, such as variable declarations, conditional statements, loops, or functions.
- Remember to always end each line of code with a semicolon (;) to indicate the end of a statement.
- You can also include HTML code within the PHP tags to create dynamic web pages.
- Ensure proper indentation for better code readability and organization.
Here’s a basic example of PHP code that outputs a simple message:
php
In the above example, we declare a variable `$message` and assign it the value “Hello, World!”. Then, we use the `echo` statement to display the value of the variable, which outputs the message “Hello, World!”.
Feel free to experiment and write more complex PHP code based on your requirements. Notepad may lack certain features like auto-completion or code suggestions, but it is still possible to write and run functional PHP code in this simple text editor.
Once you’ve written the desired PHP code, you’re ready to save the file and give it a recognizable name.
Step 4: Saving the PHP File
After writing your PHP code in Notepad, it’s important to save the file with the appropriate file extension (.php) so that it can be recognized as a PHP file by the server. Here’s how you can save your PHP file:
- Click on the File menu at the top left corner of the Notepad window.
- From the drop-down menu, select the Save As option.
- In the dialog box that appears, navigate to the directory where you want to save your PHP file.
- Enter a filename for your PHP file, followed by the “.php” file extension. For example, “my-php-file.php”.
- Choose the appropriate directory and click on the Save button.
When saving your PHP file, make sure to select the correct file type (All Files or Text Documents) and include the “.php” extension at the end of the filename. This extension is crucial as it tells the server that the file contains PHP code that needs to be processed.
Now that you’ve saved your PHP file, you’re ready to run it and see the output of your PHP code.
Note: Remember to save your PHP file in the appropriate directory of your local development environment, such as the “htdocs” folder in XAMPP or the “www” folder in WampServer. This ensures that the web server can access and process your PHP file correctly.
Step 5: Running the PHP File
After saving your PHP file, it’s time to run and test your PHP code. To execute the PHP file and view the output in your web browser, follow these steps:
- Ensure that your local development environment (such as XAMPP or WampServer) is running.
- Open your preferred web browser (such as Chrome, Firefox, or Edge).
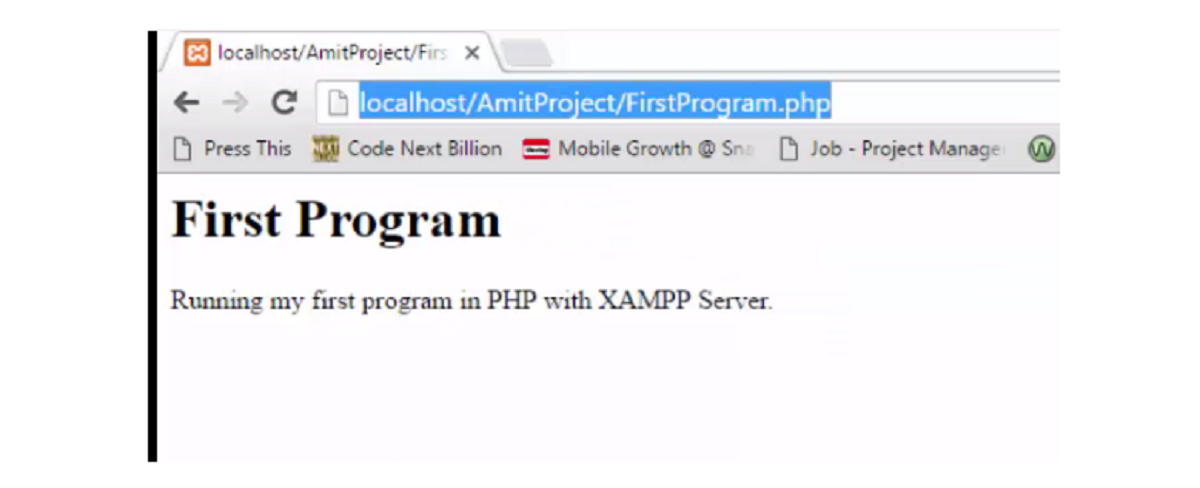
- In the address bar of the web browser, type “localhost” followed by a forward slash (/) and the filename of your PHP file. For example, “localhost/my-php-file.php”.
- Press the Enter key to navigate to the URL.
The web server will process the PHP file, execute the code, and display the output in your browser. If everything is set up correctly and your PHP code is error-free, you should see the result of your PHP code on the web page.
For example, if your PHP code includes an `echo` statement to display a message, you will see that message printed on the web page when you run the PHP file.
Keep in mind that any dynamic content or actions defined in your PHP code will be executed on the server-side before being sent to the client’s browser. This allows you to create dynamic and interactive web pages that respond to user input or retrieve data from databases.
Now that you know how to run a PHP file, you can make changes to your code, save the file, and refresh the browser to see the updated output. This iterative process helps you refine and improve your PHP code to achieve the desired functionality.
Congratulations! You have successfully created and run a PHP file using Notepad. With this knowledge, you can continue exploring the world of PHP and create more sophisticated web applications.
Conclusion
Congratulations! You’ve reached the end of this guide on creating a PHP file in Notepad. You have learned the step-by-step process of opening Notepad, enabling PHP syntax highlighting, writing PHP code, saving the PHP file, and running it in a web browser. By following these steps, you can start creating dynamic and interactive web pages using PHP.
Remember, while Notepad may lack some advanced features found in dedicated code editors, it is a simple and accessible tool for beginners to get started with PHP development. As you progress on your coding journey, you may explore other code editors that provide additional features to enhance your productivity.
It’s important to continue practicing and experimenting with PHP to improve your skills. PHP offers a vast range of functionalities, including working with databases, handling forms, creating APIs, and much more. The more you practice, the better you will become at writing efficient and effective PHP code.
As a next step, consider learning about PHP frameworks like Laravel, CodeIgniter, or Symfony, which can speed up development and provide a structured approach to building web applications.
Now that you have the knowledge and tools to create PHP files in Notepad, you’re ready to embark on your PHP coding journey. Keep exploring the possibilities, follow best coding practices, and don’t hesitate to seek out additional resources and tutorials to expand your PHP skillset.
Happy coding!


