Introduction
Are you looking to run a PHP program on your local machine? Whether you are a beginner or an experienced developer, setting up the right environment is crucial for smooth PHP development. One popular tool that can help you achieve this is Wamp.
Wamp (which stands for Windows, Apache, MySQL, and PHP) is a free and open-source software stack that provides a complete web development environment on Windows machines. It allows you to easily install and configure essential components, such as the Apache web server, MySQL database, and PHP, all in one convenient package.
In this article, we will guide you through the process of installing Wamp, setting up the PHP environment, creating a new PHP project, writing PHP code, and running the PHP program. We will also touch on ways to debug your PHP programs to identify and fix any errors that may occur along the way.
Whether you are developing a simple script or a complex web application, having a reliable development environment is vital for efficient coding and testing. With Wamp, you can quickly and easily create a local server environment that mirrors a live web server, allowing you to test and debug your PHP programs locally before deploying them to a production server.
So, without further ado, let’s dive into the world of Wamp and discover how to run a PHP program on your local machine.
Installing Wamp
Before you can start running PHP programs with Wamp, you need to install the software on your machine. Here is a step-by-step guide to help you through the installation process:
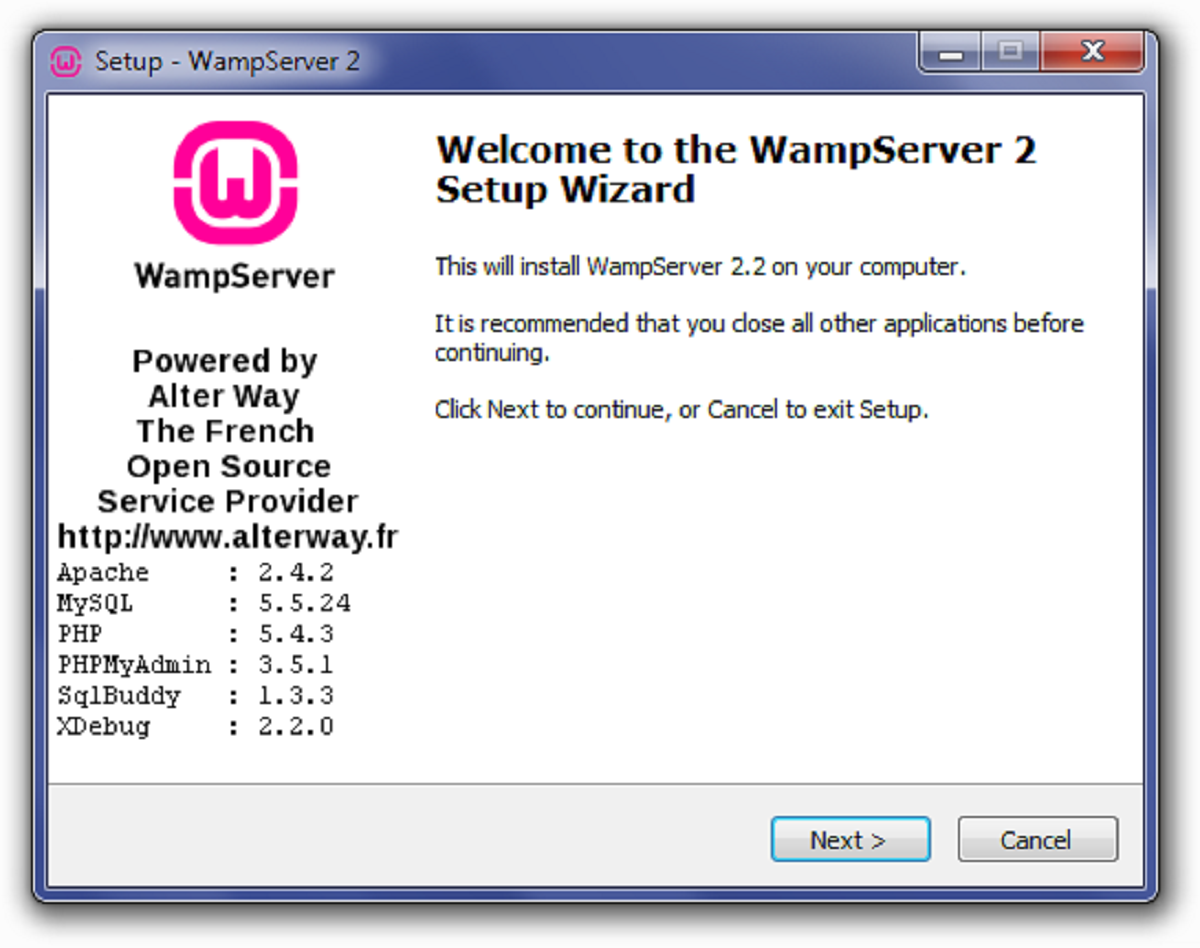
- Visit the Wamp website (https://www.wampserver.com/) and download the latest version of Wamp compatible with your operating system.
- Once the download is complete, launch the installation wizard.
- Follow the instructions provided by the installation wizard, such as selecting the installation language and accepting the license agreement.
- Choose the installation directory for Wamp. The default directory is usually fine, but you can specify a different location if desired.
- Select the components you want to install. By default, Wamp installs Apache, MySQL, and PHP, but you can also choose to include additional options like phpMyAdmin for database management.
- Choose the default web browser that you want to open when accessing local web pages.
- Set the SMTP server and email address for sending mail using PHP’s mail function (optional).
- Click the “Install” button to begin the installation process.
- Once the installation is complete, you will be prompted to create a desktop shortcut for easier access to Wamp.
- Finally, click the “Finish” button to complete the installation.
After the installation is finished, you will find the Wamp shortcut on your desktop. Double-click the shortcut to start Wamp, and you will see an icon in your system tray indicating that the Wamp server is running.
Congratulations! You have successfully installed Wamp on your machine. In the next section, we will explore how to configure the PHP environment to get ready to run your PHP programs.
Setting up the PHP Environment
Once you have installed Wamp, the next step is to configure the PHP environment to ensure that your PHP programs run smoothly. Here are the necessary steps to set up the PHP environment:
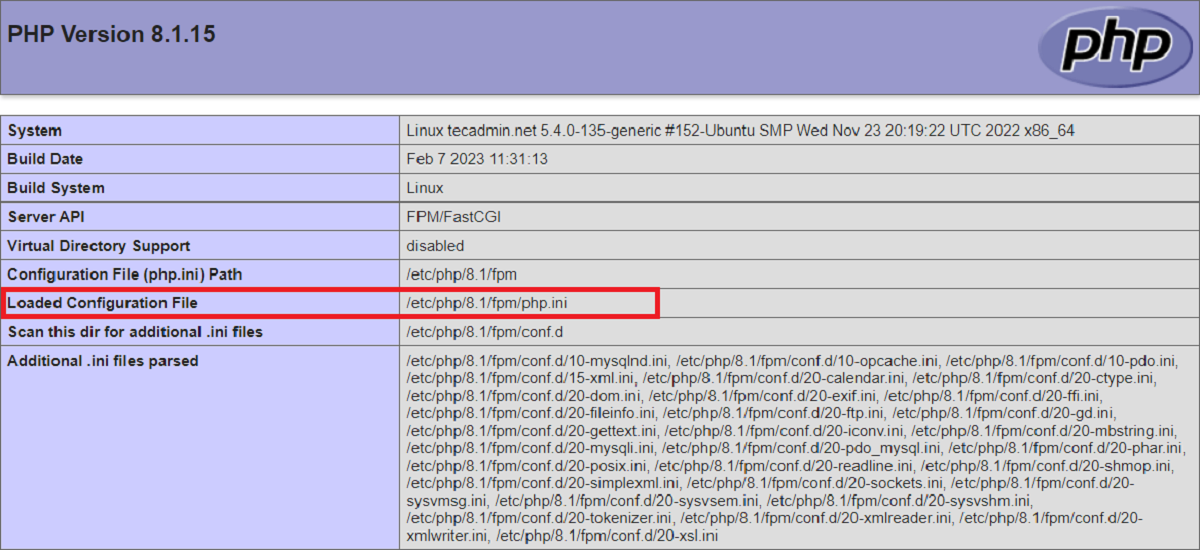
- Locate the Wamp server icon in your system tray and right-click on it. From the menu, select “PHP” and then click on “php.ini” to open the PHP configuration file.
- In the php.ini file, you can modify various settings related to PHP. For example, you can adjust the maximum file upload size, set the time zone, and enable/disable PHP extensions. Make any required changes and save the file.
- After modifying the php.ini file, you need to restart the Wamp server to apply the changes. Right-click on the Wamp server icon and select “Restart All Services” from the menu.
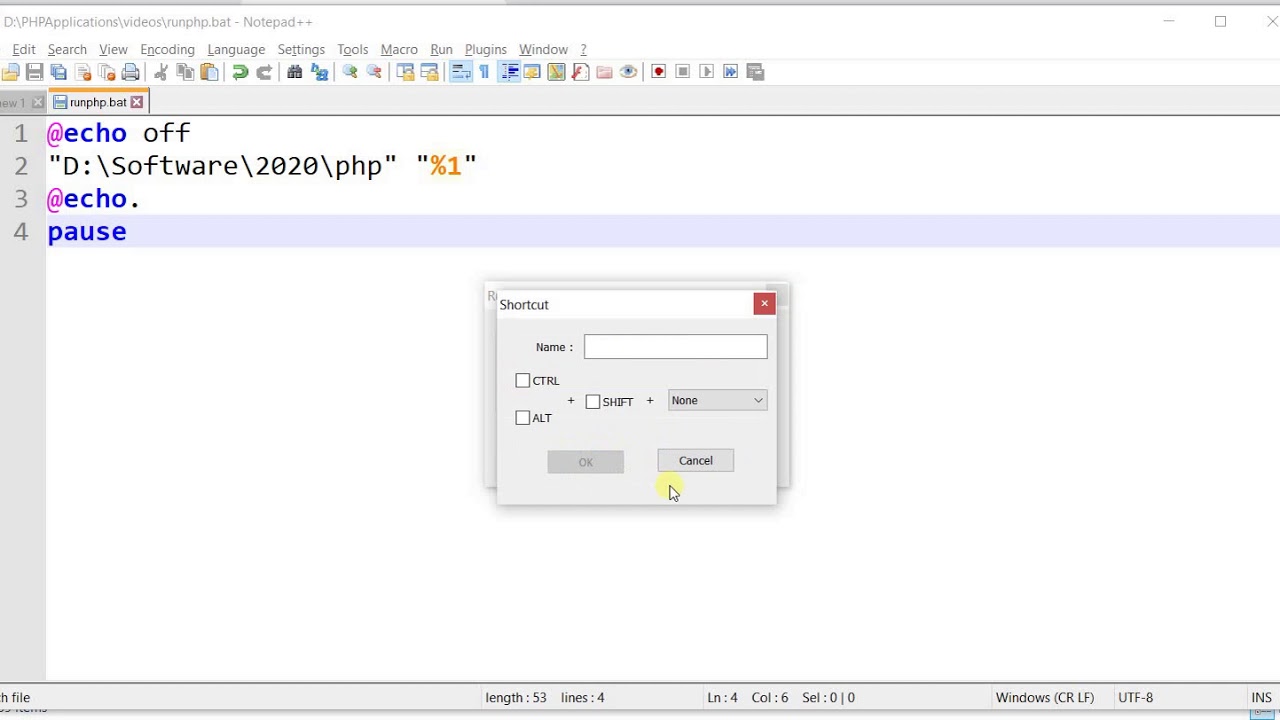
- Next, open your preferred text editor to write your PHP code. You can use any text editor of your choice, such as Notepad++, Sublime Text, or Visual Studio Code.
- Create a new PHP file with a .php extension (e.g., yourfilename.php). This is where you will write your PHP code.
With these steps, you have successfully set up the PHP environment to start running your PHP programs. In the next section, we will dive into the process of creating a new PHP project.
Creating a New PHP Project
Now that you have set up the PHP environment, it’s time to create a new PHP project. A project allows you to organize and manage your PHP files and resources effectively. Follow these steps to create a new PHP project:
- Choose a suitable location on your computer where you want to create your PHP project. It can be a dedicated folder or within an existing project folder.
- Create a new folder for your PHP project and give it a descriptive name. This name should represent the purpose or theme of your project.
- Open your text editor and create a new PHP file within the project folder. This file will act as the entry point for your PHP project.
- Start structuring your PHP project by creating separate files for different functionalities or components. For example, you can have separate files for database connections, user authentication, and HTML template rendering.
- Consider organizing your project using a file structure that best suits your project’s needs. You can create subfolders for different modules or sections of your application.
- It’s also beneficial to include a README file to document your project’s purpose, dependencies, installation instructions, and any other essential information for future reference or collaboration.
By following these steps, you have successfully created a new PHP project. Now, it’s time to start writing the PHP code to bring your project to life. We will explore this in the next section.
Writing the PHP Code
With your PHP project set up, it’s time to dive into writing the PHP code. PHP is a versatile scripting language that allows you to create dynamic and interactive web applications. Here are some essential tips for writing effective PHP code:
- Start by defining the purpose and goals of your PHP program. This will help you plan and structure your code accordingly.
- Use a consistent and readable coding style by following best practices and adhering to coding guidelines. This will make your code easier to understand and maintain.
- Comment your code to provide explanations for complex logic, important functions, or any other areas that might need clarification. This will make your code more understandable for others and your future self.
- Break down your code into smaller, reusable functions or methods. This modular approach makes your code more organized, easier to test, and enhances code reusability.
- Ensure proper error handling by implementing appropriate mechanisms to catch and handle any potential errors or exceptions that may occur during the execution of your PHP program.
- Follow coding standards and security practices to protect your PHP code from potential vulnerabilities, such as SQL injection or cross-site scripting (XSS) attacks.
- Make use of external libraries or frameworks that provide additional functionality or simplify complex tasks. This can significantly speed up development and improve the quality of your PHP code.
- Regularly test your PHP code using various testing techniques, such as unit testing or integration testing, to ensure its correctness and reliability.
By following these tips, you can write clean, efficient, and maintainable PHP code for your project. Now, let’s move on to the next section to learn how to run your PHP program in Wamp.
Running the PHP Program
Now that you have written your PHP code, it’s time to run your PHP program using Wamp. Here are the steps to run your PHP program:
- Make sure that the Wamp server is running by checking the Wamp icon in your system tray. It should be green, indicating that the server is active.
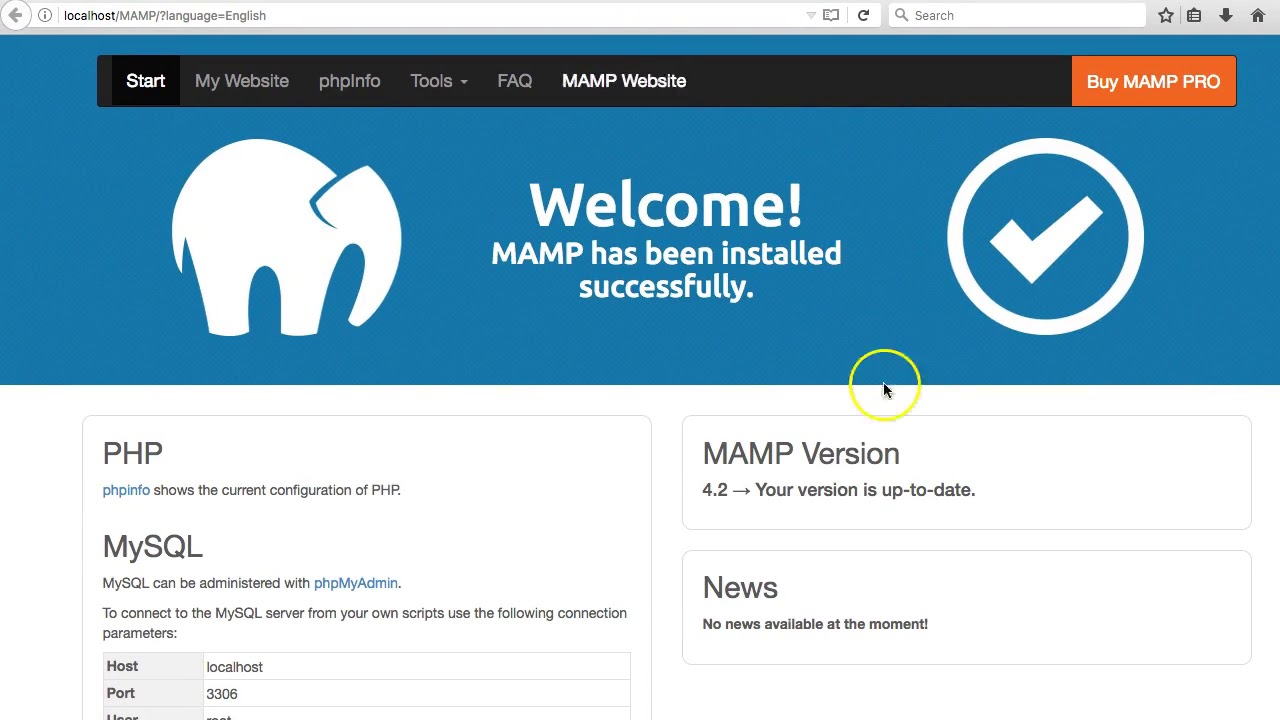
- Open your web browser and type “localhost” or “127.0.0.1” in the address bar. This will take you to the Wamp server’s default web page.
- Navigate to the folder where you have saved your PHP project or directly access the PHP file you want to run.
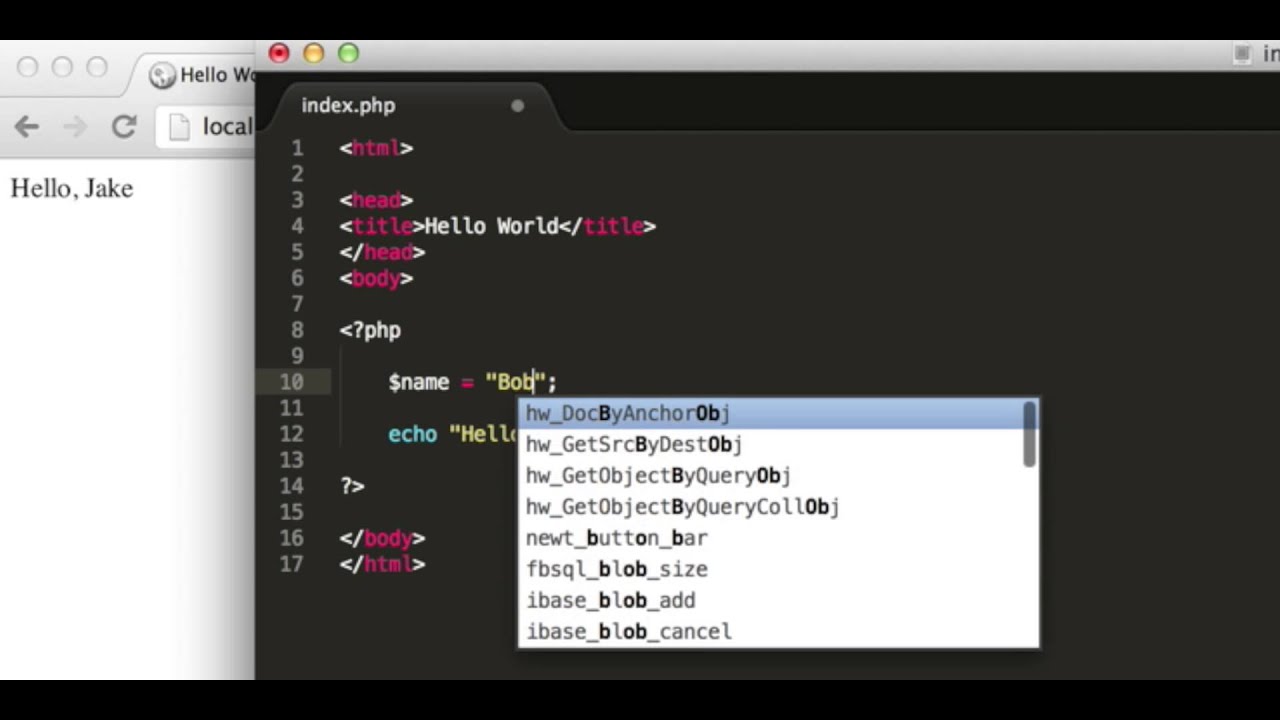
- Click on the PHP file to open it in the web browser. The PHP code will be executed, and you will see the output or the resulting web page displayed in your browser.
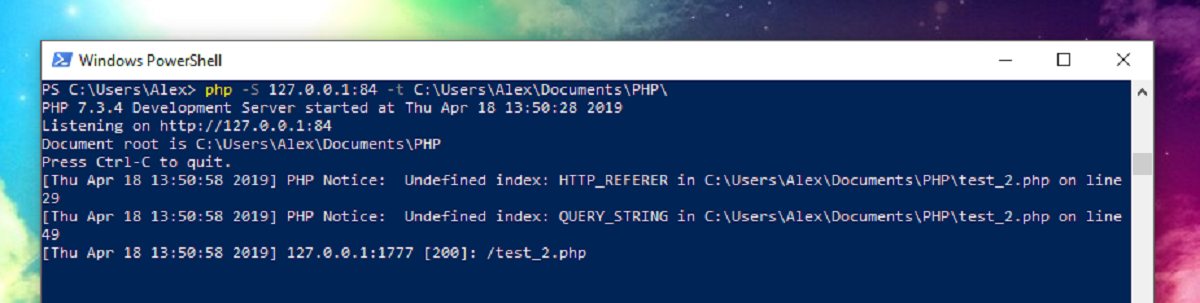
It’s important to note that PHP files must have a .php extension to be recognized and executed properly by the web server. If you encounter any errors or issues while running your PHP program, check your code for syntax errors or consult the error logs provided by Wamp for troubleshooting.
Additionally, you can also pass data to your PHP program through URL parameters or via HTML forms to create dynamic web applications. Utilize PHP’s built-in functions and libraries to interact with databases, manipulate files, and perform various other tasks within your program.
Congratulations! You have successfully run your PHP program using Wamp. In the next section, we will discuss how to effectively debug PHP programs to identify and resolve any errors that may occur.
Debugging PHP Programs
Debugging is an essential part of the development process, as it helps identify and fix errors or bugs in your PHP programs. Here are some techniques for effectively debugging your PHP programs:
- Enable error reporting: In your PHP code, use the error_reporting() function or modify the php.ini file to display errors and warnings. This will help you identify and address any syntax errors or runtime issues.
- Inspect error messages: When an error occurs, PHP generates an error message with relevant information. Carefully read these error messages to understand the cause of the issue and locate the corresponding line of code.
- Use var_dump() and print_r() functions: To examine the values of variables, arrays, or objects at specific points in your code, use var_dump() or print_r(). These functions provide detailed information about the content and structure of the data.
- Step through code using breakpoints: Utilize debugging tools integrated with your text editor or IDE to set breakpoints, allowing you to pause the execution of your PHP program at specific lines of code. This enables you to analyze the state of variables and track the flow of execution.
- Log errors and debug information: Implement logging mechanisms to capture errors, debug output, and relevant information. Log files can help you trace the flow of execution and track down issues that may not be apparent during live debugging.
- Use debugging extensions and tools: PHP offers various debugging extensions and third-party tools that can enhance your debugging experience. Extensions like Xdebug provide advanced features such as remote debugging, profiling, and code coverage analysis.
- Test with sample data and edge cases: Develop comprehensive test cases that cover a wide range of scenarios and data inputs. This enables you to identify and fix issues specific to certain conditions or edge cases.
- Seek help from the PHP community: If you’re stuck or encountering complex issues, reach out to online forums, discussion boards, or the PHP community for assistance. Many experienced developers are willing to provide guidance and share their expertise.
By using these debugging techniques, you can efficiently identify and resolve errors in your PHP programs. Remember to regularly test and debug your code throughout the development process to ensure a stable and reliable application.
In the next section, we will wrap up this article by summarizing the key points and providing a concluding thought.
Conclusion
Congratulations on completing this guide on running PHP programs in Wamp! By following the steps outlined in this article, you have learned how to install Wamp, set up the PHP environment, create a new PHP project, write PHP code, run the PHP program, and effectively debug any issues that may arise.
Wamp provides a robust and convenient platform for developing PHP applications on your local machine. With its easy-to-use interface and preconfigured software stack, you can quickly set up a local server environment that mirrors a live web server.
Remember to write structured and readable PHP code by following best practices, commenting where necessary, and adopting a modular approach. Make use of the debugging techniques we discussed to identify and fix any errors or bugs that may occur during the development process. Testing your PHP code extensively using various scenarios and edge cases will ensure that your application functions as expected.
As you continue your journey in PHP development, don’t hesitate to explore more advanced topics and expand your knowledge. The PHP community is rich with resources, forums, and tutorials that can provide further insights and help you improve your skills.
Now that you have a strong foundation in running PHP programs in Wamp, you are ready to start building dynamic and interactive web applications. Happy coding!