Introduction
When it comes to web development, PHP (Hypertext Preprocessor) is a powerful scripting language widely used for creating dynamic web pages and applications. However, unlike HTML and CSS files that can be opened directly in a web browser, PHP files require a server environment to be executed and displayed correctly. This means that simply double-clicking on a PHP file won't render its content in the browser as expected.
To view the output of a PHP file, it needs to be processed by a server that understands PHP code and can generate the corresponding HTML output. In this article, we will explore the steps to open a PHP file in a web browser, allowing you to see the dynamic content it produces.
Whether you're a seasoned developer or just starting with PHP, understanding how to open PHP files in a browser is a fundamental aspect of web development. By following the steps outlined in this guide, you'll be able to set up a local server environment, save your PHP files in the server's document root, and access them through a web browser on your computer. Let's dive into the process and unlock the ability to seamlessly view and test your PHP creations in a browser.
Step 1: Install a Local Server Environment
Setting up a local server environment is the first crucial step in opening PHP files in a web browser. A local server allows you to run PHP scripts on your own computer, simulating the functionality of a live web server. This enables you to test and debug your PHP code before deploying it to a production server. Here's how to get started:
1. Choose a Local Server Software
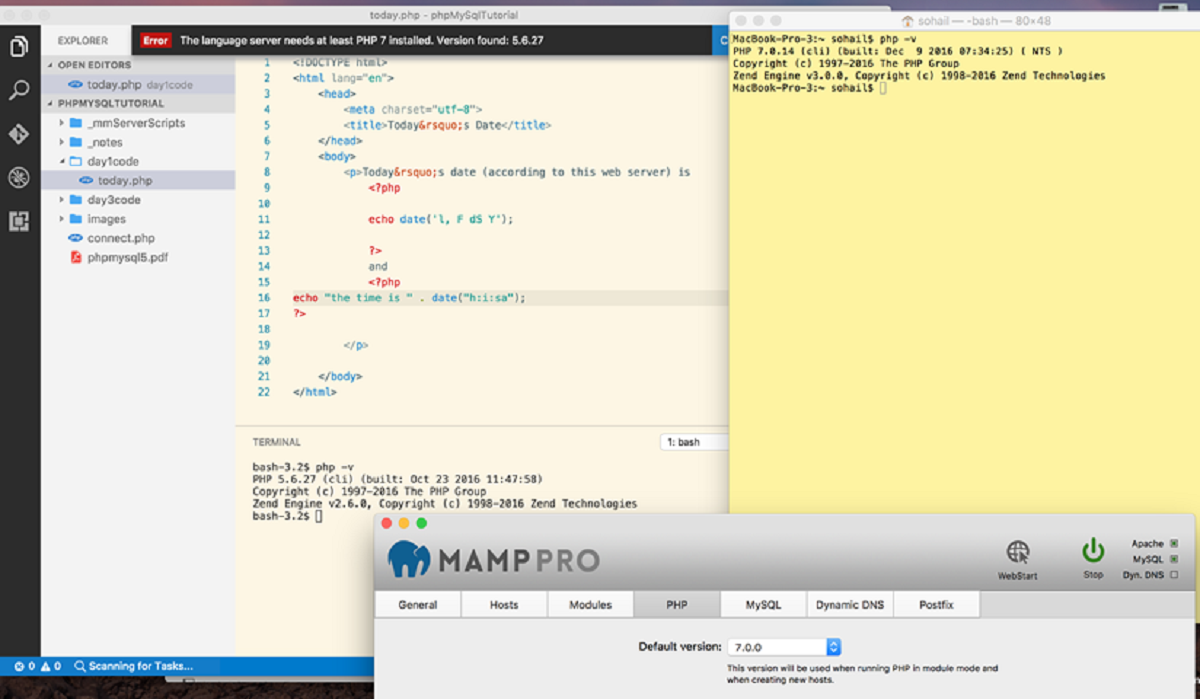
There are several popular options for local server software, each with its own advantages. One widely used choice is XAMPP, which includes Apache (the web server), MySQL (a database management system), PHP, and Perl. Another popular option is WampServer, which provides a Windows-friendly environment for running PHP files locally. Additionally, MAMP is a great choice for macOS users. Select the local server software that best suits your operating system and requirements.
2. Download and Install the Local Server Software
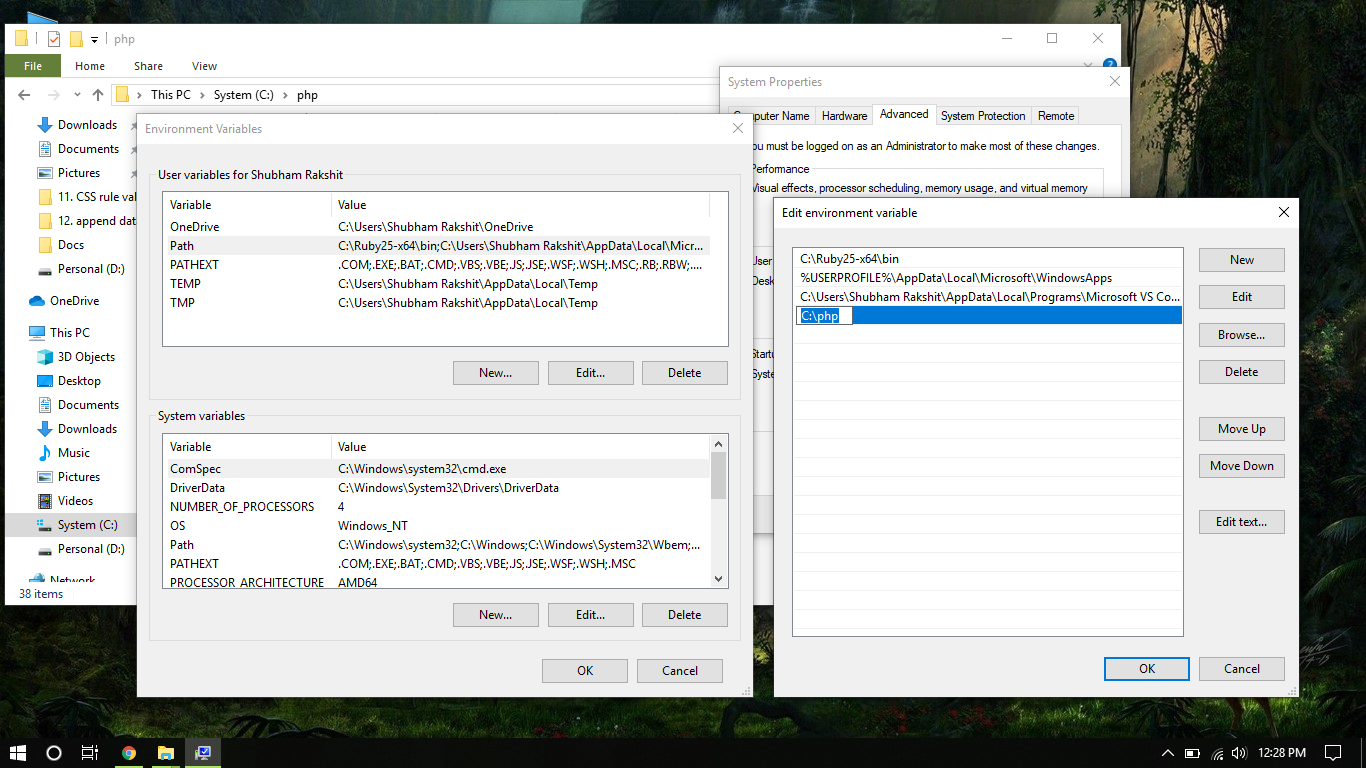
Once you've chosen the appropriate local server software, download the installation package from the official website. Follow the installation instructions provided by the software to set up the local server environment on your computer. During the installation process, you may be prompted to configure the server settings such as the document root directory and port numbers. Ensure that the installation is completed successfully before proceeding to the next step.
3. Start the Local Server
After the installation is complete, start the local server software. This action initializes the Apache server and other necessary components, allowing your computer to function as a local web server. Once the server is up and running, you can proceed to save your PHP files in the designated document root directory, where they will be processed and served to the web browser.
By following these steps to install a local server environment, you'll create a robust platform for running and testing PHP files on your own computer. This foundational setup lays the groundwork for seamlessly opening and viewing PHP files in a web browser, empowering you to develop and refine dynamic web content with ease.
Step 2: Save the PHP File in the Server's Document Root
Once you have set up the local server environment, the next step is to save your PHP file in the server's document root. The document root is the directory where the local server looks for files to serve to the web browser. By placing your PHP files in this designated location, you ensure that they are processed and made accessible through the server. Here's a detailed guide on how to save your PHP file in the server's document root:
-
Locate the Document Root Directory: The document root directory is typically named "htdocs" in XAMPP and WampServer, while in MAMP, it is often named "htdocs" or "www." Navigate to this directory within the installation folder of your local server software.
-
Create a New Folder (Optional): For better organization, you can create a new folder within the document root to store your PHP files. This step is particularly useful when working on multiple projects, as it helps maintain a structured file system.
-
Save the PHP File: Copy or move your PHP file into the document root directory or the newly created folder. Ensure that the file has a ".php" extension, which is essential for the server to recognize and process it as a PHP script.
-
Verify the File Location: Double-check that the PHP file is now located within the document root directory or the designated folder. This ensures that the local server can access and execute the PHP file when requested through a web browser.
By saving your PHP file in the server's document root, you establish the necessary connection between the file and the local server environment. This enables the server to interpret and process the PHP code, ultimately generating the corresponding HTML output for display in a web browser. With your PHP file securely placed in the document root, you are now ready to proceed to the next step and open it in a web browser to view the dynamic content it produces.
This step is pivotal in the process of opening PHP files in a web browser, as it ensures that the local server can locate and process your PHP files effectively. With your PHP file securely placed in the document root, you are now ready to proceed to the next step and open it in a web browser to view the dynamic content it produces.
Step 3: Open the Browser and Enter the Localhost URL
Now that you have set up a local server environment and saved your PHP file in the server's document root, it's time to open a web browser and enter the localhost URL to view the output of your PHP file. This step is essential for accessing and testing the dynamic content generated by your PHP script. Here's a detailed guide on how to open the browser and enter the localhost URL:
-
Launch Your Web Browser: Open your preferred web browser on your computer. Popular options include Google Chrome, Mozilla Firefox, Microsoft Edge, and Safari. Ensure that the browser is up to date to support modern web technologies and provide an optimal viewing experience.
-
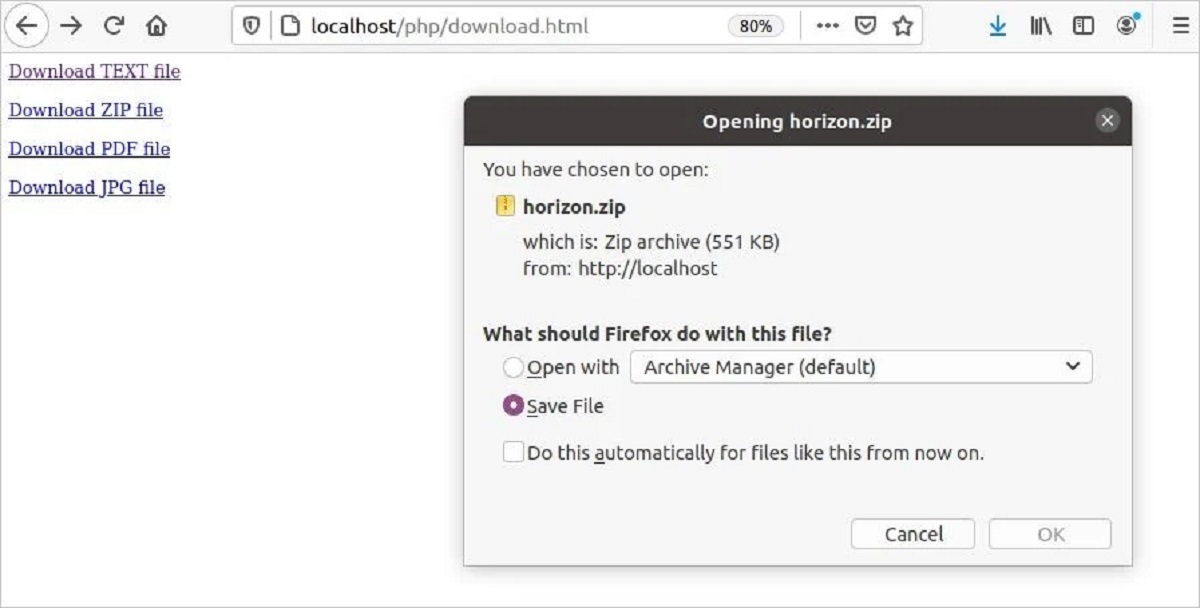
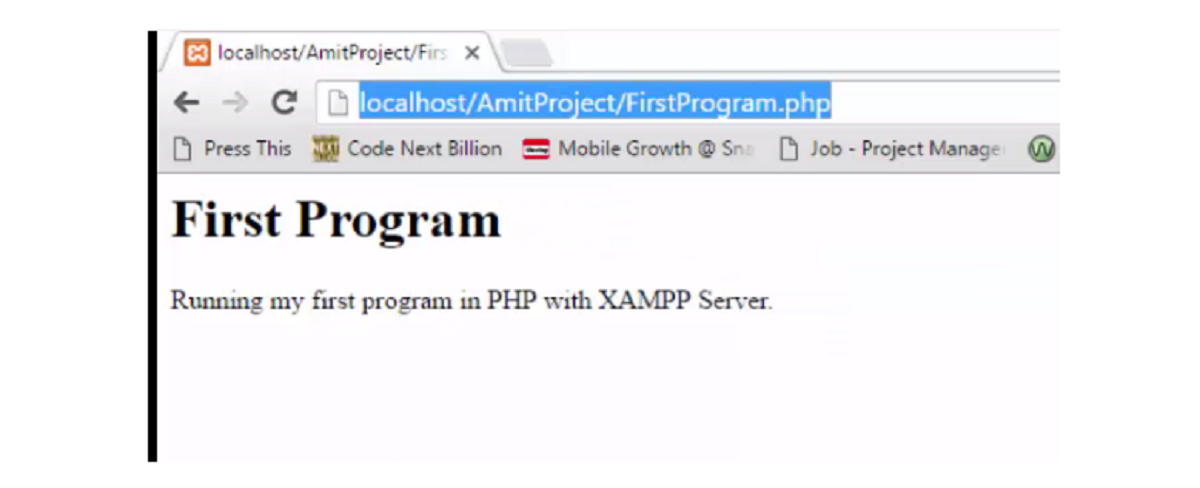
Enter the Localhost URL: In the address bar of the web browser, type "localhost" followed by a forward slash (/) and the name of the PHP file you want to open. For example, if your PHP file is named "index.php," you would enter "localhost/index.php" in the address bar. Press Enter to navigate to the specified URL.
-
View the PHP Output: Upon entering the localhost URL, the local server processes the PHP file and generates the corresponding HTML output. The web browser then displays the output, showcasing the dynamic content produced by your PHP script. You can interact with the rendered web page as you would with any live website, testing its functionality and visual presentation.
-
Debug and Refine: If the PHP file contains interactive elements, database connections, or other dynamic features, you can use this opportunity to test its behavior and functionality within the local environment. Any errors or unexpected behavior can be debugged and refined directly on your computer, ensuring that your PHP script functions as intended before deployment.
By following these steps to open the browser and enter the localhost URL, you gain immediate access to the dynamic output of your PHP file. This seamless process allows you to test, refine, and perfect your PHP scripts within a controlled local environment, empowering you to create robust and engaging web applications with confidence.
With the ability to open PHP files in a web browser and view their output locally, you are well-equipped to develop and fine-tune dynamic web content, harnessing the full potential of PHP in your web development endeavors.
Conclusion
In conclusion, mastering the process of opening PHP files in a web browser is a fundamental skill for web developers and enthusiasts alike. By following the steps outlined in this guide, you have gained the knowledge and practical insights needed to seamlessly view and test PHP scripts on your local machine.
The journey began with the installation of a local server environment, a pivotal step that empowers you to run and debug PHP files within a controlled setting. Whether you opted for XAMPP, WampServer, MAMP, or another local server software, the establishment of a local server lays the foundation for efficient PHP development.
Saving the PHP file in the server's document root was the next crucial step. By placing your PHP files in the designated directory, you ensured that they are processed and served by the local server. This organizational approach not only streamlines the development process but also facilitates the seamless execution of PHP scripts.
Finally, opening the web browser and entering the localhost URL allowed you to witness the dynamic output of your PHP file. This direct interaction with the PHP-generated content provides invaluable insights into the functionality and visual presentation of your web applications. Moreover, the local environment serves as a safe space for debugging and refining PHP scripts, ensuring their optimal performance before deployment.
By mastering the art of opening PHP files in a web browser, you have unlocked the ability to develop and refine dynamic web content with confidence. Whether you are creating interactive web applications, dynamic websites, or robust e-commerce platforms, the seamless process of viewing PHP output locally empowers you to iterate and innovate with ease.
As you continue your journey in web development, remember that the ability to open PHP files in a web browser is not just a technical skill; it is a gateway to unleashing the full potential of PHP as a dynamic scripting language. Embrace this knowledge, experiment with diverse PHP functionalities, and let your creativity flourish as you craft compelling web experiences.
With the foundational understanding and practical know-how gained from this guide, you are well-equipped to navigate the dynamic landscape of PHP development, harnessing its power to create impactful and engaging web solutions. Embrace the journey ahead, and may your PHP endeavors yield remarkable digital experiences for the world to enjoy.