Introduction
When developing a website or web application using PHP, it is crucial to be able to easily identify and troubleshoot any errors that may occur. By default, PHP errors are not displayed in the browser for security and performance reasons. However, during the development phase, it can be helpful to have the errors displayed directly in the browser, allowing for faster debugging and problem-solving.
In this article, we will explore several methods to display PHP errors in the browser. Whether you prefer to make changes in the php.ini file, the .htaccess file, directly in the PHP files, or by using the ini_set() function, we will cover them all. These methods are applicable irrespective of the framework or CMS you are using.
By enabling PHP error display in the browser, you can easily see details of any syntax errors, undefined variables, deprecated functions, or other issues that may arise during the development process. This immediate feedback can greatly streamline your debugging efforts and help you resolve errors quickly.
It is important to note that displaying PHP errors in the browser should only be done during the development phase. In a production environment, it is recommended to disable error display to ensure a secure and seamless user experience. Keeping error information hidden from visitors can prevent the exposure of sensitive information that could be used maliciously.
Now, let’s dive into the various methods of displaying PHP errors in the browser, so you can choose the one that best suits your needs and development environment.
Method 1: Editing php.ini File
One way to display PHP errors in the browser is by modifying the php.ini file. The php.ini file is the configuration file for PHP, and it contains various settings that can be customized to suit your needs.
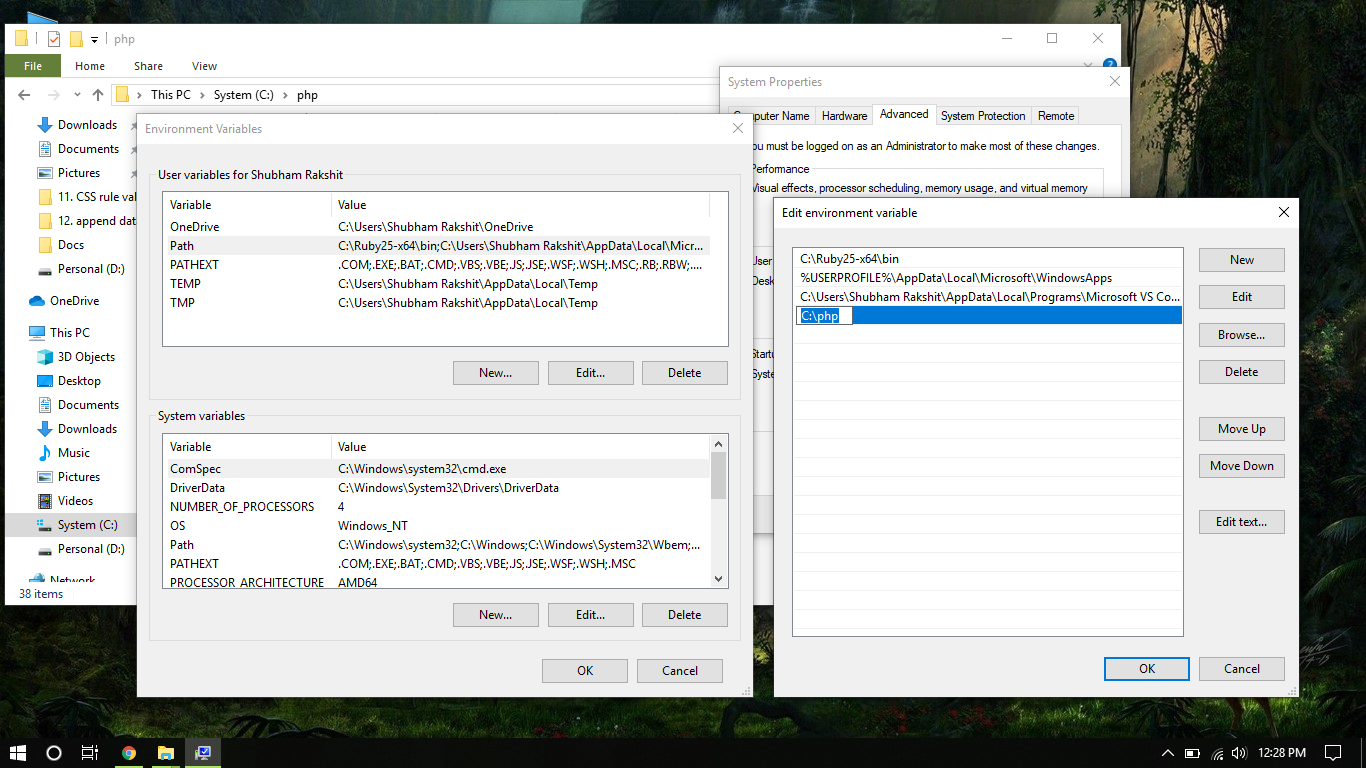
To get started, locate the php.ini file on your server. The exact location of the file may vary depending on your server configuration. Commonly, it can be found in the root directory of your PHP installation or in the /etc/php/ directory.
Once you have located the php.ini file, open it in a text editor and search for the following line:
display_errors = Off
Change the value from “Off” to “On” to enable the display of PHP errors in the browser:
display_errors = On
Save the changes to the php.ini file and restart your web server for the modifications to take effect. Now, when a PHP error occurs, it will be displayed directly in the browser alongside the rest of your page content.
It’s important to keep in mind that modifying the php.ini file will enable error display globally for all PHP applications hosted on the server. If you only want to display errors for a specific project or directory, you may want to consider using one of the other methods outlined in this article.
Another setting that you may want to consider changing in the php.ini file is the “error_reporting” directive. This directive determines the types of errors that are reported. To display all types of errors, set the value to:
error_reporting = E_ALL
This will ensure that all errors, warnings, and notices are displayed in the browser, providing you with more detailed information about potential issues with your code.
Keep in mind that editing the php.ini file requires access to the server’s file system, so you may need to contact your hosting provider or server administrator if you do not have the necessary permissions.
Method 2: Using .htaccess File
If you don’t have direct access to the php.ini file or want to enable PHP error display on a per-directory basis, you can utilize the .htaccess file. The .htaccess file is a configuration file that allows you to customize various settings for a specific directory, without modifying the server-wide configuration.
To enable PHP error display using the .htaccess file, locate or create an .htaccess file in the directory where you want to display errors. If there is already an .htaccess file present, make sure to take a backup before making any changes.
Open the .htaccess file in a text editor and add the following line:
php_flag display_errors on
This directive instructs the server to enable PHP error display for the current directory. Save the changes to the .htaccess file.
If you want to display all types of errors, warnings, and notices, you can add the following line as well:
php_value error_reporting E_ALL
This line sets the error_reporting directive to E_ALL, which includes all error types.
Once you have made the necessary changes, save the .htaccess file and place it in the desired directory. Refresh your web page, and PHP errors should now be displayed in the browser for that specific directory.
It’s important to note that the .htaccess file affects only the directory in which it is located and its subdirectories. If you want to enable PHP error display for multiple directories, you will need to create or modify the .htaccess file in each directory individually.
Furthermore, ensure that your server is configured to allow the use of the .htaccess file. Some hosting providers may disable the use of .htaccess files for security reasons. In such cases, you may need to consult with your hosting provider or server administrator for assistance.
Method 3: Editing PHP Files
If you want to enable PHP error display for a specific PHP file or a group of files within a directory, you can do so by adding a few lines of code directly into the PHP file(s) itself.
To enable PHP error display in a PHP file, open the file in a text editor and add the following line at the beginning of the file:
ini_set(‘display_errors’, 1);
This code sets the display_errors directive to 1, which enables error display in the browser for that specific PHP file.
If you wish to display all types of errors, warnings, and notices, you can include the following line as well:
error_reporting(E_ALL);
This code sets the error_reporting directive to E_ALL, which includes all error types.
Save the changes to the PHP file and reload the page in your browser. PHP errors should now be displayed alongside the rest of the content.
Remember that if you want to enable error display for multiple PHP files, you will need to add these lines of code to each individual file.
While editing PHP files can be an effective way to enable error display, it’s important to exercise caution. Make sure to remove or comment out the lines of code that enable error display in the production environment to avoid potentially exposing sensitive information to users.
By using this method, you have more granular control over which files have error display enabled, allowing you to focus on specific areas of your code that may require debugging. However, it may require more effort to add these lines of code to all the necessary files, especially if you have a large codebase.
This method can come in handy when you want to enable error display for a specific development or testing phase without affecting the global server configuration.
Method 4: Using ini_set() Function
Another way to enable PHP error display is by using the ini_set() function within your PHP code. This function allows you to modify the PHP configuration settings temporarily during runtime.
To enable error display using the ini_set() function, add the following line of code at the beginning of your PHP file or within the section where you want errors to be displayed:
ini_set(‘display_errors’, 1);
This line of code sets the display_errors directive to 1, enabling error display in the browser only for the duration of script execution.
If you want to display all types of errors, warnings, and notices, you can include the following line as well:
error_reporting(E_ALL);
This line sets the error_reporting directive to E_ALL, ensuring that all error types are displayed.
Save the changes to your PHP file and reload the page in your browser. PHP errors will now be displayed alongside the rest of your content.
This method is particularly useful if you want to enable error display for a specific section of code or for a particular script execution, without modifying the global server settings. It gives you greater control over when and where errors are displayed.
However, it’s important to note that using the ini_set() function may not work in all environments. Some server configurations may restrict the use of this function for security reasons. Furthermore, the changes made with ini_set() are not persistent and will be reverted once the script execution is completed.
Make sure to remove or comment out the ini_set() lines from your code when moving to a production environment to prevent potential exposure of error information to users.
Using the ini_set() function is a flexible option that allows you to enable error display for specific sections of your code, giving you more fine-grained control over PHP error reporting.
Conclusion
Enabling PHP error display in the browser is essential for efficient debugging and troubleshooting during the development phase of a website or web application. In this article, we have explored four methods to display PHP errors in the browser: editing the php.ini file, using the .htaccess file, editing PHP files, and using the ini_set() function.
The first method involves modifying the php.ini file, which is the server-wide configuration file for PHP. By changing the display_errors directive to “On”, you can enable error display globally. Additionally, adjusting the error_reporting directive allows you to display all types of errors.
The second method uses the .htaccess file, which allows for per-directory configuration settings. By adding the php_flag display_errors directive, you can enable error display for a specific directory. Similarly, setting the error_reporting directive to E_ALL will display all error types.
The third method involves directly editing PHP files. By adding the ini_set(‘display_errors’, 1) line at the beginning of a PHP file, you can enable error display for that specific file. Including the error_reporting(E_ALL) line displays all error types.
The fourth method utilizes the ini_set() function within your PHP code. By using ini_set(‘display_errors’, 1) and error_reporting(E_ALL) within your PHP script, you can enable error display temporarily during runtime.
It is important to remember that while enabling PHP error display in the browser can be immensely helpful during development, it should be disabled in production environments for security and performance reasons.
Choose the method that best suits your needs and development environment. Whether you have access to the php.ini file, want per-directory configuration, need granular control over error display in specific PHP files, or prefer temporary runtime configuration, these methods provide you with flexibility and convenience.
By enabling PHP error display in the browser, you can quickly identify and resolve issues within your code, ensuring a smooth and error-free experience for your users.