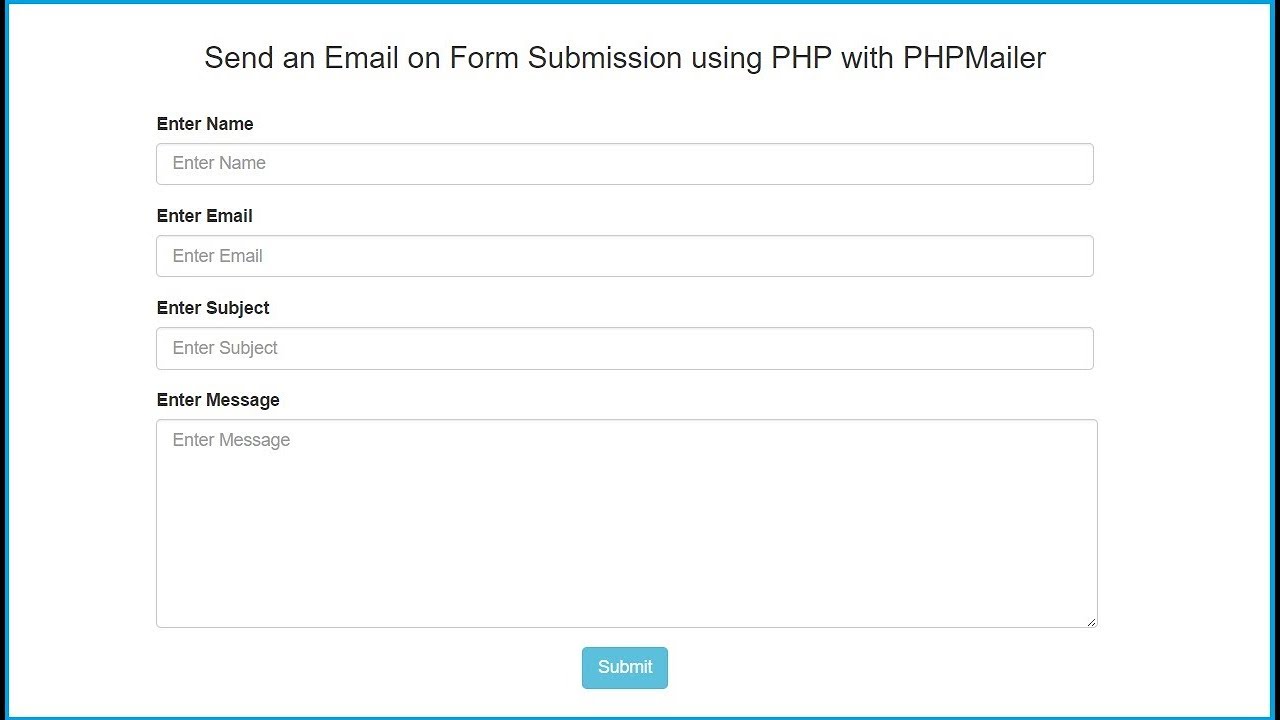
Why Enable PHP Mail?
PHP, a widely-used open-source scripting language, offers a built-in mail function that allows you to send emails directly from your web application. Enabling PHP mail functionality is essential for websites that require sending email notifications, password resets, contact forms, and other essential communication with users.
By enabling PHP mail, you gain the ability to automate email communication, providing a seamless user experience. Whether you’re running a blog, an e-commerce platform or a membership site, being able to send emails programmatically can greatly enhance the functionality and interactivity of your website.
Moreover, PHP mail functionality is a cost-effective solution, as it eliminates the need to rely on third-party email service providers. It provides you with full control over email notifications and allows you to customize email content, design, and formatting according to your specific needs.
Enabling PHP mail also ensures that you’re not dependent on external SMTP (Simple Mail Transfer Protocol) servers, which can be cumbersome to set up, manage, and potentially expensive.
Overall, enabling PHP mail offers convenience, control, and flexibility, allowing you to send customized emails directly from your web application without relying on external services.
Checking PHP Version
Before enabling PHP mail, it’s important to check the version of PHP installed on your server. The PHP mail function is available in PHP versions 4 and above, so ensure that your server meets this requirement.
To check your PHP version, you can use the following steps:
- Open a text editor and create a new PHP file.
- Insert the following code snippet into the file:
php
- Save the file with a .php extension, for example, version-check.php.
- Upload the file to your web server using an FTP client or the file manager of your hosting control panel.
- Access the file through your web browser by visiting the URL: http://your-domain.com/version-check.php.
- The page will display detailed information about your PHP configuration, including the PHP version.
After verifying your PHP version, ensure that it meets the minimum requirements for using the PHP mail function. If you have an outdated version, consider upgrading to the latest stable release of PHP to take advantage of security updates and new features.
Checking your PHP version is crucial to ensure compatibility and to guarantee that the PHP mail function is available for use in your specific environment.
Checking Mail Configuration
Before enabling PHP mail, it’s important to ensure that your server is properly configured to send emails. This involves checking the mail configuration settings to ensure that outgoing emails are handled correctly.
To check your mail configuration, you can follow these steps:
- Access your server’s control panel or connect to your server via SSH.
- Locate the php.ini configuration file. The path may vary depending on your server setup, but it is commonly found in the “/etc” directory.
- Open the php.ini file with a text editor.
- Search for the section labeled “[mail function]”. This section contains the settings related to the PHP mail function.
- Verify that the “smtp” parameter is set to the correct SMTP server address. This address is usually provided by your hosting provider or your own server configuration. It should look something like “smtp.example.com”.
- Check the “sendmail_from” parameter to ensure that it is set to the correct email address that you want the emails to be sent from.
- Review other parameters in the “[mail function]” section, such as “mail.add_x_header” and “mail.log”, to determine if any specific configurations are required for your application.
- Save the changes to the php.ini file and close the text editor.
By performing these steps, you can verify that your mail configuration is properly set up to send emails using the PHP mail function. This ensures that your outgoing emails will be processed correctly and delivered to the intended recipients.
Enabling PHP Mail in php.ini
To enable PHP mail functionality, you need to make some changes in the php.ini configuration file of your server. The php.ini file contains various settings that control the behavior of PHP on your server.
Follow these steps to enable PHP mail in php.ini:
- Locate the php.ini configuration file on your server. Usually, it is located in the “/etc” directory or in the root directory of your PHP installation.
- Open the php.ini file using a text editor.
- Find the section labeled “[mail function]”. This section contains the settings for the PHP mail function.
- Make sure that the “SMTP” parameter is set to the address of your SMTP server. This is typically provided by your hosting provider or your own server configuration. It should look something like “smtp.example.com”.
- Ensure that the “sendmail_path” parameter is uncommented (remove the leading semicolon if present) and set to the correct path to the sendmail binary of your server. This is usually “/usr/sbin/sendmail -t -i” or “/usr/lib/sendmail -t -i”.
- Save the changes to the php.ini file.
By making these changes, you are enabling the PHP mail function and configuring it to use the specified SMTP server for sending emails. The sendmail_path parameter tells PHP where to find the sendmail program, which is responsible for sending the actual email messages through the SMTP server.
After modifying the php.ini file, you will need to restart your PHP server for the changes to take effect.
Restarting PHP and Apache Server
After making changes to the php.ini file to enable PHP mail, it is essential to restart both the PHP and Apache servers for the changes to take effect. Restarting the servers ensures that the new mail settings are loaded and applied to your web application.
To restart PHP and Apache, follow these steps:
- Open the command prompt or terminal on your server.
- For Linux servers, run the following command to restart Apache:
sudo service apache2 restart - For Windows servers running XAMPP, you can restart Apache by clicking on the “Stop” button, and then the “Start” button in the XAMPP control panel.
- For other Windows servers, open the command prompt as an administrator and run the following commands:
net stop Apache2.4net start Apache2.4 - Restart PHP by restarting the server where PHP is running. This may vary depending on your server setup.
Once the PHP and Apache servers have been successfully restarted, the changes made to the php.ini file will take effect. PHP mail function will now be enabled for your web application, allowing you to send emails programmatically.
It’s worth noting that restarting the servers might cause a temporary interruption in your website’s availability, so it’s recommended to perform this task during a low-traffic period or inform your users about the potential downtime.
Testing PHP Mail Functionality
After enabling PHP mail and restarting the servers, it’s essential to test the functionality to ensure that emails are being sent successfully from your web application. Testing the PHP mail function allows you to capture and resolve any potential issues or errors before your users encounter them.
Follow these steps to test PHP mail functionality:
- Create a test PHP file in your web application directory.
- Open the file in a text editor and insert the following code snippet:
php
- Replace “recipient@example.com” with the email address where you want to receive the test email.
- Replace “sender@example.com” with your email address.
- Save the file with a .php extension, for example, test-mail.php.
- Access the test-mail.php file through your web browser by visiting the URL: http://your-domain.com/test-mail.php.
- If the email is sent successfully, you will see the message “Email sent successfully!” on the webpage. If there are any issues, you will see the message “Failed to send email.”
- Check the email account you specified as the recipient to verify that the test email was delivered.
By performing this test, you can ensure that the PHP mail function is functioning correctly and that your server is configured properly to send emails. If the test is successful, you can proceed with implementing the PHP mail functionality in your web application with confidence.
Common Issues and Troubleshooting
While enabling PHP mail functionality, you may encounter certain common issues that can affect the proper functioning of the mail function. Identifying and troubleshooting these issues can help you resolve any problems and ensure that your emails are sent successfully. Here are some common issues and their possible solutions:
- Emails not being delivered: If you are not receiving emails, verify that the recipient’s email address is correct. Additionally, check the spam or junk folder of the recipient’s email account. It’s also possible that your server’s IP address might be blacklisted. In such cases, contact your hosting provider to resolve the issue.
- Incorrect SMTP settings: Ensure that you have entered the correct SMTP server address in the php.ini file. Double-check the spelling, port number, and any required authentication credentials.
- Permission issues: Make sure that the web server has the necessary permissions to access and execute the sendmail binary and write to the server’s mail queue. You may need to adjust file or directory permissions and ownership.
- Issues with firewall or security settings: Check firewall and security settings on your server or hosting provider that may be blocking outgoing emails. Consult with your hosting provider or system administrator to resolve any firewall or security issues.
- Server misconfigurations: Double-check the php.ini file and ensure that all necessary parameters are correctly set. Pay attention to any typos or syntax errors that could be causing issues.
- Server limitations or restrictions: Some hosting providers may impose limitations on outgoing emails to prevent abuse. Check with your hosting provider for any restrictions or limitations on sending emails.
When troubleshooting these issues, it can be helpful to debug the PHP mail function by enabling error reporting or logging. This can provide valuable insights into any errors or warnings that might be occurring during the email sending process.
If you are still experiencing issues, it’s advisable to consult with your hosting provider or seek assistance from a knowledgeable developer or system administrator who can diagnose and resolve the problem.
Conclusion
Enabling PHP mail functionality is a crucial step in enhancing the communication capabilities of your web application. By following the steps outlined in this guide, you can enable PHP mail, allowing you to send emails directly from your website and providing a seamless user experience.
Checking your PHP version and ensuring that your server’s mail configuration is correctly set up are the initial steps to take. By verifying these settings, you can ensure compatibility and that outgoing emails are handled properly.
Enabling PHP mail in the php.ini file and restarting the PHP and Apache servers are essential to activate the changes and make the mail function available for use. Testing the functionality using a test script is advisable to confirm that emails are being sent successfully.
Lastly, it’s important to be aware of common issues and troubleshooting steps to address any potential problems that may arise. By being proactive in resolving these issues, you can ensure the smooth and effective functioning of the PHP mail function in your web application.
Overall, enabling PHP mail offers a cost-effective and flexible solution for sending emails directly from your web application. It provides you with greater control over email communication and enhances the responsiveness and interactivity of your website, ultimately providing a better experience for your users.