TECHNOLOGYtech

How To Create Forms Using PHP

how-to-create-forms-using-php

Introduction

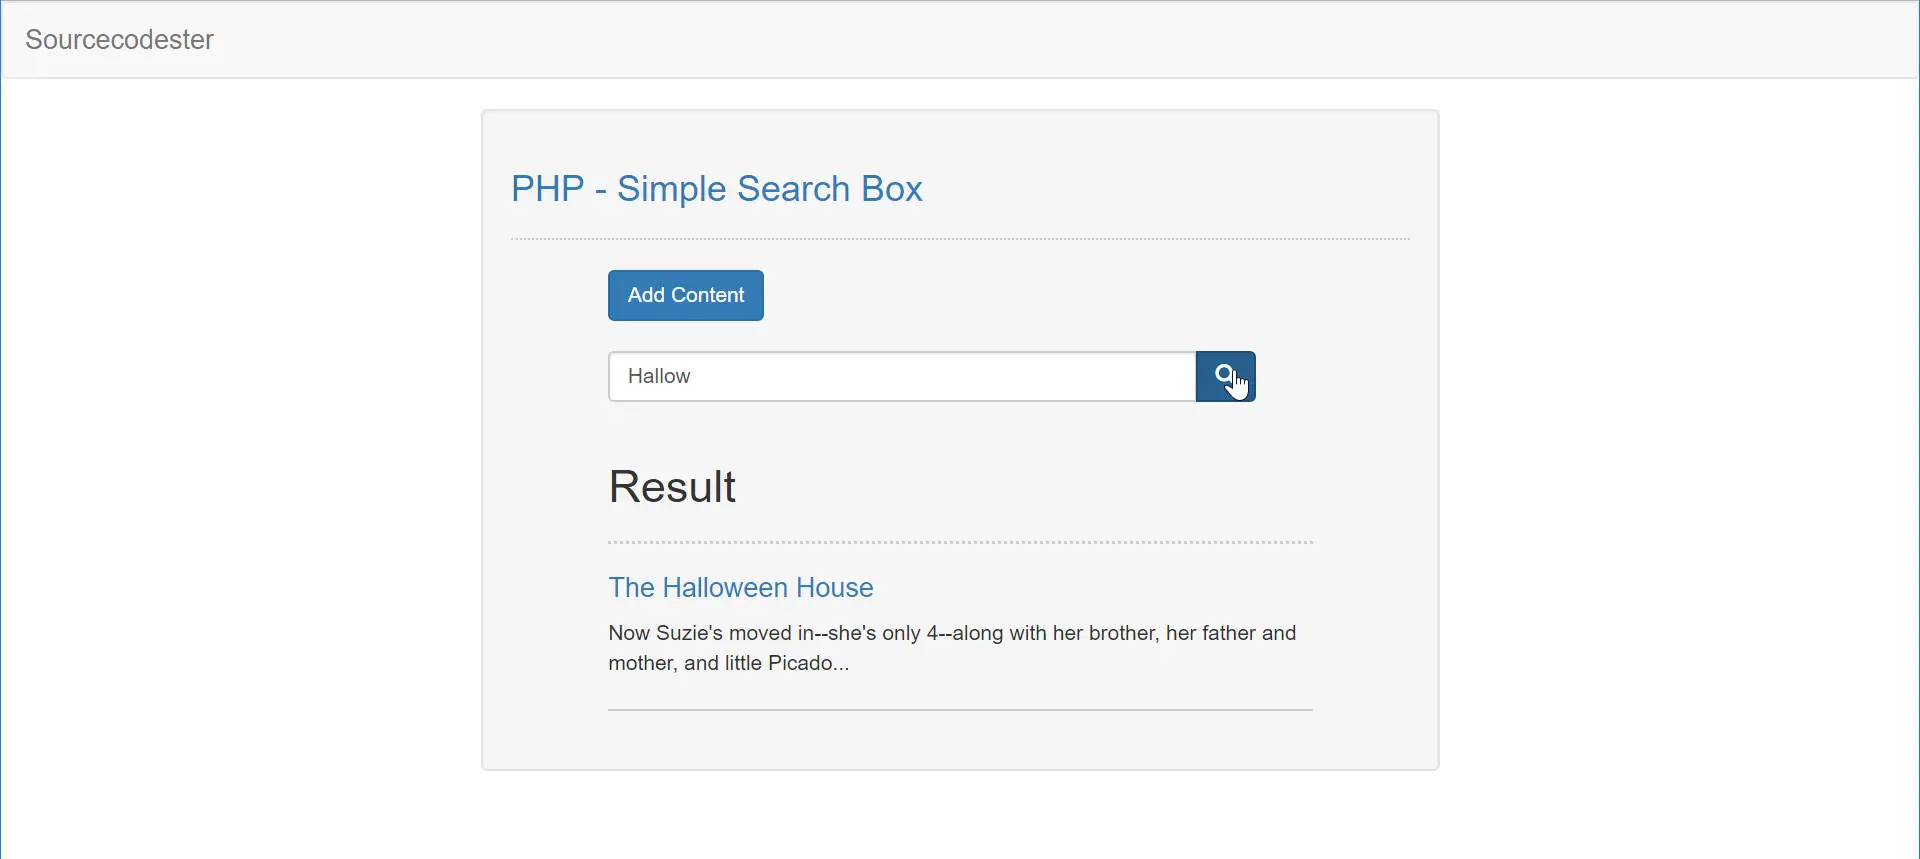
Welcome to our guide on how to create forms using PHP. Forms play a crucial role in web development, allowing users to interact with websites by submitting data and completing various actions. Whether it’s a simple contact form or a complex registration form, PHP provides powerful tools for handling form data and processing it on the server side.

In this tutorial, we will cover the essential steps of creating and working with forms in PHP. We will begin by setting up the HTML form, which includes defining the form elements and their attributes. Next, we will explore how to capture form data submitted by the user.

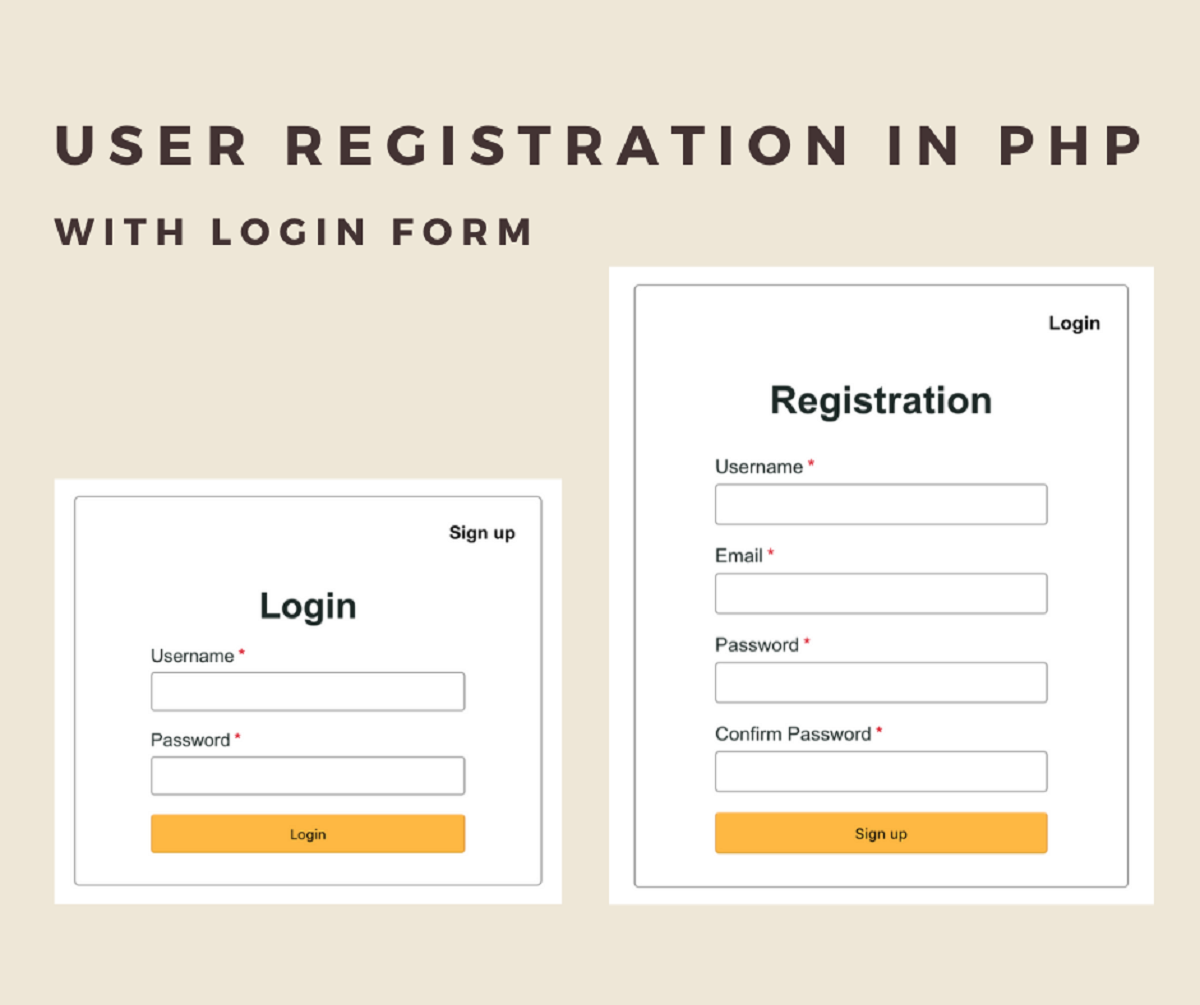
Once we have the form data, we will dive into validating it to ensure that the input meets our desired criteria. This step is crucial for maintaining data integrity and preventing security vulnerabilities. We will also demonstrate how to handle form errors by displaying appropriate error messages to the user.

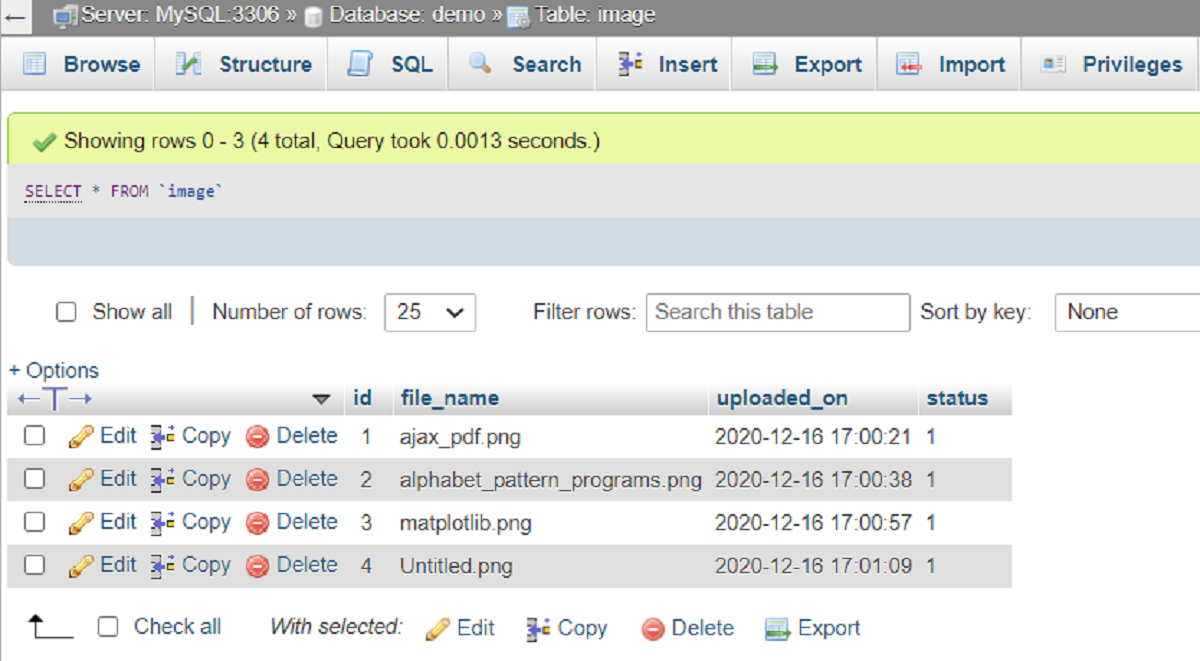
Processing the form data is the next step, where we will showcase how to handle the submitted information on the server side. We will cover storing the form data in a database, which is particularly useful for applications that require persisting user input for future reference.

In addition to database storage, we will explore the process of sending form data via email. This feature is often used in scenarios where immediate notification or data forwarding is required.

Lastly, we will touch upon the topic of uploading files with a form. This can be useful for applications that involve file submissions, such as image uploads or document attachments.

By the end of this tutorial, you will have a comprehensive understanding of how to create dynamic and interactive forms using PHP. So, let’s get started with setting up the HTML form!


Setting up the HTML form

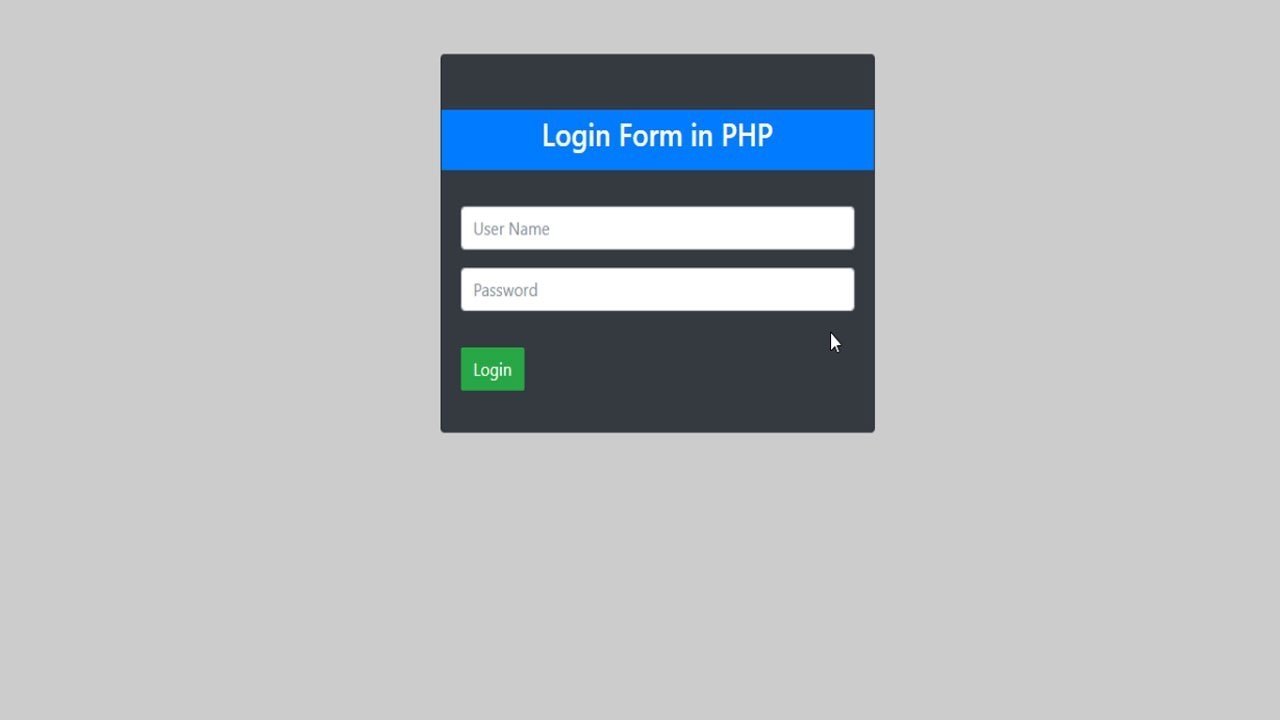
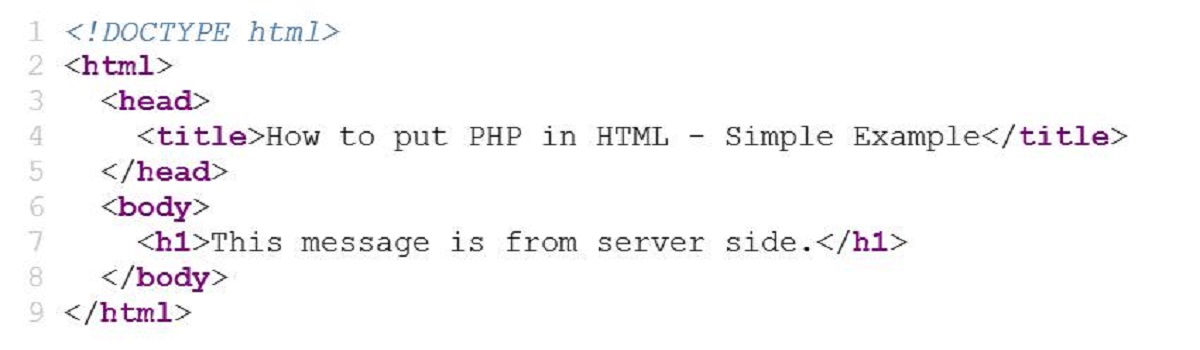
Before we can start capturing and processing form data with PHP, we need to set up the HTML form that will collect the information from the user. The HTML form acts as the interface between the user and the server, allowing them to input and submit data.

To begin, create a new HTML file or open an existing one in your preferred text editor. Start by enclosing the form elements within the `

` tags:
html


The `method` attribute of the form specifies how the data will be sent to the server. The most common method is POST, as it securely sends the form data in the HTTP request body. The `action` attribute determines where the form data will be submitted to. In this example, we are submitting it to `process.php`. You can replace this with the appropriate file name that will handle the form submission in your project.

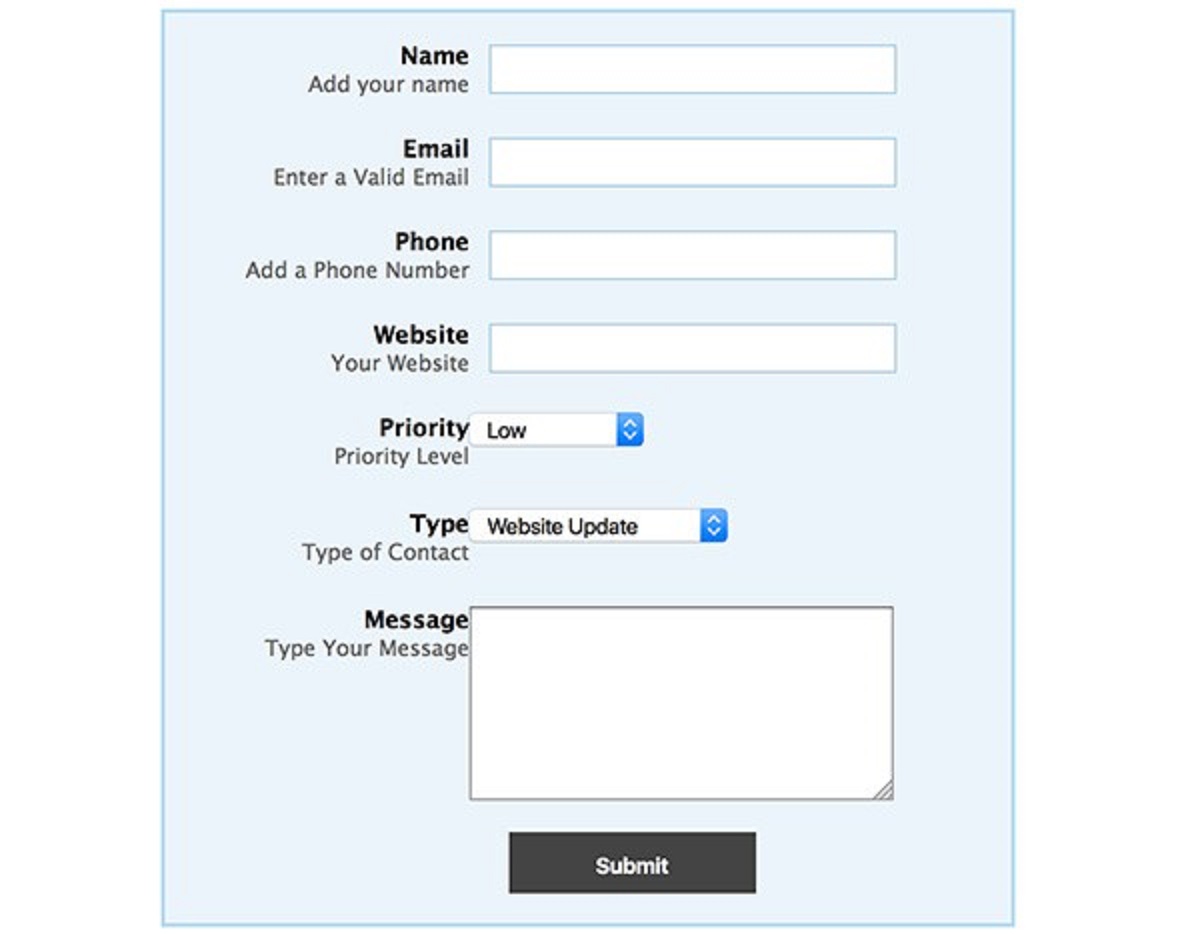
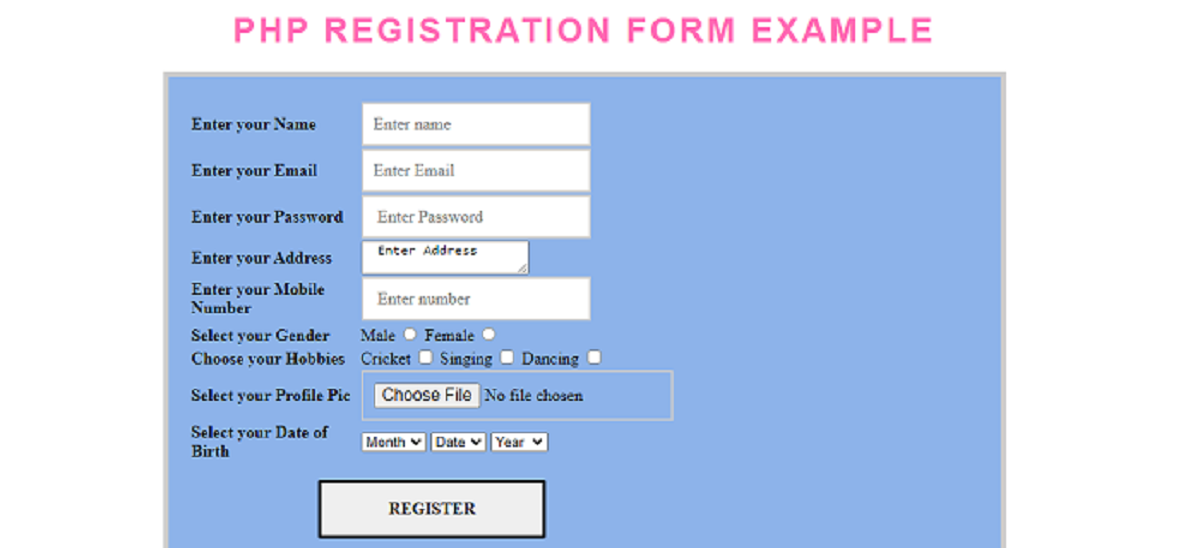
Next, we can add different types of form fields within the `

` tags. For example, to create a text input field, use the `` tag with the `type` attribute set to `”text”`:
html

The `name` attribute is used to identify the form field when processing its value in PHP. Here, we are naming the field `”firstname”`. The `placeholder` attribute specifies the text that will be shown inside the input field before the user enters any information.

Other common form field types include email input, password input, radio buttons, checkboxes, and select dropdowns. Each of these can be added using the corresponding HTML tags and `type` attributes.

Remember to include a submit button at the end of the form to allow the user to submit their input:
html

The `value` attribute sets the text that will be displayed on the submit button.

Once you have added all the necessary form fields, save the HTML file and open it in your web browser to ensure that it renders correctly. You should now have a basic HTML form ready to collect user data. In the next section, we will explore how to capture and access the form data using PHP.


Capturing form data

Now that we have set up our HTML form, it’s time to capture the form data submitted by the user. PHP provides a superglobal array, `$_POST`, which holds the values of all form fields submitted using the POST method. We can access the form data by referencing the `name` attribute of each input field.

To start capturing the form data, create a new PHP file and set the `action` attribute of the `

` tag in your HTML file to point to this PHP file.

In your PHP file, you can access the form data through the `$_POST` array. For example, if your form has a `` field with the `name` attribute set to `”firstname”`, you can retrieve its value in PHP using `$_POST[‘firstname’]`:

php
$firstname = $_POST[‘firstname’];

You can do the same for each form field you want to capture. If you have a field named `”lastname”`, you can retrieve it as `$_POST[‘lastname’]`. Note that the `’firstname’` and `’lastname’` keys in `$_POST` correspond to the `name` attributes of the respective fields.

It’s essential to validate and sanitize the form data before further processing it to ensure data integrity and prevent security vulnerabilities. You can use PHP’s built-in functions, regular expressions, or custom validation logic to perform these checks.

Now that we have captured the form data, we can move on to the next step: validating the form data to ensure it meets our desired criteria. This will be covered in the next section.


Validating form data

Validating form data is a crucial step in ensuring data integrity and preventing security vulnerabilities. It involves performing checks on the user-submitted data to ensure it conforms to the specified rules and requirements. PHP provides various functions and methods that can be used for validating form data.

Common validation checks include:

  1. Required fields: Checking if essential fields have been filled out and not left empty.
  2. Format validation: Validating fields like email addresses or phone numbers to ensure they are in the correct format.
  3. Length limits: Checking the length of a field to ensure it falls within acceptable limits.
  4. Numeric values: Verifying that numeric fields only contain valid numbers.
  5. Unique values: Checking if values, such as usernames, are unique within a database.

To perform these checks, you can use conditional statements and regular expressions in PHP. For example, to check if a field is required, you can use the `empty()` function:

php
if (empty($_POST[‘firstname’])) {
// Validation error: First name is required
}

To validate the format of an email field, you can use PHP’s `filter_var()` function:

php
$email = $_POST[’email’];
if (!filter_var($email, FILTER_VALIDATE_EMAIL)) {
// Validation error: Invalid email format
}

Similarly, you can use functions like `strlen()` to check the length of a field, and `is_numeric()` to validate numeric fields.

When a validation error occurs, you should provide meaningful error messages to the user. Displaying the errors directly on the form or in a separate section can help users identify and correct their mistakes.

It’s crucial to remember that client-side validation alone is not sufficient as it can be easily bypassed. Server-side validation in PHP is necessary to ensure the integrity and security of the form data.

Once the form data has passed the validation checks, we can move on to the next step: processing the form data. This will be covered in the following section.


Displaying form errors

When validating form data, it’s essential to provide clear and informative error messages to help users correct any mistakes they’ve made. Displaying form errors prominently can enhance the user experience and improve the chances of successful form submission.

In PHP, you can store the validation errors in an array or an object and then iterate through them to display the errors on the form. Here’s an example:

php
$errors = [];

// Validate form fields and add errors to the $errors array

if (!empty($errors)) {
// Display errors
echo ‘

    ‘;
    foreach ($errors as $error) {
    echo ‘

  • ‘ . $error . ‘
  • ‘;
    }
    echo ‘

‘;
}

In this example, we have an `$errors` array that stores all the validation errors. If the array is not empty, indicating that there are validation errors, we iterate through the array and display each error as a list item using HTML unordered list tags (`

    ` and `

  • `).

    To make the errors more visually appealing, you can apply CSS styles to the error messages. For example, you can add a CSS class to style the error messages with different colors or font styles.

    If you prefer to display the errors next to the corresponding form fields, you can include the error messages within the respective field’s HTML markup. For example:

    php
    echo ‘‘;
    if (isset($errors[‘firstname’])) {
    echo ‘‘ . $errors[‘firstname’] . ‘‘;
    }

    In this example, we check if there’s an error for the ‘firstname’ field in the `$errors` array. If an error exists, we display it alongside the input field using a `` element with the CSS class “error”.

    By displaying form errors proactively, you can guide users in correcting their mistakes and ensure a smooth form submission process. Next, let’s move on to processing the form data after it has been successfully validated.


    Processing form data

    Once the form data has passed the validation stage, we can proceed with processing the data on the server side. This step involves performing tasks such as storing the form data in a database, sending it via email, or performing any other necessary actions based on the requirements of your application.

    To store the form data in a database, you will need to establish a connection to your database server using the appropriate credentials. PHP provides a range of database extensions, such as MySQLi and PDO, to interact with databases.

    After establishing a database connection, you can construct the SQL query to insert the form data into a table. Here’s a simple example using MySQLi:

    php
    $servername = “localhost”;
    $username = “root”;
    $password = “password”;
    $dbname = “mydatabase”;

    $conn = new mysqli($servername, $username, $password, $dbname);

    if ($conn->connect_error) {
    die(“Connection failed: ” . $conn->connect_error);
    }

    $firstname = $_POST[‘firstname’];
    $lastname = $_POST[‘lastname’];

    $sql = “INSERT INTO users (firstname, lastname) VALUES (‘$firstname’, ‘$lastname’)”;

    if ($conn->query($sql) === TRUE) {
    echo “Data inserted successfully”;
    } else {
    echo “Error: ” . $conn->error;
    }

    $conn->close();

    In this example, we connect to the database using the appropriate credentials. We then retrieve the form data from the `$_POST` array and construct an SQL query to insert the data into the `users` table. We execute the query and check the result to determine if the data was inserted successfully.

    If your application requires sending the form data via email, you can use PHP’s `mail()` function. The function accepts parameters for the recipient’s email address, subject, message content, and additional headers.

    Here’s a basic example that demonstrates sending an email with the form data using `mail()`:

    php
    $to = “youremail@example.com”;
    $subject = “New form submission”;
    $message = “First Name: ” . $_POST[‘firstname’] . “\n”;
    $message .= “Last Name: ” . $_POST[‘lastname’] . “\n”;
    $headers = “From: sender@example.com”;

    if (mail($to, $subject, $message, $headers)) {
    echo “Email sent successfully”;
    } else {
    echo “Failed to send email”;
    }

    In this example, we define the recipient’s email address, subject, message content, and headers for the email. We then use the `mail()` function to send the email and check the result to determine the success of the email sending process.

    By processing the form data, such as storing it in a database or sending it via email, you can ensure that the user’s input is utilized effectively based on your application’s needs. Now that we have covered processing the form data, let’s move on to storing form data in a database.


    Storing form data in a database

    Storing form data in a database is a common requirement for web applications. It allows you to persist user-submitted data for future reference, analysis, or retrieval. PHP provides various database extensions, such as MySQLi and PDO, to interact with databases and store form data.

    The first step is to establish a connection to your database server using the appropriate credentials. Here’s an example using MySQLi:

    php
    $servername = “localhost”;
    $username = “root”;
    $password = “password”;
    $dbname = “mydatabase”;

    // Create connection
    $conn = new mysqli($servername, $username, $password, $dbname);

    // Check connection
    if ($conn->connect_error) {
    die(“Connection failed: ” . $conn->connect_error);
    }

    After successfully establishing a connection, you can retrieve the form data from the `$_POST` array and prepare an SQL query to insert the data into your database table. Here’s an example:

    php
    $firstname = $_POST[‘firstname’];
    $lastname = $_POST[‘lastname’];

    $sql = “INSERT INTO users (first_name, last_name) VALUES (‘$firstname’, ‘$lastname’)”;

    if ($conn->query($sql) === TRUE) {
    echo “Data inserted successfully”;
    } else {
    echo “Error: ” . $conn->error;
    }

    In this example, we retrieve the form data using `$_POST`, and construct an SQL insert statement to add the data to the “users” table. We then execute the query using the `query()` method of the MySQLi object. If the query is successful, we display a success message; otherwise, we display the error message.

    This is a basic example, and you may need to adapt the code to your specific database structure and requirements. It’s important to sanitize and validate the form data before inserting it into the database to prevent SQL injection and ensure data integrity.

    After executing the SQL query, don’t forget to close the database connection to free up resources:

    php
    $conn->close();

    By storing form data in a database, you can maintain a record of user submissions, enable data analysis, and provide data-driven functionality in your application. Next, let’s explore the process of sending form data via email.


    Sending form data in an email

    Sending form data via email is a useful feature that allows you to receive immediate notifications or forward the submitted data to the appropriate recipients. PHP provides the `mail()` function, which allows you to send email using the Simple Mail Transfer Protocol (SMTP).

    The first step is to set up the necessary variables for the email, such as the recipient’s email address, subject, message content, and additional headers. Here’s an example:

    php
    $to = “recipient@example.com”;
    $subject = “New form submission”;
    $message = “First Name: ” . $_POST[‘firstname’] . “\n”;
    $message .= “Last Name: ” . $_POST[‘lastname’] . “\n”;
    $headers = “From: sender@example.com”;

    In this example, we define the recipient’s email address in the `$to` variable, the subject in the `$subject` variable, and the message content in the `$message` variable. The headers, including the “From” address, are set in the `$headers` variable.

    After setting up the email variables, you can use the `mail()` function to send the email:

    php
    if (mail($to, $subject, $message, $headers)) {
    echo “Email sent successfully”;
    } else {
    echo “Failed to send email”;
    }

    In this example, we use the `mail()` function with the parameters for the recipient’s email address, subject, message, and headers. The function returns a boolean value indicating whether the email was sent successfully or not, allowing us to display an appropriate message.

    You can modify the email content and headers to fit your specific requirements. Additionally, you may need to configure your server’s email settings to enable email delivery. Consult your hosting provider or system administrator for more information on how to set up SMTP and email configuration.

    It is vital to sanitize and validate the form data before including it in the email message to prevent any potential security vulnerabilities.

    Sending form data via email provides a convenient way to receive and process user submissions. It can be useful for contact forms, feedback forms, or any other scenario where receiving email notifications is desired. In the next section, we will explore the process of uploading files with a form.


    Uploading files with a form

    In some cases, you may need to allow users to upload files through a form, such as images, documents, or other types of media. PHP provides features and functions to handle file uploads securely and efficiently.

    To enable file uploads, you need to include the `enctype` attribute in your HTML form and set it to `”multipart/form-data”`. This encoding attribute informs the browser that the form contains binary data (file uploads) along with regular form fields. Here’s an example:

    html


  • Next, include an `` field with the `type` attribute set to `”file”`, allowing users to select and upload their files. For example:

    html

    In your PHP file that handles the form submission, you can access the uploaded file using the `$_FILES` superglobal. Here’s an example of processing the uploaded file:

    php
    $targetDirectory = “uploads/”;
    $targetFile = $targetDirectory . basename($_FILES[“fileToUpload”][“name”]);

    if (move_uploaded_file($_FILES[“fileToUpload”][“tmp_name”], $targetFile)) {
    echo “File uploaded successfully”;
    } else {
    echo “File upload failed”;
    }

    In this example, we specify the target directory where the uploaded file will be saved. The `move_uploaded_file()` function is used to move the uploaded file from its temporary location (specified by `$_FILES[“fileToUpload”][“tmp_name”]`) to the desired target directory and filename (specified by `$targetFile`). If the file is moved successfully, a success message is displayed; otherwise, an error message is displayed.

    It’s crucial to validate the uploaded file to ensure it meets specific criteria, such as file size limitations, file type restrictions, and any other requirements for your application’s security and functionality.

    With file uploads, it’s also important to consider security measures, such as restricting file extensions, validating file types, and applying proper file permissions to prevent malicious file uploads and potential security risks.

    Uploading files with a form allows users to share various types of content with your application. It enables features like photo galleries, file sharing, and document management. With these concepts in mind, you have a solid foundation for working with form file uploads in PHP.


    Conclusion

    In this guide, we’ve explored the essential steps for creating and working with forms in PHP. We started by setting up the HTML form, defining form elements, and learning how to capture and access form data using the `$_POST` superglobal array.

    We then discussed the importance of validating form data to ensure its integrity and prevent security vulnerabilities. By performing checks like required fields, format validation, length limits, and more, we can ensure that the user-submitted data meets our desired criteria.

    Additionally, we explored the concept of displaying form errors to help users identify and correct their mistakes. By providing meaningful error messages, we can enhance the user experience and improve the chances of successful form submission.

    Processing form data was the subsequent topic, where we covered storing form data in a database and sending form data via email. Storing form data in a database allows us to persist user input for future reference, analysis, or retrieval. Sending form data via email provides a convenient way to receive notifications or forward the submitted data to the appropriate recipients.

    Lastly, we discussed uploading files with a form, allowing users to share images, documents, or media. By enabling file uploads and properly handling the uploaded files, we can facilitate features like photo galleries, file sharing, and document management.

    By mastering these concepts and applying them to your PHP projects, you can create dynamic and interactive forms that efficiently handle user input, validate data, and perform necessary actions based on the requirements of your application.

    We hope this guide has provided you with a solid understanding of how to create and process forms using PHP. Happy coding!

Leave a Reply

Your email address will not be published. Required fields are marked *