Introduction
Welcome to our guide on how to create a login page in PHP using sessions. In today’s digital age, secure user authentication is of utmost importance for any web application or website that deals with sensitive information. By implementing a login page with sessions, you can ensure that only authorized users have access to private content and functionality.
PHP, a popular server-side scripting language, provides built-in functions and features that make it relatively easy to create a secure login system. In this tutorial, we will walk you through the process of setting up a login page using PHP sessions. We will create a simple login form, validate user credentials, create and manage sessions, and restrict access to certain pages based on the user’s login status.
By the end of this guide, you will have a solid understanding of how to create a login page in PHP with sessions, allowing you to enhance the security and user experience of your web applications.
Prerequisites
Before we dive into creating a login page in PHP using sessions, there are a few prerequisites that you need to have in place:
- A basic understanding of HTML, CSS, and PHP: Familiarity with these programming languages will help you understand the concepts covered in this tutorial.
- A web server: You will need access to a web server to host your PHP files. Popular options include Apache, NGINX, and XAMPP.
- A code editor: You can use any text editor or a specialized code editor like Visual Studio Code or Sublime Text to write your PHP code.
- A database management system: We will be using MySQL as our database management system in this tutorial. Ensure that you have MySQL installed or have access to a MySQL database server.
Additionally, it is beneficial to have a local development environment set up on your machine. This allows you to test and debug your PHP code locally before deploying it to a live server.
With these prerequisites in place, you are ready to begin creating your PHP login page with sessions. Let’s move on to the next section, where we will set up the environment for our project.
Setting Up the Environment
Before we start creating the login page in PHP, we need to set up our development environment. Here are the steps to follow:
- Install a local development server: You can use XAMPP or WAMP to set up a local server environment on your machine. These tools provide a pre-configured bundle that includes Apache, MySQL, and PHP.
- Configure Apache: Once you have installed the local development server, you’ll need to configure Apache to recognize PHP files. This involves modifying the `httpd.conf` file and ensuring that the necessary modules are enabled.
- Create a project directory: Choose a location on your machine where you want to store your PHP files. Create a new directory for your project.
- Start the server: After configuring Apache, start the local development server. This will allow you to access your PHP files through the browser.
Once the environment is set up, you can test if everything is working correctly by creating a simple PHP file and accessing it through the browser. For example, create a file named `index.php` with the following code:
php
Save the file in your project directory and access it through the browser by entering `http://localhost/your-project-directory/index.php`. If everything is configured properly, you should see “Hello, PHP!” displayed on the page.
Congratulations! You have successfully set up your development environment. Next, we will move on to creating the database that will store user credentials. Keep following along to learn how to create a login page in PHP using sessions.
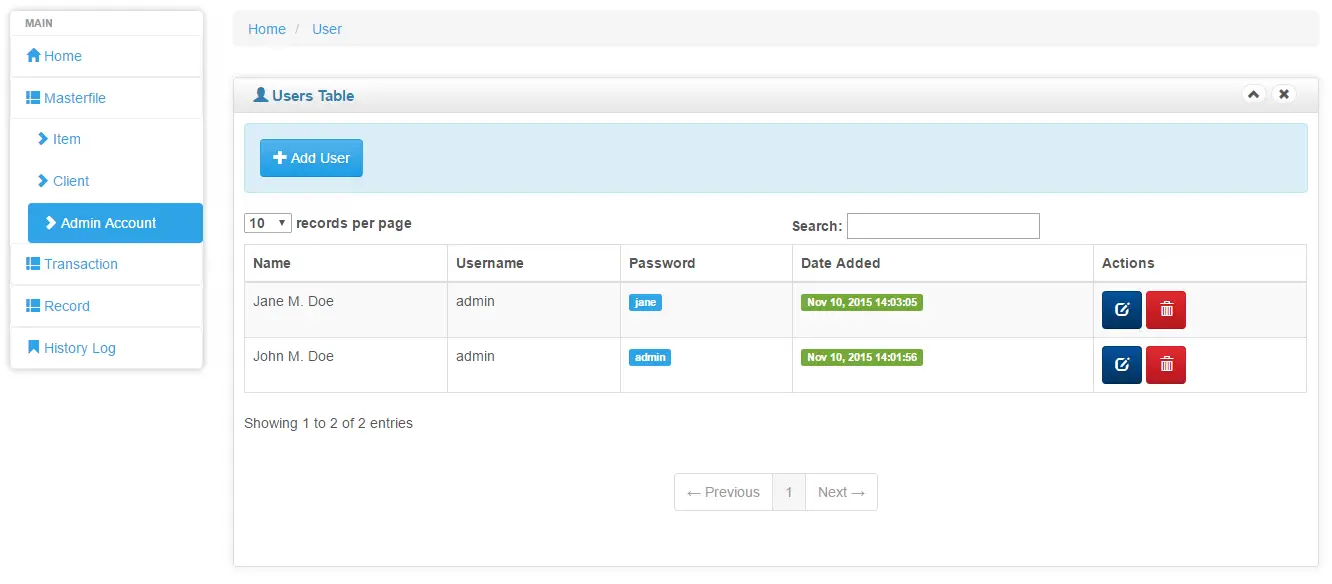
Creating the Database
In order to store user credentials and manage the login process, we need to create a database. We will be using MySQL as our database management system. Follow these steps to create the database:
- Open your preferred MySQL administration tool, such as phpMyAdmin or MySQL Workbench, and connect to your MySQL server.
- Create a new database: Once connected, select the option to create a new database. Give it a meaningful name, such as “login_system”.
- Create a users table: Within the newly created database, create a table named “users”. This table will store the user login information. Add the following columns to the table: “id” (as the primary key and auto-increment), “username”, and “password”. You can also include additional columns such as “email” or “name” depending on your project requirements.
- Generate a password hash: In order to securely store user passwords, we will be using password hashing. In PHP, you can use the `password_hash()` function to generate a hash of the user’s password before storing it in the database.
Once you have created the database and the “users” table, you are ready to move on to creating the login form in PHP. We will cover this in the next section. Stay tuned!
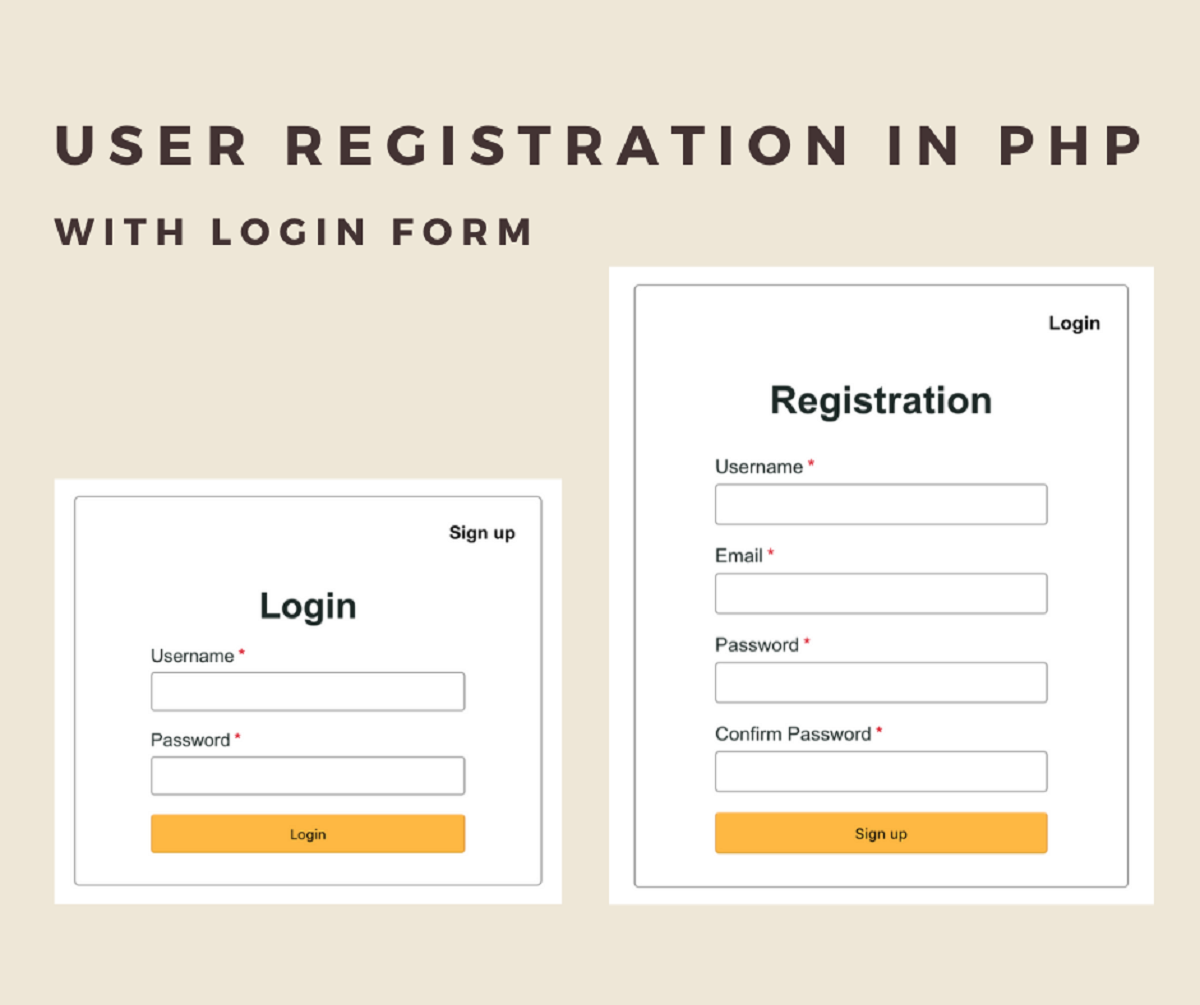
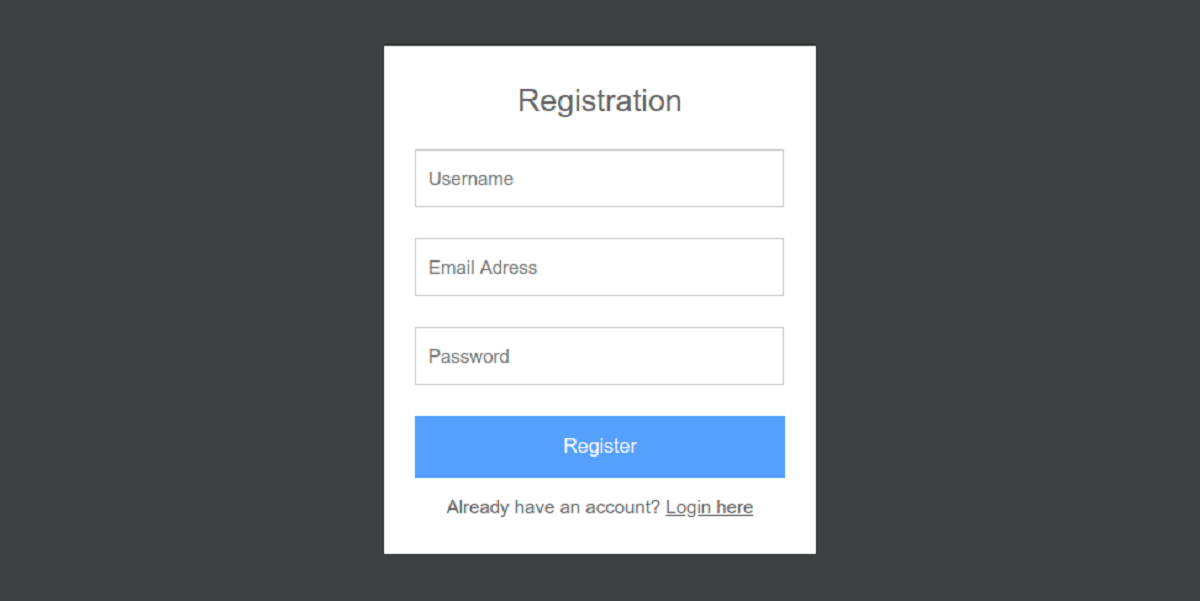
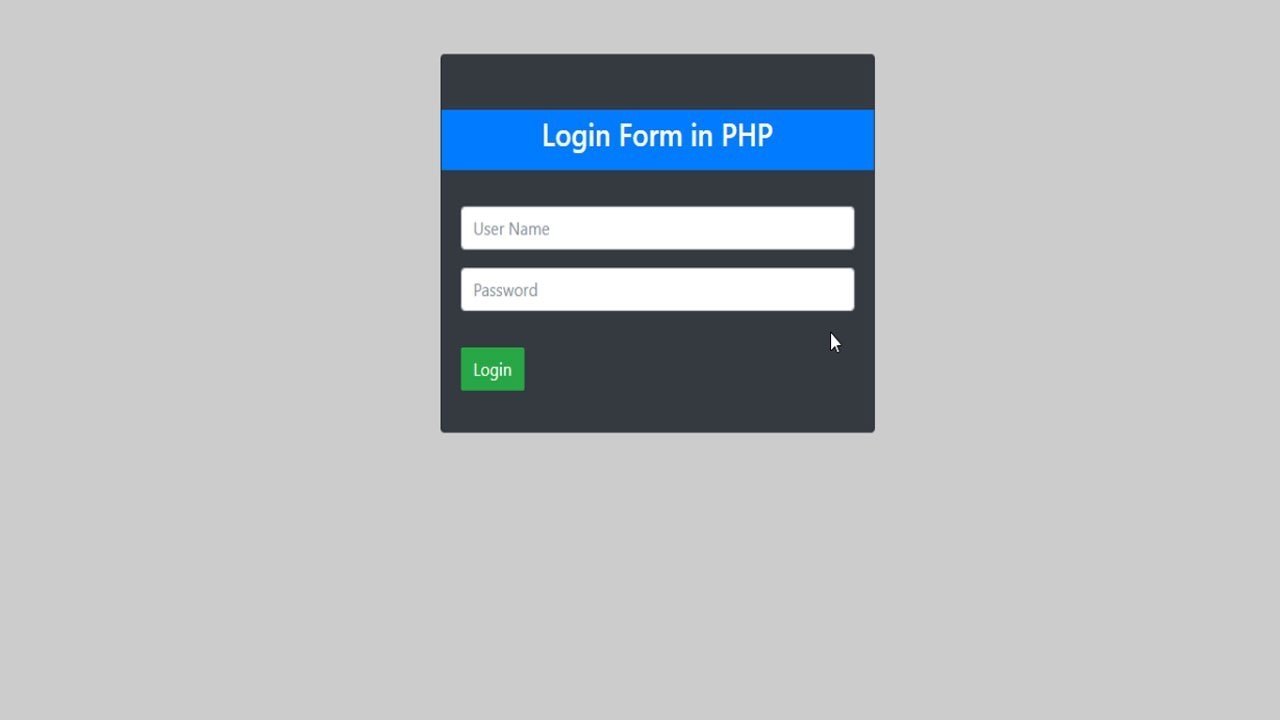
Creating the Login Form
Now that we have our database set up, we can proceed to create the login form. The login form will allow users to enter their credentials and log in to the system. Follow these steps to create the login form:
- Create a new PHP file: Start by creating a new PHP file named “login.php” in your project directory. This file will contain the HTML and PHP code for the login form.
- Structure the HTML form: Inside the “login.php” file, start by structuring the HTML code for the login form. Use the `
- Add the necessary PHP code: In order to process the form submission, you’ll need to add PHP code to handle the form data. This includes retrieving the entered username and password values and validating them against the database.
- Validate user credentials: Once the form is submitted, retrieve the entered username and password from the form data and compare them with the corresponding values stored in the database. Use SQL queries to retrieve the user record and verify the password hash.
- Display appropriate messages: Depending on the validation result, display appropriate error messages if the credentials are incorrect or redirect the user to the dashboard if the login is successful.
Remember to properly sanitize and validate the form inputs to prevent any potential security vulnerabilities, such as SQL injection or cross-site scripting (XSS) attacks.
By following these steps, you will be able to create a functional login form that allows users to enter their credentials and be authenticated. In the next section, we will explore how to validate user credentials and create a session. Keep reading!
Validating User Credentials
Once the login form is submitted, we need to validate the user’s credentials to ensure they are correct before granting access to the system. Follow these steps to validate user credentials:
- Retrieve form data: In the PHP code that handles the form submission, retrieve the entered username and password values from the submitted form data using the `$_POST` superglobal.
- Sanitize and validate inputs: Before proceeding with the validation, it’s important to sanitize and validate the form inputs to prevent any potential security vulnerabilities. Use functions like `htmlspecialchars()` or `filter_input()` to sanitize the inputs and validate using regular expressions or other validation techniques to ensure the data is in the expected format.
- Query the database: Use a SQL query to retrieve the user’s record from the database based on the entered username. If the query returns a result, it means the user exists in the database.
- Verify the password: Next, verify the entered password against the stored password hash. Use the `password_verify()` function in PHP to compare the submitted password with the stored hash retrieved from the database.
- Handle validation result: Based on the validation result, display appropriate error messages if the credentials are incorrect or continue with the login process if they are valid.
Remember to handle any potential errors that may occur during the validation process and provide clear and user-friendly error messages to guide the user in case of any issues.
By implementing these validation steps, you can ensure that only users with valid credentials are granted access to the system. In the next section, we will explore how to create a session once the user is authenticated. Keep reading!
Creating the Session
Once the user’s credentials are validated and found to be correct, it’s time to create a session to keep the user authenticated throughout their session on the website. Follow these steps to create a session:
- Start the session: At the beginning of the PHP code that handles the successful login, start the session using the `session_start()` function. This enables the PHP script to track and maintain session data for the user.
- Store user data in session variables: Once the session is started, store relevant user data in session variables. This allows you to access and use the user’s data throughout their session on the website. For example, you can store the user’s ID, username, or any other information that is necessary for your application.
- Redirect the user: Redirect the user to the dashboard or any other appropriate page after a successful login. Use the `header()` function in PHP to send a redirect header to the browser.
By creating a session, you can maintain the user’s login status and access their session data across different pages on your website. This allows for a more personalized and secure user experience.
However, keep in mind that it’s important to handle session security properly to prevent any potential vulnerabilities. This includes using secure session cookies, destroying the session after logout or inactivity, and implementing measures to protect against session hijacking or session fixation attacks.
In the next section, we will explore how to restrict access to certain pages based on the user’s login status. Continue reading to learn more!
Redirecting to the Dashboard
After a successful login, it is common practice to redirect the user to a dashboard or home page where they can access the protected content or perform various actions. Follow these steps to redirect the user to the dashboard:
- Determine the appropriate dashboard page: Decide on the page where you want to redirect the user after login. This can be a dedicated dashboard page or the main page of your application.
- Set the destination URL: In the PHP code that handles the successful login, set the destination URL to the dashboard page. This can be done by assigning the URL to a variable or using a hardcoded URL.
- Redirect the user: Use the `header()` function in PHP to send a redirect header to the browser. Set the `Location` header to the destination URL that you determined in the previous step. This will trigger the browser to redirect the user to the specified page.
When redirecting the user, consider using the `exit()` function immediately after the `header()` function to terminate the script execution. This ensures that no further code is executed after the redirect.
By redirecting the user to the dashboard or home page, you provide them with a seamless transition after successful authentication. From there, they can access the protected functionality and content of your application.
In the next section, we will explore how to restrict access to certain pages based on the user’s login status. Keep reading to learn more!
Restricting Access to Certain Pages
In order to maintain the security of your application, it is important to restrict access to certain pages based on the user’s login status. This ensures that only logged-in users can access private or sensitive content. Follow these steps to restrict access to certain pages:
- Identify the pages to be restricted: Determine which pages in your application need to be restricted and can only be accessed by logged-in users. These may include user profiles, account settings, or any other pages that contain sensitive information.
- Check the login status: In each restricted page, include code at the beginning to check if the user is logged in. This can be done by verifying the presence of session variables or checking the user’s authentication status in the database.
- Redirect unauthorized users: If the user is not logged in or their login session has expired, redirect them to the login page or any other appropriate page. Use the `header()` function in PHP to send a redirect header to the browser.
- Display appropriate messages: Optionally, you can display a message to inform the user that they need to log in to access the restricted page. This can be done by including an error message in the redirected URL or displaying it on the login page.
By restricting access to certain pages, you can enforce the privacy and security of your application. This ensures that only authorized users have access to sensitive information and functionality.
Keep in mind that it’s important to implement proper session management and validation to prevent unauthorized access or session hijacking. Additionally, consider implementing additional security measures like CSRF protection to further enhance the security of your application.
In the next section, we will explore how to destroy the session and log out the user when they choose to log out or when their session expires. Keep reading to learn more!
Destroying the Session
When a user chooses to log out of your application or when their session expires, it is important to destroy the session to ensure their complete disconnection from the system. Follow these steps to destroy the session:
- Create a log out button: Add a log out button or link to the appropriate pages in your application, such as the user profile or navigation menu.
- Handle log out request: In the PHP code that handles the log out request, generate a new session ID to invalidate the current session. This can be done by calling the `session_regenerate_id()` function. Furthermore, unset or clear the stored session variables using the `session_unset()` function.
- Destroy the session: Finally, destroy the session by invoking the `session_destroy()` function. This erases all session data and ends the session completely.
- Redirect the user: After destroying the session, redirect the user to the login page or any other suitable page. This provides a clear indication that they have been successfully logged out.
By destroying the session, you ensure that any stored session data is removed and the user is fully logged out of the application. This prevents unauthorized access to protected pages or functionalities.
It is worth noting that sessions can also be set to expire after a certain period of inactivity. This ensures that users are automatically logged out if they remain idle for a specified duration.
By implementing proper session management, including log out functionality and session expiration handling, you create a more secure and user-friendly environment for your application. Remember to test your log out process thoroughly to ensure its effectiveness.
Now that you have learned how to create a login page in PHP using sessions and manage user authentication, you can apply this knowledge to enhance the security and user experience of your web applications. Congratulations on completing this tutorial!