Introduction
Welcome to the world of PHP login page creation! Creating a login page is an essential part of many web applications, allowing users to access restricted content and personalized features. Whether you’re building a social networking site, an e-commerce platform, or a blog, having a secure and user-friendly login system is crucial.
In this guide, we’ll walk through the step-by-step process of creating a login page using PHP. PHP, a widely-used server-side scripting language, provides powerful tools and functionalities for handling user authentication and data processing. By the end of this tutorial, you’ll be equipped with the knowledge to create your own login page and handle user logins seamlessly.
Before we dive into the technical details, let’s take a moment to understand the basic requirements for building a login page using PHP. You’ll need a text editor or an integrated development environment (IDE) to write your PHP code. Popular options include Sublime Text, Visual Studio Code, and PhpStorm. Additionally, you should have PHP installed on your local machine or use a web hosting service that provides PHP support.
To ensure the best user experience, we’ll also explore the process of styling the login page using HTML and CSS. This will allow us to customize the appearance of the page and make it visually appealing.
In the next sections, we’ll guide you through the necessary steps to set up your development environment, create the HTML structure of the login page, style it using CSS, design the database to store user information, and handle user authentication using PHP scripting. We’ll also cover how to validate user input, display error messages, and implement logout functionality.
So, let’s get started on creating a robust and secure login page using PHP!
Required Tools and Technologies
Before we embark on creating a login page using PHP, let’s take a look at the necessary tools and technologies we’ll be using throughout this tutorial.
1. Text Editor or IDE: You’ll need a reliable text editor or integrated development environment (IDE) to write your PHP code. Some popular options include Sublime Text, Visual Studio Code, and PhpStorm. Choose the one that suits your preferences and provides a comfortable coding experience.
2. PHP: PHP is a powerful server-side scripting language widely used for web development. Make sure you have PHP installed on your local machine or use a web hosting service that provides PHP support. You can download the latest version of PHP from the official PHP website (php.net) and follow the installation instructions specific to your operating system.
3. HTML and CSS: To create the structure and style the login page, you’ll need a good understanding of HTML and CSS. HTML is used for defining the structure and content of web pages, while CSS is used for styling and layout. Familiarize yourself with these languages if you haven’t already.
4. Web Server: To test your PHP code locally, you’ll need a web server installed on your machine. Some popular options include Apache, Nginx, and XAMPP (which includes Apache, MySQL, and PHP). These servers provide a local development environment where you can run and test your PHP scripts.
5. Database: Most login systems require a database to store user information such as usernames, passwords, and other relevant data. We’ll be using MySQL as the database management system in this tutorial, but you can choose other alternatives like PostgreSQL or SQLite if you prefer.
Now that you’re aware of the tools and technologies required, you’re ready to set up your development environment and start building your login page. In the next section, we’ll guide you through the process of setting up the environment and creating the HTML structure.
Setting Up the Environment
Before we jump into creating the login page, we need to set up our development environment to ensure smooth execution of our PHP code. Follow these steps to get started:
1. Install PHP: If you haven’t already, download and install PHP on your local machine. Visit the official PHP website (php.net) and select the appropriate version for your operating system. Follow the installation instructions provided there.
2. Start a Web Server: To run PHP code locally, you’ll need to start a web server. If you’re using XAMPP or a similar package that includes Apache, you can start the Apache server from the control panel. Alternatively, you can use the built-in PHP development server by running the following command in your terminal or command prompt:
php -S localhost:8000
This will start a development server and make your PHP files accessible at http://localhost:8000.
3. Set Up a Database: Most login systems require a database to store user information. For this tutorial, we’ll use MySQL as the database management system. Install MySQL on your machine and create a new database for our login system.
4. Configure PHP: Open your PHP configuration file (php.ini) and make sure the following settings are enabled:
display_errors = On
error_reporting = E_ALL
Enabling these settings will help you see any PHP errors as you develop your login page.
5. Test Your Environment: Create a new PHP file with the following code and save it as “test.php”. Place the file in the root directory of your web server (e.g., htdocs folder if you’re using Apache).
<?php
phpinfo();
?>
Access the file through your web browser (e.g., http://localhost:8000/test.php) and you should see a detailed PHP information page. If everything is set up correctly, congratulations! You’re now ready to proceed.
With the environment set up, we’re ready to dive into creating the HTML structure of our login page. In the next section, we’ll guide you through the process of creating the necessary HTML elements for the login form.
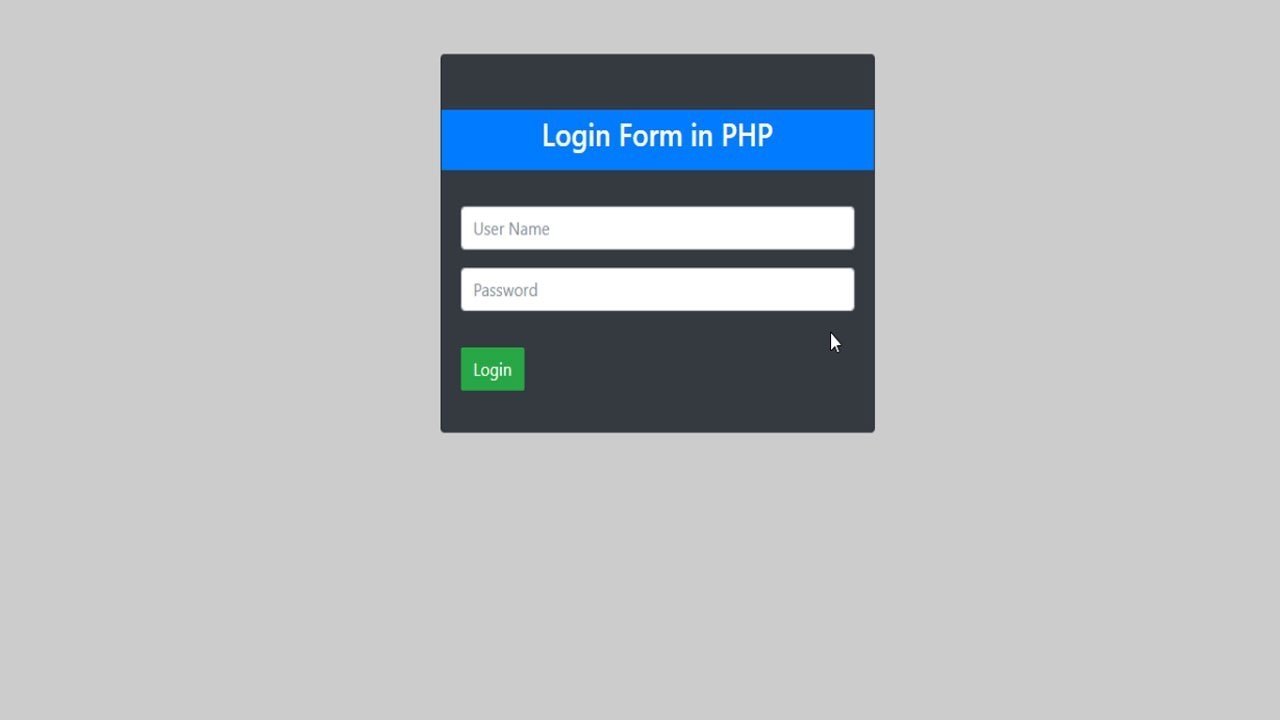
Creating the HTML Structure
Now that we have our development environment set up, it’s time to create the HTML structure for our login page. The HTML structure will consist of the necessary elements to build the login form, such as input fields, buttons, and labels. Follow these steps to create the HTML structure:
1. Create a New HTML File: Open your favorite text editor or IDE and create a new HTML file. Save it with a descriptive name, like “login.html”.
2. Add the HTML Doctype: Begin your HTML file by declaring the HTML doctype. This tells the browser which version of HTML is being used. Add the following line of code at the top of your HTML file:
<!DOCTYPE html>
3. Create the HTML Structure: Within the HTML body, create a div container to hold the login form. Add a form element inside the container to encapsulate the form fields. Give the form element an ID for easier access with JavaScript. Here’s an example:
<div id="login-container">
  <form id="login-form" action="login.php" method="post">
    <!-- Form fields will be added here -->
  </form>
</div>
4. Add Input Fields: Within the form element, add input fields for the username and password. Use the input tag with the type attribute set to “text” for the username and “password” for the password. You can also add labels for each input field to provide user-friendly instructions:
<div id="login-container">
  <form id="login-form" action="login.php" method="post">
    <label for="username">Username:</label>
    <input type="text" id="username" name="username" required>
    <br>
    <label for="password">Password:</label>
    <input type="password" id="password" name="password" required>
  </form>
</div>
5. Add a Submit Button: Include a submit button within the form to allow users to submit their login credentials. Use the input tag with the type attribute set to “submit” and provide a value for the button label:
<div id="login-container">
  <form id="login-form" action="login.php" method="post">
    <label for="username">Username:</label>
    <input type="text" id="username" name="username" required>
    <br>
    <label for="password">Password:</label>
    <input type="password" id="password" name="password" required>
    <br>
    <input type="submit" value="Log In">
  </form>
</div>
Congratulations! You’ve successfully created the HTML structure for your login form. In the next section, we’ll explore how to style the login page using CSS to enhance its visual appeal.
Styling the Login Page
Now that we have the HTML structure of our login page, it’s time to add some style and make it visually appealing. CSS (Cascading Style Sheets) will allow us to customize the appearance of the login form, including colors, fonts, and layout. Follow these steps to style your login page:
1. Create a CSS File: Open your text editor or IDE and create a new CSS file. Save it with a relevant name, such as “style.css”.
2. Link the CSS File: In your HTML file, add a link to the CSS file within the head section. Use the link tag with the href attribute set to the path of your CSS file:
<link rel="stylesheet" href="style.css">
3. Style the Login Container: In your CSS file, target the login-container div and apply CSS properties to style it. You can control its width, margin, padding, and background color to create a visually appealing container:
#login-container {
  width: 300px;
  margin: 0 auto;
  padding: 20px;
  background-color: #f2f2f2;
}
4. Style the Input Fields: Target the input fields in your CSS file and customize their appearance. You can set the font size, border radius, padding, and margin to make them visually consistent with the login container:
#login-form input[type="text"],
#login-form input[type="password"] {
  font-size: 16px;
  border-radius: 5px;
  padding: 10px;
  margin: 5px 0;
}
5. Style the Submit Button: Target the submit button and add CSS properties to enhance its appearance. You can customize the background color, text color, padding, and hover effect to make it visually appealing and interactive:
#login-form input[type="submit"] {
  background-color: #4CAF50;
  color: white;
  padding: 10px 20px;
  cursor: pointer;
}

#login-form input[type="submit"]:hover {
  background-color: #45a049;
}
Feel free to experiment with additional CSS properties to further customize the login page according to your design preferences. Save the CSS file and refresh your HTML page to see the updated style.
By applying CSS to your login page, you’ve added visual appeal and made the form more user-friendly. In the next section, we’ll look at designing the database for storing user login information.
Designing the Database
As we continue our journey in creating a login page using PHP, it’s essential to design a database to store user information securely. By properly structuring the database, we can ensure efficient data management and optimize the login process. Follow these steps to design the database:
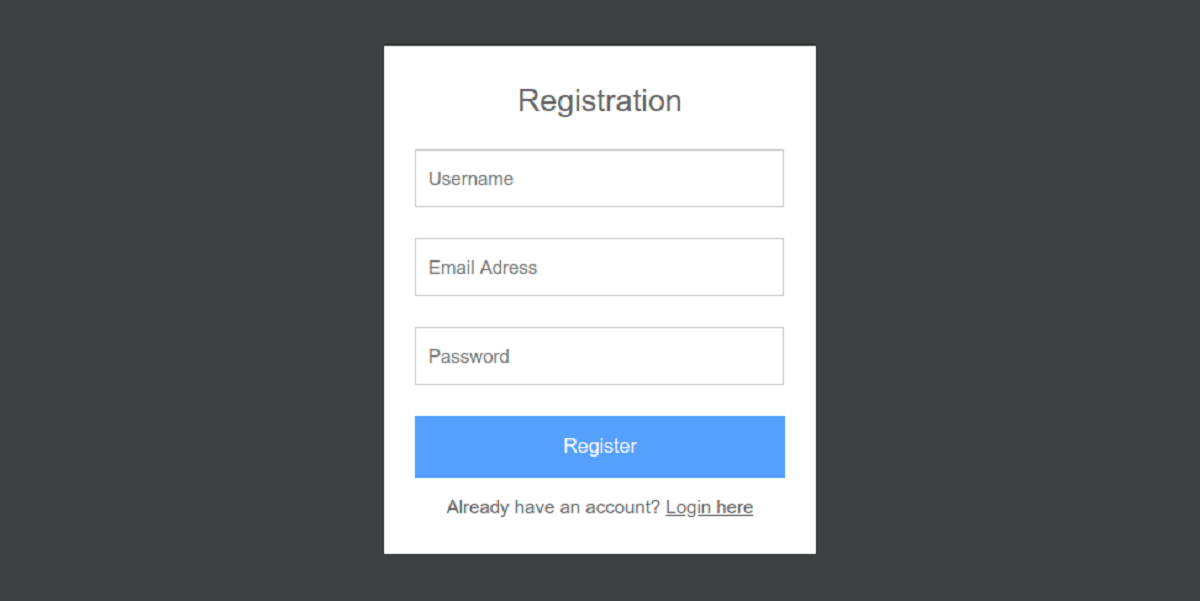
1. Determine the Data to Collect: Decide which user information you want to collect during the registration process. Typically, this includes the username, password (hashed for security), and potentially additional fields like email, full name, or profile picture. Define the necessary fields based on your application’s requirements.
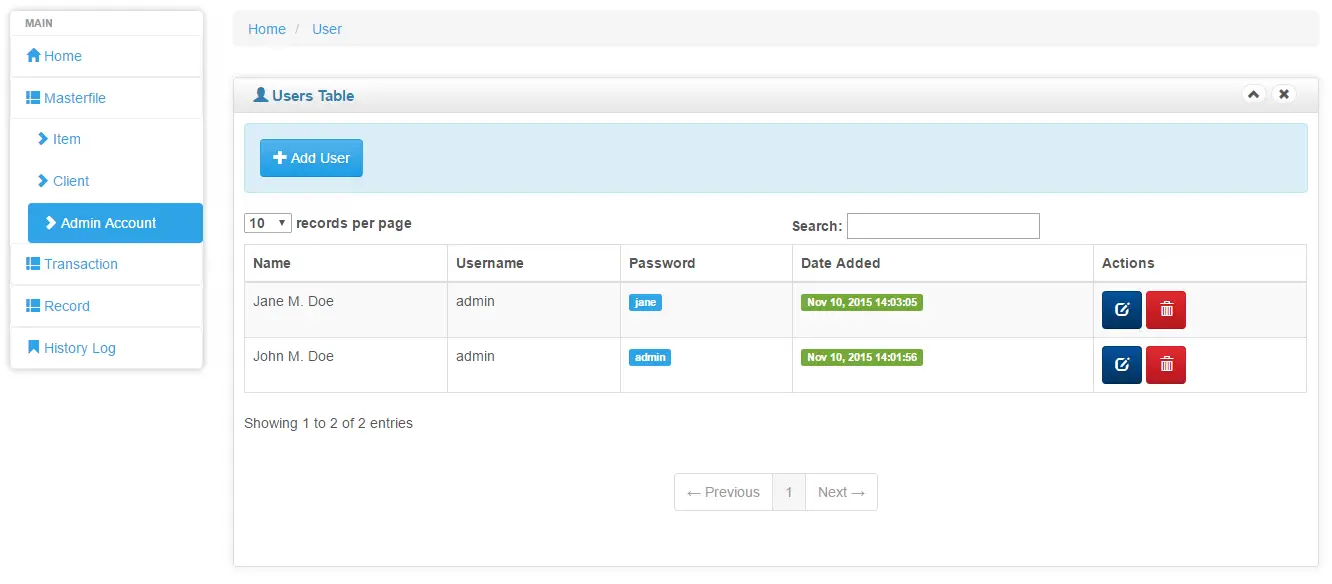
2. Create the Users Table: In your chosen database management system (e.g., MySQL), create a new table to store user information. Define the table schema with appropriate columns for each data field. For example:
CREATE TABLE users (
    id INT PRIMARY KEY AUTO_INCREMENT,
    username VARCHAR(50) UNIQUE,
    password VARCHAR(255),
    email VARCHAR(100),
    full_name VARCHAR(100)
);
3. Establish Relationships: If your application requires additional functionality such as user roles or profiles, you may need to create additional tables and establish relationships between them. For instance, you might have a “roles” table with role types and a “user_roles” table linking users to their respective roles through foreign keys.
4. Define Constraints and Indexes: Add constraints to enforce data integrity and ensure the accuracy and consistency of the stored information. Constraints include primary keys, unique keys, and foreign keys. Additionally, consider adding indexes to columns that will be frequently searched to improve query performance.
5. Secure Data with Hashing: To enhance security, passwords should be securely hashed before storing them in the database. Use password hashing algorithms like bcrypt or Argon2 to protect user passwords from unauthorized access. When a user logs in, the entered password can be hashed and compared with the stored hash for authentication.
By designing an efficient and secure database structure, you are laying the foundation for a robust login system. In the next section, we’ll delve into creating the PHP script that handles user authentication and login functionality.
Creating the PHP Script for Handling User Login
Now that we have our database designed and set up, it’s time to create the PHP script that will handle user login and authentication. This script will retrieve user credentials from the database, validate them, and grant access if the provided login information is correct. Follow these steps to create the PHP script:
1. Create a New PHP File: Open your text editor or IDE and create a new PHP file. Save it with a descriptive name, such as “login.php”.
2. Establish Database Connection: Use the appropriate database connection details (host, username, password, and database name) to establish a connection with your database system. This connection will allow PHP to interact with the database.
<?php
// Database connection details
$host = 'localhost';
$username = 'your_username';
$password = 'your_password';
$database = 'your_database';

// Establish database connection
$conn = mysqli_connect($host, $username, $password, $database);

// Check connection
if (!$conn) {
    die("Connection failed: " . mysqli_connect_error());
}
?>
3. Query the Database: Retrieve user information from the database based on the entered username. Use a SQL query to select the user’s password hash and any additional relevant data:
$username = $_POST['username'];

$sql = "SELECT * FROM users WHERE username = '$username'";
$result = mysqli_query($conn, $sql);

if (mysqli_num_rows($result) == 1) {
    $row = mysqli_fetch_assoc($result);
    $storedPassword = $row['password'];
    // Additional data retrieval if needed
} else {
    // Handle incorrect username
}
4. Validate Password: Compare the hashed password from the database with the entered password using a password hashing function like password_verify(). If they match, the user’s login credentials are valid:
$password = $_POST['password'];

if (password_verify($password, $storedPassword)) {
    // Successful login
} else {
    // Handle incorrect password
}
5. Perform User Actions: Once the login is successful, you can perform additional actions like storing session information, redirecting the user to a protected area, or displaying a welcome message.
With this PHP script, you can effectively retrieve user information from the database, validate the login credentials, and provide access if the entered information is correct. In the next section, we’ll explore how to validate user input to ensure the login process is secure.
Validating User Input
Validating user input is an essential step in ensuring the security and integrity of the login process. It helps prevent potential attacks, such as SQL injection and cross-site scripting (XSS), by sanitizing and validating the data received from users. Follow these steps to validate user input:
1. Validate Usernames: Make sure to validate the entered username to ensure it meets the desired criteria. This can include checking for a minimum and maximum length, character restrictions, and uniqueness if necessary. You can use regular expressions or built-in PHP functions like strlen() and preg_match() for validation.
$username = $_POST['username'];

// Validate username
if (strlen($username) < 4 || strlen($username) > 20) {
    // Handle invalid username length
}

if (!preg_match('/^[a-zA-Z0-9_]+$/', $username)) {
    // Handle invalid username characters
}
2. Validate Passwords: Ensure that the entered password meets the required criteria, such as minimum length, the inclusion of certain characters, and complexity. Use a combination of regular expressions and built-in PHP functions to perform password validation.
$password = $_POST['password'];

// Validate password
if (strlen($password) < 8) {
    // Handle invalid password length
}

if (!preg_match('/^(?=.*[A-Za-z])(?=.*\d)[A-Za-z\d]{8,}$/', $password)) {
    // Handle invalid password complexity
}
3. Sanitize User Input: Sanitize the user input to remove any potentially harmful or unexpected characters. This helps prevent SQL injection and XSS attacks. You can use the mysqli_real_escape_string() function to escape special characters before storing them in the database.
$username = mysqli_real_escape_string($conn, $_POST['username']);
$password = mysqli_real_escape_string($conn, $_POST['password']);
4. Validate and Sanitize Other User Input: If you collect additional user data during the registration process, make sure to validate and sanitize that input as well. Check for data types, length restrictions, and any specific requirements before storing the data in the database.
By implementing proper input validation and sanitization techniques, you can strengthen the security of your login page and protect against potential vulnerabilities. In the next section, we’ll explore how to handle user authentication once the login credentials have been validated.
Handling User Authentication
Once the user’s login credentials have been validated, it’s important to handle user authentication to grant access to authenticated users and protect authenticated routes or pages. Authentication is the process of confirming the user’s identity and allowing them access to the protected content. Follow these steps to handle user authentication:
1. Store User Information in Sessions: Upon successful validation of the login credentials, store relevant user information in a session variable. This allows you to keep track of the user’s authentication status throughout their session on the website or application.
$row = mysqli_fetch_assoc($result);

// Store user information in session
$_SESSION['user_id'] = $row['id'];
$_SESSION['username'] = $row['username'];
// Additional data storage if needed
2. Protect Authenticated Routes: For any page or functionality that should only be accessible to authenticated users, you can implement checks to ensure the user is authenticated before granting access. This can be done by checking the authentication status stored in the session variable.
// Check if user is authenticated before granting access
session_start();

if (!isset($_SESSION['user_id'])) {
    // Redirect to login page or display an error message
    exit();
}
3. Display User-Specific Content: After successful authentication, you can display personalized content or features based on the user’s information stored in the session. This can include showing the user’s username, avatar, or any other relevant data.
<?php
session_start();

// Display user-specific content
if (isset($_SESSION['user_id'])) {
    echo "Welcome, " . $_SESSION['username'];
} else {
    echo "Welcome, Guest";
}
?>
4. Provide Logout Functionality: Implement a logout functionality to allow users to securely log out of their session. This involves destroying the session and redirecting the user to the login page or the desired destination.
// Logout functionality
session_start();
session_destroy();
// Redirect to login page or desired destination
By properly handling user authentication, you can ensure that only authenticated users can access protected content and that personalized features are available to them. In the next section, we’ll explore how to display error messages in case of invalid login credentials.
Redirecting the User after Successful Login
After successfully validating the user’s login credentials, it is common practice to redirect them to a specific destination or page. This helps provide a seamless user experience and directs them to the appropriate location within the website or application. Follow these steps to redirect the user after a successful login:
1. Determine the Destination: Decide where you want to redirect the user after they have successfully logged in. This could be a dashboard page, a profile page, or any other section of your website that is appropriate for authenticated users.
2. Set the Redirect Location: In your PHP script, after validating the login credentials, use the header() function to set the redirect location using the “Location” parameter. This will notify the browser to navigate to the specified page.
$redirectLocation = "dashboard.php";
header("Location: " . $redirectLocation);
exit();
3. Session-Based Redirect: Another approach is to store the redirect location in a session variable before redirecting the user. This allows you to retrieve the intended destination after the user has successfully authenticated.
// Set the redirect location in a session variable
$_SESSION['redirect_location'] = "dashboard.php";

// Redirect the user to the login script
header("Location: login.php");
exit();
4. Redirecting based on Session: After the user has successfully logged in, retrieve the redirect location from the session variable and use the header() function to redirect them to the intended page.
// Retrieve the redirect location from the session
$redirectLocation = $_SESSION['redirect_location'];

// Redirect the user to the intended page
header("Location: " . $redirectLocation);
exit();
By redirecting the user after a successful login, you can ensure that they are directed to the appropriate location within your website or application. This creates a cohesive and user-friendly experience. In the next section, we’ll explore how to display error messages in case of invalid login credentials.
Displaying Error Messages
When a user enters invalid login credentials, it’s important to provide clear and user-friendly error messages to help them understand the issue and take appropriate action. Follow these steps to display error messages in case of invalid login credentials:
1. Define Error Messages: Determine the types of errors that can occur during the login process, such as incorrect username, incorrect password, or account not found. Assign meaningful error messages to each type of error. For example:
$errorMessages = [
    "incorrect_username" => "Invalid username.",
    "incorrect_password" => "Invalid password.",
    "account_not_found" => "Account not found."
];
2. Set Error Message Variables: In your PHP script, if the login validation fails, set a variable to store the corresponding error message based on the error type:
$errorMessage = "";

// If there is an error, set the error message
if ($usernameError) {
    $errorMessage = $errorMessages["incorrect_username"];
} elseif ($passwordError) {
    $errorMessage = $errorMessages["incorrect_password"];
} elseif ($accountNotFoundError) {
    $errorMessage = $errorMessages["account_not_found"];
}
3. Display the Error Message: In the HTML section of your login page, add a section to display the error message. Wrap the error message in a condition so that it is only displayed if there is an error:
<div id="error-message">
    <?php if (!empty($errorMessage)) { ?>
        <p><?php echo $errorMessage; ?></p>
    <?php } ?>
</div>
4. Style the Error Message: Use CSS to style the error message section to make it visually distinct from the rest of the login page. You can add a different background color, text color, and padding to make it noticeable.
#error-message {
    background-color: #ffcccc;
    color: #ff0000;
    padding: 10px;
}
By providing clear error messages, users will be able to understand and troubleshoot any issues they encounter during the login process. This enhances the user experience and helps them to take the appropriate steps for successful login. In the next section, we’ll explore how to create logout functionality for the user.
Creating the Logout Functionality
Implementing logout functionality allows users to securely end their session and log out of your website or application. It’s essential to provide users with an easy way to log out to ensure the security and privacy of their account. Follow these steps to create logout functionality:
1. Implement Logout Link or Button: Add a logout link or button to your website or application’s interface. This link or button should be easily accessible to the user, typically placed in a navigation bar or user profile section.
2. Handle Logout Request: Create a PHP script to handle the logout request when the user clicks on the logout link or button. In this script, destroy the session and clear all session variables:
session_start();
session_destroy();
3. Redirect User to Login Page: After destroying the session, redirect the user to the login page or the desired destination. This informs the user that they have successfully logged out and allows them to log in again if needed:
header("Location: login.php");
exit();
4. Inform User of Successful Logout: Optionally, you can display a message to the user confirming their successful logout. This can be done on the page they are redirected to after logging out:
<h3>Logout Successful!</h3>
<p>You have been logged out of your account. Thank you for using our website!</p>
By implementing logout functionality, you offer users the ability to end their session securely and help protect their account and data. This is especially important in applications that handle sensitive information or require increased privacy measures. In the next section, we’ll summarize the key aspects covered in this tutorial.
Conclusion
Congratulations! You’ve successfully learned how to create a login page using PHP. Throughout this tutorial, we covered key steps and techniques to build a secure and functional login system. Let’s summarize what we’ve learned:
We started by setting up the necessary tools and technologies, including PHP, HTML, and CSS. With a proper development environment in place, we moved on to creating the HTML structure of the login page, styling it to enhance its visual appeal.
Next, we dived into database design, creating tables to store user information securely. We covered techniques like hashing passwords to protect user data. We also discussed input validation and sanitization to ensure the security and integrity of user input.
Handling user authentication was another crucial aspect we covered. We explored how to store user information in sessions, protect authenticated routes, display personalized content, and set up a logout functionality to provide a seamless user experience.
We also discussed the importance of displaying clear error messages to users if login credentials are incorrect and how to redirect users after successful login or logout. With these steps, you can create a robust login system that enhances the security and usability of your web application.
Remember to continuously improve your login system by staying updated with the latest security practices, such as using secure password hashing algorithms, implementing multi-factor authentication, and regularly updating and patching your application.
Now that you have a solid understanding of creating a login page, you can apply this knowledge in various web applications, whether it’s an e-commerce platform, social networking site, or any other type of website that requires user authentication.
So go ahead, put your skills to use and create amazing login pages that provide a secure and personalized experience for your users. Happy coding!