Introduction
Welcome to this tutorial on how to create a login page with PHP and MySQL. Building a login page is an essential part of many web applications where user authentication and access control are required. By implementing a secure login system, you can protect sensitive information, ensure authorized access to specific features, and personalize user experiences.
In this tutorial, we will guide you through the process of creating a robust login page using PHP as the server-side language and MySQL as the database management system. Whether you are new to web development or looking to expand your knowledge, this tutorial will provide you with the necessary steps to build a secure and functional login page.
Before we begin, let’s take a moment to understand the prerequisites for this tutorial. Familiarity with HTML, CSS, PHP, and basic understanding of MySQL database concepts will be beneficial. If you are new to these topics, don’t worry! We will explain each step in detail, making it easy for beginners to follow along.
Throughout this tutorial, we will cover the essential components of a login page, including creating a login form, validating user input, connecting to the database, verifying user credentials, managing user sessions, and redirecting users to the appropriate dashboard upon successful login.
By the end of this tutorial, you will have a fully functional login page that can be integrated into your web application. So, let’s get started and learn how to create a login page with PHP and MySQL!
Prerequisites
Before diving into creating a login page with PHP and MySQL, there are a few prerequisites you should be familiar with. Understanding these concepts will make it easier for you to follow along and implement the necessary steps.
1. HTML and CSS: A basic understanding of HTML and CSS is essential as we will be creating the login form using HTML markup and styling it with CSS.
2. PHP: You should have a basic understanding of PHP, including variables, data types, conditional statements, loops, and functions. We will be using PHP to handle form submissions, validate user input, and interact with the MySQL database.
3. MySQL: Familiarity with MySQL and database concepts such as tables, queries, and database connections is important. We will be using MySQL as the database management system to store user credentials and validate login attempts.
4. Development Environment: You will need a local development environment set up on your computer with a web server (such as Apache or Nginx), PHP, and MySQL installed. There are several packages available that provide an all-in-one installation, such as XAMPP or WAMP, which make it easy to set up a local server environment for development.
5. Text Editor or Integrated Development Environment (IDE): You will need a text editor or IDE to write your code. Some popular choices include VS Code, Sublime Text, Atom, or PHPStorm. Choose the one that suits your preferences and provides features like code highlighting, auto-completion, and debugging.
Don’t worry if you’re new to any of these prerequisites. We will provide explanations and examples along the way to help you understand and implement the necessary concepts.
Now that we have covered the prerequisites, we are ready to set up the database and start creating our login page!
Setting up the Database
Before we can create the login page, we need to set up a MySQL database to store user information and credentials. Follow these steps to create the necessary database and table:
1. Create a new database: Using a MySQL database management tool like phpMyAdmin or the command line, create a new database to store user credentials. Choose an appropriate name for your database, such as “login_system.”
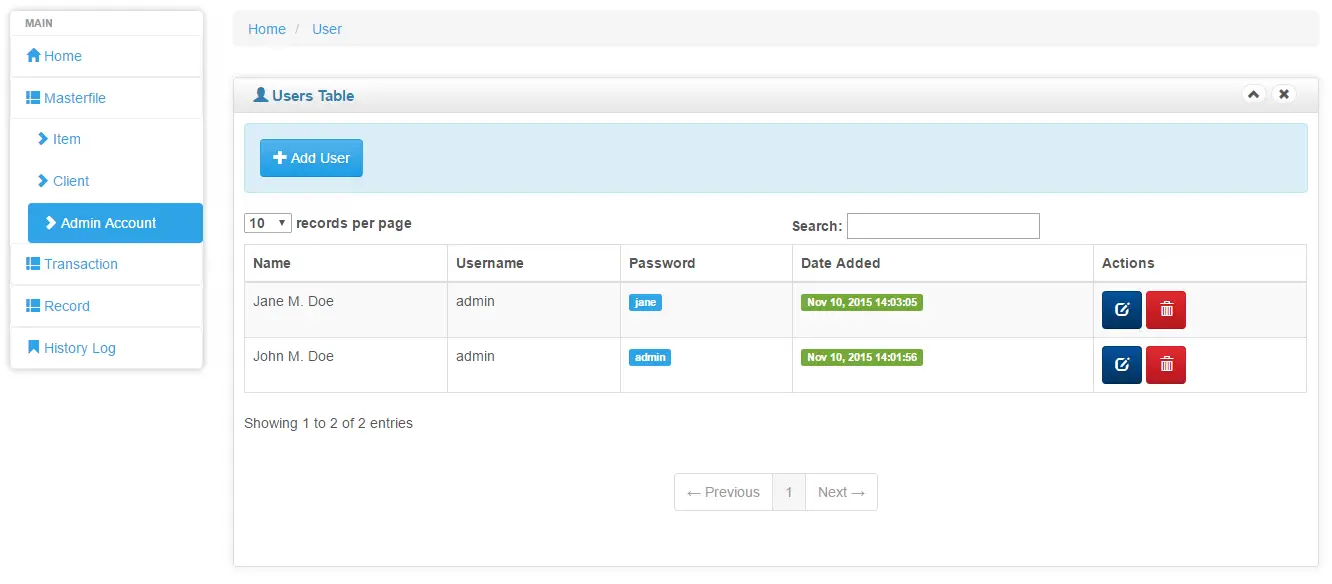
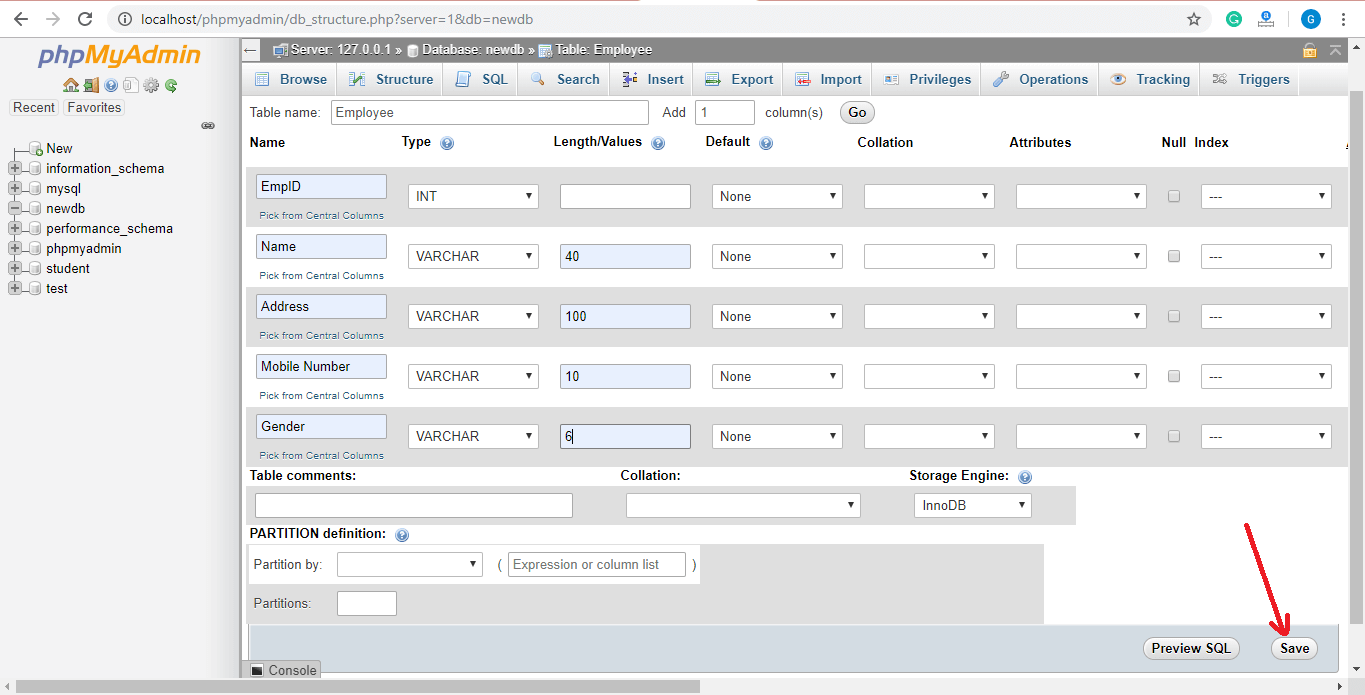
2. Create a users table: Within the newly created database, create a table called “users.” This table will contain the necessary columns to store user data, such as username, password, and any additional information you might need (e.g., name, email, etc.).
3. Define the table structure: In the users table, create the required columns. At minimum, you will need columns for “id” (a unique identifier for each user), “username,” and “password” (for storing hashed passwords). You can also add additional columns as per your application requirements.
4. Set the id column as primary key: Ensure that the id column in the users table is set as the primary key. This will ensure that each user record has a unique identifier.
5. Set the appropriate data types and constraints: Set the appropriate data types and constraints for each column. For example, the username column can be set as VARCHAR with a maximum length of 255, while the password column can be set as VARCHAR with a length suitable for storing hashed passwords.
6. Add any additional columns: If you require additional information (such as name or email), add the relevant columns to the users table. Set their data types and constraints accordingly.
Once you have set up the database and table structure, we are ready to move on to creating the login form in the next section. Make sure to keep your database credentials handy as we will need them to establish a connection in the upcoming steps.
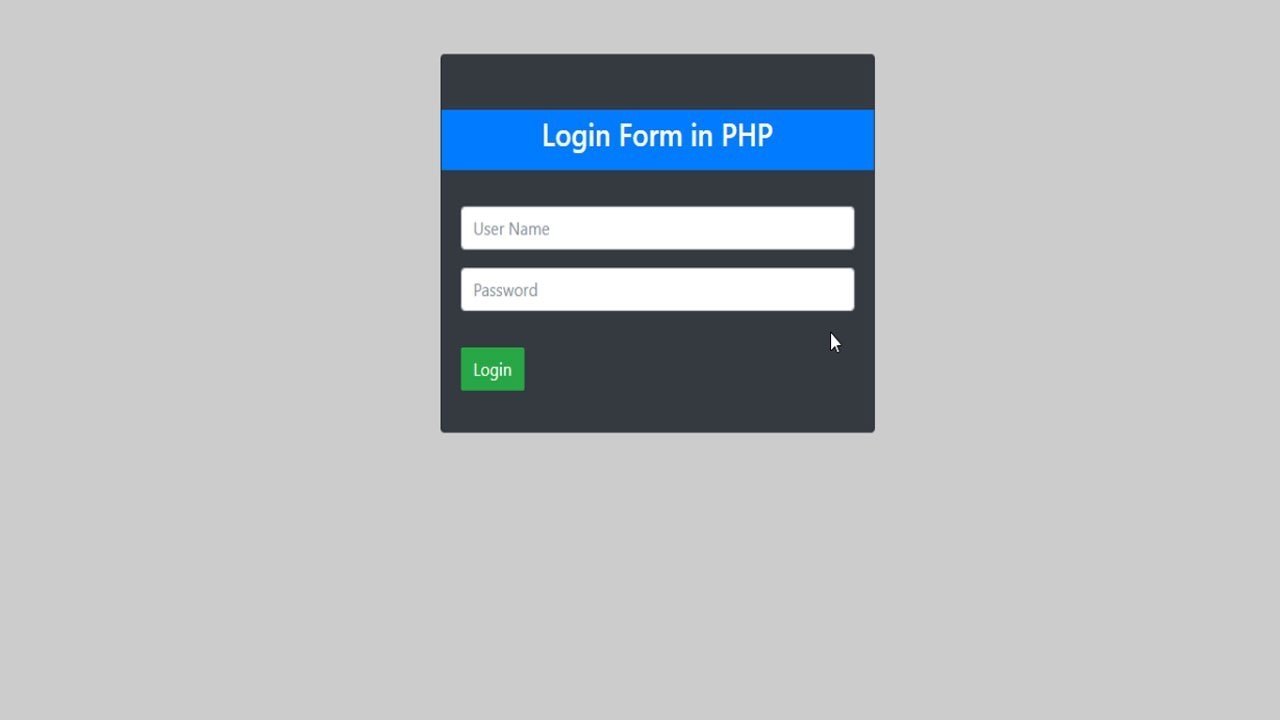
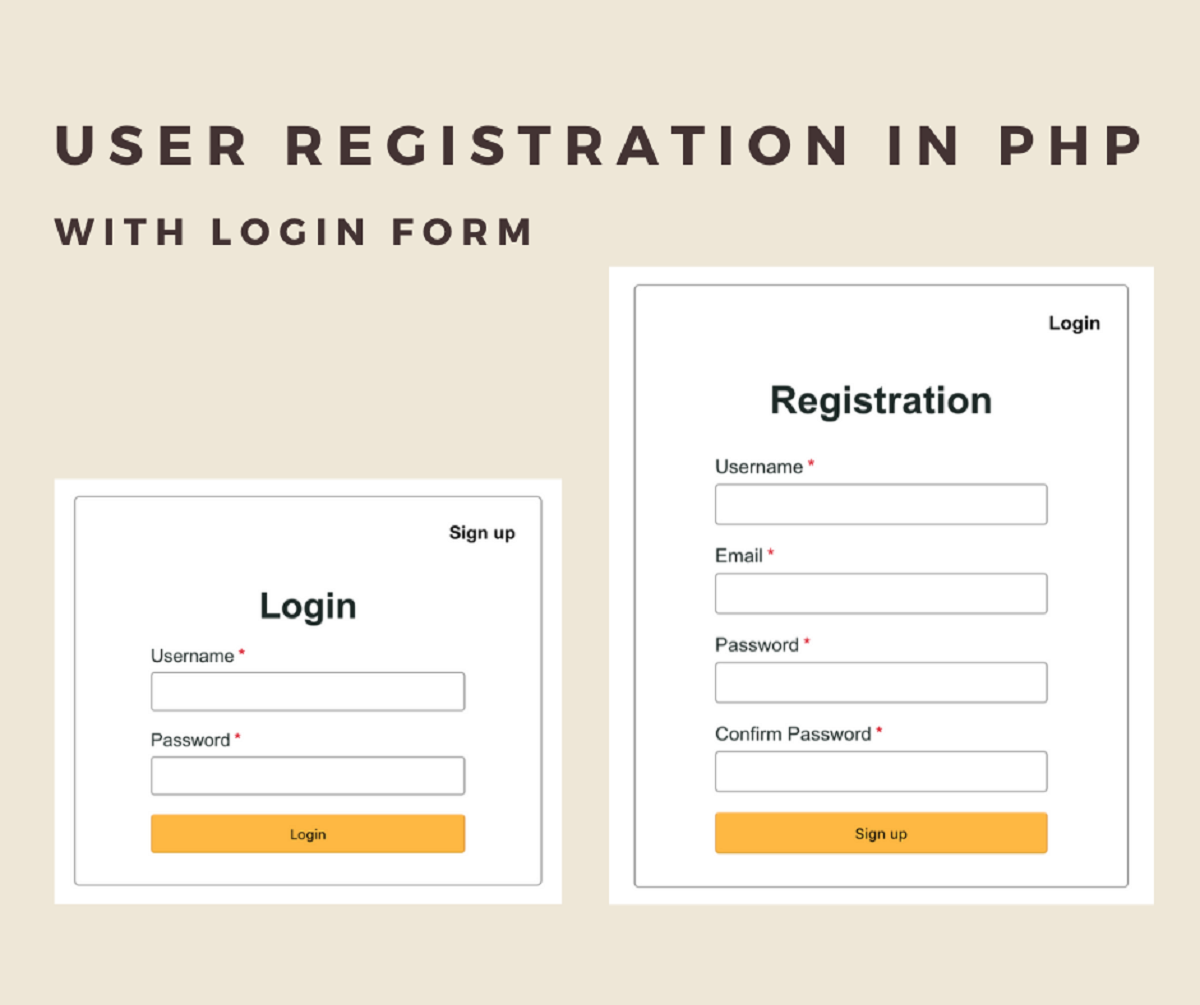
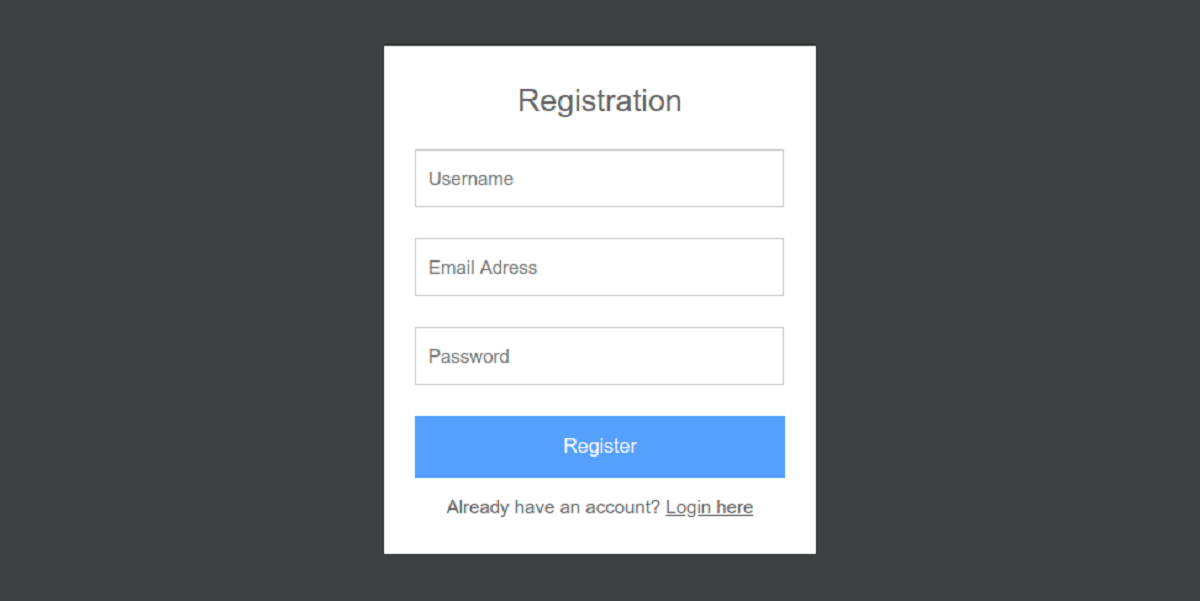
Creating the Login Form
Now that we have our database set up, it’s time to create the login form. The login form will allow users to enter their credentials and submit them for validation. Follow these steps to create the login form:
- Open your preferred code editor and create a new PHP file. You can name it “login.php” or choose a name that is relevant to your project.
- Start by writing the HTML markup for the login form. Create a
html
- Inside the `
- Add a submit button at the end of the form to allow users to submit their credentials.
- Save the file and open it in a web browser to see the login form. You should see the fields for the username and password, as well as the submit button.
With these steps, you have successfully created the login form. In the next section, we will learn how to validate the user input to ensure the login credentials are accurate.
Validating the User Input
After creating the login form, we need to validate the user input to ensure that the provided credentials are accurate. This step is crucial to prevent unauthorized access and ensure the security of the login system. Here’s how you can validate the user input:
- In the PHP file where the login form is submitted, add code to handle the form submission. This code will run when the user clicks the submit button.
- Retrieve the values entered by the user in the username and password fields using the `$_POST` superglobal array. You can access the values using the `name` attribute assigned to each input element. For example:
php
$username = $_POST[‘username’];
$password = $_POST[‘password’];
- Perform validation checks on the user input to ensure that both fields are filled in. You can use functions like `empty()` or check if the values are not equal to an empty string. For example:
php
if (empty($username) || empty($password)) {
echo “Please enter both username and password.”;
// You can also redirect the user back to the login form with an error message
// header(“Location: login.php?error=Please enter both username and password.”);
// exit; (Optional)
}
- If the user input passes the validation checks, you can proceed with the next steps for verifying the user credentials against the database.
Validating the user input is an essential step in the login process. By ensuring that both the username and password fields are filled in, you can prevent incomplete submissions and provide a better user experience. In the next section, we will learn how to connect to the MySQL database to verify the user credentials.
Connecting to the Database
In order to verify the user credentials, we need to establish a connection to the MySQL database. Follow these steps to connect to the database:
- In the PHP file where the login form is submitted, add code to establish a connection to the MySQL database. This connection will allow us to perform queries and retrieve data from the users table.
- Start by defining the necessary variables for the database connection, such as the host, username, password, and database name:
php
$host = “localhost”; // Replace with your database host
$username = “root”; // Replace with your database username
$password = “”; // Replace with your database password
$dbname = “login_system”; // Replace with your database name
- Use the `mysqli_connect()` function to establish the database connection. Pass in the host, username, password, and database name as arguments:
php
$conn = mysqli_connect($host, $username, $password, $dbname);
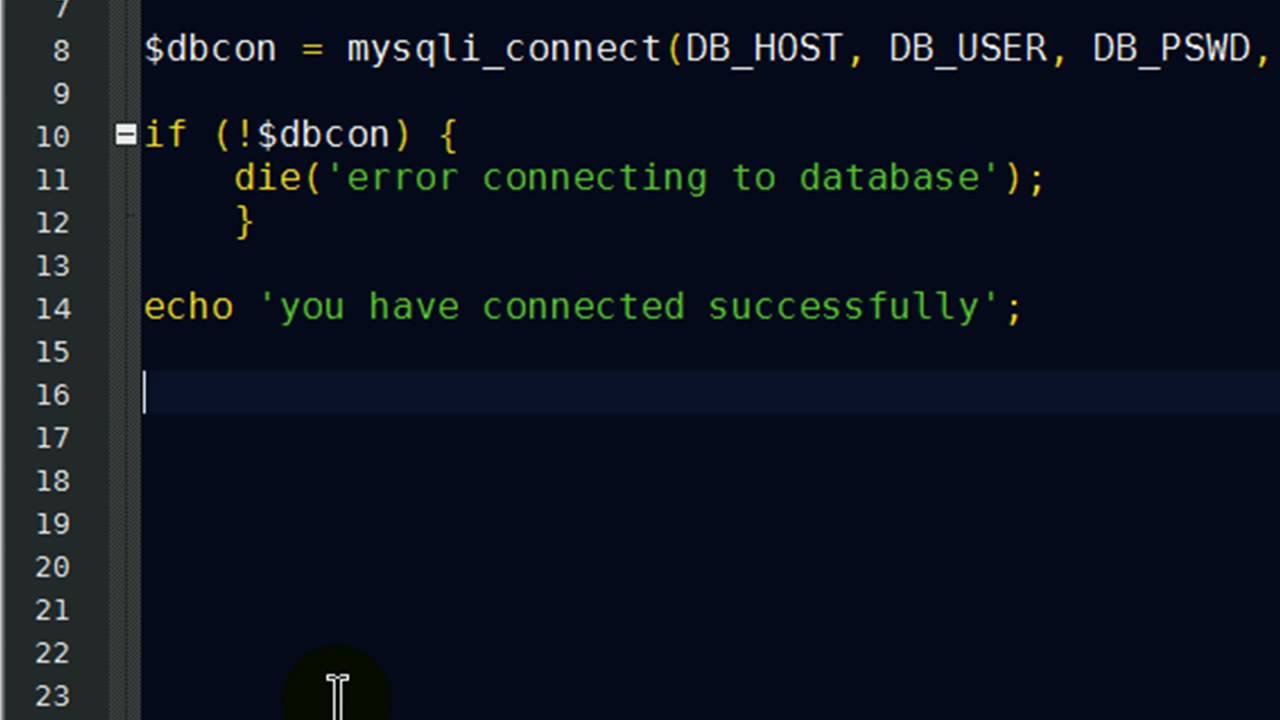
- Check if the connection is successful or if any errors occur. You can use the `mysqli_connect_error()` function to retrieve the error message if the connection fails:
php
if (!$conn) {
die(“Connection failed: ” . mysqli_connect_error());
}
With these steps, you have established a connection to the MySQL database. This connection will allow us to interact with the users table and verify the user credentials. In the next section, we will explore how to verify the user credentials against the database.
Verifying User Credentials
Now that we have established a connection to the database, we can proceed to verify the user credentials entered in the login form. Here’s how you can verify the user credentials against the database:
- In the PHP file where the login form is submitted, after the database connection is established, add code to query the database and retrieve the user record that matches the entered username:
php
$query = “SELECT * FROM users WHERE username = ‘$username'”;
$result = mysqli_query($conn, $query);
- Check if the query returned a result – indicating that a user with the entered username exists in the database:
php
if(mysqli_num_rows($result) > 0) {
// Username exists in the database, proceed to verify password
} else {
echo “Invalid username. Please try again.”;
// Optionally, you can redirect the user back to the login form with an error message
// header(“Location: login.php?error=Invalid username. Please try again.”);
// exit; (Optional)
}
- If the entered username exists, retrieve the password associated with the username from the result:
php
$row = mysqli_fetch_assoc($result);
$storedPassword = $row[‘password’];
- Compare the stored password retrieved from the database with the entered password using a function like `password_verify()`:
php
if (password_verify($password, $storedPassword)) {
echo “Login successful!”;
// Optionally, you can redirect the user to the dashboard or the desired authenticated page
// header(“Location: dashboard.php”);
// exit; (Optional)
} else {
echo “Incorrect password. Please try again.”;
// Optionally, you can redirect the user back to the login form with an error message
// header(“Location: login.php?error=Incorrect password. Please try again.”);
// exit; (Optional)
}
By verifying the user credentials against the database, we ensure that only users with valid credentials can access the authenticated area of the website. In the next section, we will explore session management to maintain user login status.
Session Management
Session management is an important aspect of creating a secure login system. It allows us to keep track of the user’s login status and maintain their session throughout their interaction with the website. Here’s how you can implement session management:
- In the PHP file where the user credentials are verified, start a session using the `session_start()` function. This function initializes a new session or resumes an existing session.
php
session_start();
- If the user credentials are valid, set session variables to store relevant user information. For example:
php
$_SESSION[‘username’] = $username;
$_SESSION[‘loggedin’] = true;
- In subsequent pages or areas where the user needs to be authenticated, check the session variables to ensure the user is logged in before granting access. For example:
php
session_start();
if (!isset($_SESSION[‘loggedin’]) || $_SESSION[‘loggedin’] !== true) {
echo “You are not authorized to access this page. Please log in first.”;
// Optionally, you can redirect the user back to the login form with an error message
// header(“Location: login.php?error=You are not authorized to access this page. Please log in first.”);
// exit; (Optional)
}
- To log out the user, simply destroy the session and unset the session variables:
php
session_start();
session_destroy();
unset($_SESSION[‘username’]);
unset($_SESSION[‘loggedin’]);
echo “You have been logged out successfully”;
By implementing session management, we can maintain the user’s login status and ensure they have access to the authorized sections of the website. In the next section, we will explore the process of redirecting the user to the dashboard upon successful login.
Redirecting to the Dashboard
After a successful login, it is common to redirect the user to a dashboard or the main page of the application. Here’s how you can implement the redirection to the dashboard:
- In the PHP file where the user credentials are verified and session variables are set, add a header redirect to the dashboard page:
php
if (password_verify($password, $storedPassword)) {
$_SESSION[‘username’] = $username;
$_SESSION[‘loggedin’] = true;
header(“Location: dashboard.php”);
exit;
} else {
echo “Incorrect password. Please try again.”;
// Optionally, you can redirect the user back to the login form with an error message
// header(“Location: login.php?error=Incorrect password. Please try again.”);
// exit; (Optional)
}
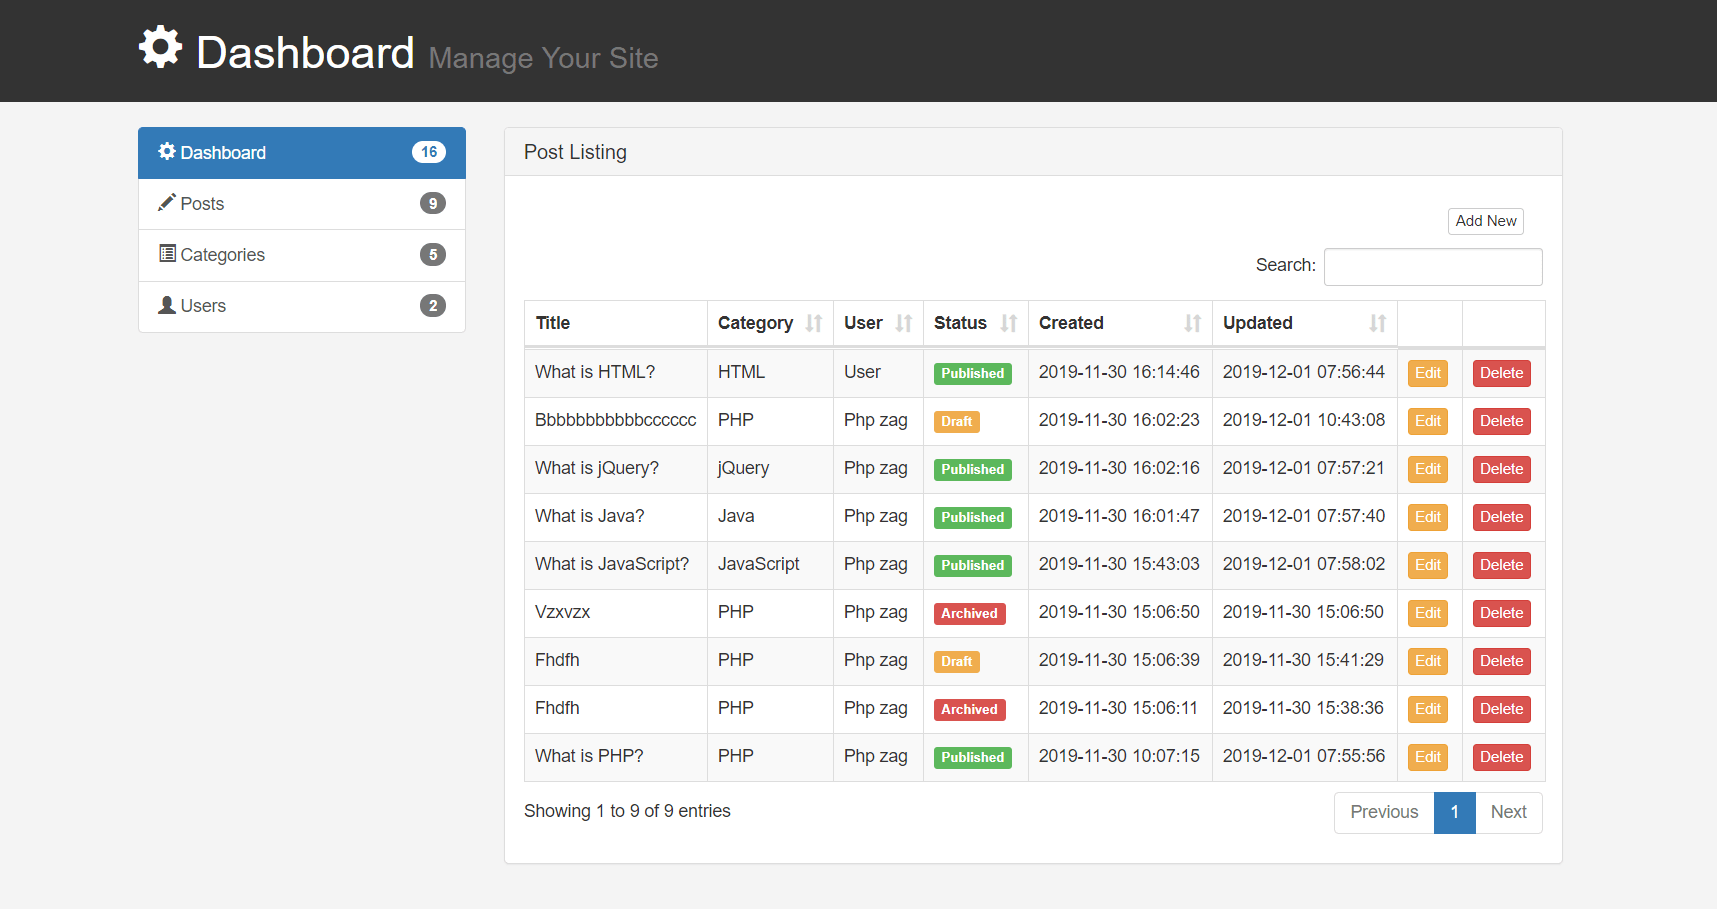
- Create a new PHP file named “dashboard.php” (or other relevant name) and include it in your project. This file will serve as the dashboard or main page of your application.
With these steps, the user will be redirected to the dashboard page upon successful login. The dashboard page can contain personalized information, user-specific features, or any relevant content depending on your application’s requirements.
Remember to check the session variables on the dashboard page or any other authenticated pages to ensure that the user is logged in before granting access. This will prevent unauthorized access to restricted areas of your application.
Now that we have covered the process of redirecting the user to the dashboard, you have successfully implemented a login system with session management. In the next section, we will recap the key points of this tutorial.
Conclusion
Congratulations on completing this tutorial on creating a login page with PHP and MySQL! We covered the essential steps to build a secure and functional login system, including setting up the database, creating the login form, validating user input, connecting to the database, verifying user credentials, managing sessions, and redirecting users to the dashboard upon successful login.
Throughout the tutorial, we emphasized the importance of security and user experience. By implementing secure password storage techniques like hashing and proper validation checks, you can ensure that only authorized users can access your application. Additionally, with session management, you can maintain user login status and provide a seamless experience as they navigate through your website.
Remember to pay attention to best practices such as input validation, protecting against SQL injection, and session security to keep your login system robust and secure.
We hope this tutorial has given you a clear understanding of how to create a login page with PHP and MySQL. Remember to continue exploring and expanding your knowledge in web development to build even more advanced and feature-rich applications.
Happy coding!