Introduction
Welcome to this comprehensive guide on how to make an online test website in PHP. As education and learning move towards digitization, online testing platforms have become increasingly popular for conducting quizzes, exams, and assessments. Whether you are a teacher looking for a convenient way to evaluate your students or an organization planning to assess candidates, creating your own online test website can offer tremendous benefits.
In this guide, we will walk you through the step-by-step process of setting up the environment, designing the user interface, implementing user registration and login systems, creating a question bank, displaying questions, submitting answers, generating results, and more. By the end of this tutorial, you will have all the knowledge you need to build your own online testing platform using PHP.
Why should you consider creating your own online test website? The advantages are numerous. Firstly, an online platform allows students or participants to take tests remotely, at their convenience. This flexibility can be particularly beneficial for individuals with busy schedules or in remote locations. Secondly, online tests can be automatically graded, saving instructors and organizations a significant amount of time and effort. Additionally, an online testing system offers features such as randomizing questions, storing results for future reference, and providing detailed feedback to participants. These features enhance the learning experience and make assessments more effective.
This tutorial assumes that you have prior knowledge of HTML, CSS, and PHP. If you are new to these technologies, it is recommended to familiarize yourself with the basics before proceeding. Let’s get started with the first step: setting up the environment.
Step 1: Setting up the Environment
Before we dive into creating our online test website, we need to ensure that we have the right environment set up. To build a PHP-based website, we require a web server, PHP engine, and a database management system. Here is a step-by-step process to set up the environment:
- Choose a web server: There are several popular options for web servers, such as Apache, Nginx, and Microsoft IIS. Select the one that best suits your needs and install it on your computer.
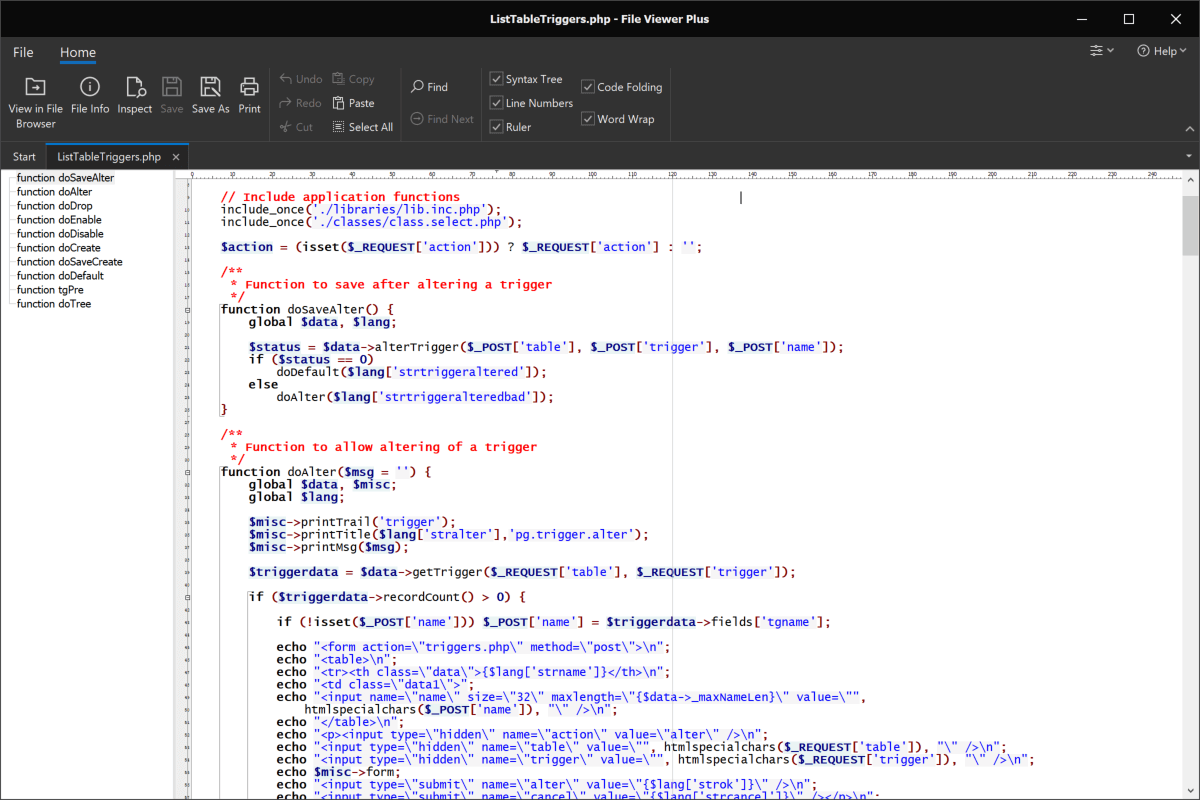
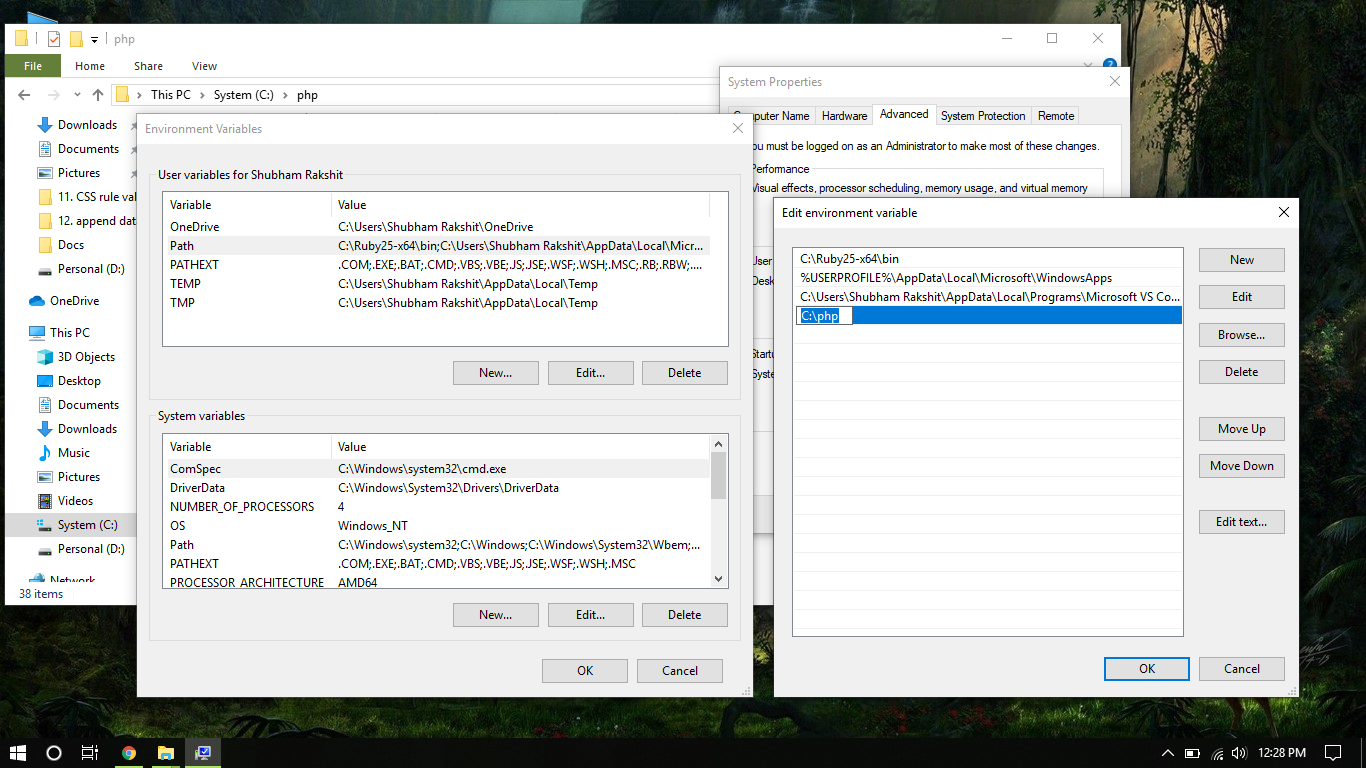
- Install PHP: PHP is a server-side scripting language that will enable us to build dynamic web pages. You can download the latest version of PHP from the official website and follow the installation instructions provided.
- Install a database management system: For our online test website, we will need a database to store user information, questions, and results. MySQL is a widely used open-source database management system that works well with PHP. Download and install MySQL from the official website.
- Create a database: Once MySQL is installed, open the command line or a database management tool such as phpMyAdmin. Create a new database for your online test website.
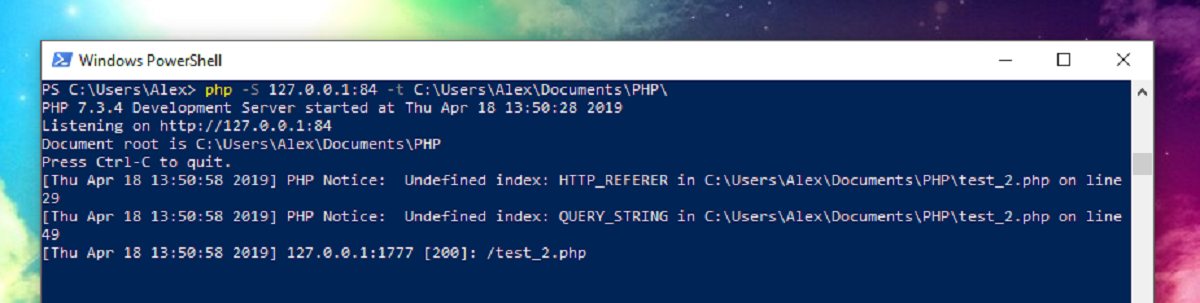
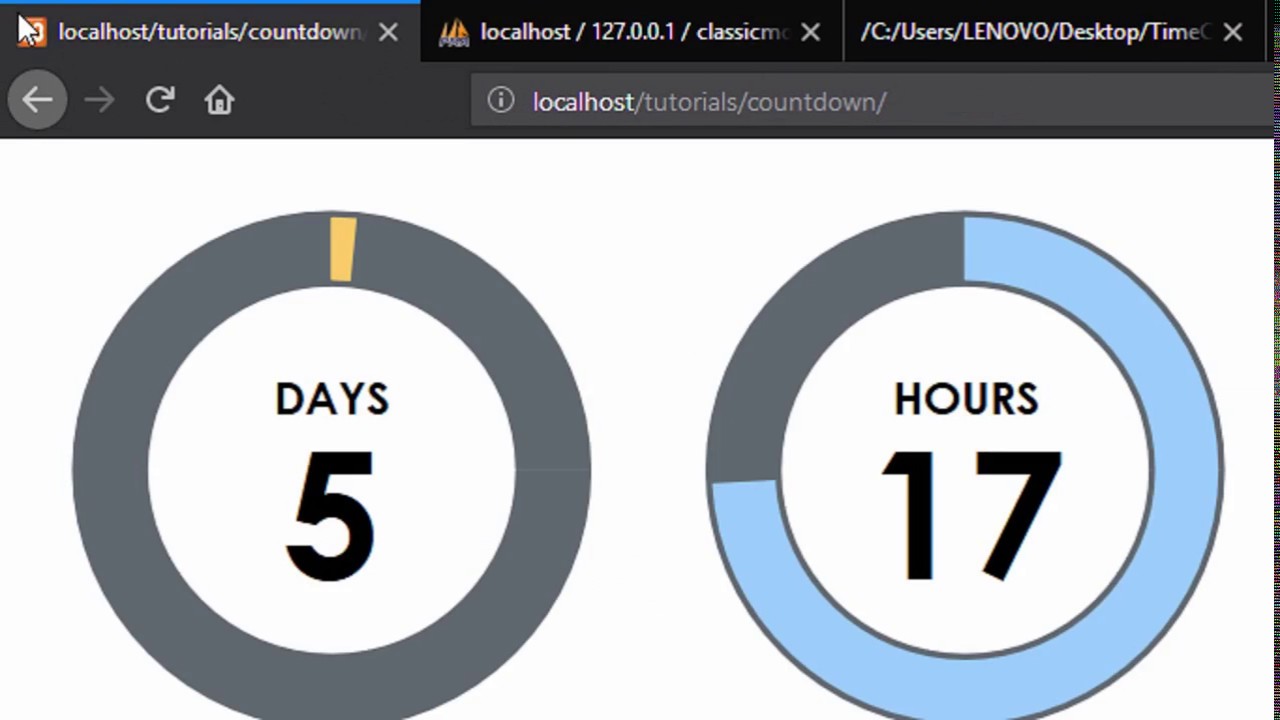
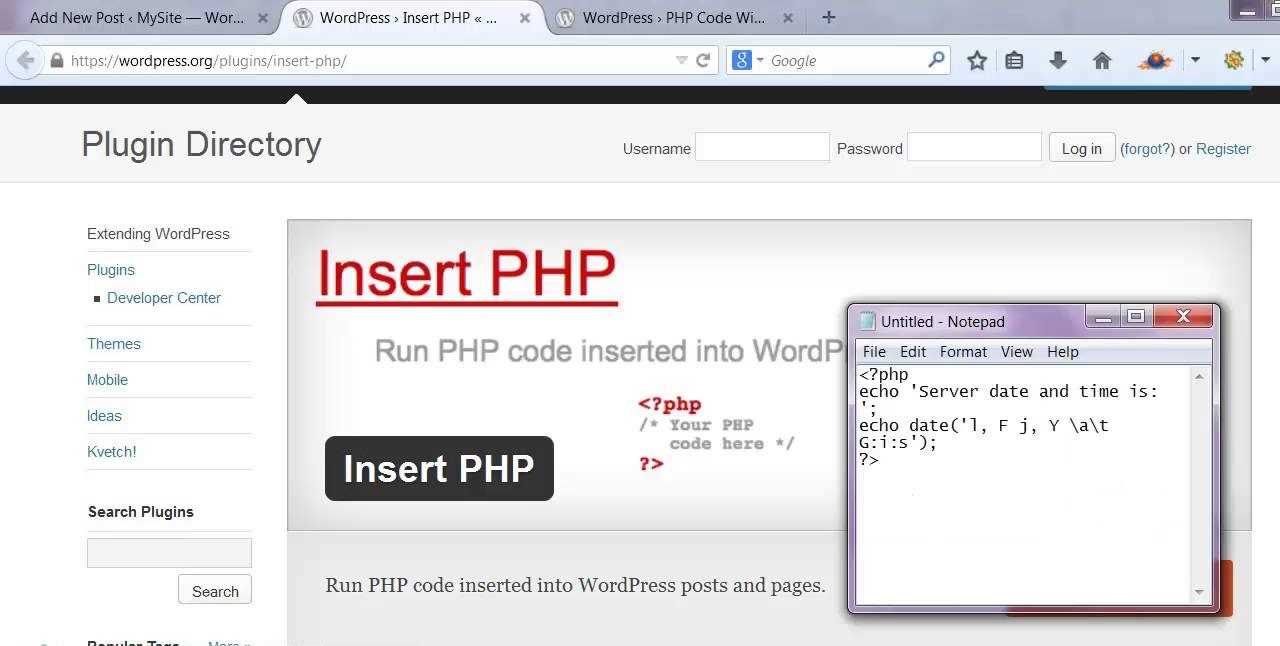
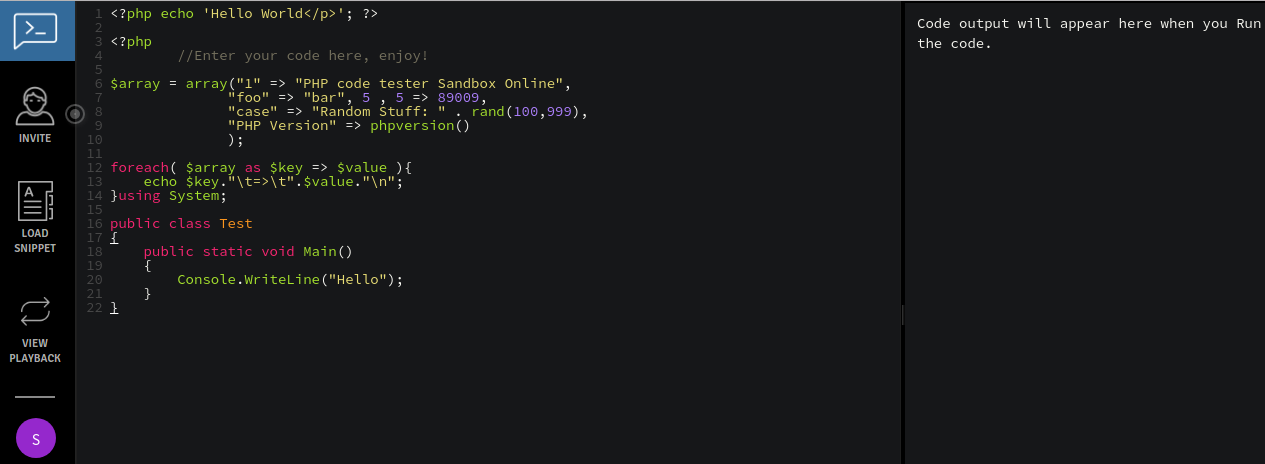
- Test your setup: To ensure that your environment is set up correctly, create a simple PHP file and run it on your web server. The file should display “Hello, World!” If you see this message, congratulations! Your environment is ready.
Setting up the environment is a crucial initial step in building our online test website. It ensures that we have all the necessary tools and components in place to proceed with the development process. Once you have completed these steps, you are ready to move on to the next step, which involves creating the database for our website.
Step 2: Creating the Database
Now that we have successfully set up the environment, we can proceed to create the database for our online test website. The database will store important information such as user details, questions, answers, and test results. Follow these steps to create the database:
- Connect to the database: In your PHP file, establish a connection to the MySQL database using the appropriate credentials. This connection will allow you to interact with the database and perform operations like inserting, updating, and retrieving data.
- Create the necessary tables: Define the structure of your database by creating tables. Start by identifying the entities you need to store information about, such as users, questions, and results. Create a table for each entity and specify the columns or fields that each table should have.
- Set up relationships: If your website requires relationships between entities, such as a one-to-many relationship between users and their test results, set up these relationships by defining foreign keys. This ensures data integrity and allows for efficient querying and retrieval of related data.
- Add sample data (optional): If you want to populate your database with sample data for testing purposes, you can insert some dummy records into the tables. This will allow you to verify that your database structure and relationships are working as intended.
Creating the database is a crucial step in developing our online test website. It provides the foundation for storing and retrieving data that will be used throughout the website. Once you have created your database and defined its structure, you are ready to move on to the next step, which involves designing the user interface.
Step 3: Designing the User Interface
Designing an intuitive and user-friendly interface is a crucial aspect of creating an online test website. The user interface should not only be visually appealing but also ensure a smooth and seamless experience for the website visitors. Here are the steps to design the user interface:
- Outline the website structure: Before jumping into the design process, plan the overall structure of your website. Identify the main pages and features that need to be included, such as the home page, user registration/login, test-taking interface, and result display.
- Create wireframes or mockups: Wireframes are simple sketches or low-fidelity representations of your website’s layout and functionality. They help visualize the placement of elements and the flow of information. Mockups, on the other hand, are more detailed and visually polished representations of the final design.
- Select a suitable color scheme and typography: Choose a color palette that reflects the purpose and branding of your online test website. Use typography that is easy to read and complements the design. Consider factors such as font size, line spacing, and font styles.
- Design the individual pages: Using your wireframes or mockups as a guide, design each page of your website. Pay attention to the placement of navigation menus, buttons, forms, and other interactive elements. Ensure that the design is consistent across all pages to maintain a cohesive user experience.
- Optimize for responsiveness: With the increasing use of mobile devices, it’s crucial to make your online test website responsive. Implement responsive design principles to ensure that your website adapts and looks good on different screen sizes and devices.
- Test and refine the design: Before launching your website, thoroughly test the user interface for usability and functionality. Get feedback from potential users and make necessary refinements to improve the overall user experience.
Designing the user interface is a critical step in creating an engaging and user-friendly online test website. A well-designed interface will attract and retain users, making their experience enjoyable and efficient. Once you have finalized the design of your website, you can proceed to the next step: implementing user registration and login functionality.
Step 4: User Registration and Login
Implementing user registration and login functionality is essential for allowing users to access and interact with your online test website. This step ensures that each user has their own account and can securely log in to the website. Follow these steps to add user registration and login functionality:
- Create a registration form: Design a form where users can enter their details to create an account. The form should collect necessary information such as username, email address, and password. Validate the inputs to ensure data integrity.
- Store user information: When a user registers, securely store their information in the database. Hash the password before storing it to enhance security.
- Create a login form: Design a login form where users can input their credentials to access their account. Validate the inputs and compare them with the stored information in the database.
- Implement authentication: When a user logs in successfully, create a session or token to keep them logged in and allow them to access restricted areas of the website.
- Implement password recovery: Provide a mechanism for users to recover their passwords if they forget them. This can be done by sending a password reset link to the user’s registered email address.
- Enhance security: Implement measures to protect user data, such as using encryption for sensitive information and implementing security protocols like SSL for secure communication.
By implementing user registration and login functionality, you ensure that only authenticated individuals can access your online test website. This provides a personalized experience for users and allows you to track their progress and results. Once you have successfully implemented user registration and login, you can move on to the next step: creating the question bank for your tests.
Step 5: Creating the Question Bank
Creating a well-organized and comprehensive question bank is crucial for the success of any online test website. The question bank will serve as the repository for the questions that will be used in the tests conducted on your website. Follow these steps to create the question bank:
- Identify the different types of questions: Decide on the types of questions you want to include in your question bank. This can include multiple choice, true or false, fill in the blanks, or essay questions.
- Organize questions into categories: Categorize your questions based on their subject matter or difficulty level. This will make it easier for users to navigate and find relevant questions.
- Create a database table for questions: Design a database table that includes fields to store the question text, answer choices (if applicable), correct answer, and any additional information.
- Populate the question bank: Start adding questions to the database table. Include a variety of questions to cater to different learning objectives and levels of difficulty.
- Implement question randomization: To ensure fairness and prevent cheating, implement randomization of questions for each test. This prevents users from seeing the same set of questions in the same order.
- Include additional features: Consider adding features such as time limits for answering each question, hints, and explanations to enhance the learning experience.
Creating a robust question bank is a crucial step in developing your online test website. It ensures that you have a diverse and extensive collection of questions that can be used to conduct various tests. Once you have created your question bank, you can proceed to the next step: displaying questions and allowing users to submit answers.
Step 6: Displaying Questions and Submitting Answers
Now that we have a question bank in place, it’s time to focus on the functionality of displaying questions to users and allowing them to submit their answers. This step is crucial for the interactive nature of an online test website. Follow these steps to implement this functionality:
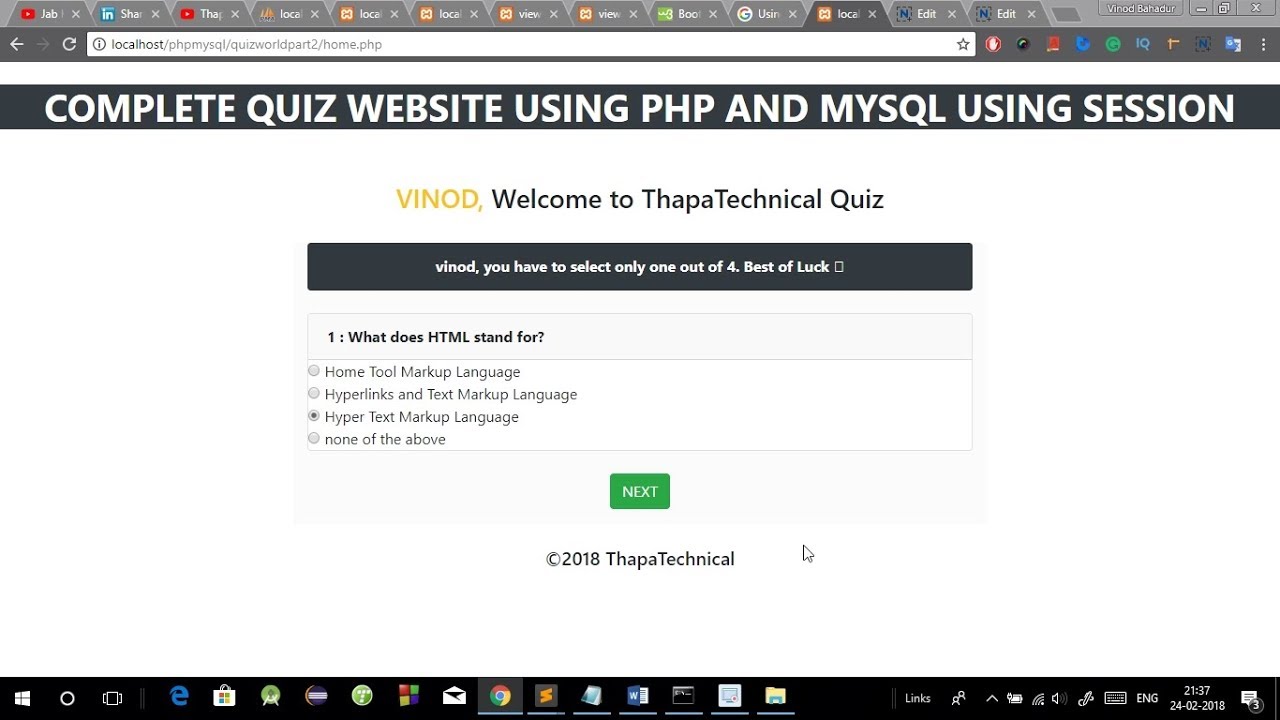
- Create a user interface for displaying questions: Design a user-friendly interface that presents questions from the question bank to users. Consider using pagination or a scrolling mechanism if your question bank is extensive.
- Retrieve and display questions: Retrieve a set of random or sequential questions from the question bank and display them to the user. Make sure to present the question text and any answer choices, if applicable, in a clear and organized manner.
- Allow users to select answers: Provide options for users to select their answers, such as checkboxes for multiple-choice questions or text fields for open-ended questions. Validate user inputs and ensure that they select at least one answer per question.
- Implement answer submission: Allow users to submit their answers for evaluation. Collect the selected answers and compare them with the correct answers stored in the question bank.
- Calculate and provide immediate feedback: Evaluate the user’s answers and provide instant feedback on their performance. Display which answers were correct and incorrect, along with any explanations or additional information.
- Track and store results: Store the user’s answers and results in the database for future reference and analysis. This enables tracking of individual progress and the generation of detailed reports.
Implementing the functionality to display questions and collect user answers is a crucial aspect of an online test website. It allows users to actively engage with the testing process and provides them with immediate feedback on their performance. Once you have successfully implemented this step, you can move on to the final step: generating results based on the user’s performance.
Step 7: Generating Results
The final step in creating an online test website is generating results based on the user’s performance. This step is important as it allows users to see their scores, analyze their performance, and provides valuable insights for instructors or administrators. Follow these steps to implement result generation:
- Evaluate user’s answers: Retrieve the user’s submitted answers from the database and compare them to the correct answers stored in the question bank. Calculate the user’s score based on the number of correct answers.
- Generate a summary report: Create a summary report that outlines the user’s score, the total number of questions attempted, and any additional statistics that are relevant to the assessment.
- Display detailed feedback: Provide detailed feedback to the user by highlighting the correct and incorrect answers for each question. This helps the user understand their strengths and weaknesses and provides a learning opportunity.
- Implement grading criteria (if applicable): If your online test website requires grading criteria for open-ended or subjective questions, implement a mechanism to assign scores based on predefined criteria or manual evaluation.
- Store the results: Save the user’s results in the database for future retrieval and analysis. This allows for generating comprehensive reports and tracking the progress of individual users or groups.
- Present results to the user: Display the generated results to the user in a clear and visually appealing format. Make it easy for the user to navigate and review their performance.
- Provide options for sharing or printing results: Include options for users to share their results with others or print a copy for their records. This allows for easy sharing and documentation of achievements.
Generating results is a vital component of an online test website as it provides feedback and assessment to users. It enables them to evaluate their knowledge and skills and helps instructors or administrators gain insights into the performance of participants. Congratulations! You have successfully implemented the steps to create an online test website in PHP.
Conclusion
Building your own online test website in PHP can be a rewarding endeavor that offers a convenient and efficient way to conduct assessments and evaluate users’ knowledge and skills. Throughout this comprehensive guide, we have walked through the step-by-step process of creating an online test website, starting from setting up the environment to generating results based on user performance.
By following these steps, you have learned how to set up the necessary environment with a web server, PHP engine, and a database management system. You have also gained insights into designing an intuitive user interface, implementing user registration and login functionality, creating a question bank, displaying questions, and allowing users to submit their answers.
Furthermore, you have discovered the importance of generating results and providing valuable feedback to users. This allows them to analyze their performance, understand their strengths and weaknesses, and promotes continuous improvement.
Remember to continuously test and refine your online test website to ensure its functionality, security, and user-friendliness. Consider implementing additional features such as time limits, hints, and explanations to enhance the user experience and assessment process.
Now that you have the knowledge and tools to create your own online test website, you can embark on this exciting journey of digitizing assessments and offering a convenient and effective platform for users. So, get started and make your mark in the world of online education and evaluation!