Introduction
Running PHP on Windows Vista allows you to harness the power of this popular scripting language on your Windows operating system. PHP is known for its versatility and ability to handle dynamic web content, making it a valuable tool for web development, server-side scripting, and more.
In this article, we will guide you through the process of installing and configuring PHP on Windows Vista. Whether you’re a beginner or experienced developer, this step-by-step tutorial will ensure that you have PHP up and running smoothly on your system.
Before we dive into the installation process, it’s important to note that PHP is not natively supported on Windows Vista. However, with the help of XAMPP, a powerful development environment, we can easily set up PHP on this operating system.
To get started, we’ll walk you through the steps of installing XAMPP, configuring PHP in the XAMPP environment, testing PHP to ensure it’s working correctly, and troubleshooting common issues you may encounter along the way.
By the end of this article, you’ll have a solid understanding of how to run PHP on Windows Vista and be ready to embark on your web development journey.
Installing PHP
To install PHP on Windows Vista, we will use XAMPP, a popular development environment that includes PHP, Apache, and MySQL. Follow the steps below to get started:
- Download XAMPP: Visit the official Apache Friends website (https://www.apachefriends.org/) and download the XAMPP installer compatible with Windows Vista.
- Run the Installer: Once the download is complete, run the XAMPP installer. Follow the on-screen instructions to select the installation directory and the components you want to install (PHP, Apache, MySQL, etc.).
- Start the Installation: After selecting your preferred components, click on the “Next” button to start the installation process. XAMPP will extract and install the necessary files onto your system.
- Configure XAMPP: Once the installation is complete, you will be prompted to configure XAMPP. Make sure to select the “Apache” and “MySQL” checkboxes and leave the rest of the settings as default. Click on the “Next” button to proceed.
- Start the XAMPP Control Panel: After configuration, the XAMPP Control Panel will open. Here, you can start or stop the Apache and MySQL services by clicking on the corresponding “Start” or “Stop” buttons.
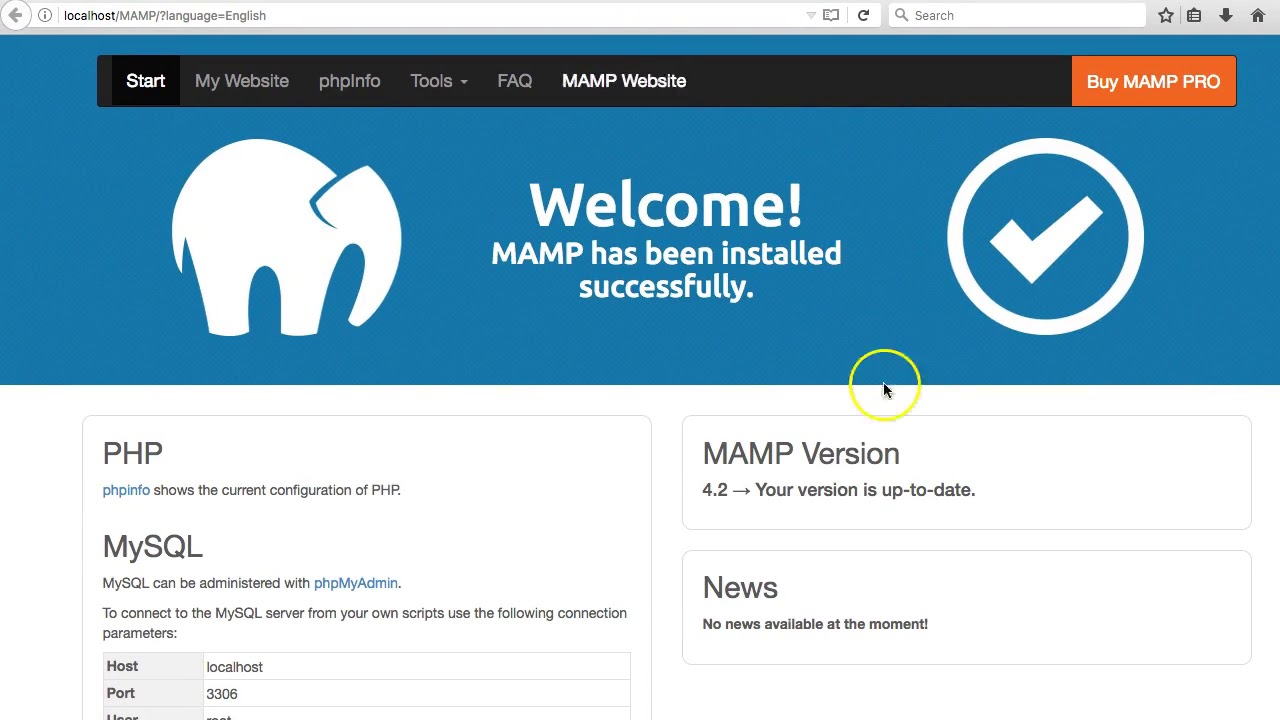
- Verify Installation: To confirm that PHP is installed correctly, open your web browser and navigate to “http://localhost”. If you see the XAMPP welcome page, congratulations! PHP is now installed on your Windows Vista system.
With XAMPP successfully installed, you now have a local server environment that includes PHP, allowing you to develop and test your PHP applications directly on your Windows Vista machine. In the next section, we will guide you through the process of configuring PHP within the XAMPP environment.
Configuring PHP
Once you have installed XAMPP and PHP on your Windows Vista system, it’s time to configure PHP within the XAMPP environment. Follow the steps below to ensure that PHP is set up correctly:
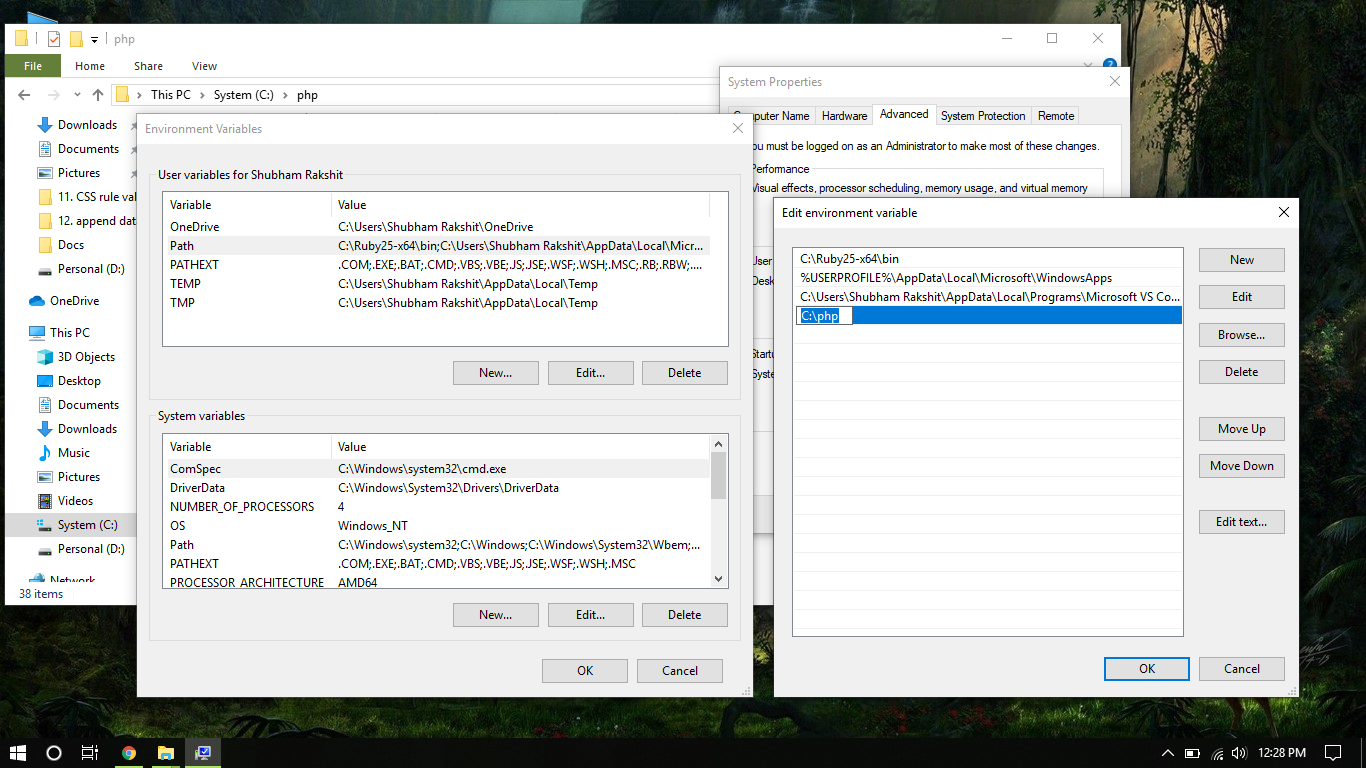
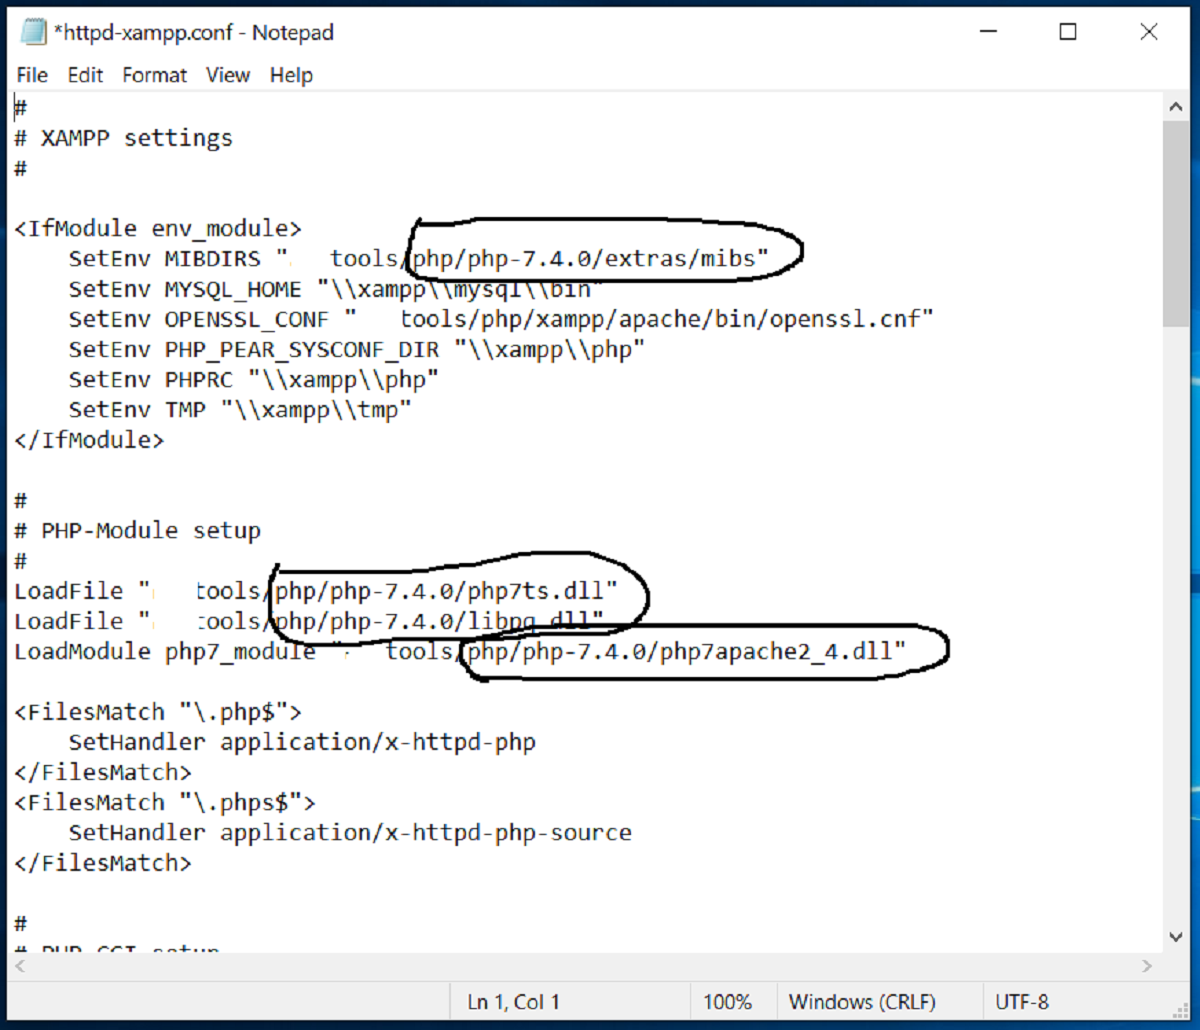
- Locate the PHP Configuration File: Open the XAMPP installation directory on your computer (typically located at C:\xampp) and navigate to the “php” folder. Look for a file named “php.ini” and make a backup copy of it before making any changes.
- Edit the php.ini File: Open the “php.ini” file with a text editor of your choice. You can use a simple editor like Notepad or a more advanced editor like Notepad++.
- Adjust PHP Settings: In the “php.ini” file, you’ll find a plethora of settings that you can modify to customize the behavior of PHP. Some commonly modified settings include:
- Memory Limit: Set the memory limit for PHP scripts by modifying the “memory_limit” setting. Increase the value if you encounter memory-related errors.
- Error Reporting: Control PHP error reporting by adjusting the “error_reporting” setting. Set it to “E_ALL” for maximum error reporting during development.
- Display Errors: Enable or disable the display of PHP errors on the browser by modifying the “display_errors” setting. It’s recommended to disable this in a production environment.
- Time Zone: Set the default time zone by updating the “date.timezone” setting. Specify your desired time zone using the supported PHP time zone format.
- Save the Changes: After making the necessary adjustments, save the “php.ini” file.
- Restart Apache: To apply the configuration changes, restart the Apache server. Open the XAMPP Control Panel, stop the Apache service, and then start it again.
With PHP now configured to your specifications, you can start developing PHP applications and harness the full potential of the PHP scripting language. In the next section, we will guide you through the process of testing PHP to ensure that everything is working correctly.
Testing PHP
Now that you have installed and configured PHP in your XAMPP environment on Windows Vista, it’s important to test if PHP is functioning properly. Follow the steps below to run a simple PHP test:
- Create a Test File: Open your preferred text editor and create a new file. Save it with a .php extension, for example, “test.php.
- Add PHP Code: Inside the “test.php” file, add the following PHP code:
<?php phpinfo(); ?> - Save the File: Save the “test.php” file in the “htdocs” folder of your XAMPP installation directory. By default, the path is C:\xampp\htdocs.
- Access the Test File: Open your web browser and navigate to “http://localhost/test.php”. If all is well, you should see a PHP information page displaying detailed information about your PHP installation.
By running this simple PHP test, you can verify that PHP is functioning correctly within your XAMPP environment. The phpinfo() function provides valuable information about your PHP configuration, including PHP version, loaded extensions, server information, and more.
If you encounter any issues while testing PHP, make sure to check your configuration settings and ensure that you followed the installation and configuration steps correctly. Additionally, you can consult the XAMPP documentation or seek support from the PHP developer community to troubleshoot and resolve any problems.
Now that you have confirmed that PHP is working, it’s time to start developing your PHP applications on your Windows Vista system. In the next section, we will provide some troubleshooting tips to help you address common issues that may arise when running PHP on Windows Vista.
Troubleshooting PHP
While running PHP on Windows Vista is generally a smooth experience, you may occasionally encounter some issues. Here are a few common problems and their possible solutions to help you troubleshoot PHP:
1. PHP is not being parsed: If you see the PHP code instead of the expected output when accessing a PHP file in your browser, it indicates that PHP is not being parsed. Double-check the file extension (it should be .php) and ensure that the file is located within the “htdocs” folder of your XAMPP installation directory.
2. Apache is not running: If you encounter an error message stating that the local server is not accessible, it means that Apache is not running. Open the XAMPP Control Panel and ensure that the Apache service is running. If not, click on the “Start” button to launch it.
3. Incorrect file permissions: If you are unable to write to or execute PHP files, file permissions might be the issue. Make sure that the files and directories have the necessary permissions to be accessed by the web server. In the “htdocs” folder, right-click on the file or directory, select “Properties,” and ensure that the necessary permissions are set.
4. Extension errors: If you encounter errors related to missing or incompatible extensions, check the “php.ini” file and ensure that the necessary extensions are enabled. You can enable/disable extensions by uncommenting/commenting the corresponding lines in the “php.ini” file and restarting the Apache server.
5. Incorrect PHP configuration: If certain aspects of PHP are not working as expected, review your PHP configuration settings in the “php.ini” file. Ensure that the values are correct and match your requirements. Consult the PHP documentation for specific configuration details.
Remember to refer to the XAMPP documentation, PHP documentation, and online forums for additional troubleshooting resources. These sources provide valuable insights into resolving common PHP-related issues on the Windows Vista operating system.
By troubleshooting and resolving these common problems, you’ll be able to overcome any obstacles that may arise during your PHP development journey on Windows Vista.
Conclusion
Congratulations on successfully installing, configuring, and testing PHP on your Windows Vista system using XAMPP! You now have a powerful development environment that allows you to leverage the capabilities of PHP for web development and server-side scripting.
In this article, we guided you through the step-by-step process of running PHP on Windows Vista. We covered everything from installing XAMPP and configuring PHP to testing PHP and troubleshooting common issues. By following these instructions, you have gained the ability to develop PHP applications directly on your local machine.
Remember to regularly check for updates to XAMPP, PHP, and related extensions to ensure that you have the latest features, improvements, and security patches. Staying up to date will help you maintain a smooth and secure development environment.
Now that you have PHP up and running on your Windows Vista system, you can embark on your web development journey with confidence. Utilize the power of PHP to create dynamic websites, build robust web applications, and explore the vast ecosystem of PHP frameworks and libraries.
Whether you’re a seasoned developer or just starting with PHP, Windows Vista offers a reliable platform for PHP development. Experiment, learn, and unleash your creativity with PHP’s flexible and versatile scripting capabilities.
Stay curious, keep learning, and continue to explore the world of PHP development. With your newfound knowledge and skills, the possibilities for creating exciting web experiences are endless.