Introduction
Welcome to our guide on how to install PHP on Ubuntu. PHP is a popular server-side scripting language that is used to create dynamic and interactive web pages. It is widely supported and compatible with various operating systems, including Ubuntu.
PHP works in conjunction with a web server to process PHP code and generate HTML content, which is then displayed on the user’s web browser. By installing PHP on your Ubuntu system, you’ll be able to run PHP scripts and build dynamic websites or web applications.
In this tutorial, we will walk you through the step-by-step process of installing PHP on Ubuntu. We will also cover the installation of some additional PHP extensions that you may find useful for your development needs.
Before we begin, make sure you have administrative privileges on your Ubuntu system, as the installation process may require you to make changes to system files.
Note that Ubuntu is a widely used and highly respected Linux distribution that offers great ease of use and stability. If you’ve chosen Ubuntu as your web server’s operating system, you’re in good hands.
So, let’s get started and install PHP on Ubuntu!
Prerequisites
Before you begin the installation process, there are a few prerequisites you need to have in place:
1. Ubuntu Server: You should have an Ubuntu server up and running. If you don’t have one already, you can easily obtain the latest version of Ubuntu from the official website and follow the installation instructions.
2. Access with administrative privileges: Make sure you have administrative access to your Ubuntu server. This will allow you to make the necessary changes and install the required packages.
3. Updated system: It is recommended to have an updated system before proceeding with the installation. You can update your Ubuntu server by running the following commands in your terminal:
shell
sudo apt update
sudo apt upgrade
4. Web server: PHP requires a web server to run. In most cases, Apache is the preferred choice. If you don’t have Apache installed, you can install it by running the following command:
shell
sudo apt install apache2
Once you have all these prerequisites in place, you are ready to install PHP on your Ubuntu server. In the next section, we will guide you through the installation process step by step.
Step 1: Update Package Lists
Before installing PHP, it’s important to ensure that your package lists are up to date. This ensures that you are installing the latest and most stable version of PHP available. To update your package lists, follow these steps:
1. Open a terminal window on your Ubuntu server. You can do this by pressing Ctrl+Alt+T or searching for “Terminal” in the applications menu.
2. Once the terminal is open, run the following command to update the package lists:
shell
sudo apt update
This command will fetch the latest information about available packages from the package repositories.
3. After the update process is complete, it’s recommended to also upgrade the installed packages to their latest versions. This ensures that you have all the latest bug fixes and security updates. Run the following command to perform the upgrade:
shell
sudo apt upgrade
Your system will check for any updates and prompt you to confirm the installation. If prompted, simply press y and then Enter to continue.
4. The upgrade process may take a few minutes, depending on the number of packages to be upgraded. Once it’s finished, you’re ready to move on to the next step.
By updating your package lists and upgrading installed packages, you ensure that you have the most recent versions of all the software components on your Ubuntu server. This helps to prevent compatibility issues and provides the most up-to-date features and security enhancements.
Now that your system is up to date, we can proceed to the next step: installing PHP on Ubuntu.
Step 2: Install PHP
Now that your package lists are updated, you can proceed with installing PHP on your Ubuntu server. Follow the steps below:
1. Open a terminal window on your Ubuntu server.
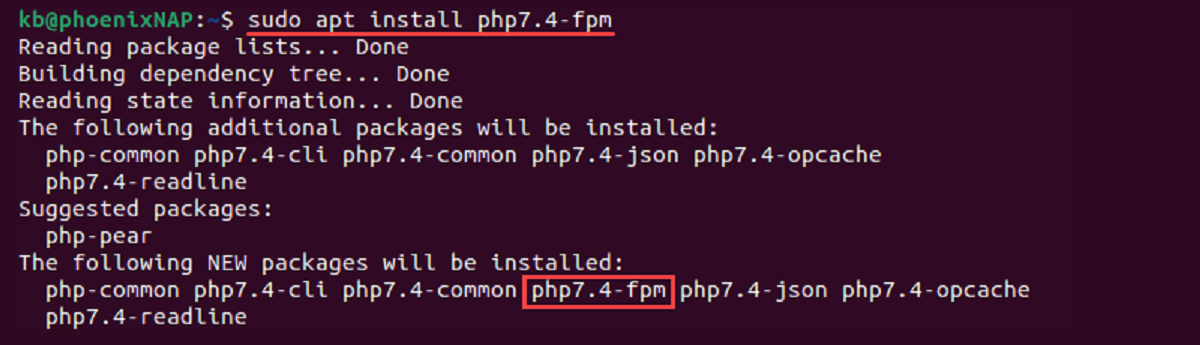
2. Run the following command to install PHP and its dependencies:
shell
sudo apt install php
This command tells Ubuntu’s package manager, apt, to install the PHP package along with any necessary dependencies.
3. During the installation process, you may be prompted to confirm the installation and agree to any additional disk space usage. If prompted, press y and then Enter to continue with the installation.
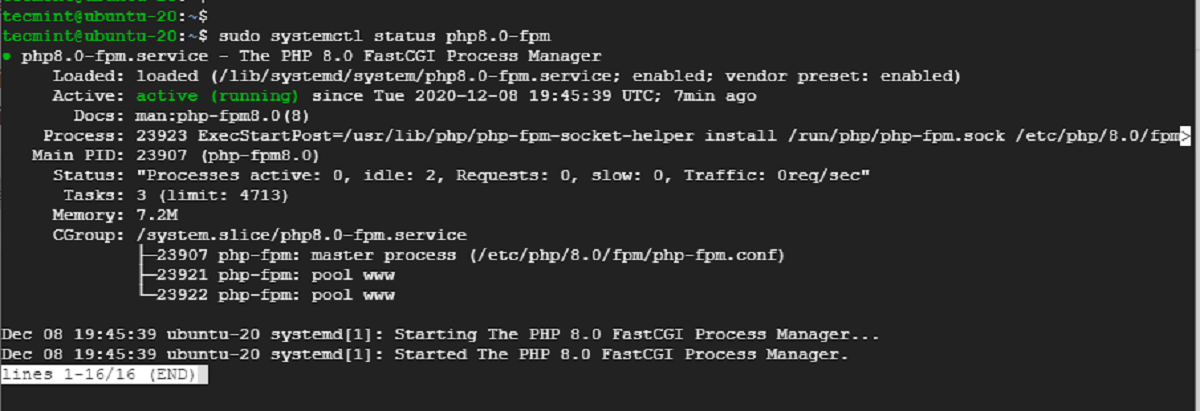
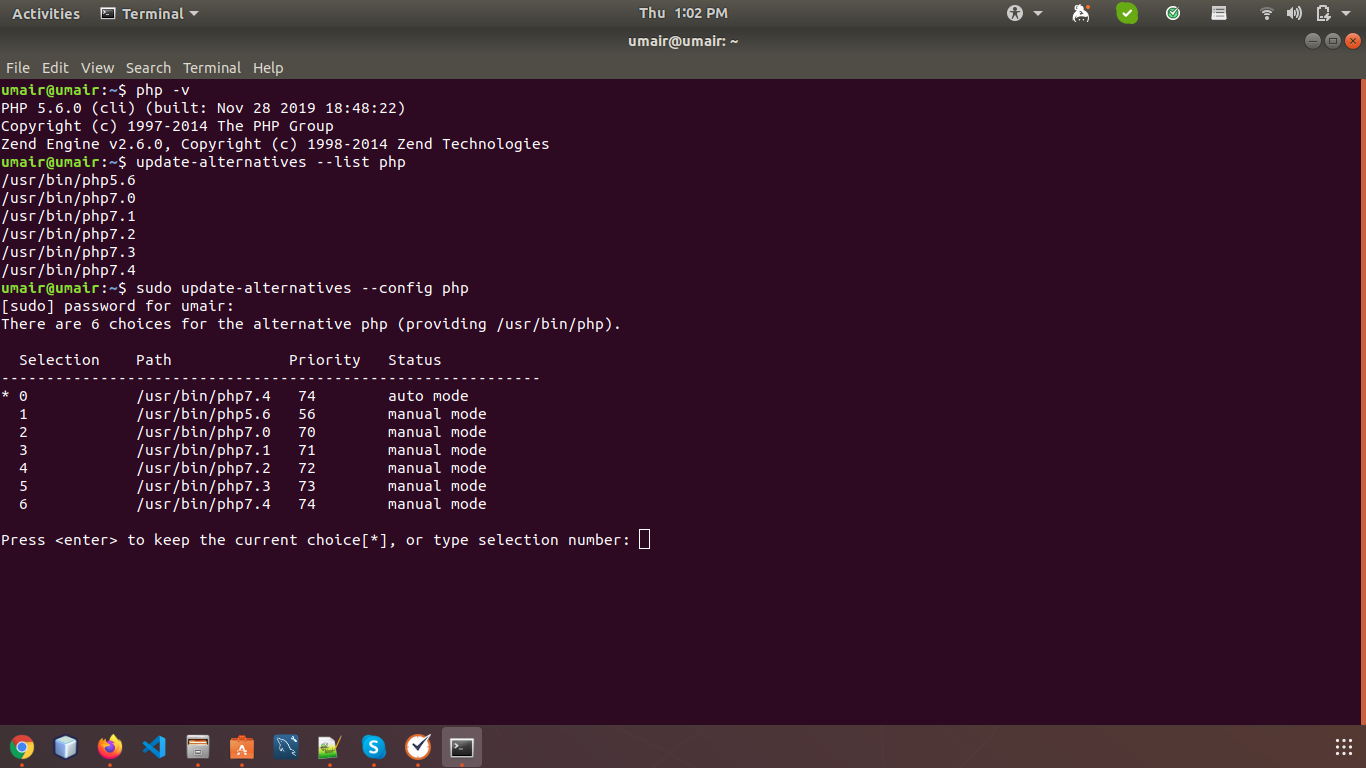
4. Once the installation is complete, you can verify the PHP installation by running the following command:
shell
php -v
This command will display the installed version of PHP on your Ubuntu server.
5. Additionally, you may also want to install some commonly used PHP extensions. These extensions provide additional functionality to PHP and are often required by web applications. Some popular extensions include PHP-MySQL, PHP-GD, and PHP-Curl.
To install these extensions, run the following command:
shell
sudo apt install php-mysql php-gd php-curl
You can install any other desired extensions by specifying their package names after the apt install command.
That’s it! You have successfully installed PHP on your Ubuntu server. In the next step, we will cover how to install some additional extensions that might be useful for your PHP development.
Step 3: Install Additional Extensions (optional)
In addition to the core PHP installation, you may need to install additional extensions to enhance the functionality of your PHP applications. These extensions provide support for various features, such as database connectivity, image manipulation, and network communication. Follow the steps below to install additional PHP extensions:
1. Open a terminal window on your Ubuntu server.
2. Run the following command to install the desired PHP extension. For example, if you need to install the MySQL extension, use the command:
shell
sudo apt install php-mysql
This command will download and install the MySQL extension for PHP.
3. Repeat the above command for each additional PHP extension you need. For example, if you also require the GD extension for image processing, use the following command:
shell
sudo apt install php-gd
4. Verify the installation of the extensions by running the following command:
shell
php -m
This command will display a list of installed PHP extensions on your Ubuntu server.
By installing these additional extensions, you can extend the functionality of PHP and ensure compatibility with the specific requirements of your web applications.
It’s important to note that the specific extensions you need may vary depending on your application’s requirements. Be sure to consult the documentation or requirements of your application to determine which extensions are necessary.
With the installation of PHP and any additional extensions now complete, you are ready to move on to the next step: verifying the PHP installation on Ubuntu.
Step 4: Verify PHP Installation
After installing PHP and any additional extensions, it’s important to verify that PHP is functioning correctly on your Ubuntu server. This will ensure that your PHP scripts and applications will run smoothly. Follow the steps below to verify the PHP installation:
1. Create a PHP file with the “.php” extension, such as “info.php”, using your favorite text editor. For example:
shell
sudo nano /var/www/html/info.php
This command will create a new file called “info.php” in the “/var/www/html” directory.
2. Add the following line of PHP code to the file:
php
This code will display the PHP information page when the file is accessed.
3. Save the file and exit the text editor.
4. Open a web browser on your local machine and enter the URL of your Ubuntu server followed by “/info.php”. For example:
http://your_server_ip/info.php
This will display the PHP information page in your browser.
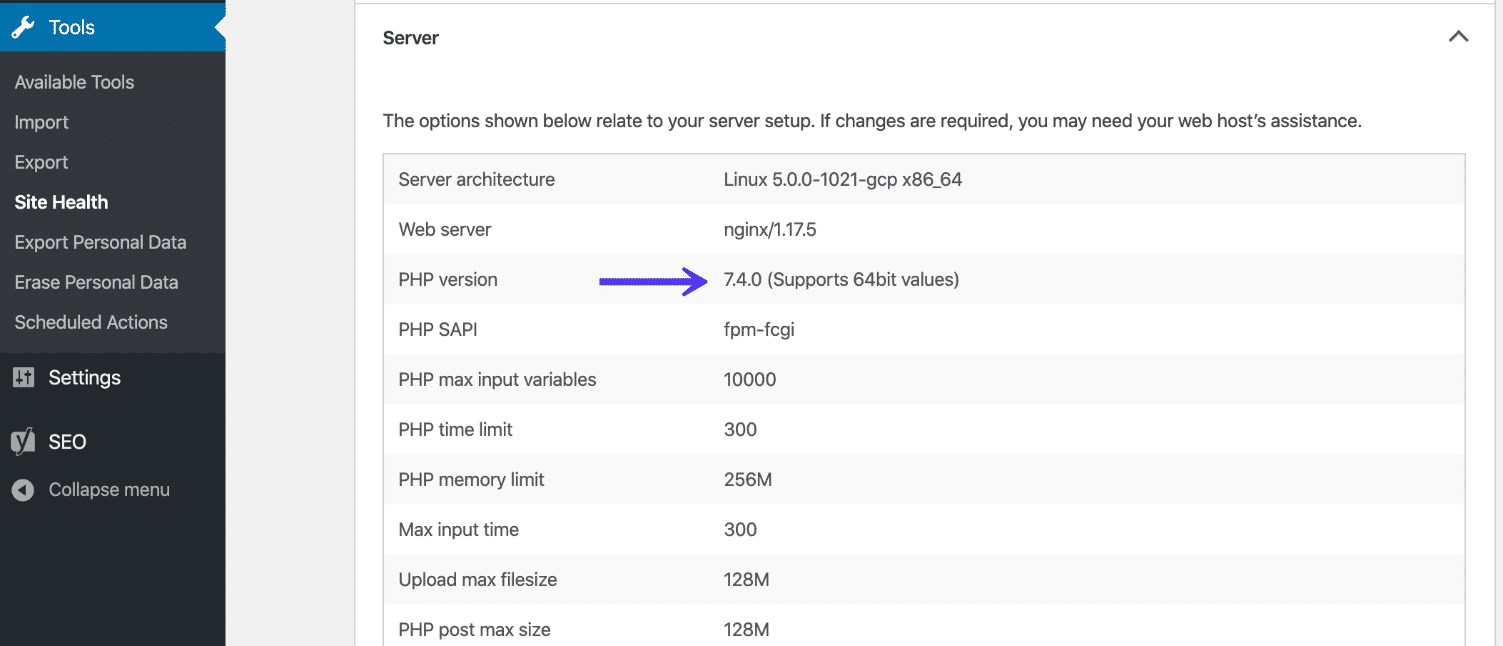
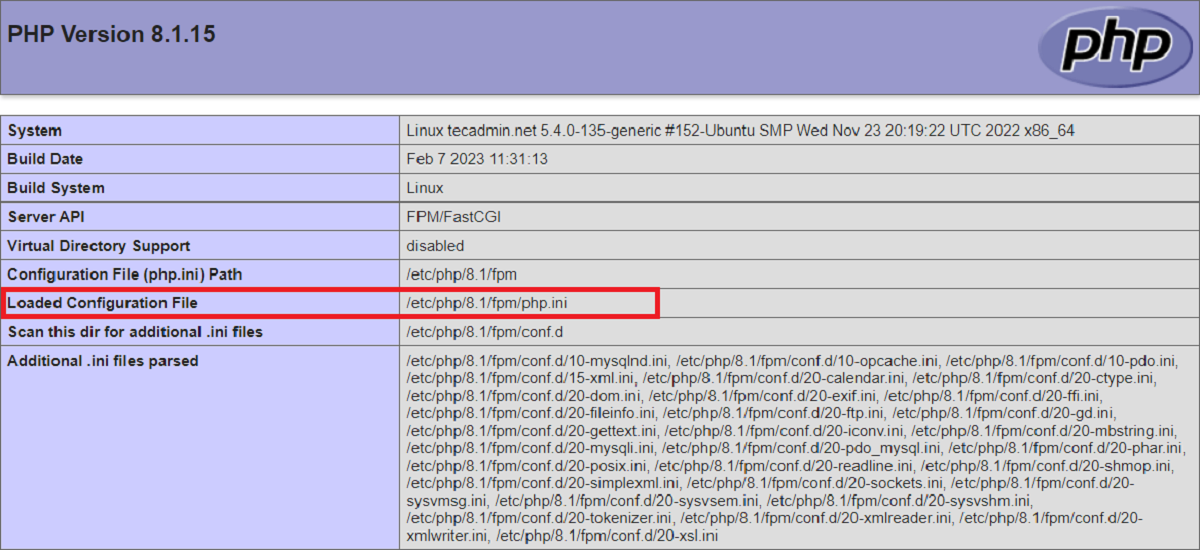
If PHP is installed and functioning correctly, you should see detailed information about your PHP installation, including the PHP version, extensions, configuration settings, and more.
If you encounter any issues, ensure that you followed the installation steps correctly and that PHP and the necessary extensions are indeed installed. Double-check your file permissions and directory paths to ensure they are correctly set.
With the successful verification of your PHP installation, you can now start developing and running PHP applications on your Ubuntu server.
Conclusion
Congratulations! You have successfully installed PHP on your Ubuntu server. By following the step-by-step instructions in this guide, you now have a fully functional PHP environment ready to develop and run dynamic web applications.
Throughout this tutorial, you learned how to:
- Update the package lists on your Ubuntu server to ensure you’re installing the latest versions of PHP and its dependencies.
- Install PHP on your server, along with any additional extensions you may need for your specific application requirements.
- Verify the PHP installation by creating a simple PHP file and accessing it through a web browser.
With PHP installed, you can now proceed with creating and running PHP scripts and building dynamic websites or web applications. Be sure to consult the PHP documentation and explore the vast ecosystem of PHP libraries and frameworks to enhance your development experience.
Remember to keep your PHP installation and system up to date by regularly applying updates and security patches. This will help ensure the stability, performance, and security of your PHP applications.
Thank you for choosing Ubuntu and PHP for your web development needs. Happy coding!