Introduction
Installing PHP on Ubuntu 22.04 is an essential step for anyone looking to develop dynamic websites or web applications. PHP, also known as Hypertext Preprocessor, is a popular programming language used to create dynamic content on websites. It offers a wide range of functionalities that allow developers to build interactive and feature-rich web applications easily.
This article will guide you through the step-by-step process of installing PHP on your Ubuntu 22.04 system. Whether you are a beginner or an experienced developer, this guide will ensure that you have everything set up correctly to start working with PHP.
Installing PHP on Ubuntu 22.04 involves a few simple steps, such as updating your system, installing Apache web server, and finally installing PHP itself. We will also cover how to verify the installation and install additional PHP modules to enhance its functionality.
By the end of this tutorial, you will have a functioning PHP environment on your Ubuntu 22.04 system and will be ready to start developing your own web applications.
Step 1: Update your system
Before installing PHP on your Ubuntu 22.04 system, it is important to ensure that your system is up to date. Updating your system will not only guarantee that you have the latest software packages but also resolve any potential conflicts during the installation process.
To update your system, open the terminal and use the following command:
sudo apt update && sudo apt upgradeThis command will update the package lists and install any available updates for your system.
You may be prompted to enter your password to confirm the installation. Once the update process is complete, proceed to the next step.
Updating your system regularly is important for the overall security and stability of your Ubuntu 22.04 system. It ensures that you have the latest bug fixes, security patches, and performance improvements. It is recommended to perform this step before installing any new software or packages on your system.
After updating your system, it is also a good practice to reboot your system to apply any necessary changes. You can do this by running the following command:
sudo rebootUpon rebooting, your Ubuntu 22.04 system will be ready for the next step of installing PHP.
Step 2: Install Apache web server
To run PHP on your Ubuntu 22.04 system, you need to have a web server installed. Apache is one of the most popular and widely used web servers. In this step, we will install and configure Apache on your system.
Open the terminal and type the following command to install Apache:
sudo apt install apache2This will fetch the necessary packages and install Apache on your system. During the installation process, you may be prompted to enter your password to confirm the installation.
Once Apache is installed, you can start the service by running the following command:
sudo systemctl start apache2To check if Apache is up and running, open your web browser and enter “http://localhost” or “http://your_server_IP_address” in the address bar. If Apache is successfully installed, you should see the default Apache landing page.
Apache comes with a default configuration file located at “/etc/apache2/apache2.conf”. You can modify this file to customize the server settings according to your requirements. However, it is recommended to backup the original configuration file before making any changes.
To test if Apache is working properly, you can create a simple HTML file in the Apache document root directory. By default, the document root is located at “/var/www/html”. Open a text editor and create a file called “index.html” with the following content:
<html>
<body>
<h1>Hello, Apache!</h1>
</body>
</html>
Save the file and then open your web browser again. Enter “http://localhost” or “http://your_server_IP_address” in the address bar. If Apache is working correctly, you will see the “Hello, Apache!” text displayed on the page.
Congratulations! You have successfully installed and configured Apache web server on your Ubuntu 22.04 system. In the next step, we will proceed with installing PHP to make your web server capable of interpreting PHP code.
Step 3: Install PHP
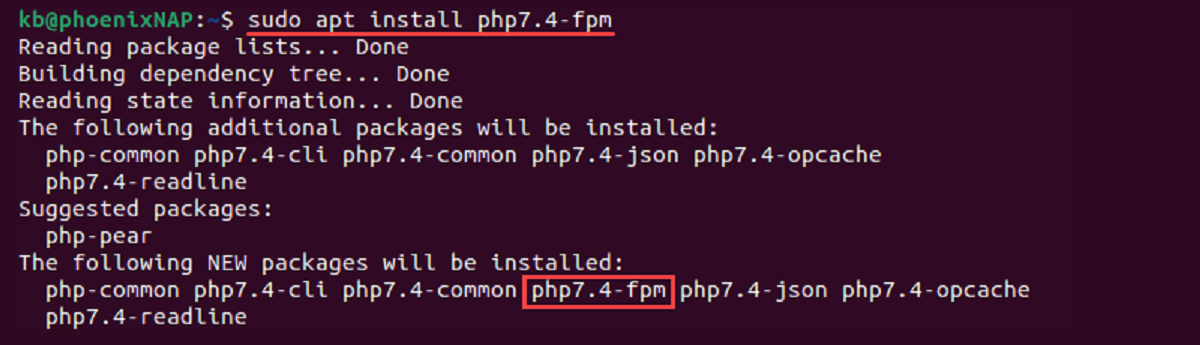
Now that you have Apache web server up and running on your Ubuntu 22.04 system, it’s time to install PHP. PHP can be easily installed using the package manager, apt, on Ubuntu.
Open the terminal and run the following command to install PHP along with some common modules:
sudo apt install php libapache2-mod-phpDuring the installation process, you may be prompted to enter your password to confirm the installation. Once the installation is complete, PHP will be installed and configured to work with Apache.
To verify that PHP has been installed successfully, you can create a PHP info file. Open a text editor and create a file called “info.php” with the following content:
<?php
phpinfo();
?>
Save the file and move it to the Apache document root directory, “/var/www/html” by running the following command:
sudo mv info.php /var/www/html/Now, open your web browser and enter “http://localhost/info.php” or “http://your_server_IP_address/info.php” in the address bar. If PHP is installed correctly, you will see a page displaying detailed information about your PHP installation.
You can also test PHP by running a simple script. Open a text editor and create a file called “test.php” with the following content:
<?php
echo "Hello, PHP!";
?>
Save the file and move it to the Apache document root directory using the following command:
sudo mv test.php /var/www/html/Now, open your web browser and enter “http://localhost/test.php” or “http://your_server_IP_address/test.php” in the address bar. If PHP is working correctly, you will see the text “Hello, PHP!” displayed on the page.
Congratulations! You have successfully installed PHP on your Ubuntu 22.04 system and tested its functionality. In the next step, we will explore how to install additional PHP modules to enhance its capabilities.
Step 4: Verify PHP installation
After installing PHP on your Ubuntu 22.04 system, it is essential to ensure that it has been installed correctly and is functioning as expected. In this step, we will perform some basic tests to verify the PHP installation.
To begin, open a terminal and navigate to the Apache document root directory (/var/www/html) by running the following command:
cd /var/www/htmlNext, create a file called “phpinfo.php” using a text editor with the following content:
<?php
phpinfo();
?>
Save the file and exit the text editor. This file will output detailed information about your PHP installation when accessed through a web browser.
Now, open a web browser and enter “http://localhost/phpinfo.php” or “http://your_server_IP_address/phpinfo.php” in the address bar. If PHP is installed and configured correctly, you should see a page with extensive information about your PHP version, configuration settings, loaded modules, and more.
In addition to the PHP information page, you can also test PHP by creating a simple script. Create a new file called “test.php” in the same directory (/var/www/html) and add the following code:
<?php
echo "PHP is working!";
?>
Save the file and close the text editor. Then, open your web browser and navigate to “http://localhost/test.php” or “http://your_server_IP_address/test.php”. If PHP is functioning correctly, you should see the text “PHP is working!” displayed on the page.
These steps help ensure that PHP is installed and functioning properly on your Ubuntu 22.04 system. If you encounter any issues or errors, double-check the installation steps and configuration settings to troubleshoot the problem.
With PHP successfully installed and verified, you are now ready to develop dynamic and interactive web applications on your Ubuntu 22.04 system. However, to expand the functionality of PHP, you may want to install additional PHP modules, which we will cover in the next step.
Step 5: Install additional PHP modules
By default, PHP comes with several core modules that provide essential functionality. However, depending on your specific project requirements, you may need to install additional PHP modules to enhance its capabilities. This step will guide you through the process of installing additional PHP modules on your Ubuntu 22.04 system.
To install a PHP module, you can use the apt package manager followed by the name of the desired module. For example, to install the MySQL module, run the following command in the terminal:
sudo apt install php-mysqlReplace “mysql” with the specific module you want to install. Some common PHP modules include “php-gd” for image processing, “php-curl” for URL manipulation, and “php-xml” for XML parsing support.
During the installation process, you may be prompted to enter your password to confirm the installation. Once the installation is complete, the module will be automatically configured and ready to use.
To ensure that the module has been successfully installed and enabled, you can create a PHP script that checks for its presence. For example, create a file called “module_check.php” and add the following code:
<?php
if (extension_loaded('module_name')) {
    echo "The module is installed and enabled!";
} else {
    echo "The module is not installed or enabled!";
}
?>
Replace “module_name” with the name of the module you installed. Save the file and move it to the Apache document root directory (/var/www/html).
Open your web browser and enter “http://localhost/module_check.php” or “http://your_server_IP_address/module_check.php” in the address bar. If the module is installed and enabled correctly, you will see the message “The module is installed and enabled!” displayed on the page. Otherwise, you will see “The module is not installed or enabled!”.
Repeat these steps for each additional PHP module you want to install. Remember to test each module individually to ensure it is functioning as expected.
Installing additional PHP modules allows you to expand the capabilities of PHP, enabling you to work with various databases, perform advanced image processing, interact with external APIs, and more. Take advantage of these modules to streamline your development process and achieve your desired functionality.
With the installation of PHP and additional modules, you are now equipped with a powerful web development environment on your Ubuntu 22.04 system. Start harnessing the power of PHP to create dynamic, interactive, and feature-rich web applications.
Conclusion
Congratulations! You have successfully installed PHP on your Ubuntu 22.04 system and are now ready to start developing dynamic and interactive web applications. Through this step-by-step guide, you learned how to update your system, install Apache web server, and configure PHP along with additional modules to enhance its functionality.
Updating your system is a crucial first step to ensure that you have the latest software packages and resolve any conflicts that may occur during the installation process. Installing Apache web server provides a robust platform for hosting your PHP applications, while PHP itself enables you to create dynamic content on your websites.
Verifying the PHP installation through the PHP info file and simple test scripts ensures that PHP is installed correctly and functioning as expected. Additionally, installing additional PHP modules empowers you to extend PHP’s capabilities and work with various databases, perform advanced image processing, and interact with external APIs.
Remember to regularly update your system, as well as PHP and its modules, to benefit from the latest bug fixes, security patches, and performance improvements. Stay informed about new features and best practices in PHP development to maximize the potential of your web applications.
Now that you have a solid PHP development environment set up on your Ubuntu 22.04 system, it’s time to unleash your creativity and bring your web projects to life. Enjoy the flexibility and power of PHP as you dive into creating dynamic and engaging web experiences.
Thank you for following this guide. Happy coding!