Introduction
Welcome to the world of PHP, a versatile and powerful programming language used in web development. Chances are, if you’re here, you’ve heard of PHP Info and want to know how to create it. PHP Info is a handy tool that provides comprehensive information about the PHP environment on your server.
PHP Info is particularly beneficial in situations where you need to troubleshoot or gather essential details about your PHP configuration. It provides insights into PHP variables, server information, extensions, and more. By creating a PHP Info file, you can easily access this information at any time.
In this article, we will guide you through the process of creating a PHP Info file and setting up your server to access the information in a breeze. Whether you’re a beginner or an experienced developer, this guide will equip you with the knowledge needed to generate PHP Info and make the most out of its extensive capabilities.
So, grab your favorite code editor and let’s dive into the world of PHP Info!
What is PHP Info?
Before we delve into how to create PHP Info, let’s take a moment to understand what it actually is. PHP Info is a built-in functionality in PHP that allows you to retrieve detailed and valuable information about your PHP installation and server configuration.
By accessing a PHP Info file, you can obtain a wealth of information, including PHP version, server details, loaded extensions, PHP configuration settings, environmental variables, and more. This information is crucial for troubleshooting issues, understanding the server environment, and optimizing PHP performance.
The PHP Info file presents all the information in an easily readable format, making it convenient to locate specific details. It provides an overview of the entire PHP environment, helping developers and administrators in identifying any discrepancies or inconsistencies that might affect the application’s functionality.
Furthermore, PHP Info also displays details about the server’s PHP extensions. Extensions are additional modules that enhance PHP’s functionality, such as database drivers, encryption libraries, and image processing tools. By examining the loaded extensions, developers can assess the availability of specific features and determine if any additional libraries need to be installed.
It’s worth noting that the PHP Info file should never be publicly accessible on a production server. Exposing this sensitive information can pose security risks, as it may provide potential attackers with valuable insights about the server’s configuration. Therefore, always ensure that you restrict access to the PHP Info file and deploy it solely for administrative purposes.
Now that we have a clear understanding of what PHP Info is, let’s move on to the next section, where we’ll explore the step-by-step process of creating a PHP Info file.
Step 1: Creating the PHP Info File
In order to create a PHP Info file, you’ll need a basic understanding of HTML and PHP. Don’t worry if you’re new to these technologies – the process is relatively simple and straightforward.
Here’s a step-by-step guide to help you create the PHP Info file:
- Open your preferred code editor and create a new file. Give it a name, such as
phpinfo.php, to easily identify it as the PHP Info file. - Begin the file by adding the PHP opening tag:
<?php. This tells the server that the content in the file should be processed as PHP code. - Next, use the
phpinfo()function. This function retrieves all the information about your PHP configuration and outputs it onto the web page. - Save the file and upload it to your server. Ensure that you place it in a directory accessible by the web browser.
- That’s it! You’ve successfully created the PHP Info file. You can now access the file in your web browser by visiting the URL where it is located, such as
http://yourdomain.com/phpinfo.php.
      <?php
      // PHP Info file

      phpinfo();
      ?>
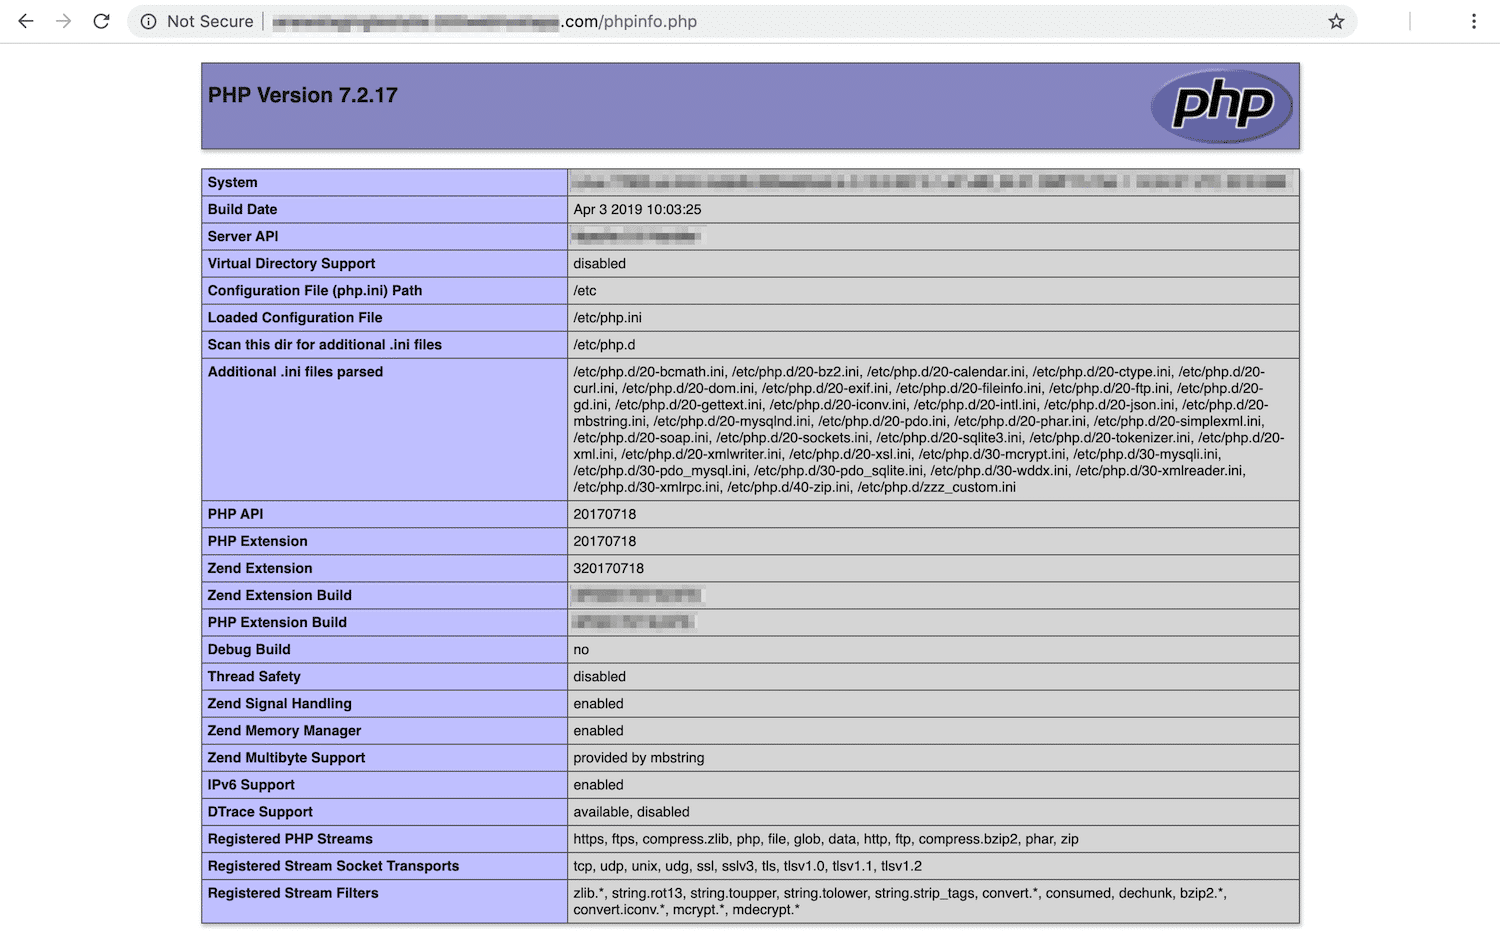
Once you access the PHP Info file in your browser, you’ll see a detailed page containing information about your PHP version, configuration settings, extensions, and more. This provides a comprehensive overview of your PHP environment, which can be invaluable for troubleshooting and optimization purposes.
Now that we’ve created the PHP Info file, let’s move on to the next step, where we’ll set up the server to ensure it can properly handle PHP files.
Step 2: Setting Up the Server
Now that you have created the PHP Info file, it’s time to make sure your server is properly set up to handle PHP files and display the PHP Info page correctly. Follow these steps to configure your server:
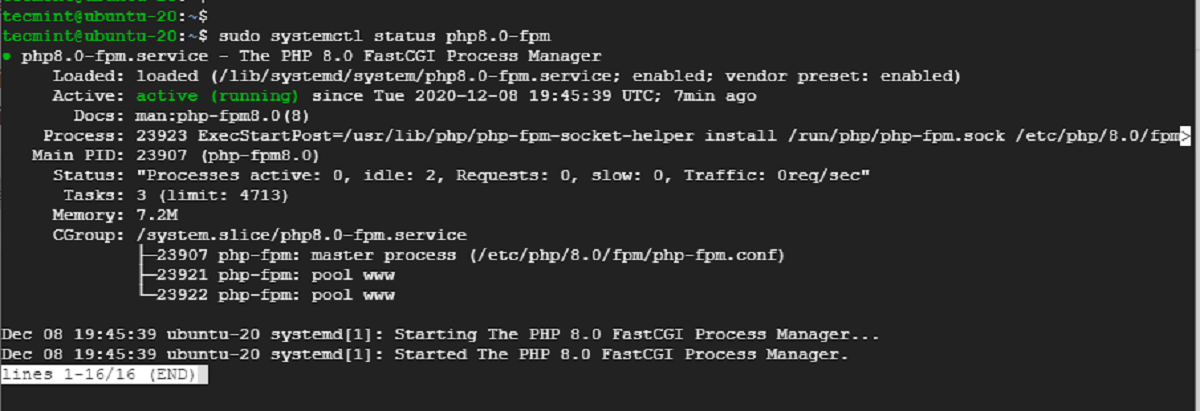
- Ensure that PHP is installed on your server. Most web hosting providers already have PHP pre-installed, but if you’re running your own server, you may need to install PHP manually.
- Verify that your server recognizes PHP files. This involves configuring the web server software to interpret PHP files correctly. For popular servers like Apache, this can be done by adding a directive to the server’s configuration file or by enabling PHP support through the server control panel.
- Restart your web server to apply the changes. This step ensures that any modifications made to the server’s configuration will take effect.
- Test the PHP configuration by accessing the PHP Info file in your web browser. Navigate to the URL where the PHP Info file is located, such as
http://yourdomain.com/phpinfo.php. If everything is set up correctly, you should see the PHP Info page displaying all the relevant information about your PHP installation. - If the PHP Info page is not displaying, double-check the server configuration and ensure that the PHP file is located in a directory accessible by the web browser.
It’s worth mentioning that the specific steps for setting up the server may vary depending on your hosting environment and the web server software you’re using. If you’re unsure about the configuration process, consult the documentation or contact your hosting provider for guidance.
Once you’ve completed these steps, you have successfully set up your server to handle PHP files and display the PHP Info page. This allows you to access vital PHP configuration details and server information effortlessly.
Now that we have the PHP Info file and our server properly configured, let’s move on to the final step – testing the PHP Info file.
Step 3: Testing the PHP Info File
Now that you have created the PHP Info file and set up your server to handle PHP files, it’s time to test the PHP Info file to ensure everything is working correctly. Follow these steps to test the file:
- Open a web browser of your choice.
- Enter the URL of your PHP Info file in the address bar. For example, if your PHP Info file is named
phpinfo.phpand is located in the root directory of your website, the URL would be something likehttp://yourdomain.com/phpinfo.php. - Press Enter or click the Go button to access the PHP Info file.
- If all the steps were followed correctly, the PHP Info page will be displayed in the browser. You should see a comprehensive overview of your PHP configuration and server settings.
- Take some time to explore the information provided on the PHP Info page. You will find details about PHP version, server software, extensions, environment variables, and more. This valuable information can be useful for diagnostics, performance optimization, and understanding the underlying PHP environment.
- Once you have finished examining the PHP Info page, make sure to remove or secure the PHP Info file. Leaving it accessible on a production server could potentially expose sensitive server information to unauthorized individuals.
By successfully testing the PHP Info file, you can ensure that PHP is configured correctly on your server and that your PHP files are being processed as expected. If any issues arise during the testing process, double-check the PHP configuration and server setup to identify and resolve any potential problems.
Congratulations! You have now completed the process of creating a PHP Info file, setting up your server, and testing the PHP Info file. You have acquired a valuable tool for obtaining detailed information about your PHP environment, which can aid you in troubleshooting and optimizing your PHP applications.
Remember to use this information responsibly and ensure the PHP Info file is secure on your production server.
Conclusion
Congratulations! You have successfully learned how to create a PHP Info file and set up your server to display the PHP Info page. By following the steps outlined in this article, you can now access a comprehensive overview of your PHP configuration and server settings.
PHP Info is an incredibly valuable tool for developers and administrators alike. It provides essential information about PHP variables, server details, loaded extensions, and more, making it an indispensable resource for troubleshooting and optimizing your PHP applications.
Remember to exercise caution when using the PHP Info file on a production server. It is vital to restrict access to this file to maintain the security of your server environment. Exposing sensitive information to potential attackers can have serious consequences.
Regularly checking your PHP configuration using PHP Info is a good practice to ensure that your server is running optimally and to identify any potential issues before they escalate. Keep in mind that PHP Info is just one of many tools available in the PHP ecosystem, and it’s always helpful to explore and experiment with other PHP diagnostic tools as well.
Now that you have the knowledge and skills to create PHP Info and utilize its capabilities, you can confidently navigate the world of PHP development with a better understanding of your server environment. Enjoy harnessing the power of PHP Info to enhance your web applications and streamline your development workflow.