Introduction
PHP is a popular scripting language used for web development. With the release of PHP 8, developers can take advantage of its numerous improvements in performance and features. In this article, we will guide you through the process of installing PHP 8 on Ubuntu.
Ubuntu is a widely used operating system for both servers and desktops. By following this tutorial, you will be able to install PHP 8 on your Ubuntu system, enabling you to leverage the latest enhancements in PHP development.
Whether you are a seasoned developer or just starting with PHP, this step-by-step guide will walk you through the process, ensuring a successful installation. We will cover all the necessary steps, including updating your system and adding the PPA repository, to seamlessly install PHP 8 on your Ubuntu system.
By the end of this tutorial, you will have a working PHP 8 installation on your Ubuntu machine, enabling you to develop and run PHP applications with improved performance and new features.
Before we begin, make sure you have administrative access to your Ubuntu system, as some of the installation steps require superuser privileges. Additionally, it’s recommended to take a backup of your existing PHP environment before proceeding with the installation to avoid any potential data loss.
Prerequisites
Before proceeding with the installation of PHP 8 on your Ubuntu system, there are a few prerequisites that need to be fulfilled. These requirements ensure a smooth and successful installation process. Here are the prerequisites you need to consider:
- Ubuntu System: You should have an Ubuntu system up and running. Ensure that you have administrative access to your machine, as you will need it to perform system-level operations during the installation.
- Updated System: It’s crucial to have an updated Ubuntu system to avoid any conflicts or compatibility issues during the PHP 8 installation. You can update your system using the following command in the terminal:
sudo apt update && sudo apt upgradeThis command will update your system packages and ensure that you have the latest software versions installed.
- PPA Repository: To install PHP 8 on Ubuntu, we will be utilizing the PPA (Personal Package Archive) repository. Ensure that you have the necessary software sources enabled on your system. If not, you can add the repository by following the steps mentioned in the next section.
By meeting these prerequisites, you will ensure a smooth installation process and minimize any potential issues during the installation of PHP 8 on your Ubuntu system. It’s always a good practice to have a backup of your system before proceeding with any major changes to ensure the safety of your data.
Step 1: Update System
Before we begin with the installation of PHP 8 on your Ubuntu system, it’s essential to update your system to ensure that you have the latest package versions installed.
To update your system, open the terminal by pressing Ctrl+Alt+T or by searching for “Terminal” in the applications menu.
Once the terminal is open, run the following command:
sudo apt update && sudo apt upgradeThis command will update the package information on your system and upgrade any installed packages to their latest versions. You may be prompted to enter your administrative password before the update process begins.
Depending on the number of packages that need to be upgraded, this process may take a few minutes. You will see the progress of the update in the terminal.
After the update is complete, you will have an updated Ubuntu system, ready for the installation of PHP 8.
It’s always a good practice to keep your system up to date to ensure optimal performance, security, and compatibility with the latest software. By regularly updating your Ubuntu system, you can take advantage of bug fixes, performance improvements, and new features introduced by the developers.
Now that your system is updated, we can proceed to the next step, which is adding the PPA repository.
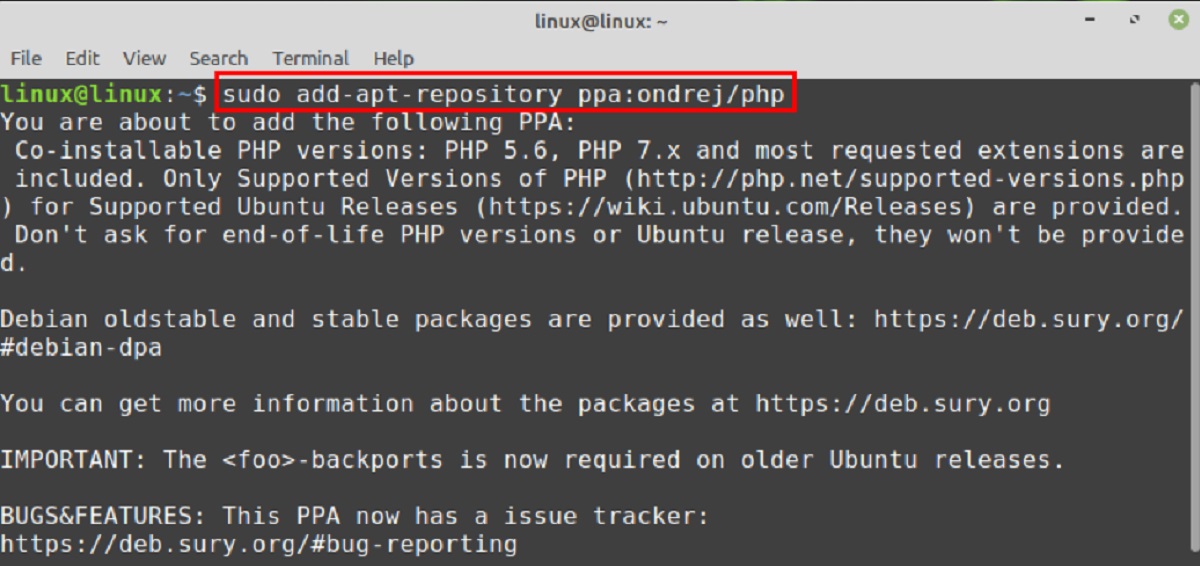
Step 2: Add PPA Repository
To install PHP 8 on your Ubuntu system, we need to add the Personal Package Archive (PPA) repository. The PPA repository provides updated packages that are not available in the default Ubuntu repositories.
To add the PPA repository, follow these steps:
- Open the terminal on your Ubuntu system by pressing
Ctrl+Alt+Tor by searching for “Terminal” in the applications menu. - In the terminal, run the following command to add the PPA repository:
sudo add-apt-repository ppa:ondrej/phpYou may be prompted to enter your administrative password to confirm the action.
Once the repository is added, you need to update the package list to include the packages from the newly added repository. Run the following command in the terminal:
sudo apt updateThis command will update the package information and include the packages from the PPA repository.
By adding the PPA repository, you now have access to the latest PHP packages for your Ubuntu system. This repository is maintained by Ondřej Surý, a well-known PHP developer, and ensures that you have access to the most up-to-date versions of PHP.
Now that the PPA repository is added and the package list is updated, we can proceed to install PHP 8 on your Ubuntu system.
Step 3: Install PHP 8
With the PPA repository added to your Ubuntu system, you can now proceed with the installation of PHP 8.
To install PHP 8, follow these steps:
- Open the terminal on your Ubuntu system by pressing
Ctrl+Alt+Tor searching for “Terminal” in the applications menu. - In the terminal, run the following command to install PHP 8:
sudo apt install php8.0This command will install PHP 8 along with its necessary dependencies. You may be prompted to enter your administrative password to authorize the installation.
The installation process will take a few moments as the system downloads and configures the PHP 8 packages.
Once the installation is complete, you will have PHP 8 successfully installed on your Ubuntu system.
Optionally, you can install additional PHP extensions or modules according to your project requirements. These extensions can be installed using the sudo apt install command followed by the name of the desired extension.
For example, to install common PHP extensions like MySQL, GD, and JSON, you can use the following command:
sudo apt install php8.0-mysql php8.0-gd php8.0-jsonBy installing additional extensions, you can expand the functionality of PHP and use various libraries and tools in your applications.
Now that PHP 8 is successfully installed on your Ubuntu system, we can proceed to the next step to verify the PHP installation.
Step 4: Verify PHP Installation
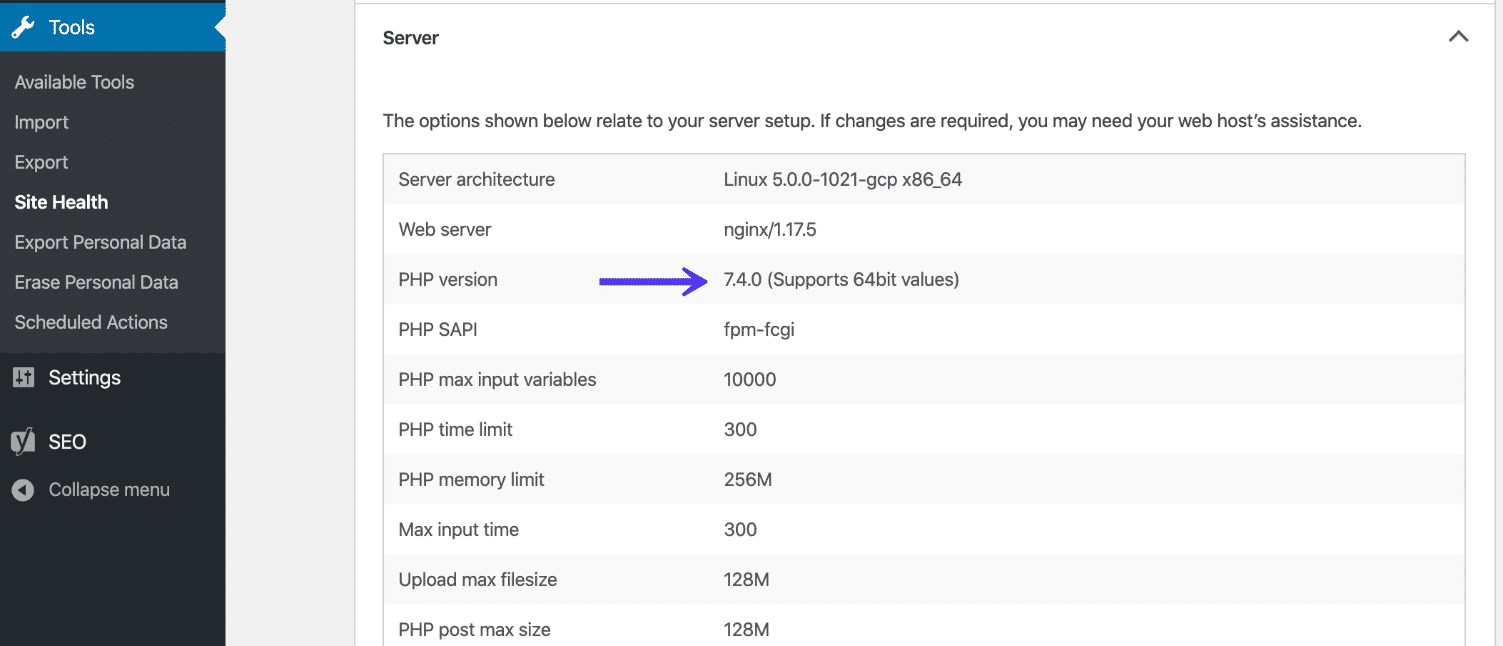
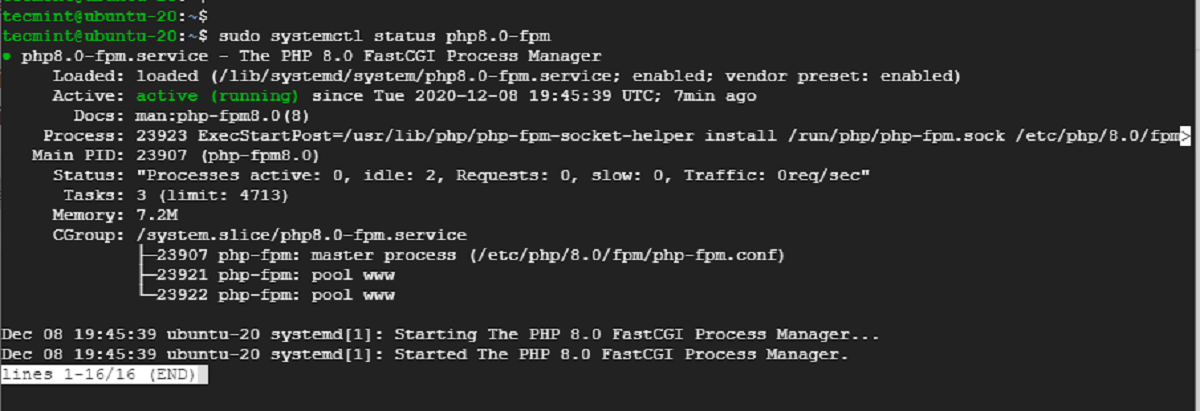
After installing PHP 8 on your Ubuntu system, it’s important to verify that the installation was successful and that PHP is working correctly.
Follow these steps to verify the PHP installation:
- Open the terminal on your Ubuntu system.
- Run the following command to create a PHP info file:
echo "<?php phpinfo(); ?>" | sudo tee /var/www/html/phpinfo.phpThis command creates a file called phpinfo.php in the /var/www/html directory, which will display PHP information.
After running the command, open a web browser and enter the following URL:
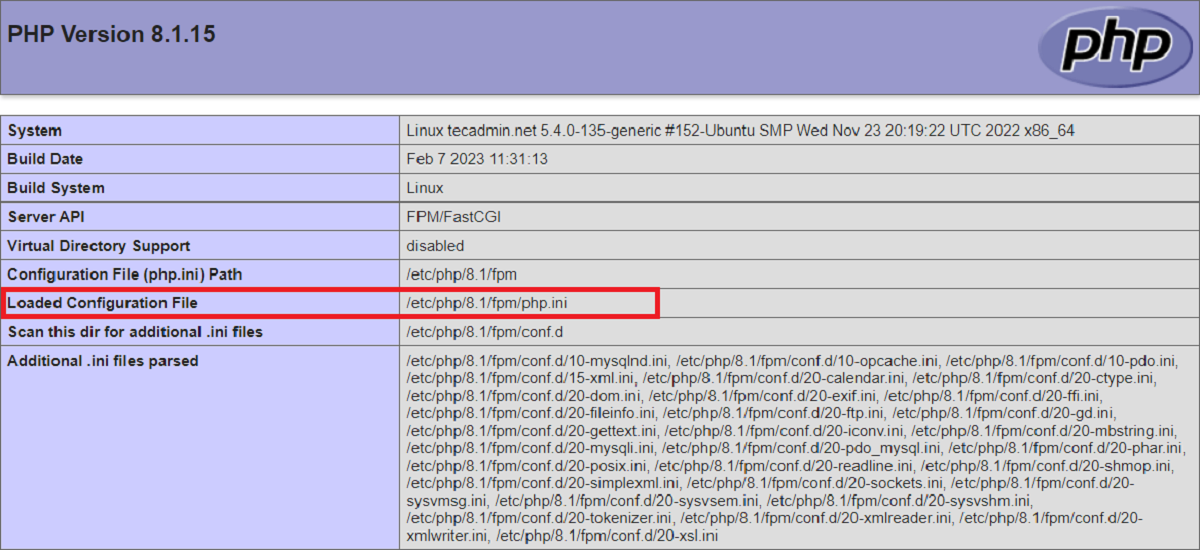
http://localhost/phpinfo.phpYou should see a page displaying comprehensive information about your PHP installation.
If you encounter any issues or the PHP info page does not display, check the following:
- Ensure that your web server (Apache, Nginx, etc.) is running.
- Verify that PHP is enabled in your web server configuration.
- Confirm that the
phpinfo.phpfile is located in the correct directory (/var/www/html/). - If you are accessing the server remotely, make sure you have network connectivity and the necessary firewall rules.
If everything goes smoothly, and you are able to see the PHP info page, congratulations! You have successfully installed PHP 8 on your Ubuntu system.
Feel free to explore the PHP info page to learn more about your PHP installation. It provides valuable information about PHP settings, modules, and extensions that can help you with future development tasks.
Now that PHP 8 is installed and verified, you are ready to start developing web applications using the latest features and enhancements provided by PHP 8!
Conclusion
Congratulations! You have successfully installed PHP 8 on your Ubuntu system. By following the step-by-step guide in this article, you have gained the necessary knowledge to update your system, add the PHP 8 PPA repository, and install PHP 8.
PHP 8 brings significant improvements in performance and introduces new features to enhance your web development experience. With PHP 8 installed, you can take advantage of faster execution times, improved error handling, and enhanced type safety.
Remember to keep your system updated regularly to ensure you have the latest security patches and bug fixes. Additionally, make use of PHP’s extensive ecosystem by installing the required extensions and modules for your projects.
If you encountered any issues during the installation process or have any questions, don’t hesitate to seek help from online communities and forums dedicated to PHP and Ubuntu.
Now that you have PHP 8 up and running, you can start building powerful and efficient web applications. Take advantage of the new features and optimizations offered by PHP 8 to enhance your development workflow and deliver outstanding results.
Thank you for following this guide, and we hope you find PHP 8 a valuable tool for your future web development projects!