Introduction
PHP is a popular programming language used for developing dynamic websites and web applications. With its continuous development and advancements, it is important to regularly update PHP to ensure optimal performance, enhanced security, and compatibility with the latest technologies.
Updating PHP on Windows can seem daunting at first, but with the right guidance, it can be a straightforward process. In this guide, we will walk you through the steps to update PHP on Windows, ensuring a seamless transition without any disruptions to your website or application.
Whether you are a seasoned developer or a beginner, it’s crucial to always stay up-to-date with the latest PHP version. Updates often include bug fixes, security patches, and performance improvements, which are essential for maintaining a stable and secure environment for your PHP applications.
By regularly updating PHP, you not only ensure compatibility with newer web technologies but also protect your website from potential vulnerabilities. Moreover, updating PHP allows you to take advantage of new features and functionalities that can enhance the overall user experience.
In the following sections, we will guide you through the process of checking your current PHP version, determining PHP version compatibility, downloading and configuring the latest PHP version, updating the php.ini file, and verifying the update. So, without further ado, let’s dive into the step-by-step process of updating PHP on Windows.
Check Current PHP Version
Before you begin the process of updating PHP on Windows, it is important to check the current PHP version installed on your system. This will help you determine whether an update is necessary and ensure compatibility with the latest PHP version.
To check the current PHP version, follow these steps:
- Open your preferred web browser.
- Create a new PHP file with the following code:
- Save the file with a `
.php` extension (e.g., `phpversion.php`). - Move the file to your web server’s document root directory.
- Open the file in your web browser by entering the URL to the file (e.g., `http://localhost/phpversion.php`).
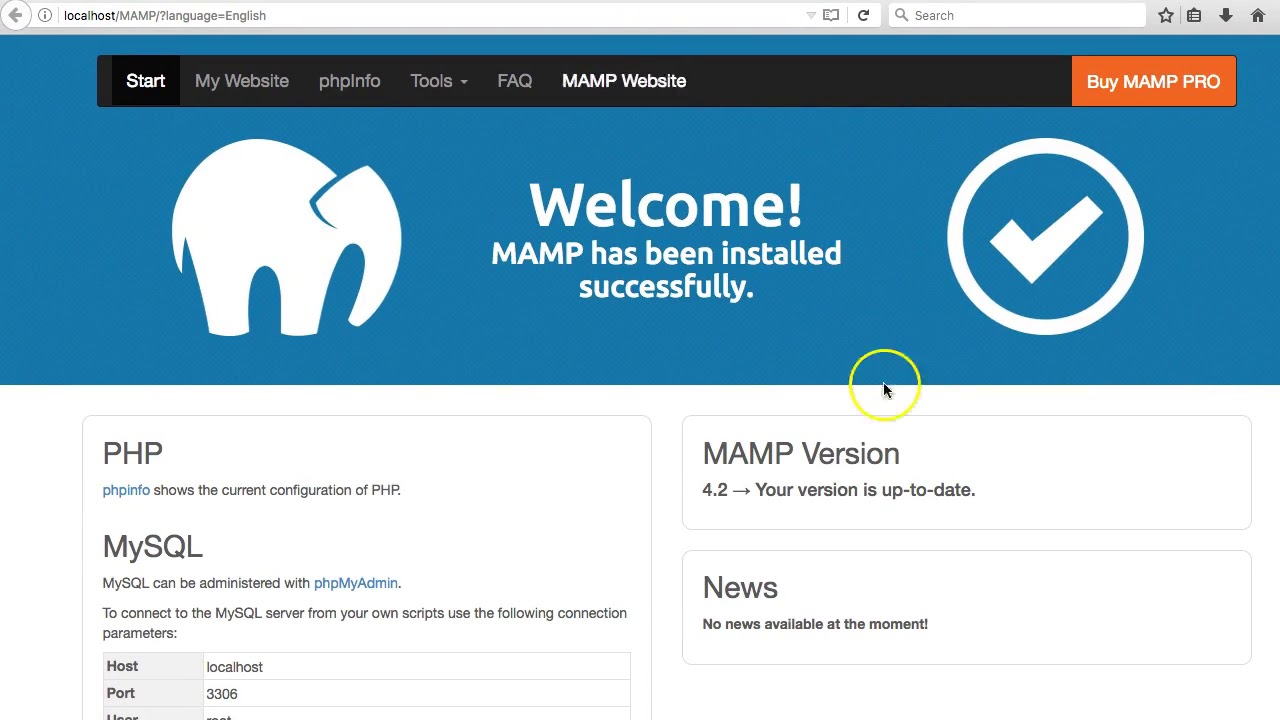
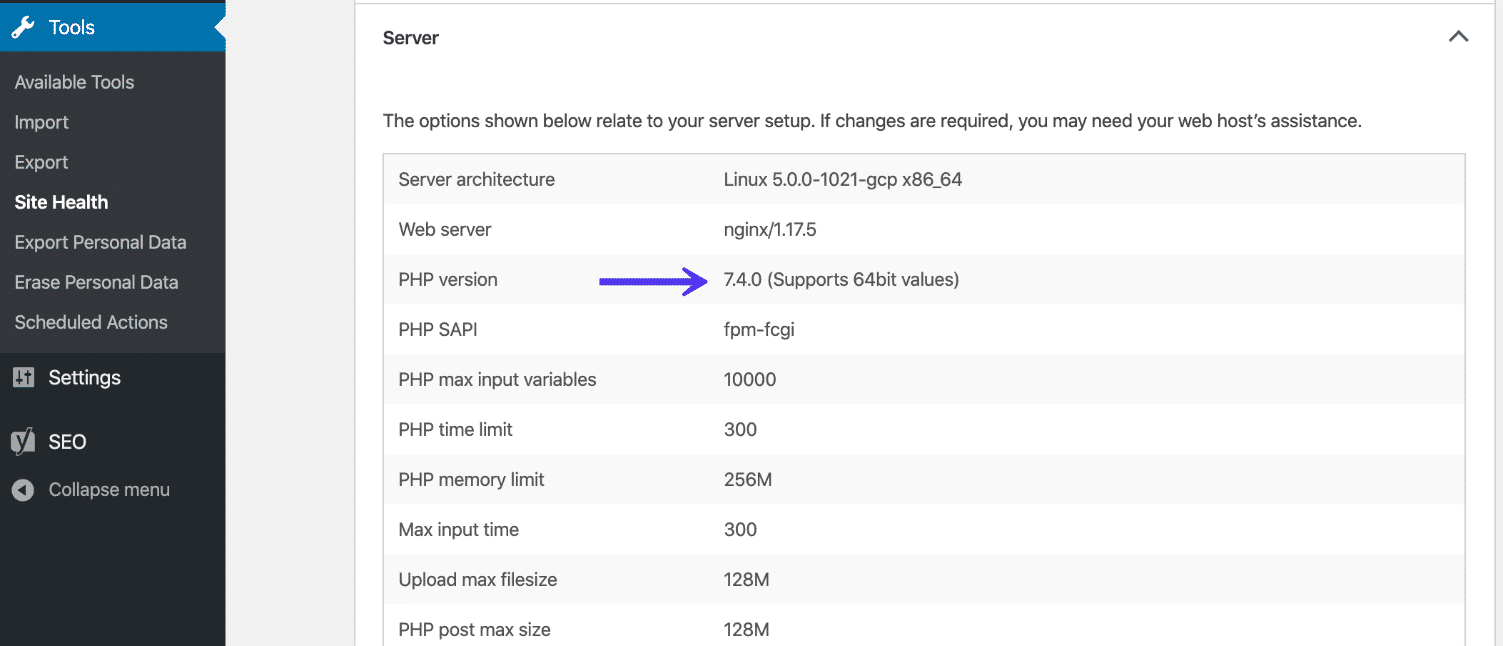
<?php phpinfo(); ?>Once you open the file in your browser, you will see a page displaying detailed information about your PHP installation. Look for the line that says “PHP Version” or similar. The version number will be displayed next to it.
If you encounter any difficulties accessing the PHP file or are unable to find the PHP version information, consult the documentation or the support resources of your web server or hosting provider for assistance.
Now that you have determined the current PHP version, you can proceed to the next section to determine its compatibility with the latest PHP version.
Determine PHP Version Compatibility
Once you have identified the current PHP version installed on your Windows system, it is crucial to determine its compatibility with the latest PHP version. This step is essential to ensure a smooth and successful update without any compatibility issues.
Compatibility issues may arise if your current PHP version is significantly outdated or if there are major changes in the latest PHP version. In such cases, you may need to make necessary adjustments to your code or configuration to ensure compatibility with the new version.
To determine PHP version compatibility, consider the following:
- Review the release notes and documentation of the latest PHP version. This will provide insight into the changes, new features, and potential backward compatibility issues.
- Check the requirements and recommendations for the latest PHP version. Generally, the PHP development team provides guidelines and recommendations regarding the minimum supported PHP version for optimal performance and security.
- Assess your existing code and third-party libraries or frameworks utilized in your PHP application. Verify their compatibility with the latest PHP version by consulting their documentation or support resources.
- Consider any custom or server-specific configurations made in your current PHP installation. Ensure that these configurations are compatible and can be migrated to the updated PHP version.
By thoroughly examining these factors, you can determine any potential challenges that may arise while updating PHP. It is advisable to make any necessary adjustments or updates to your code, configurations, or dependencies prior to proceeding with the update to minimize compatibility issues.
Once you have assessed the compatibility of your current PHP version, you are ready to proceed with the next steps, which involve downloading and configuring the latest PHP version on your Windows system.
Download PHP
After determining the compatibility of your current PHP version, the next step is to download the latest version of PHP for Windows. The PHP development team provides precompiled binaries for Windows, making it easy to install and update PHP on your system.
Follow these steps to download PHP:
- Visit the official PHP website at https://www.php.net/downloads.php.
- On the downloads page, select the version of PHP you want to download. Choose the Windows VC15 x64 Non Thread Safe version for 64-bit Windows operating systems or the Windows VC15 x86 Non Thread Safe version for 32-bit Windows operating systems. If you are uncertain, you can check your system type by right-clicking on “This PC” or “My Computer” and selecting “Properties”.
- Click on the recommended download link for your selected version. This will start the download process.
Once the download is complete, you will have a compressed ZIP file containing the PHP binaries.
It is important to note that the downloaded PHP version should match the architecture (32-bit or 64-bit) and thread safety (Thread Safe or Non Thread Safe) requirements of your system.
Now that you have downloaded the PHP files, the next step is to extract them and set up the PHP environment on your Windows system. We will cover this process in the next section.
Extract PHP Files
After downloading the PHP files for your Windows system, the next step is to extract them and prepare the PHP environment. This process involves extracting the contents of the downloaded ZIP file and moving them to the appropriate location.
Follow these steps to extract the PHP files:
- Locate the downloaded ZIP file on your computer.
- Right-click on the ZIP file and select “Extract All” or use a file extraction tool like WinRAR or 7-Zip to extract the contents.
- Choose a destination folder where you want to extract the PHP files. It is recommended to extract them to a location that is easily accessible and memorable.
- Click “Extract” or follow the prompts of your file extraction tool to complete the extraction process.
Once the extraction is complete, you will have a folder containing the PHP files. This folder is usually named something like “php-
Now that you have extracted the PHP files, the next step is to configure PHP and make any necessary adjustments to ensure proper functionality. We will explore the configuration process in the next section.
Configure PHP
After extracting the PHP files, the next step is to configure PHP to work seamlessly on your Windows system. Configuration involves setting up the necessary files, adjusting PHP settings, and integrating it with your web server.
Follow these steps to configure PHP:
- Open the extracted PHP folder and locate the file called “php.ini-development” or “php.ini-production”.
- Rename the chosen file to “php.ini”.
- Edit the “php.ini” file using a text editor of your choice.
- Adjust the necessary PHP settings based on your requirements. This includes settings such as error reporting, file upload size limits, and database connectivity options.
- Save the changes to the “php.ini” file.
- Copy the “php.ini” file and paste it into the root directory of your PHP installation. This is typically the folder where your web server’s files are stored (e.g., “C:\xampp” or “C:\wamp”).
- Restart your web server to apply the new PHP configuration settings.
By configuring PHP with the appropriate settings, you can optimize its performance, enable specific features, and ensure compatibility with your web server and applications.
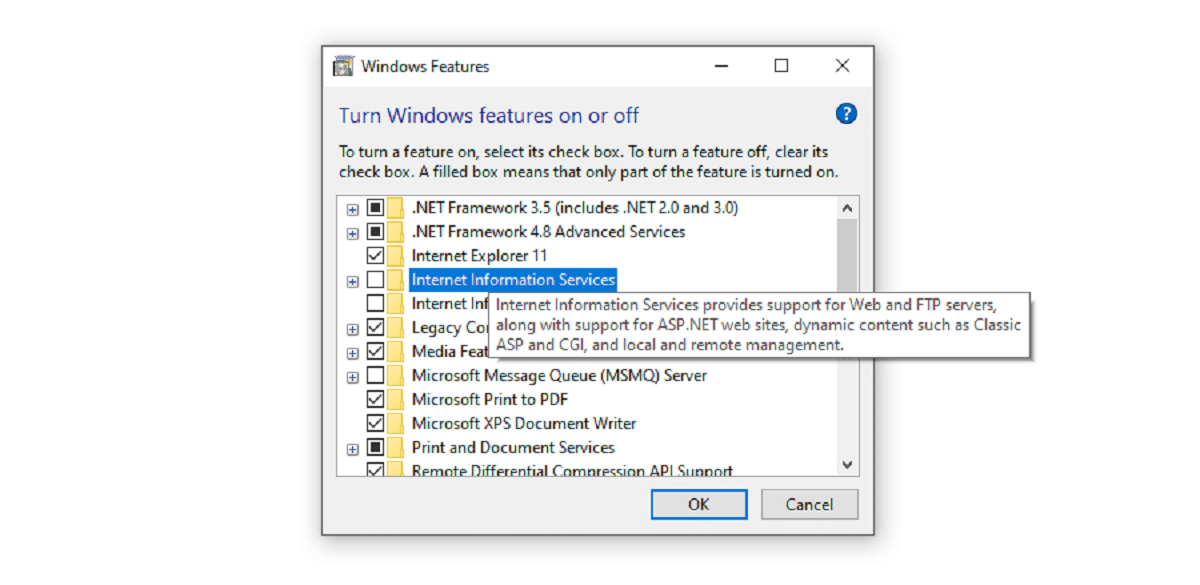
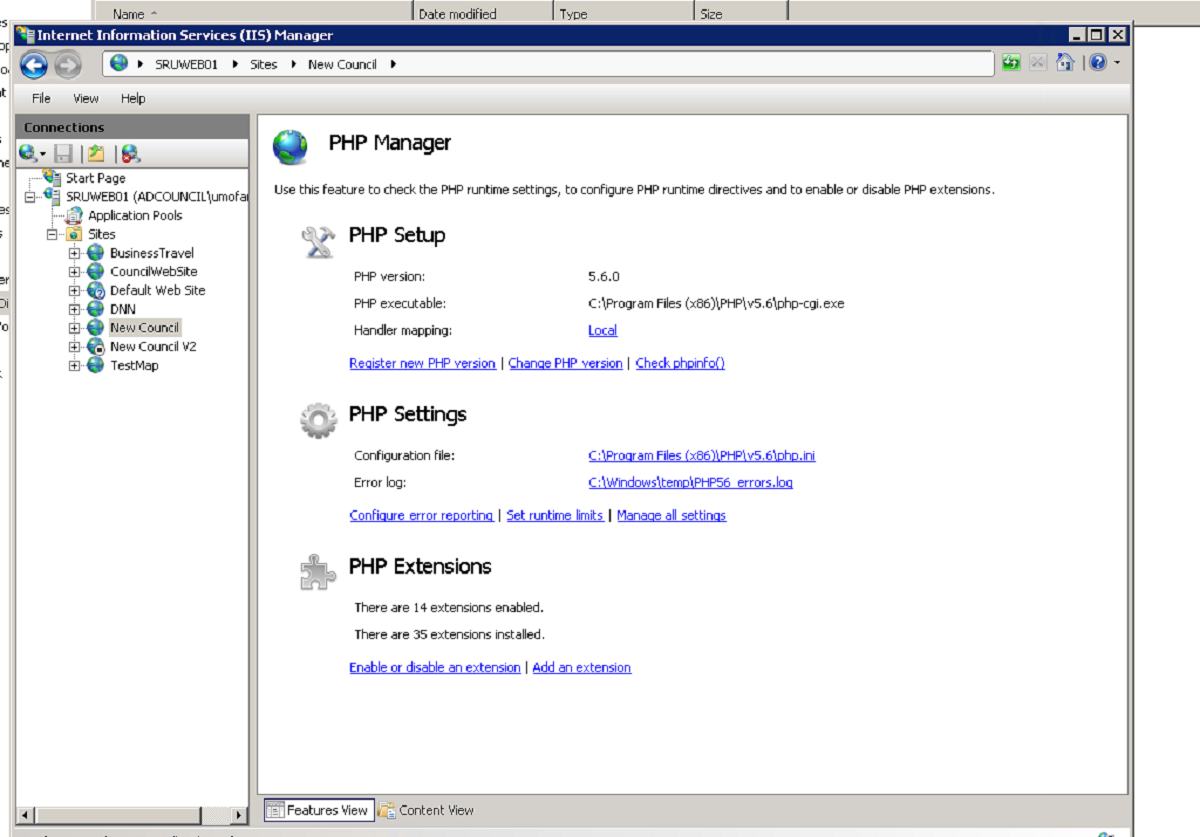
It is important to note that depending on your web server setup, additional configuration steps may be required. Consult the documentation or support resources of your specific web server (e.g., Apache, NGINX, Microsoft IIS) for detailed instructions on integrating PHP with your server.
Now that you have successfully configured PHP, you are one step closer to updating your PHP version. The next section will guide you through updating the “php.ini” file with the necessary changes.
Update php.ini File
As you have already configured PHP, the next step is to update the “php.ini” file with any necessary changes for the updated PHP version. The “php.ini” file contains various configuration settings that impact the behavior and functionality of PHP.
Follow these steps to update the “php.ini” file:
- Locate the “php.ini” file in the root directory of your PHP installation.
- Make a backup copy of the “php.ini” file before proceeding. This allows you to revert back to the original configuration if needed.
- Open the “php.ini” file using a text editor.
- Scroll through the file and update any settings that need to be modified. These changes may include adjusting memory limits, enable or disable extensions, or configuring error reporting.
- Save the changes made to the “php.ini” file.
It is important to note that the specific changes you need to make in the “php.ini” file may vary depending on your application’s requirements or any specific features introduced in the latest PHP version.
Ensure that you thoroughly review the documentation and release notes of the new PHP version to identify any relevant changes that should be made in the “php.ini” file.
Once you have updated the “php.ini” file, the next step is to restart your web server to apply the changes and complete the PHP version update. We will cover this step in the next section.
Start PHP Server
After updating the “php.ini” file, the next step is to start the PHP server to ensure that the changes take effect and your updated PHP version is up and running.
Follow these steps to start the PHP server:
- Open the command prompt or terminal on your Windows system.
- Navigate to the root directory of your PHP installation. This is the directory where the “php.exe” file is located.
- Enter the command to start the PHP server. The command typically follows this structure:
- Replace “localhost” with the hostname or IP address you want to use for accessing your PHP server.
- Replace “8000” with the desired port number. By default, port 8000 is commonly used, but you can choose any available port.
- Press Enter to execute the command.
php -S localhost:8000After executing the command, you will see the PHP server starting up and displaying relevant information, such as the PHP version and the server address.
Now, you can access your PHP applications or websites by entering the server address (e.g., “http://localhost:8000”) in your web browser.
It is important to note that starting the PHP server using the command prompt or terminal is suitable for development or testing purposes. For production environments, it is recommended to configure PHP to run with a proper web server, such as Apache or NGINX.
With the PHP server up and running, you can proceed to the next section to verify the PHP version update.
Verify PHP Version Update
After completing the PHP version update and starting the PHP server, it is important to verify that the PHP version has been successfully updated on your Windows system.
Follow these steps to verify the PHP version update:
- Open your web browser.
- Enter the server address in the address bar. This is the address you specified when starting the PHP server, such as “http://localhost:8000”.
- Press Enter to load the PHP server’s homepage.
- Look for the section that displays PHP information, usually titled “PHP Version” or similar.
- Check if the displayed PHP version matches the updated version you installed.
If the PHP version displayed matches the updated version, congratulations! You have successfully updated PHP on your Windows system. You can now proceed to develop or run your PHP applications using the latest features and enhancements.
However, if the PHP version displayed does not match the updated version, double-check the steps you followed during the update process. Ensure that you properly configured and restarted your web server after updating the “php.ini” file.
If you encounter any issues or discrepancies, consult the documentation or support resources for your specific web server or PHP installation. They can provide additional guidance and troubleshooting steps to resolve any problems.
By verifying the PHP version update, you can ensure that your applications and websites are utilizing the latest PHP features, enhancements, and security updates, providing an optimal experience for your users.
Conclusion
Updating PHP on Windows is an essential task to maintain optimal performance, security, and compatibility with the latest web technologies. By following the step-by-step process outlined in this guide, you can successfully update PHP and ensure that your PHP applications and websites are running on the latest version.
First, you checked the current PHP version to determine if an update is necessary. Then, you assessed the compatibility of your current PHP version with the latest version, considering factors such as release notes, requirements, and code dependencies.
Next, you downloaded the latest PHP version from the official PHP website, extracted the files, and configured the PHP environment by updating the “php.ini” file with the required settings. You then started the PHP server to test and verify the updated PHP version.
Verifying the PHP version update is crucial to ensure that your applications are running on the updated version and benefiting from the latest features, bug fixes, and security patches. If any issues arise during this process, consult the documentation or support resources specific to your web server or PHP installation for further assistance.
Remember, regularly updating PHP is important to keep your applications secure, efficient, and compatible with evolving web technologies. Stay informed about new PHP releases and updates to ensure that your PHP environment remains up to date.
By following these guidelines, you can confidently update PHP on your Windows system and leverage the power and improvements of the latest PHP version.