Introduction
Uploading files is a common task in web development, especially when it comes to handling user-generated content. Whether you are building a photo sharing platform, a document management system, or an interactive web application, knowing how to upload files in PHP is essential.
In this article, we will guide you through the process of implementing file uploads in PHP. We will cover the necessary steps to set up an HTML form, handle the file upload in PHP, validate the file, and upload it to a specific directory on your server. Additionally, we will discuss important considerations and security tips to ensure a smooth and secure file upload process.
Before we dive into the technicalities, it’s important to understand the importance of file validation and security. Allowing users to upload files to your server can pose potential risks, such as uploading malicious files or exceeding server storage limits. Therefore, we will also explore ways to check for errors, validate the file type and size, and implement security precautions.
By the end of this article, you will have a solid understanding of how to upload files in PHP and the necessary steps to safeguard your application against potential vulnerabilities.
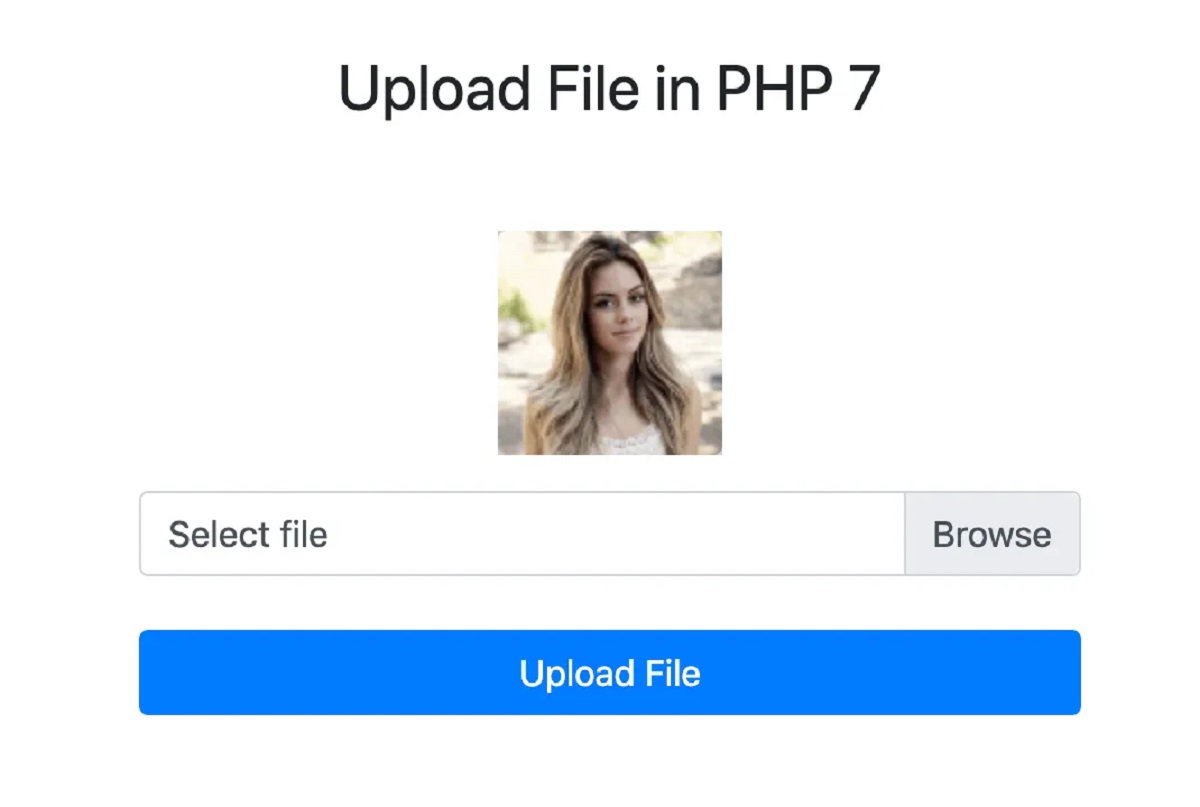
Setting up the HTML form
Before we can start handling file uploads in PHP, we need to set up the HTML form to capture the user’s file selection. The HTML `
In the example above, the form’s `action` attribute points to the PHP script (`upload.php`) that will process the file upload. The `name` attribute of the file input (`file` in this case) is used as the reference name to access the uploaded file in the PHP script.
Once you have added the HTML form to your webpage, you are ready to handle the file upload functionality in PHP. In the next section, we will explore how to capture and process the uploaded file using PHP.
Handling the file upload in PHP
Now that we have set up the HTML form to capture the user’s file selection, we can move on to the PHP part where we handle the file upload. When the form is submitted, the selected file is sent to the server and can be accessed in the PHP script through the `$_FILES` superglobal.
The `$_FILES` superglobal is an associative array that contains information about the uploaded file, such as its name, type, size, temporary location on the server, and any errors that may have occurred during the upload process. To access these file details, we can use the `$_FILES[‘file’]` syntax, where `’file’` corresponds to the `name` attribute of the file input field in the HTML form.
Here is an example of how you can handle the file upload using PHP:
php
In the code snippet above, we first check if the file was uploaded by checking if the `$_FILES[‘file’]` variable is set. If the file exists, we can then access its details by assigning the `$_FILES[‘file’]` array to the `$file` variable.
We can retrieve information about the uploaded file using the array keys of `$file`. For example, to get the filename, file type, file size, temporary location, and error status, we assign the corresponding values to variables such as `$fileName`, `$fileType`, `$fileSize`, `$fileTemp`, and `$fileError`, respectively.
Once we have accessed the file details, we can then proceed to process the uploaded file as needed. This can include moving the file to a specific directory, performing further validation checks, or interacting with a database to store information about the file.
In the next section, we will discuss how to check for errors and validate the uploaded file to ensure its integrity and security.
Checking for errors and validating the file
Before proceeding with further handling of the uploaded file, it is crucial to check for errors and validate the file to ensure its integrity and security. The `$_FILES` superglobal provides an error code that indicates any issues that may have occurred during the file upload process.
The error code can be accessed using the `$fileError` variable, which corresponds to `$_FILES[‘file’][‘error’]`. The value of this variable can be compared against different constants defined by PHP to determine the specific error that occurred.
Here are some of the common error codes and their meanings:
- UPLOAD_ERR_OK: No errors occurred.
- UPLOAD_ERR_INI_SIZE: The uploaded file exceeds the upload_max_filesize directive specified in the server configuration.
- UPLOAD_ERR_FORM_SIZE: The uploaded file exceeds the MAX_FILE_SIZE directive specified in the HTML form.
- UPLOAD_ERR_PARTIAL: The uploaded file was only partially uploaded.
- UPLOAD_ERR_NO_FILE: No file was uploaded.
- UPLOAD_ERR_NO_TMP_DIR: Missing temporary directory.
Based on the error code, you can handle different scenarios accordingly. For example, you can display an error message to the user or limit the file size and type to prevent certain types of uploads.
In addition to error handling, it is important to validate the file to ensure that it meets your specific requirements. One common validation is to check the file’s extension and MIME type to verify that it matches the expected format.
You can use file-related functions like `pathinfo()` and `mime_content_type()` in PHP to extract the extension and MIME type respectively.
Here is an example:
php
In the example above, we have defined an array of allowed file extensions and MIME types. We then use the `pathinfo()` function to extract the file extension from the `$fileName` variable and the `mime_content_type()` function to determine the file’s MIME type based on its temporary location stored in `$fileTemp`.
We validate the file by checking if the extracted file extension and MIME type are present in the allowed arrays. If the file does not match the specified criteria, you can handle the error appropriately, such as displaying an error message to the user or rejecting the file upload.
By checking for errors and validating the file, you can ensure that only valid and safe files are processed further. In the next section, we will discuss how to specify file size and type restrictions.
Specifying file size and type restrictions
Specifying file size and type restrictions is an important aspect of handling file uploads in PHP. By setting these restrictions, you can control the types and sizes of files that can be uploaded, ensuring that your application remains secure and efficient.
To specify file size restrictions, you can utilize the `upload_max_filesize` and `post_max_size` directives in your server’s PHP configuration file (php.ini) or via runtime configuration using functions like `ini_set()`. These directives determine the maximum allowed file size for uploads and the maximum size of the entire POST request data, respectively.
Here is an example of setting the file size restrictions in php.ini:
upload_max_filesize = 10M
post_max_size = 10M
In this example, we have set both `upload_max_filesize` and `post_max_size` to a value of 10 megabytes (MB). You can modify these values as per your application’s requirements.
Additionally, it is essential to validate and restrict the acceptable file types that users can upload to your server. As mentioned in the previous section, you can verify the file’s extension and MIME type to ensure it matches the expected format.
However, relying solely on the client-side validation (e.g., checking file extension) is not sufficient, as it can be easily bypassed. Therefore, it is recommended to perform server-side validation to verify the file type using trusted methods like the `finfo_file()` function.
Here is an example of how to check the file type using `finfo_file()`:
php
In the code snippet above, we use the `finfo_open()` function to create a fileinfo resource and specify that we want to retrieve the MIME type of the file. We then pass the temporary file path stored in `$fileTemp` to `finfo_file()`, which returns the MIME type of the file.
We can now compare the obtained MIME type against the array of allowed MIME types using `in_array()`. If the file type is not present in the allowed types array, you can handle the error accordingly.
By specifying file size limits and validating the file types, you can enhance the security and integrity of file uploads in your PHP application. In the next section, we will explore how to upload the file to a specific directory.
Uploading the file to a specific directory
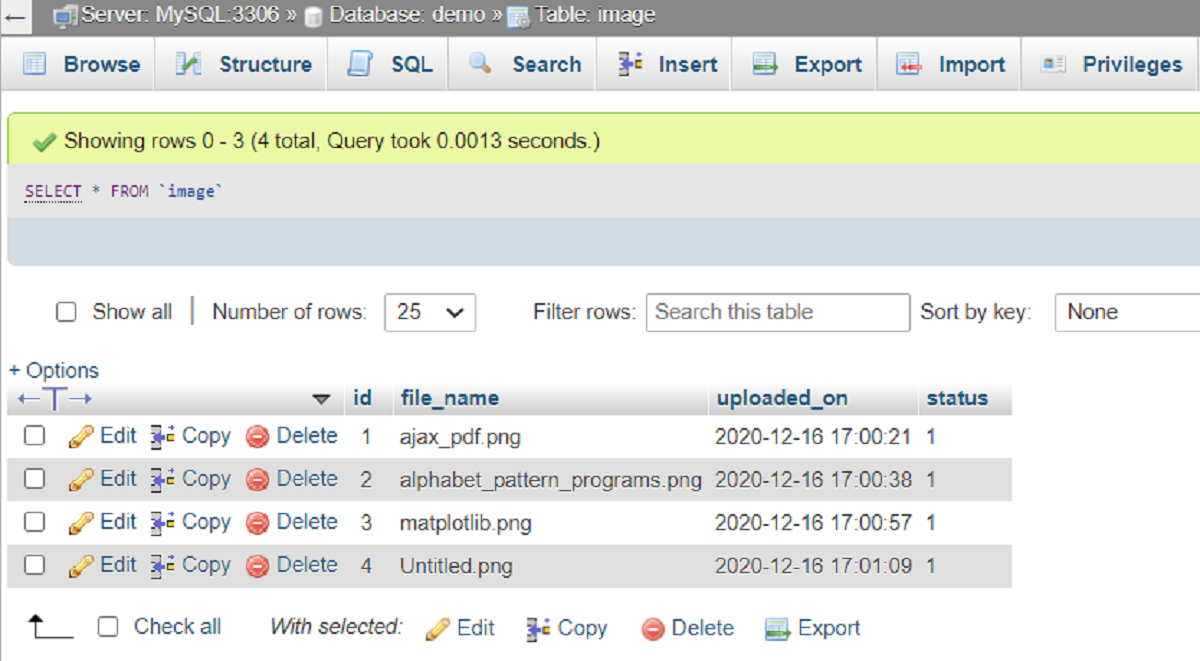
Once the file has been validated and passes all necessary checks, the next step is to move the uploaded file to a specific directory on your server. This ensures that the file is stored in a designated location and can be accessed or manipulated as needed.
To move the uploaded file, we can use the `move_uploaded_file()` function in PHP. This function takes two parameters: the temporary file path (stored in `$fileTemp`) and the destination path where the file should be moved.
Here is an example of how to upload the file to a specific directory:
php
In the code snippet above, we define the `$uploadDirectory` variable as the path to the directory where the file should be uploaded. We then concatenate this directory path with the `$fileName` to form the complete destination path where the file will be moved.
We use the `move_uploaded_file()` function to move the file from its temporary location to the specified destination. If the file is successfully moved, the function returns `true`, indicating a successful file upload. At this point, you can perform any additional processing or database operations related to the uploaded file.
If the `move_uploaded_file()` function returns `false`, it means that an error occurred during the file upload and the file was not moved. In such cases, you should handle the file upload error appropriately, such as displaying an error message or logging the error for further investigation.
By uploading the file to a specific directory, you can organize and manage the uploaded files effectively. In the next section, we will discuss how to display success or error messages to the user.
Displaying a success message or error message
After the file has been uploaded and processed, it is important to provide feedback to the user regarding the outcome of the file upload. This feedback can be in the form of a success message if the file was uploaded successfully, or an error message if any issues were encountered during the upload process.
To display a success message, you can simply echo or display a message indicating that the file was uploaded successfully. This message can be customized according to your application’s requirements.
Here is an example of displaying a success message:
php
On the other hand, if an error occurs during the file upload, it is essential to inform the user about the specific error and provide guidance on how to resolve it. You can use conditional statements to check for different error scenarios and display appropriate error messages accordingly.
For example:
php
In the example above, we use conditional statements (`if`, `elseif`, `else`) to check the value of `$fileError`, which represents the error code associated with the file upload. Depending on the error code, we display an appropriate error message to the user.
By displaying success or error messages, you can provide clear feedback to the user about the outcome of the file upload process. This helps in enhancing the user experience and ensures that users are aware of any issues that may have occurred during the file upload.
Now that we have covered displaying success or error messages, let’s move on to discussing additional considerations and security tips for file uploads in PHP.
Additional considerations and security tips
When implementing file uploads in PHP, there are a few additional considerations and security tips to keep in mind. By following these best practices, you can ensure a secure and efficient file upload process in your application.
1. Limit file size: Set reasonable limits for the maximum file size that can be uploaded to prevent issues with storage and performance. Validate the file size on both the client-side and server-side.
2. Validate file type and extension: Check the file’s extension and MIME type to ensure it matches the expected format. Use server-side validation in addition to client-side validation to prevent malicious file uploads.
3. Use secure file paths: Store uploaded files outside of the web root directory to prevent direct access. Use secure file paths and apply proper permission settings to prevent unauthorized access.
4. Sanitize file names: Cleanse file names to avoid potential security vulnerabilities. Remove special characters or potentially dangerous elements from file names to prevent injection attacks.
5. Use encryption: Encrypt sensitive files before storing them on the server to add an extra layer of security. This is especially important for files that contain personal or confidential information.
6. Implement file type checking: Validate the content of the file to ensure it matches the expected format. Verify that the file structure adheres to the specified file type to prevent security risks and potential issues.
7. Perform virus scanning: Implement virus scanning on uploaded files to detect any potential malware or viruses. Use reliable anti-virus software or integrate third-party services for scanning file uploads.
8. Limit file upload permissions: Set appropriate permissions for the directory where the uploaded files are stored. Ensure that only the necessary permissions are granted to prevent unauthorized access or modifications.
9. Implement rate limiting: Enable rate limiting to prevent abuse, especially if file uploads are open to public users. Restrict the number of uploads or the frequency at which uploads can be performed.
10. Secure file upload forms: Protect the file upload form from cross-site scripting (XSS) attacks and ensure that proper input validation is in place to prevent code execution or other security vulnerabilities.
By considering these additional considerations and implementing security measures, you can enhance the safety and reliability of file uploads in your PHP application.
Now that we have covered these considerations, let’s conclude the article with a brief summary.
Conclusion
In this article, we have explored the process of uploading files in PHP and discussed various aspects related to handling file uploads securely and efficiently. We started by setting up the HTML form to capture user-selected files and then moved on to handling the file upload in PHP, checking for errors, and validating the file.
We learned how to specify file size and type restrictions to ensure that only valid and safe files are processed. Furthermore, we covered how to move the uploaded file to a specific directory and display appropriate success or error messages to the user.
Additionally, we discussed important considerations and security tips, including limiting file size, validating file type and extension, using secure file paths, sanitizing file names, encrypting sensitive files, implementing file type checking, performing virus scanning, limiting file upload permissions, and securing file upload forms.
By implementing these best practices and taking into account these considerations, you can ensure a secure and reliable file upload functionality in your PHP applications.
Remember to always thoroughly test your file upload functionality and stay updated with the latest security practices to protect against emerging threats.
We hope this article has provided you with valuable insights and guidance for successfully implementing file uploads in PHP. Happy coding!