Introduction
In today’s digital age, storing and managing images in databases is a common requirement for many web applications. If you’re looking to store images in a MySQL database using PHP, you’ve come to the right place. This article will guide you through the process of uploading and storing images in a MySQL database using PHP. By following the steps outlined here, you’ll be able to effortlessly store images in your database for easy retrieval and display on your website.
Storing images in a database has several advantages. It allows for efficient management and organization of images, eliminates the need for manual file handling, and provides a centralized location for storing and accessing images. Additionally, storing images in a database ensures data consistency and simplifies backup and recovery processes.
To accomplish this, we’ll be using PHP, a popular server-side scripting language, to handle the image upload and database interaction. We’ll also make use of MySQL, a reliable and widely-used relational database management system, to store the image data.
However, before diving into the implementation, it’s important that you have a basic understanding of PHP and MySQL. Familiarity with HTML and SQL is also recommended. If you’re new to these technologies, don’t worry – this guide will provide a step-by-step approach, making it easy for beginners to follow along.
So, if you’re ready to learn how to store images in a MySQL database using PHP, let’s get started with the prerequisites.
Prerequisites
Before proceeding with the implementation of storing images in a MySQL database using PHP, there are a few prerequisites you should have in place. This will ensure that you have a smooth and successful execution of the steps outlined in this article.
First and foremost, you’ll need a local or remote server environment capable of running PHP and MySQL. You can set up a local development environment using tools like XAMPP, WAMP, or MAMP, which provide a bundled package with Apache, PHP, and MySQL. Alternatively, you can use a web hosting service that supports PHP and MySQL.
Next, you should have a basic understanding of HTML and PHP. HTML is used for creating the user interface and form for uploading the images, while PHP is used for handling the upload process and interacting with the database.
Additionally, knowledge of MySQL and SQL is essential. You should be familiar with creating a database and table in MySQL, as well as executing SQL queries to retrieve and store data. If you’re not familiar with SQL, don’t worry – we’ll provide the necessary code snippets to guide you through the process.
Furthermore, it’s important to have a working knowledge of file permissions. Ensure that the directory where you’ll be storing the uploaded images has the appropriate write permissions enabled. This will allow PHP to save the images to the desired location.
Lastly, make sure you have a text editor or IDE (Integrated Development Environment) installed on your system. This will enable you to write and edit the code for your PHP and HTML files. Some popular options for text editors include Visual Studio Code, Sublime Text, and Atom.
By having these prerequisites in place, you’ll be ready to move on to the next section and begin implementing the steps to store images in a MySQL database using PHP. So, let’s proceed to the next step: creating a database and table.
Step 1: Create a database and table
The first step in storing images in a MySQL database using PHP is to create a database and table where we’ll store our image data. Follow the steps below to get started:
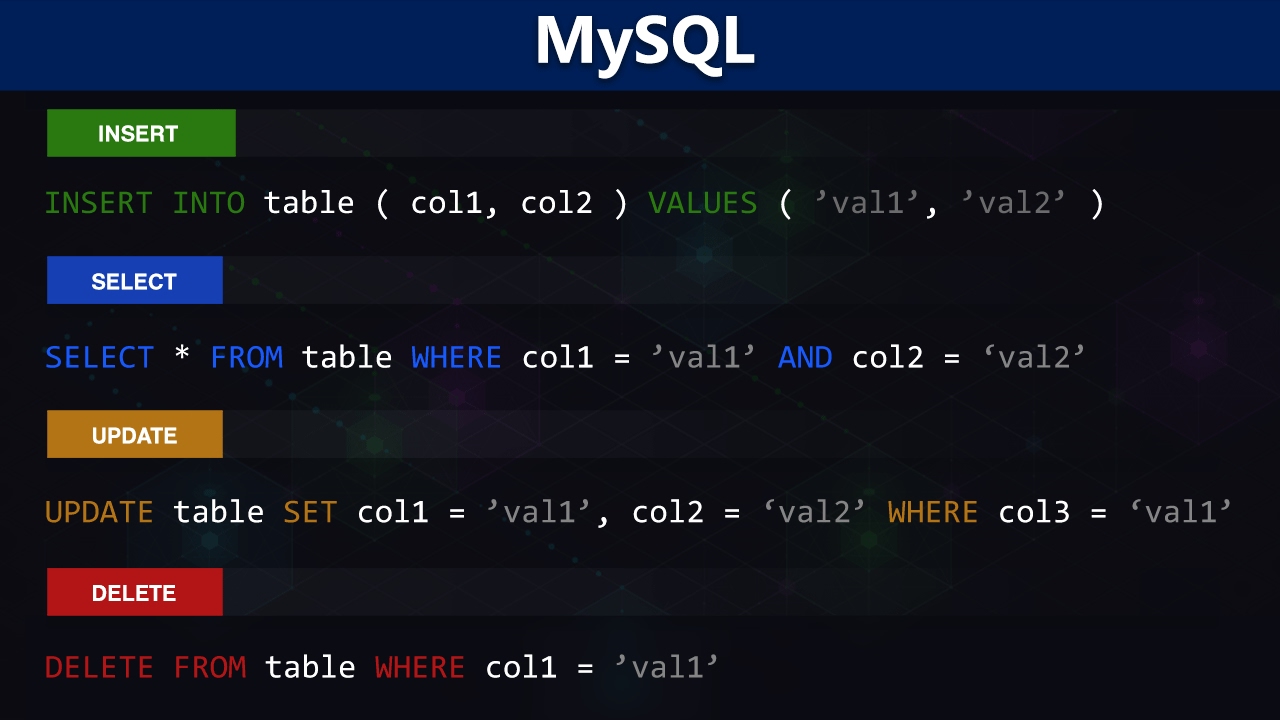
- Log in to your MySQL server using a database management tool like phpMyAdmin or the MySQL command line interface.
- Create a new database by executing the following SQL command:
CREATE DATABASE image_database;Replace “image_database” with your preferred name for the database.
- Select the newly created database by executing the following SQL command:
USE image_database; - Create a table to store the image data by executing the following SQL command:
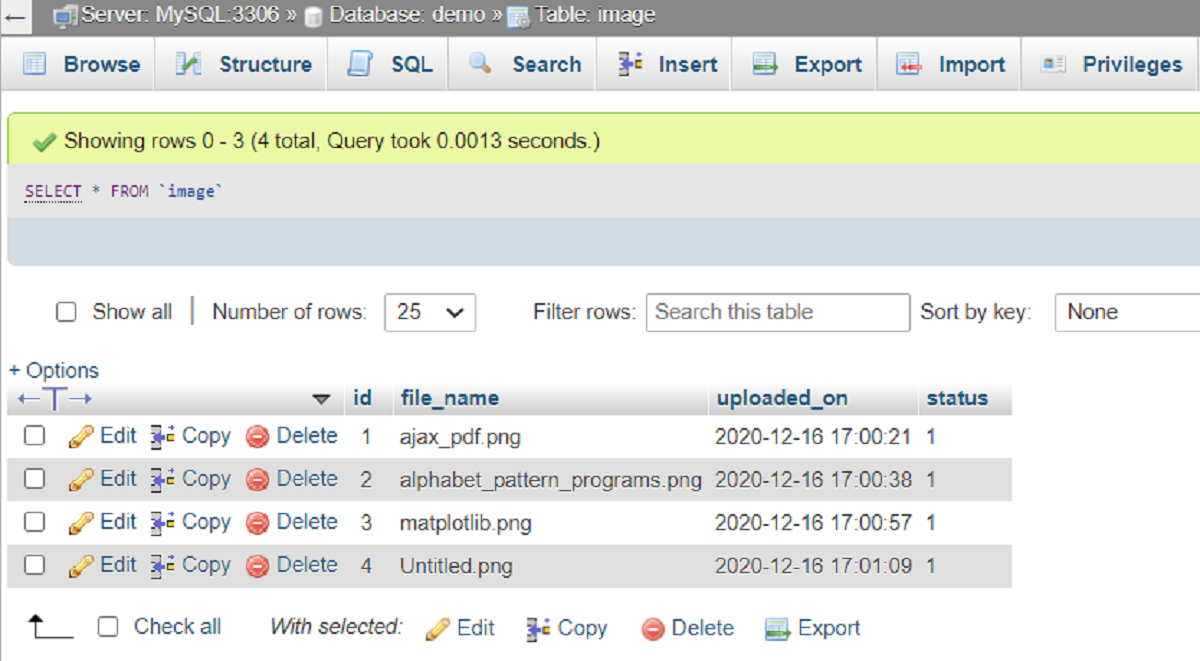
CREATE TABLE images (
   id INT AUTO_INCREMENT PRIMARY KEY,
   image_name VARCHAR(255),
   image_data LONGBLOB,
   image_type VARCHAR(255)
);
This table will have four columns: id (primary key), image_name (to store the file name), image_data (to store the binary image data), and image_type (to store the image MIME type).
That’s it! You have successfully created a database and table to store the image data. In the next step, we will create a form that allows users to upload images to our web application. Stay tuned!
Step 2: Create a form to upload images
Now that we have our database and table set up, we can move on to creating a form that will allow users to upload images to our web application. Follow the steps below to implement the image upload form:
- Create a new PHP file, for example, “upload.php”, and open it in your preferred text editor.
- Add the following HTML code to create the form:
<form action="process_upload.php" enctype="multipart/form-data" method="POST">
  <input type="file" name="image" />
  <input type="submit" name="submit" value="Upload Image" />
</form>
The form has an “action” attribute set to “process_upload.php”, which will be the file responsible for handling the image upload process. The “enctype” attribute is set to “multipart/form-data” to allow file uploads. The form also has an input type of “file” to select the image file and a submit button to initiate the upload.
- Save the file and open it in a web browser. You should see a file input field and an “Upload Image” button.
At this point, you have successfully created the form to upload images. However, we haven’t implemented the functionality to process the uploaded image yet. In the next step, we will handle the image upload process using PHP. So, let’s move on to the next step and create the “process_upload.php” file.
Step 3: Process the uploaded image
In this step, we will implement the functionality to process the uploaded image. We will create a PHP file called “process_upload.php” that will handle the file upload and save it to our server. Follow the steps below to process the uploaded image:
- Create a new PHP file called “process_upload.php” and open it in your preferred text editor.
- Add the following PHP code to handle the file upload:
if(isset($_POST["submit"])) {
  $image = $_FILES["image"];
  $image_name = $image["name"];
  $image_type = $image["type"];
  $image_data = file_get_contents($image["tmp_name"]);

  // Additional validation and checks can be performed here

  // Save the image data to the database
  // Your code to interact with the database and save the image data goes here

  echo "Image uploaded successfully!";
}
The code checks if the form is submitted and retrieves the uploaded image details using the $_FILES superglobal. It then assigns the image name, type, and data to separate variables. The file_get_contents() function is used to read the image data from the temporary file on the server.
- You can add additional validation and checks as per your requirements, such as checking the image file size, file type, or performing any image processing before saving it to the database.
- Replace the comment “// Your code to interact with the database and save the image data goes here” with your actual code to interact with the MySQL database and store the image data. We’ll cover this in the next step.
- Save the file and upload it to your server.
Congratulations! You have successfully implemented the functionality to process the uploaded image. In the next step, we will focus on storing the image data in the MySQL database. So, let’s move on to the next step and learn how to store the image in the database.
Step 4: Store the image in MySQL database
Now that we have successfully processed the uploaded image, it’s time to store the image data in our MySQL database. Follow the steps below to implement the storage of the image in the database:
- In your “process_upload.php” file, after the line “// Your code to interact with the database and save the image data goes here”, add the following code to establish a database connection:
$servername = "localhost";
$username = "your_username";
$password = "your_password";
$dbname = "image_database";

// Create a new database connection
$conn = new mysqli($servername, $username, $password, $dbname);

// Check connection
if ($conn->connect_error) {
    die("Connection failed: " . $conn->connect_error);
}
Replace “your_username” and “your_password” with your actual MySQL username and password.
- Add the following code to insert the image data into the database:
// Prepare the SQL statement
$stmt = $conn->prepare("INSERT INTO images (image_name, image_data, image_type) VALUES (?, ?, ?)");
$stmt->bind_param("sss", $image_name, $image_data, $image_type);

// Set the image data variables obtained from the uploaded image
$image_name = $_FILES["image"]["name"];
$image_data = file_get_contents($_FILES["image"]["tmp_name"]);
$image_type = $_FILES["image"]["type"];

// Execute the prepared statement
if ($stmt->execute()) {
    echo "Image stored in the database successfully!";
} else {
    echo "Error storing the image in the database: " . $stmt->error;
}

// Close the statement and database connection
$stmt->close();
$conn->close();
The code prepares an INSERT SQL statement with placeholders for the image name, image data, and image type. It then binds the variables to the statement. The $_FILES superglobal is used again to retrieve the image details. The execute() method is called to execute the prepared statement and store the image data in the database table.
- Save the file and upload it to your server.
Fantastic! You have now successfully stored the image data in the MySQL database. In the next step, we will retrieve and display the image from the database. So, let’s move on to the final step of this process.
Step 5: Retrieve and display the image from the database
In the final step, we will retrieve the image data from the MySQL database and display it on a web page. Follow the steps below to implement the retrieval and display of the image:
- Create a new PHP file, for example, “display_image.php”, and open it in your text editor.
- Add the following code to establish a database connection:
$servername = "localhost";
$username = "your_username";
$password = "your_password";
$dbname = "image_database";

// Create a new database connection
$conn = new mysqli($servername, $username, $password, $dbname);

// Check connection
if ($conn->connect_error) {
    die("Connection failed: " . $conn->connect_error);
}
Replace “your_username” and “your_password” with your actual MySQL username and password.
- Add the following code to retrieve the image data from the database and display it on the web page:
// Retrieve the image data from the database
$sql = "SELECT image_data, image_type FROM images WHERE id = ?";

$stmt = $conn->prepare($sql);
$stmt->bind_param("i", $image_id);

// Set the image ID based on your requirements
$image_id = 1;

$stmt->execute();
$stmt->bind_result($image_data, $image_type);

if ($stmt->fetch()) {
    // Display the image
    header("Content-type: " . $image_type);
    echo $image_data;
} else {
    echo "Image not found.";
}

// Close the statement and database connection
$stmt->close();
$conn->close();
The code prepares and executes a SELECT SQL query to retrieve the image data from the database based on the specified image ID. The bind_result() method is used to bind the result variables to the retrieved image data and image type. The header() function is used to set the appropriate content type for displaying the image, and the image data is echoed to display it on the web page.
- Save the file, upload it to your server, and open it in a web browser. You should see the image displayed on the page.
Congratulations! You have successfully retrieved and displayed the image from the MySQL database. You have now completed the process of storing and retrieving images in a MySQL database using PHP. Feel free to customize and enhance this functionality to suit your project’s requirements.
Conclusion
In this article, we have explored the process of storing and retrieving images in a MySQL database using PHP. By following the step-by-step instructions, you have learned how to create a database and table to store image data, create an image upload form, process the uploaded image, and store the image data in the database. Additionally, we covered how to retrieve and display the image from the database on a web page.
Storing images in a database offers several benefits, including easier management, centralized storage, and improved data consistency. By utilizing PHP and MySQL, you can seamlessly integrate image uploading and retrieval functionality into your web applications.
It’s important to note that while storing images in a database can be a viable option for smaller applications, for larger projects or those with high image volume, alternative approaches like storing the image files on the server’s file system and storing their paths in the database might be more efficient.
As you continue to develop your PHP and MySQL skills, you can further enhance this functionality by implementing features such as image resizing, validation, and user authentication for secure image uploads. Additionally, consider implementing error handling and graceful error messages to provide a better user experience.
Remember to always sanitize user input and perform proper validation to prevent security vulnerabilities and ensure the integrity of your database. Regularly update and maintain your server environment, including your PHP and MySQL versions, to ensure you’re benefiting from the latest features and security patches.
By following the steps and best practices outlined in this article, you now have the knowledge and tools necessary to store and retrieve images in a MySQL database using PHP. Embrace this newfound capability to enhance your web applications and deliver an engaging user experience.