Introduction
Welcome to the world of PHP and MySQL! As a web developer, being able to connect to a database is a fundamental skill that you need to master. PHP provides a simple and powerful way to establish a connection with a MySQL database, allowing you to interact with and manipulate data.
Database connectivity is essential for many web applications, such as e-commerce websites, content management systems, and online forums. It enables you to store, retrieve, and manage data efficiently, providing a dynamic and interactive experience for users.
In this tutorial, we will walk you through the process of making a connection with a MySQL database using PHP. We will cover the necessary steps to set up a database, establish a connection, execute SQL queries, retrieve data, modify data, and close the connection.
Before we dive into the details, it is important to have a basic understanding of PHP and MySQL. PHP is a server-side scripting language widely used for web development, which can be embedded into HTML code. MySQL, on the other hand, is an open-source relational database management system (RDBMS) that provides a robust and secure environment for storing and managing data.
By the end of this tutorial, you will have a solid understanding of how to establish a connection with a MySQL database using PHP and perform basic database operations. Are you ready to get started? Let’s jump right in!
Setting Up the Database
Before you can establish a connection with a MySQL database, you need to set it up first. This involves creating a new database, defining its structure, and configuring the necessary access credentials. Here are the steps to set up the database:
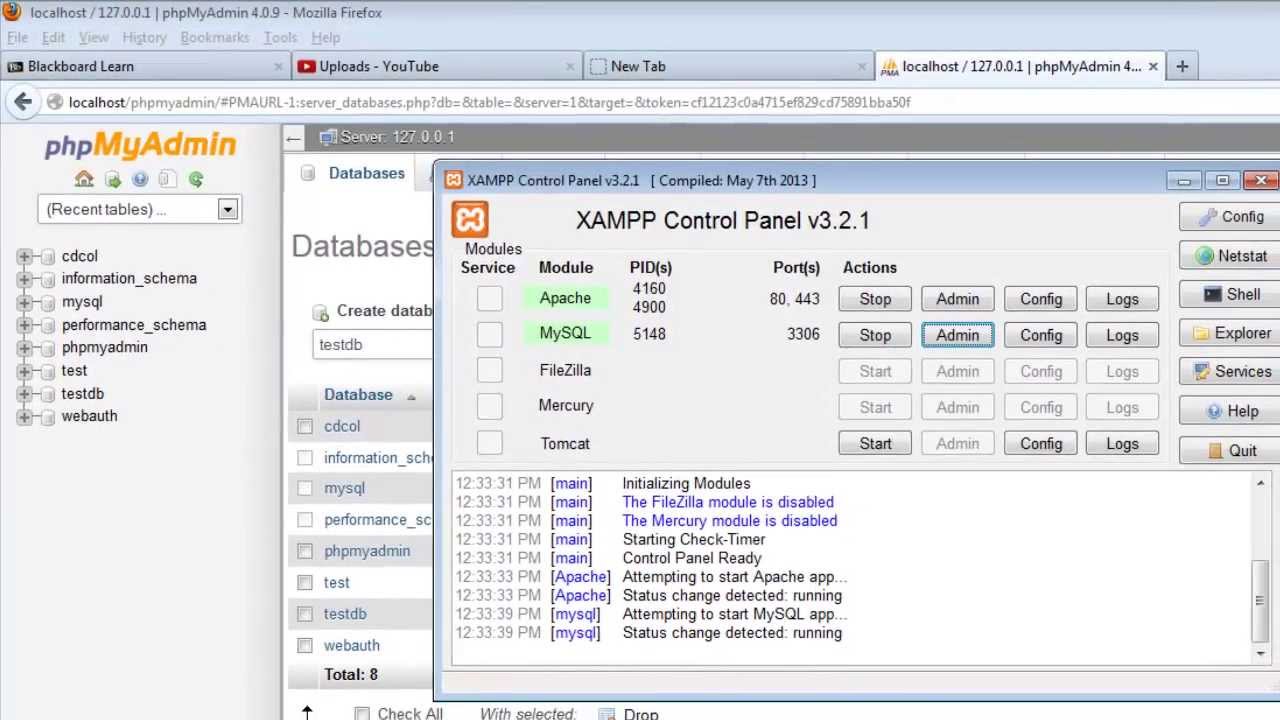
- Create a new database: Log in to your MySQL server using a database administration tool like PhpMyAdmin or the MySQL command line interface. Once logged in, create a new database by running the appropriate SQL command, such as
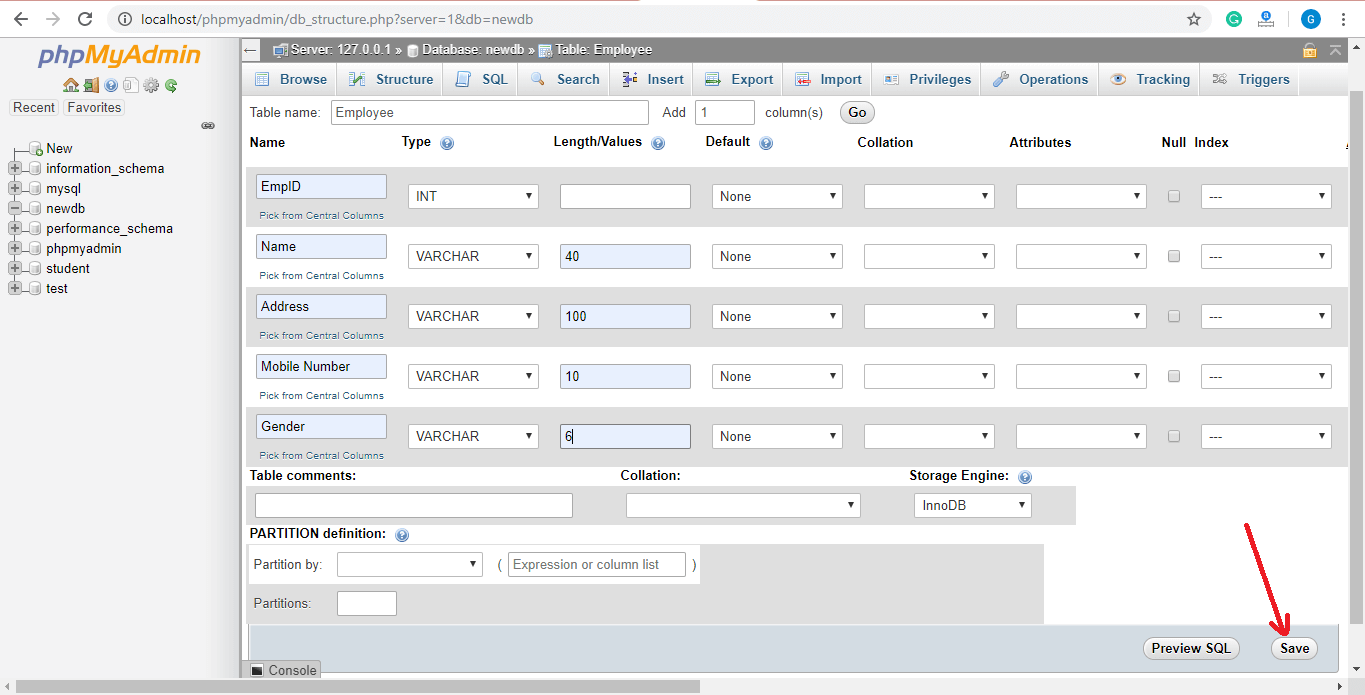
CREATE DATABASE dbname;, where “dbname” is the name of your database. - Create tables: Within the newly created database, you can create tables to store different types of data. Define the structure of each table by specifying the column names, data types, and any constraints like primary keys or foreign keys. Use the
CREATE TABLEstatement to create tables in the database. - Define columns: Each table in the database should have columns that correspond to the different attributes or properties of the data you want to store. Make sure to define the appropriate data types for each column, such as VARCHAR, INT, or DATE, based on the nature of the data you will be storing.
- Set up relationships: If your data requires relationships between different tables, you can establish these relationships by using foreign keys. By linking columns in one table to primary key columns in another table, you can ensure data integrity and enable more advanced queries.
- Configure access credentials: Access to the database should be restricted to authorized users only. Set up a username and password that will be used to connect to the database. Make sure to grant the necessary privileges to the user, such as SELECT, INSERT, UPDATE, and DELETE, depending on the operations you want to perform.
Once you have completed these steps, your database is ready to be connected to using PHP. In the next section, we will discuss how to establish a connection and interact with the database using PHP.
Creating a Connection
To connect to a MySQL database using PHP, you need to establish a connection by providing the necessary connection details. Here are the steps to create a connection:
- Set up connection parameters: Define variables to store the connection details such as the host name, username, password, and database name. These parameters will vary depending on your specific setup.
- Initialize the connection: Use the
mysqli_connect()function in PHP to initialize the connection. Pass in the host name, username, password, and database name as arguments to this function. It will return a connection object that you can use to interact with the database.
Here’s an example of how to create a connection in PHP:
php
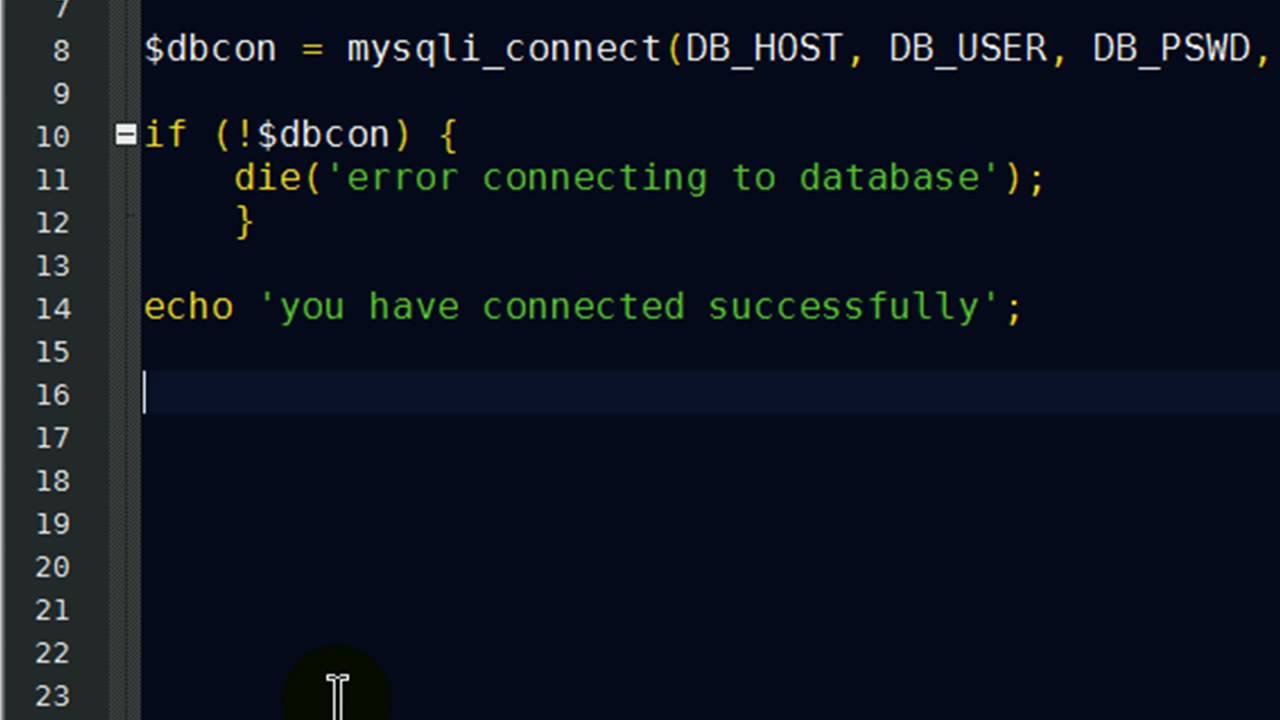
In the code snippet above, replace “yourusername”, “yourpassword”, and “yourdatabase” with your actual login credentials and database name. The mysqli_connect_error() function is used to display an error message if the connection fails.
It is important to ensure that the connection is established successfully before proceeding with any further database operations. The die() function will terminate the execution of the script and display the error message if the connection fails.
Once the connection is created successfully, you can proceed to execute SQL queries, retrieve data, modify data, and perform other operations on the database. We will explore these topics in the following sections.
Establishing the Connection
Once you have set up the connection parameters and initialized the connection object, you can establish the connection to the MySQL database in PHP. This step is essential as it allows you to communicate with the database and perform various operations. Here’s how to establish the connection:
- Define the connection parameters: As mentioned earlier, you need to provide the necessary connection details such as the host name, username, password, and database name. These parameters should be stored in variables to be used in the connection process.
- Create the connection object: Use the
mysqli_connect()function in PHP to create the connection object. Pass in the connection parameters as arguments to this function. It will return a connection object that will be used to execute queries and interact with the database. - Check the connection: After establishing the connection, it is important to check whether the connection was successful. You can use the
mysqli_connect_error()function to get the error message if the connection fails.
Here’s an example of code that establishes a connection to a MySQL database:
php
Make sure to replace “your_username”, “your_password”, and “your_database” with your actual login credentials and database name. The mysqli_connect_error() function is used to display an error message if the connection fails.
Once the connection is established successfully, you are ready to perform various database operations such as executing SQL queries, retrieving data, modifying data, and more. We will explore these topics in the upcoming sections.
Executing SQL Queries
Once you have established a connection to your MySQL database in PHP, you can start executing SQL queries to interact with the database. SQL (Structured Query Language) is a standard language used to communicate with and manipulate databases. Here’s how you can execute SQL queries in PHP:
1. Create a SQL query: Define your SQL query as a string, specifying the action you want to perform. This can include SELECT, INSERT, UPDATE, DELETE, and more. For example, if you want to retrieve data from a table called “users”, your query may look like this:
php
$sql = “SELECT * FROM users”;
2. Execute the query: Use the mysqli_query() function to execute the SQL query. Pass in the connection object and the query string as arguments. This function returns a result set that contains the data returned by the query.
php
$result = mysqli_query($connection, $sql);
3. Check for errors: After executing the query, it’s good practice to check for any errors that may have occurred during the execution. You can use the mysqli_error() function to get the error message if any.
php
if (!$result) {
die(“Query failed: ” . mysqli_error($connection));
}
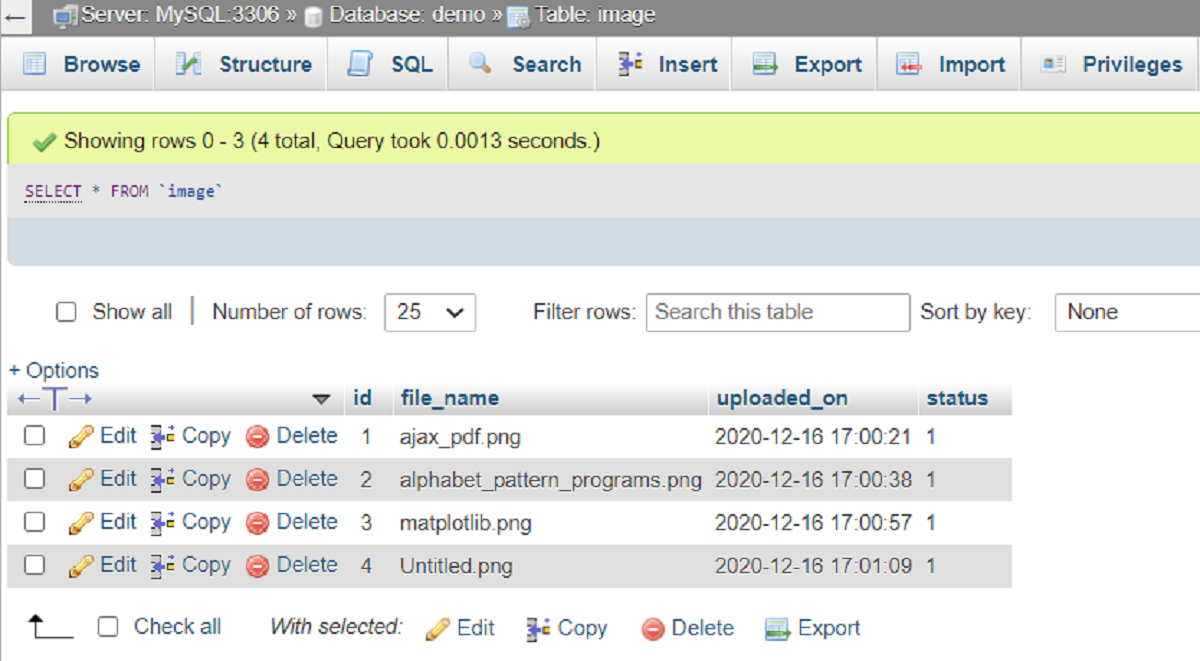
4. Process the result: Depending on the type of query, you can process the result set in different ways. For example, if you executed a SELECT query, you can use a loop to iterate through the rows of the result set and extract the data. If you executed an INSERT or UPDATE query, you can check the number of affected rows to determine if the operation was successful.
Here’s an example that demonstrates the execution of a SELECT query and processing the result set:
php
$sql = “SELECT * FROM users”;
$result = mysqli_query($connection, $sql);
if (!$result) {
die(“Query failed: ” . mysqli_error($connection));
}
if (mysqli_num_rows($result) > 0) {
while ($row = mysqli_fetch_assoc($result)) {
echo “ID: ” . $row[“id”] . ” – Name: ” . $row[“name”] . ” – Email: ” . $row[“email”] . “
“;
}
} else {
echo “No records found”;
}
In the code above, we execute a SELECT query to retrieve data from a “users” table. We use the mysqli_fetch_assoc() function to fetch each row as an associative array, making it easy to access the column values. Finally, we display the retrieved data on the web page.
Executing SQL queries is a crucial part of database interaction in PHP. It allows you to retrieve, insert, update, and delete data from the database. In the next sections, we will explore how to retrieve data from the database and modify data using SQL queries.
Retrieving Data from the Database
Retrieving data from a MySQL database is a common task in web development. PHP provides several tools and functions to execute SQL queries and retrieve data from the database. Here’s how you can retrieve data using PHP:
- Create a SELECT query: Define a SELECT query to specify the data you want to retrieve from the database. The query should include the table name and the columns you want to fetch. For example:
- Execute the query: Use the
mysqli_query()function to execute the SELECT query. Pass in the connection object and the query string as arguments. - Process the result: After executing the query, you can process the result set to retrieve the data. The
mysqli_fetch_assoc()function allows you to fetch each row as an associative array, making it easy to access the column values. Use a loop to iterate through the rows and retrieve the desired data. - Handle empty result: If there are no records fetched from the database, you can handle it by checking the number of rows returned using the
mysqli_num_rows()function. If the result is zero, you can display a message indicating no records found.
php
$sql = “SELECT * FROM users”;
php
$result = mysqli_query($connection, $sql);
php
while ($row = mysqli_fetch_assoc($result)) {
echo “ID: ” . $row[“id”] . ” – Name: ” . $row[“name”] . ” – Email: ” . $row[“email”] . “
“;
}
php
if (mysqli_num_rows($result) == 0) {
echo “No records found”;
}
By following these steps, you can retrieve data from a MySQL database using PHP. The fetched data can be displayed on a webpage or used for further processing, such as generating reports or populating forms.
It’s important to note that data retrieved from the database may require additional processing or validation before being displayed or used in further operations. This helps ensure the security and integrity of the data.
Now that you have learned how to retrieve data from the database, the next section will cover how to modify data through SQL queries using PHP.
Modifying Data in the Database
Modifying data in a MySQL database is a common requirement when developing web applications. PHP offers several tools and functions to execute SQL queries and modify data in the database. Here’s how you can modify data using PHP:
- Create the SQL query: Define the SQL query that specifies the modification you want to make in the database. The query can be an INSERT, UPDATE, or DELETE statement, depending on the type of modification you want to perform.
- Execute the query: Use the
mysqli_query()function to execute the SQL query. Pass in the connection object and the query string as arguments. - Check for success: After executing the query, you can check if the modification was successful. For example, if you executed an INSERT query, you can check the number of affected rows using the
mysqli_affected_rows()function to ensure that the data was inserted properly. - Handle errors: If an error occurs during the execution of the query, you can use the
mysqli_error()function to get the error message and handle it accordingly.
php
$sql = “INSERT INTO users (name, email) VALUES (‘John Doe’, ‘johndoe@example.com’)”;
php
$result = mysqli_query($connection, $sql);
php
if (mysqli_affected_rows($connection) > 0) {
echo “Data inserted successfully”;
} else {
echo “Failed to insert data”;
}
php
if (!$result) {
die(“Query failed: ” . mysqli_error($connection));
}
By following these steps, you can modify data in a MySQL database using PHP. Whether you need to insert new data, update existing records, or delete data from the database, PHP provides the necessary functions to perform these operations.
It’s important to note that when modifying data in the database, it’s crucial to validate and sanitize the input to prevent any security vulnerabilities or data corruption. This includes ensuring that the data meets the required format, checking for uniqueness constraints, and avoiding SQL injection by using prepared statements or input sanitization techniques.
Now that you have learned how to modify data in the database using SQL queries in PHP, you have the basic skills to interact with and manipulate data in a MySQL database. In the next section, we will discuss the importance of closing the database connection.
Closing the Connection
After you have finished working with a MySQL database in PHP, it is important to close the database connection. Closing the connection frees up resources and ensures that the connection is not unnecessarily kept open. Here’s how you can close the connection:
- Call the
mysqli_close()function: Use themysqli_close()function to close the database connection. Pass in the connection object as an argument. - Verify the connection is closed: You can verify that the connection is closed by checking the return value of the
mysqli_close()function, which will betrueif the connection is successfully closed. - Release other resources: Besides closing the database connection, you may also need to release other resources such as file handles or session variables that are associated with the connection.
php
mysqli_close($connection);
php
if (mysqli_close($connection)) {
echo “Connection closed”;
} else {
echo “Failed to close connection”;
}
It is good practice to close the database connection as soon as you are done with it to optimize resource utilization. This helps reduce the load on the database server and improves the overall performance of your application. It also allows other processes to utilize the database server efficiently.
Keep in mind that closing the connection should be done at the appropriate time, such as after executing all the necessary queries or when the script finishes its execution. Leaving the connection open indefinitely can lead to resource depletion and potential security risks.
By properly closing the database connection in PHP, you ensure that resources are released, connections are properly terminated, and your application follows best practices for efficient database management.