Introduction
Welcome to the world of PHP, where you can create dynamic websites and applications with ease. One of the key functionalities of dynamic websites is the ability to store and retrieve data from a database. In this article, we will explore how to create a dynamic database table in PHP.
Whether you are building a content management system, an e-commerce platform, or a custom web application, understanding how to create and manage database tables dynamically will be crucial.
In order to follow along with this tutorial, it is important to have a solid understanding of PHP and MySQL. You should also have a local development environment set up with a web server and a database server.
In the upcoming steps, we will go through the process of setting up the database, creating a connection to the database server, creating the dynamic table, inserting data into the table, and retrieving data from the table. By the end of this tutorial, you will have a clear understanding of how to create and work with dynamic database tables in PHP.
Prerequisites
Before we dive into creating dynamic database tables in PHP, it is important to ensure that you have the following prerequisites in place:
- Understanding of PHP and MySQL: Familiarity with PHP programming language and MySQL database management system is essential. Make sure you have a good understanding of PHP syntax, working with variables, conditional statements, loops, and MySQL queries.
- Local Development Environment: To follow along with this tutorial, you need a local development environment set up on your computer. This typically includes a web server like Apache or Nginx and a database server like MySQL or MariaDB. You can use a preconfigured local development environment like XAMPP or set up each component individually.
- Database Management Tool: You will need a database management tool to interact with the database and execute queries. Popular options include phpMyAdmin, MySQL Workbench, or even the command line if you are comfortable with it.
- PHP Text Editor or IDE: Choose a preferred text editor or integrated development environment (IDE) for writing PHP code. Some popular choices are Sublime Text, Visual Studio Code, and PhpStorm.
Having the prerequisites in place will ensure a smoother learning experience throughout this tutorial. If you are new to PHP and MySQL, it is recommended that you familiarize yourself with the basics before proceeding.
Once you have these prerequisites fulfilled, we can move on to setting up the database and getting started with creating dynamic database tables in PHP.
#####
Step 1: Setting up the Database
Before we can start creating dynamic database tables in PHP, we need to set up the database where our tables will reside. Follow these steps to set up the database:
- Create a Database: Begin by creating a new database in your preferred database management tool. Give your database a meaningful name that relates to your project.
- Tables and Fields: Plan out the structure of your database by determining the tables and fields you will need. Think about the information you want to store and create tables accordingly. Each table should represent a specific entity or concept, and the fields should correspond to the attributes of that entity.
- Primary Keys and Relationships: Decide on the primary keys for each table, which will uniquely identify each record. Also, establish any relationships between tables using foreign keys to ensure data integrity and maintain referential integrity.
- Create the Tables: Use your database management tool’s interface or SQL commands to create the tables in your database. Specify the table name, field names, and their corresponding data types. Make sure to set the primary keys and define any relationships as needed.
Once you have set up your database and created the necessary tables, you are ready to move on to the next step: creating a connection to the database in PHP. This connection will allow us to interact with the database and perform CRUD operations on our dynamic tables.
#####
Step 2: Creating the Connection
Now that we have set up the database, we need to establish a connection between our PHP code and the database. This connection will enable us to execute queries and retrieve data from the tables. Follow these steps to create the connection:
- Database Credentials: Gather the necessary information to establish the connection. This includes the host (usually “localhost” if running locally), username, password, and the name of the database you created in Step 1.
- Connect Using PDO: PHP Data Objects (PDO) is a powerful extension that provides a consistent API for accessing different databases. Use the PDO class to create a new instance and pass in the database credentials as parameters.
- Try-Catch Block: Wrap the connection code within a try-catch block to handle any potential exceptions that may occur. This will help prevent any fatal errors and allow for graceful error handling.
- Testing the Connection: To verify that the connection was successful, you can use the
var_dump()function orechostatements to output a success message or the connection object itself.
Once you have successfully created the connection to the database, you are ready to move on to the next step: creating the dynamic table. This step involves executing SQL queries to create the table structure and define the necessary fields.
#####
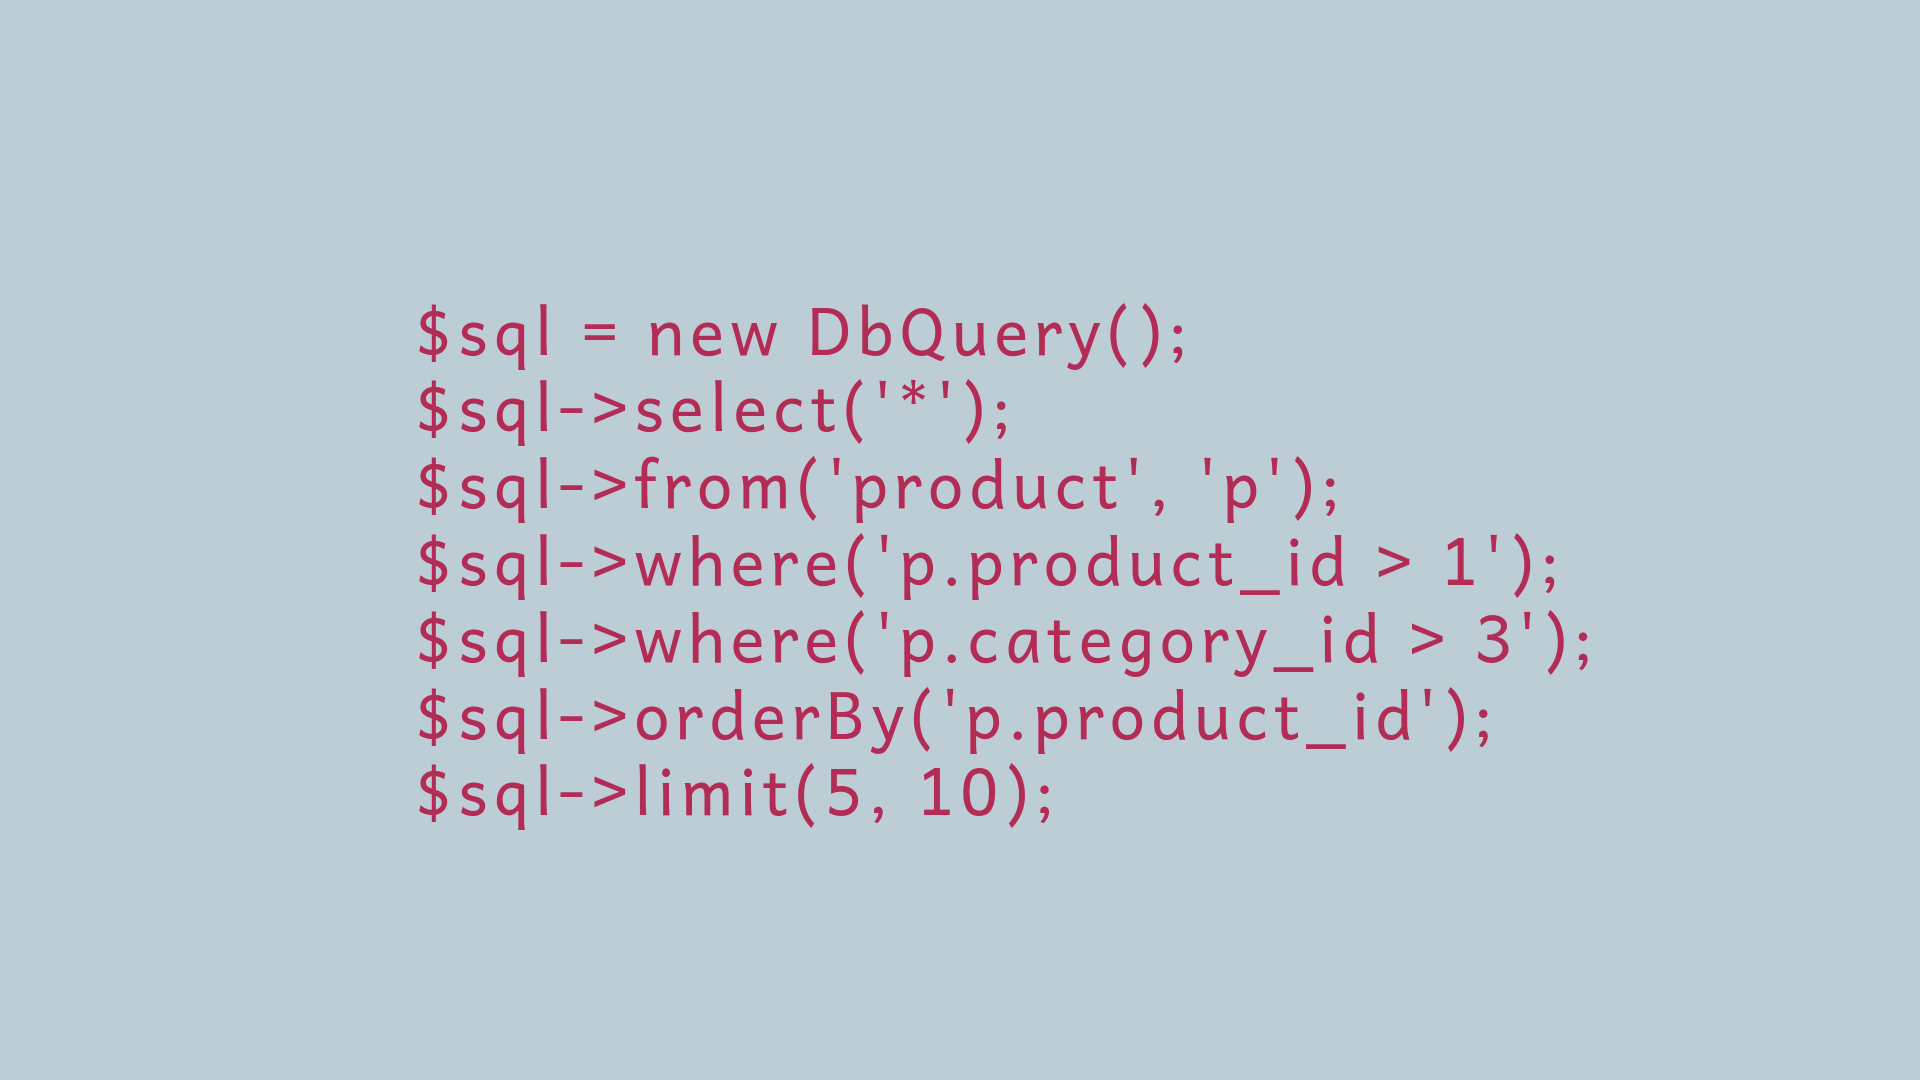
Step 3: Creating the Dynamic Table
With the database connection established, we can now move on to creating the dynamic table in PHP. This step involves executing SQL queries to define the structure and fields of the table. Follow these steps to create the dynamic table:
- Define the Table Name: Choose a suitable name for your table. Make sure it reflects the type of data you want to store.
- Define the Table Structure: Determine the fields and data types for the table. This includes specifying the field name, data type (such as VARCHAR, INT, etc.), and any additional attributes such as the maximum length or default values.
- Build the SQL Query: Construct the SQL query using the CREATE TABLE statement. Include the table name and use the appropriate syntax to define each field within parentheses.
- Execute the Query: Use the PDO connection object to execute the SQL query. This can be done by calling the
exec()method and passing the SQL query as a parameter. - Check for Errors: After executing the query, it is important to check for any errors that may have occurred. You can use the
errorInfo()method provided by PDO to retrieve error information, if any.
Once the dynamic table is successfully created, you can proceed to the next step: inserting data into the table. This will allow you to populate the table with meaningful information that can be retrieved and manipulated later on.
#####
Step 4: Inserting Data into the Table
Now that we have created the dynamic table in PHP, it’s time to insert data into the table. This step involves executing SQL queries to insert records into the table. Follow these steps to insert data into the table:
- Prepare the Insert Statement: Use the PDO connection object to prepare the SQL INSERT statement. This statement includes the table name and placeholders for the values that will be inserted.
- Bind the Values: Bind the actual values to the placeholders in the prepared statement. This can be done using the
bindValue()orbindParam()method, depending on your requirements. - Execute the Query: Execute the prepared statement using the
execute()method provided by PDO. This will insert the data into the table. - Check for Errors: After executing the query, check for any errors by using the
errorInfo()method provided by PDO. This will allow you to handle any errors gracefully. - Repeat for Multiple Records: If you have multiple records to insert, repeat the process for each record by setting the new values and executing the query again.
Once the data is successfully inserted into the dynamic table, you can proceed to the next step: retrieving data from the table. This will enable you to fetch and display the data as needed in your PHP application.
#####
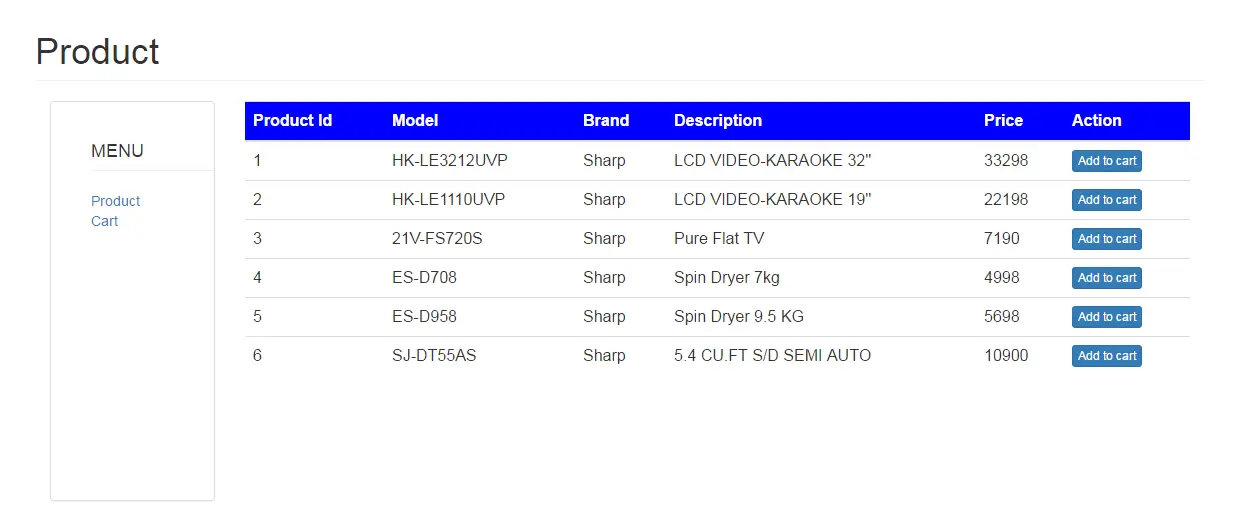
Step 5: Retrieving Data from the Table
After successfully inserting data into the dynamic table, we can now move on to retrieving data from the table in PHP. This step involves executing SQL queries to fetch the desired records from the table. Follow these steps to retrieve data from the table:
- Build the SELECT Query: Construct the SQL SELECT query to specify the fields and conditions for retrieving the data. Use the SELECT statement, the desired field names or “*”, and the table name.
- Execute the Query: Use the PDO connection object to execute the SQL query. This can be done by calling the
query()method and passing the SELECT query as a parameter. - Retrieve the Data: Access the retrieved data using fetch methods provided by PDO. You can choose from
fetch(),fetchColumn(),fetchAll(), or other applicable methods based on your specific needs and expected result set. - Process the Data: Use PHP logic to process the retrieved data as needed. This may involve iterating over the records, applying calculations or formatting, or displaying the data in the desired format.
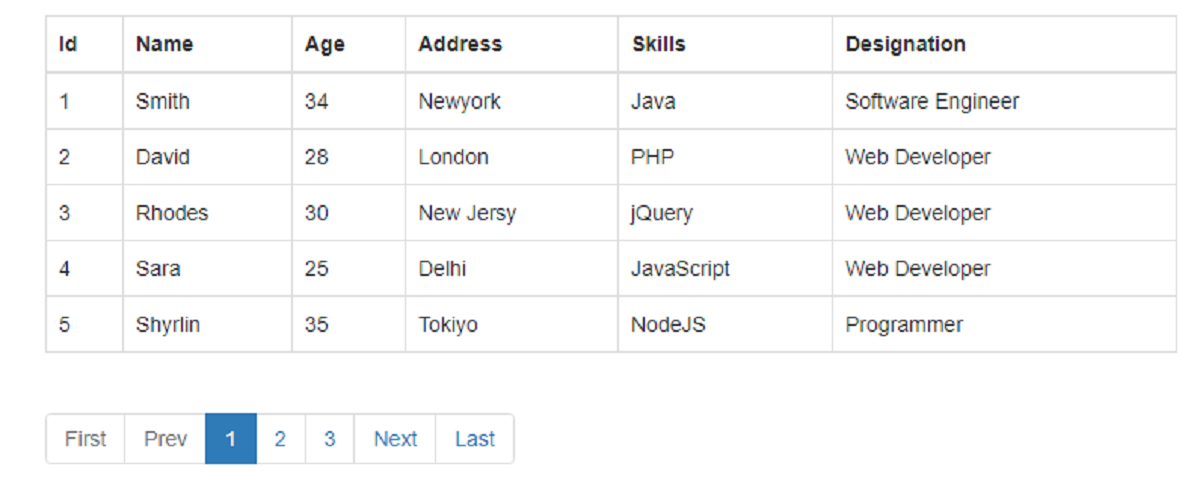
- Display the Data: Present the retrieved data to the user by embedding it into your HTML markup or using appropriate display functions. This can include tables, lists, or any other format that suits your application’s requirements.
With the data successfully retrieved and displayed, you have completed the process of creating a dynamic database table in PHP and working with the data within it. You can now further enhance your PHP application by adding features such as updating, deleting, or searching for specific records within the dynamic table.
Conclusion
Creating dynamic database tables in PHP allows you to build robust and flexible web applications that can store, retrieve, and manipulate data with ease. By following the steps outlined in this tutorial, you have learned how to set up a database, establish a connection to it, create a dynamic table, insert data into it, and retrieve data from it.
With a good understanding of PHP and database concepts, you can extend this knowledge to develop advanced functionalities such as updating, deleting, and searching for records within the dynamic table. Understanding the process of working with dynamic tables opens up possibilities for building content management systems, e-commerce platforms, and custom web applications.
Remember to adhere to best practices when working with databases, such as validating user input, sanitizing data to prevent SQL injection attacks, and implementing proper error handling. These practices ensure the security and stability of your application.
As you continue your journey in PHP development, remember to keep honing your skills and exploring new techniques and tools. Stay up-to-date with the latest advancements in PHP and database technologies to build efficient and scalable applications.
Now that you have acquired the knowledge to create dynamic database tables in PHP, unleash your creativity and put your newfound skills into practice. Happy coding!