Introduction
Connecting a form to a database is a crucial step in web development, especially when you want to store and manage user-submitted data. By combining HTML, PHP, and a database, you can create a dynamic form that saves user input to a database for later retrieval or analysis.
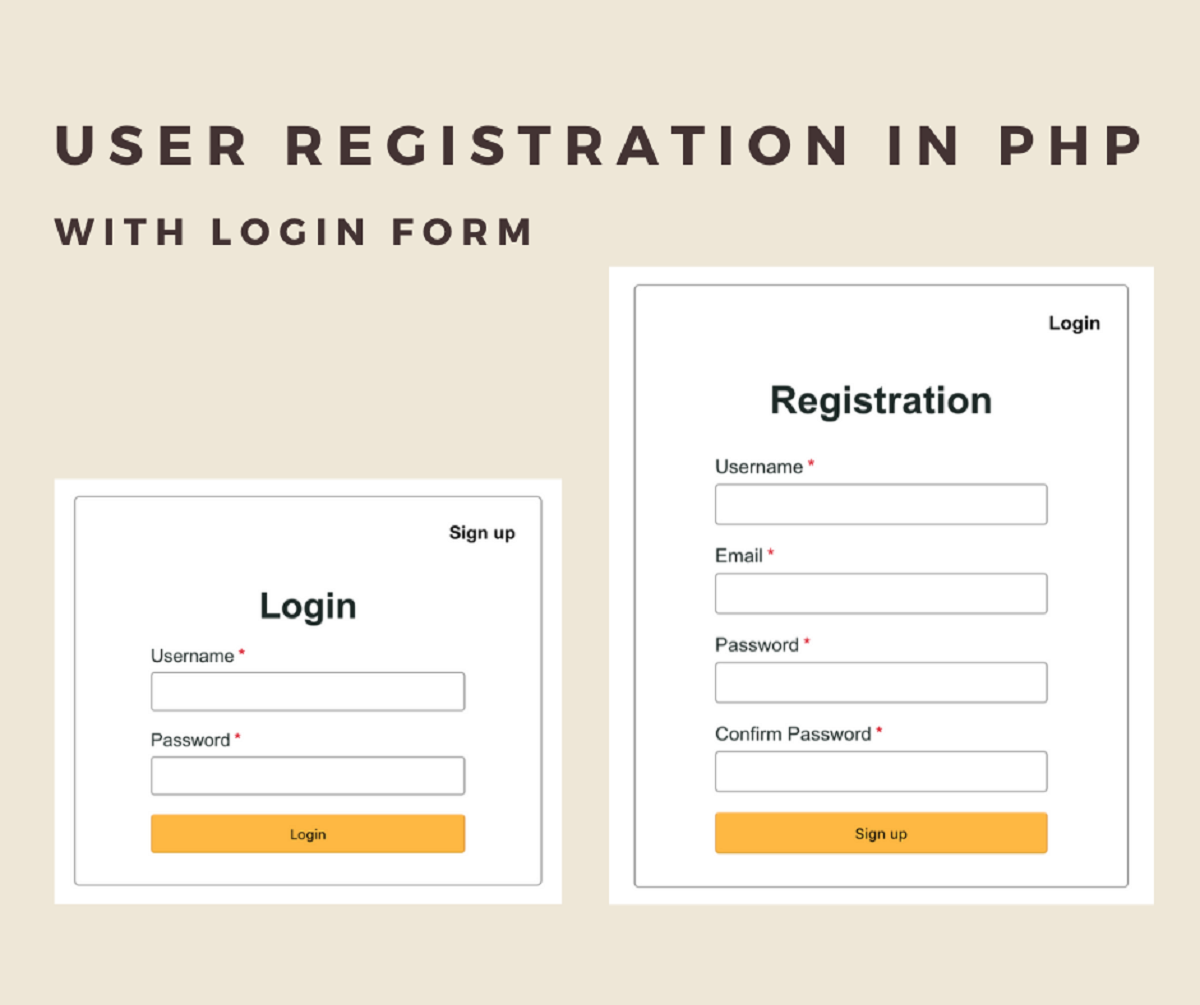
Whether you’re building a simple contact form, a user registration form, or a complex survey, connecting it to a database will allow you to store and manipulate the submitted data efficiently. It provides a seamless way to store, organize, and retrieve information in a systematic manner.
In this tutorial, we will explore how to connect a form to a database using PHP. We will guide you through the step-by-step process, starting from creating the HTML form, setting up the database, writing the PHP scripts, and finally, connecting the form to the database for data insertion.
Before we begin, it is essential to have a basic understanding of HTML, PHP, and databases, particularly the MySQL database. If you’re new to these concepts, no worries! We will explain everything in simple terms, making it easy for beginners to follow along.
By the end of this tutorial, you will have the knowledge and tools necessary to connect your HTML forms to databases, empowering you to gather, store, and analyze user-submitted data effectively.
Prerequisites
Before diving into connecting a form to a database using PHP, there are a few prerequisites you need to have in place. Without these, you may encounter difficulties in following the steps in this tutorial. So, let’s make sure you have the necessary prerequisites set up:
1. Local development environment: You should have a functioning local development environment installed on your computer. This typically includes a web server (such as Apache or Nginx), PHP, and a MySQL database server. You can use packages like XAMPP, WAMP, or MAMP, which bundle these components together for easy installation and configuration.
2. Basic HTML knowledge: Understanding HTML is crucial, as we will be creating an HTML form as part of this tutorial. Familiarity with HTML tags, input fields, form submission, and basic form validation will be helpful.
3. Basic PHP knowledge: Since we’ll be using PHP to process the form data, it’s important to have a basic understanding of PHP syntax, variables, functions, and basic database operations.
4. MySQL database: You’ll need to have a MySQL database server set up. Make sure you have the necessary privileges to create a database and tables. If you’re using a local development environment, it usually comes with phpMyAdmin, a web-based tool to manage MySQL databases.
5. Text editor or integrated development environment (IDE): You’ll need a text editor or an IDE to write and edit your HTML, PHP, and SQL code. There are plenty of options available, such as Visual Studio Code, Sublime Text, or PHPStorm. Choose the one that you’re comfortable with or explore different options to find the best fit for you.
Having these prerequisites in place will ensure a smooth learning experience and enable you to follow along effortlessly. If you’re missing any of the prerequisites, take some time to set them up before proceeding.
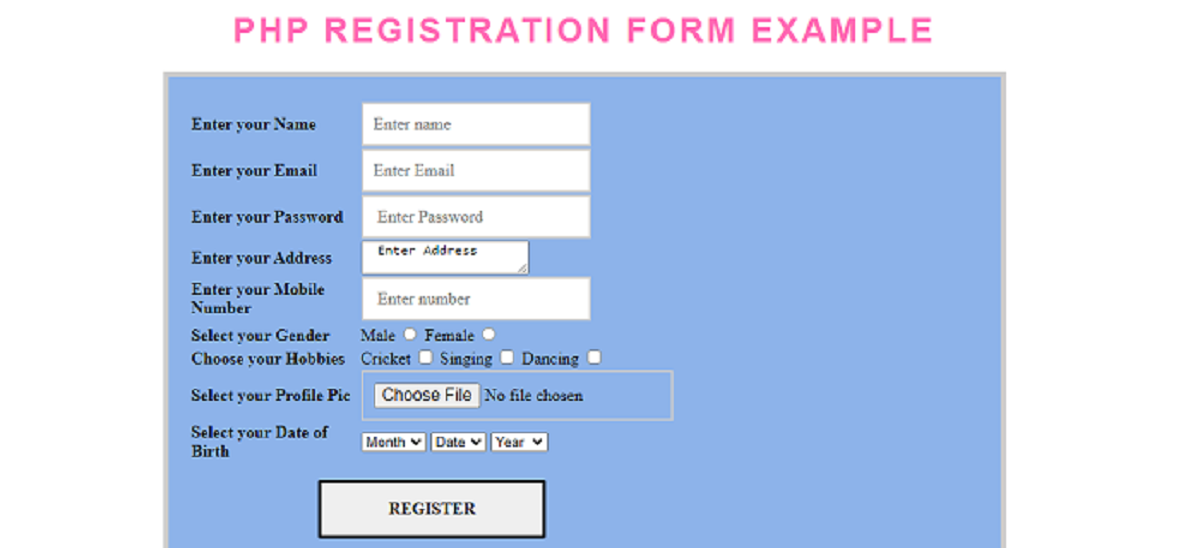
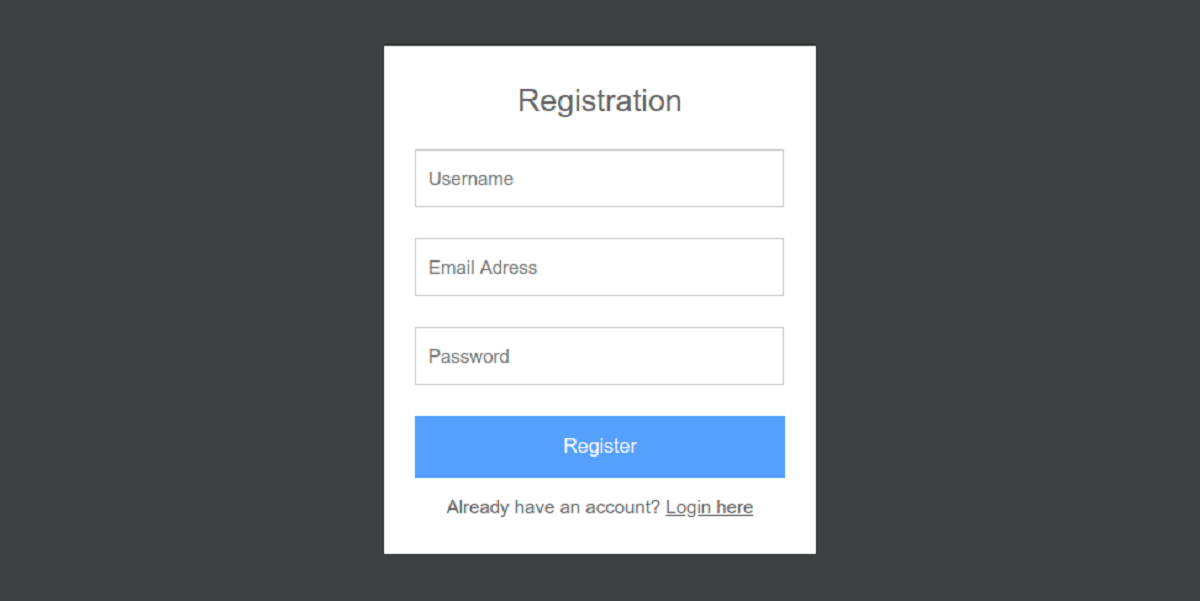
Step 1: Creating the HTML form
The first step in connecting a form to a database using PHP is to create the HTML form itself. The form will collect user input and send it to the server for processing. Follow the steps below to create the HTML form:
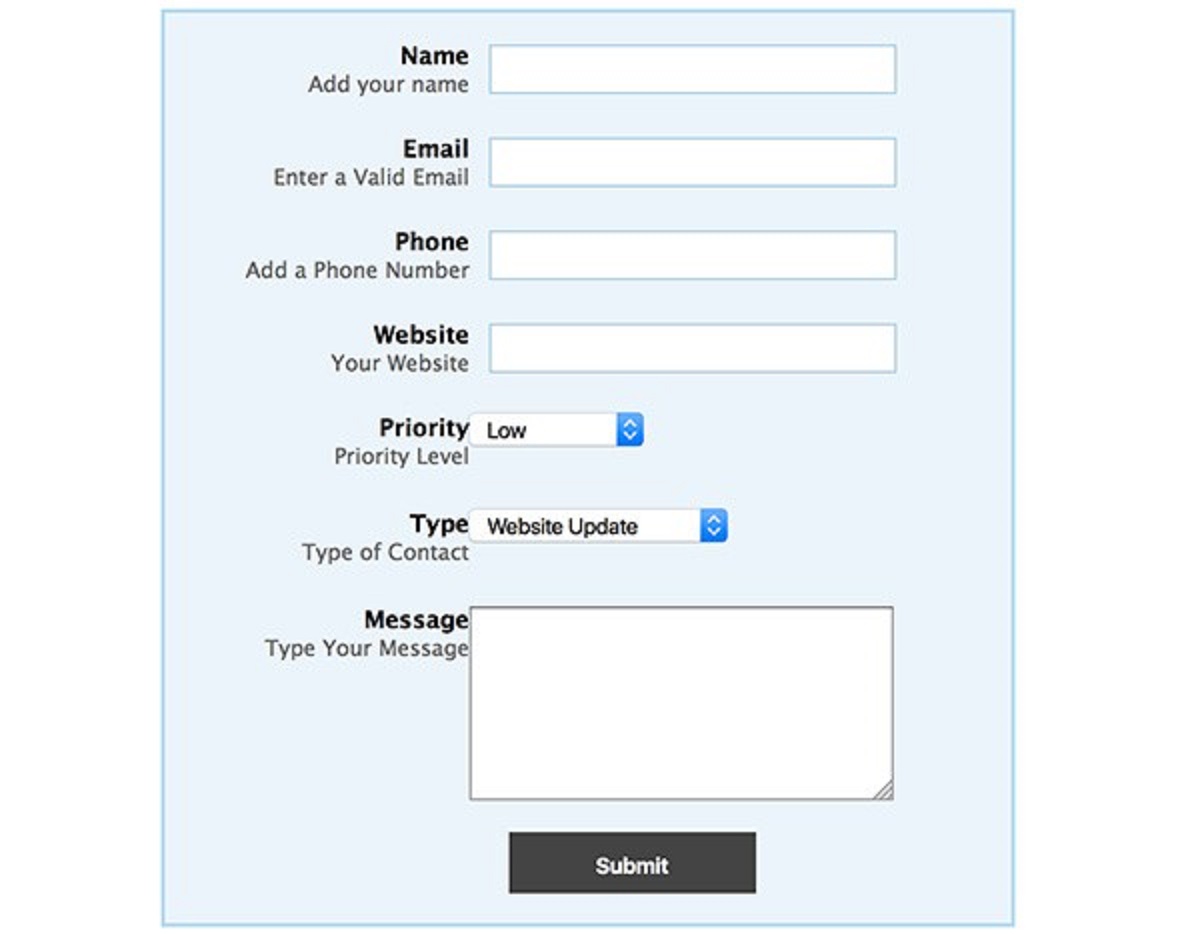
- Open your text editor or IDE and create a new HTML file. You can name it whatever you like, such as “contact.html” or “registration.html”.
-
Inside the HTML file, start by creating the
<form>element. This element will hold all the form inputs and define how the data will be sent to the server. Specify theactionattribute to indicate the PHP file that will process the form. For example:<form action="process_form.php" method="POST"> -
Now, add the various form input fields within the
<form>element. You can use HTML input types like text, email, password, checkbox, etc. For example:<label for="name">Name:</label> <input type="text" id="name" name="name"> -
Repeat step 3 for each input field you want to include in your form, such as email, phone number, message, etc. You can also add labels using the
<label>element to provide descriptions for each field. -
Lastly, add a submit button to allow users to submit the form. You can use the
<input type="submit">or<button type="submit">element for this.
Once you’ve completed these steps, your HTML form is ready. Save the file and open it in a web browser to see how it looks. Try entering values in the form fields and click the submit button to ensure it’s functioning correctly. At this stage, submitting the form will not yet save the data to the database. We will configure that in the subsequent steps.
Step 2: Setting up the database
In order to connect a form to a database using PHP, we first need to set up the database where the form data will be stored. Follow the steps below to set up the database:
- Open your preferred database management tool, such as phpMyAdmin or MySQL Workbench, and create a new database for your form data. You can choose a name that is relevant to your project.
- Once the database is created, create a new table within the database to store the form data. Determine the fields you want to include in the table, such as name, email, phone number, and message. Assign an appropriate data type to each field, for example, VARCHAR for text fields and INT for numeric fields.
- Define any additional constraints or attributes for your fields, such as maximum length, required fields, unique values, etc. This will ensure the integrity and validity of the data.
- Determine which field will serve as the primary key for your table. This primary key will uniquely identify each record in the table and is often an auto-incrementing integer value.
-
Once you have defined the table structure, execute the SQL query to create the table. You can use the following example syntax to create a simple table:
CREATE TABLE form_data (
  id INT AUTO_INCREMENT PRIMARY KEY,
  name VARCHAR(50) NOT NULL,
  email VARCHAR(100) NOT NULL,
  phone VARCHAR(15) NOT NULL,
  message TEXT
);
Congratulations! You have successfully set up the database for your form data. Make sure to note down the database name, table name, and the credentials required to connect to the database. We will use this information in the next steps to establish the connection between the form and the database.
Step 3: Creating the PHP file
To connect a form to a database using PHP, we need to create a PHP file that will handle the form submission and database interaction. This file will receive the form data and process it accordingly. Follow the steps below to create the PHP file:
- Open your text editor or IDE and create a new PHP file. Give it a descriptive name related to your project, such as “process_form.php”.
-
Begin by establishing a connection to the database. Use the appropriate PHP functions or extensions to connect to the MySQL database using the provided database credentials. For example:
$servername = "localhost"; $username = "your_username"; $password = "your_password"; $dbname = "your_database"; $conn = new mysqli($servername, $username, $password, $dbname); if ($conn->connect_error) { die("Connection failed: " . $conn->connect_error); } -
Next, retrieve the form data using the PHP superglobal variable
$_POST. This variable holds an associative array with the form input names as keys and the corresponding values as the values. For example, to retrieve the name input value:$name = $_POST['name']; - If necessary, perform any additional form data validation or sanitization to ensure data integrity and security. This can include checking for empty fields, validating email addresses, or removing any unwanted characters. Use PHP built-in functions or custom validation methods for this purpose.
-
Prepare the SQL query to insert the form data into the database table. Use the appropriate MySQL query syntax to insert the form data into the respective fields. For example:
$sql = "INSERT INTO form_data (name, email, phone, message) VALUES ('$name', '$email', '$phone', '$message')"; -
Execute the SQL query using the
mysqli_query()method of the database connection object. This will run the insert query and store the data in the database table. -
Close the database connection using the
close()method of the connection object to free up server resources. - You can also include additional functionality such as sending email notifications, displaying success or error messages, or redirecting the user to a specific page upon successful submission.
With these steps, you have created the PHP file that will handle the form submission process. The next step is to connect this PHP file to the HTML form and establish the link between the two.
Step 4: Connecting the form to the database
Now that we have the HTML form and the PHP file ready, it’s time to connect the form to the database. This step involves configuring the HTML form to send the form data to the PHP file for processing. Follow the steps below to connect the form to the database:
- Open the HTML form file in your text editor or IDE.
-
Locate the
<form>element in the HTML code. -
Add the
methodandactionattributes to the<form>element. Themethodattribute should be set to “POST” to securely send the form data, and theactionattribute should be set to the path of the PHP file that will process the form. For example:<form action="process_form.php" method="POST"> -
Inside the
<form>element, make sure each form input has a corresponding name attribute. This name attribute should match the keys in the associative array used to retrieve the form data in the PHP file. For example:<label for="name">Name:</label> <input type="text" id="name" name="name"> - Once you’ve made these changes, save the HTML form file.
Congratulations! You have successfully connected the HTML form to the PHP file. Now, when the user submits the form, the form data will be sent to the PHP file for processing and insertion into the database.
In the next step, we will handle the insertion of the form data into the database table and display success or error messages to the user.
Step 5: Inserting form data into the database
In this step, we will write the PHP code to insert the form data into the database table. By executing the appropriate SQL query, we will store the user-submitted data in the database. Follow the steps below to insert the form data into the database:
- Open the PHP file that you created earlier to process the form submission.
- Ensure that the PHP file includes the appropriate database connection code at the beginning. This will establish a connection to the database so that we can execute SQL queries. If you haven’t added the database connection code yet, please refer to “Step 3: Creating the PHP file.”
-
After the database connection code, retrieve the form data using the
$_POSTsuperglobal variable. Use the$_POSTarray to access the values entered in the form fields. Store the values in separate variables. For example:$name = $_POST['name']; $email = $_POST['email']; $phone = $_POST['phone']; $message = $_POST['message']; -
Prepare the SQL query to insert the form data into the database table. Use the
INSERT INTOstatement and specify the table name and column names where the data will be inserted. Use parameterized placeholders to bind the form data values to the SQL statement. For example:$sql = "INSERT INTO form_data (name, email, phone, message) VALUES (?, ?, ?, ?)"; -
Next, prepare the SQL statement by using the
prepare()method of the database connection object. This will create a prepared statement with the SQL query we defined earlier. For example:$stmt = $conn->prepare($sql); -
Bind the form data values to the prepared statement using the
bind_param()method. This will associate the form data with the parameterized placeholders in the SQL statement. For example:$stmt->bind_param("ssss", $name, $email, $phone, $message);Note that the “ssss” in the
bind_param()method represents the data types of the form data values. Modify this according to the actual data types of your form fields. -
Execute the prepared statement using the
execute()method. This will insert the form data values into the database table. For example:$stmt->execute(); -
Close the prepared statement using the
close()method. -
Finally, close the database connection using the
close()method of the connection object.
With these steps, you have successfully inserted the form data into the database table using PHP. This means that when a user submits the form, their data will be stored securely in the database for further processing or analysis.
In the next step, we will handle displaying success or error messages to the user based on the outcome of the form submission process.
Step 6: Displaying success or error message
After inserting the form data into the database, it’s important to provide feedback to the user regarding the success or failure of the form submission. We can accomplish this by displaying appropriate success or error messages on the webpage. Follow the steps below to display success or error messages to the user:
- Open the PHP file that you created earlier to process the form submission.
-
Just after executing the prepared statement to insert the form data, check if the execution was successful. You can do this using an
ifstatement to determine the number of affected rows:if ($stmt->affected_rows) { // Success message } else { // Error message } -
Inside the
ifblock, create a success message using HTML and display it to the user. You can use a simple paragraph or any other HTML element to show the success message. For example:echo "<p>Form submission successful! Thank you for your submission.</p>"; -
If the form submission was unsuccessful, inside the
elseblock, create an error message using HTML and display it to the user. This message can indicate what went wrong with the form submission. For example:echo "<p>Sorry, form submission failed. Please try again later.</p>";
With these steps, you can provide immediate feedback to the user after submitting the form. They will see a success message if the form data was inserted successfully and an error message if there was any issue with the form submission process.
Congratulations! You have successfully connected a form to a database using PHP. The user-submitted data will now be securely stored in the database for future reference or analysis. Feel free to customize the success and error messages as per your requirements or add additional functionality to enhance the user experience.
Conclusion
In this tutorial, we have learned how to connect a form to a database using PHP. By following the step-by-step instructions, you now have the knowledge and skills to create a dynamic form that securely stores user-submitted data in a database for further processing or analysis. Let’s recap the main points covered in this tutorial:
- We started by creating an HTML form that collects user input and sends it to a PHP file for processing.
- We set up a database and created a table to store the form data.
- We wrote a PHP file to handle the form submission, establish a database connection, and insert the form data into the database table.
- We connected the HTML form to the PHP file by specifying the file path in the form’s action attribute.
- We displayed success or error messages to the user based on the outcome of the form submission process.
By connecting a form to a database, you can collect and manage user data more efficiently. This opens up numerous possibilities, such as creating contact forms, user registration forms, newsletter sign-ups, surveys, and more. Remember to implement proper data validation, sanitation, and security measures to protect against any potential vulnerabilities.
As you continue your journey in web development, you may encounter more advanced techniques and best practices related to form and database interactions. Stay curious, keep exploring, and stay up-to-date with the latest technologies and trends.
Now it’s time to take what you’ve learned and apply it to your own projects. Start connecting your forms to databases and see how it can enhance the functionality and usability of your web applications. Happy coding!