Introduction
Welcome to the world of web development! Creating a registration form is an essential step in building any website that requires user registration and authentication. In this article, we will explore how to create a registration form using PHP code. Whether you’re a beginner or an experienced developer, this step-by-step guide will help you understand the process of creating a registration form and storing user information in a database.
Before diving into the code, it’s important to have a basic understanding of HTML, PHP, and databases. HTML is the markup language used to create the structure and elements of a web page. PHP is a server-side programming language that allows you to process data and interact with databases. To create the registration form, we will utilize HTML to create the form elements and PHP to handle form submission and data validation.
By the end of this article, you will have a clear understanding of the steps involved in creating a registration form, validating user input, connecting to a database, and storing user information securely. Let’s get started by setting up the necessary prerequisites.
Prerequisites
Before you begin creating the registration form in PHP, there are a few prerequisites you should have in place:
- Web Server: You will need a web server that supports PHP. Popular options include Apache, Nginx, and IIS. Ensure that PHP is installed and configured correctly on your server.
- Database: Choose a database management system (DBMS) like MySQL, PostgreSQL, or SQLite. Install and set up the database on your server.
- Text Editor or IDE: You will need a text editor or an integrated development environment (IDE) to write and edit your PHP code. Examples include Visual Studio Code, Sublime Text, or PhpStorm.
Additionally, having a basic understanding of HTML, PHP, and SQL will be beneficial. Familiarize yourself with HTML form elements and attributes as well as PHP’s syntax and basic programming concepts. It’s also helpful to understand how to execute SQL queries to interact with your database.
If you’re new to any of these technologies, don’t worry! There are plenty of online tutorials and documentation available to help you get started. Taking some time to learn the basics will greatly enhance your ability to create a functional and secure registration form.
Now that you have the necessary prerequisites in place, let’s move on to setting up the project and creating the HTML form.
Setting up the Project
Before we start creating the registration form, let’s set up our project environment:
- Create a new folder: Choose a location on your computer where you want to store your project. Create a new folder and give it a relevant name, such as “RegistrationForm”.
- Start your web server: Ensure that your chosen web server is running. This will allow you to run the PHP code and view the HTML form in your browser.
- Open your text editor/IDE: Open your preferred text editor or integrated development environment. Navigate to the project folder you just created and create a new PHP file named “index.php”. This will serve as the entry point of our project.
- Link the CSS file (optional): If you want to apply custom styles to your registration form, create a new “style.css” file in the project folder. You can link this CSS file to your HTML form later.
With the project set up, you’re now ready to start building the HTML form!
In the next section, we will create the HTML form elements and structure them to collect user data. Stay tuned!
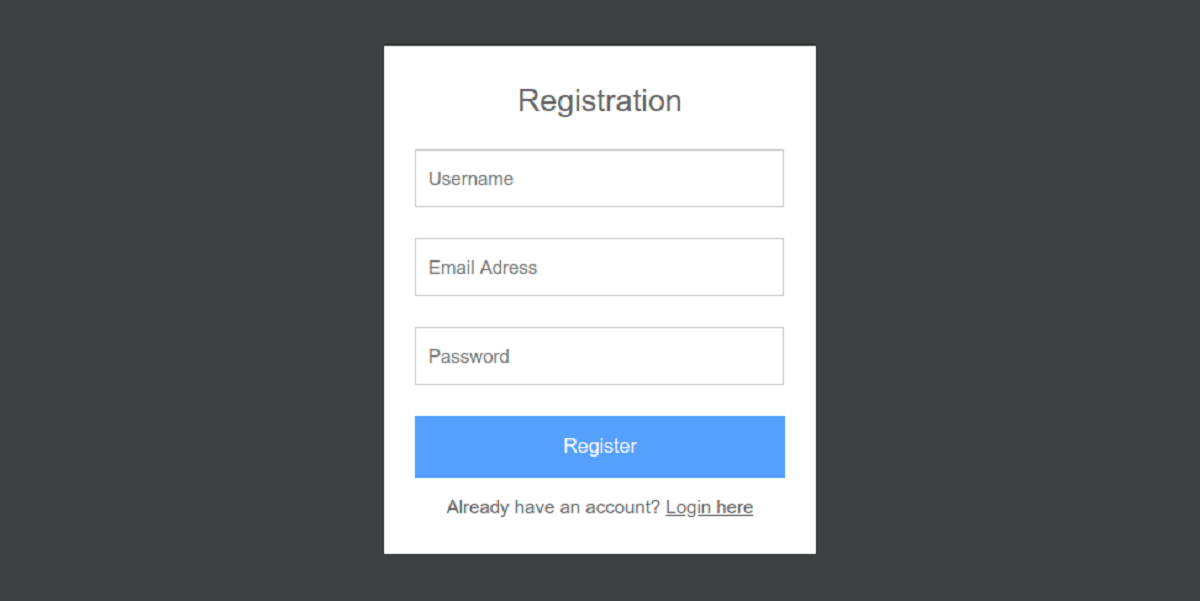
Creating the HTML Form
Now that we have our project set up, let’s start creating the HTML form for user registration:
- Open the “index.php” file: Open the “index.php” file in your text editor/IDE.
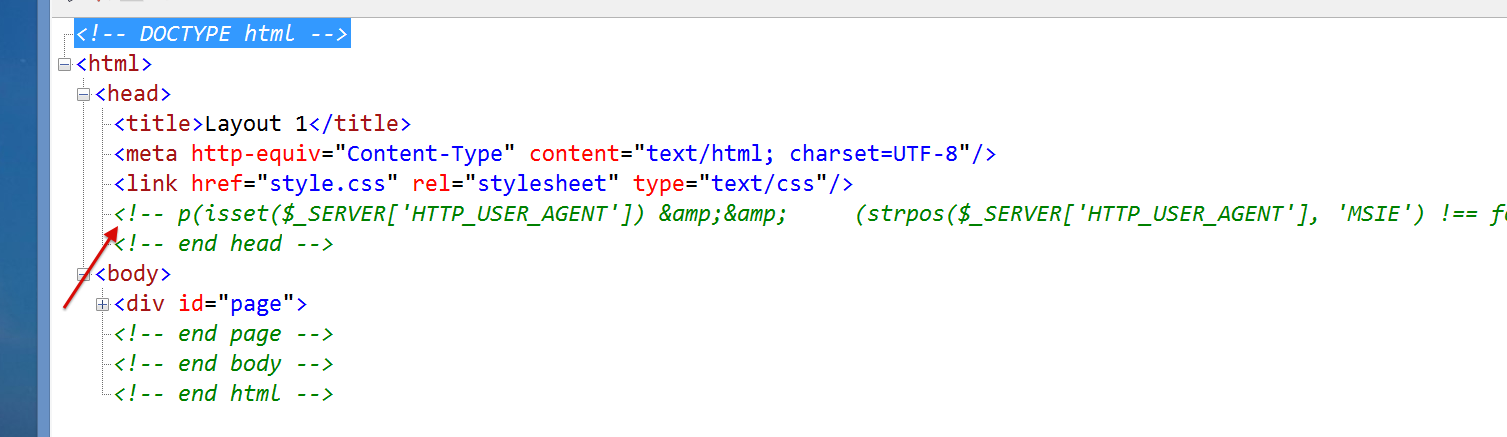
- Add the HTML boilerplate: Start by adding the HTML5 doctype declaration and opening the “html” tags. Inside the “html” tags, open the “head” and “body” tags.
- Set the page title: Within the “head” tags, add the “title” tags and set the title of your page, such as “User Registration Form”.
- Create the form: Within the “body” tags, create the “form” element. Set the “action” attribute to point to the PHP file that will handle form submission (we will create this later). Specify the “method” attribute as “post” for more secure data transfer.
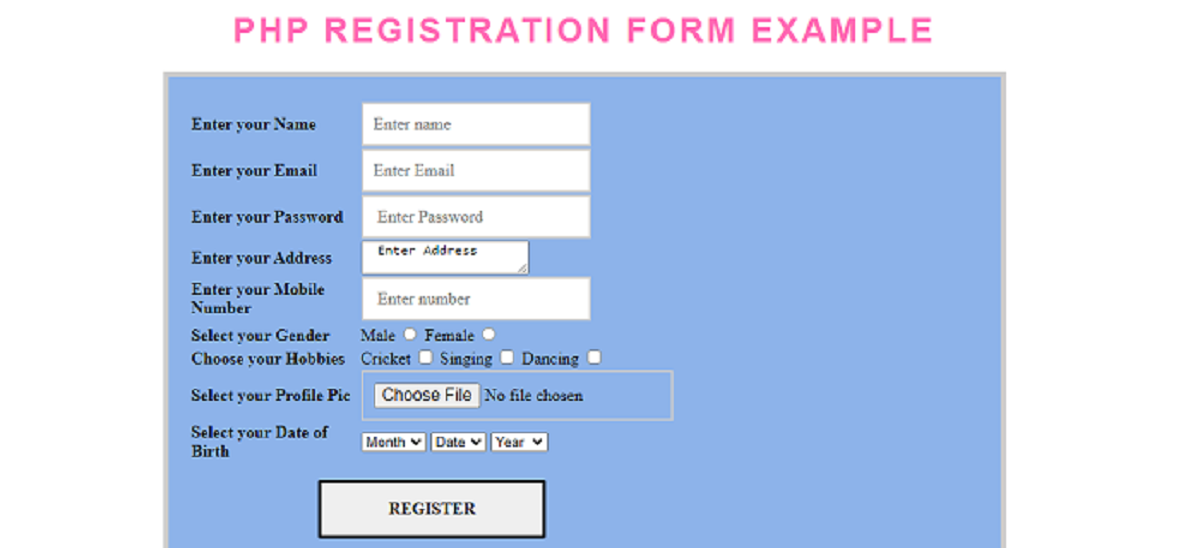
- Add form fields: Inside the “form” element, add different form fields like “input”, “select”, and “textarea” to collect user information. Include fields like “name”, “email”, “password”, etc., depending on your requirements.
- Add form buttons: Include buttons like “Submit” and “Reset” to allow users to submit the form or reset the entered data.
- Apply CSS styling (optional): If you created a separate CSS file, link it to the HTML file to style the form elements, layout, and overall appearance. Use CSS to make the form visually appealing and user-friendly.
By following these steps, you can create a basic HTML registration form. Make sure to provide appropriate labels, add validation and formatting where necessary, and consider implementing additional security measures like CAPTCHA to prevent spam.
In the next section, we will explore how to validate the form data using PHP. Stay tuned!
Validating the Form Data
Once the user submits the registration form, it becomes crucial to validate the entered data to ensure its integrity and accuracy. Here’s how you can perform form validation using PHP:
- Open the PHP file: Create a new PHP file, let’s name it “register.php”, and open it in your text editor/IDE.
- Retrieve form data: In the “register.php” file, use the PHP superglobal variable
$_POSTto retrieve the submitted form data. For example, if the name field is named “full_name”, you can access it as$_POST['full_name']. - Validate the data: Implement validation rules for each form field. For instance, you can verify that the name field is not empty, the email field is in the correct format, and the password field meets certain criteria (e.g., minimum length).
- Display error messages: If any of the form fields fail validation, store the error messages in an array and display them to the user. You can use HTML and CSS to format and style the error messages.
- Redirect or proceed: If all form fields pass validation, you can proceed to the next step, such as connecting to the database and storing the user information. Alternatively, you can redirect the user to a different page or show a success message.
Remember, form validation must be done both on the client-side (using JavaScript) and the server-side (using PHP). Client-side validation helps improve user experience by providing instant feedback, while server-side validation ensures data integrity and security.
In the next section, we will discuss how to connect to the database and store the user information securely. Stay tuned!
Connecting to the Database
Once the form data has been validated, the next step is to connect to a database to store the user information securely. Here’s how you can connect to a database using PHP:
- Choose a DBMS: Determine which database management system (DBMS) you want to use, such as MySQL, PostgreSQL, or SQLite.
- Install the necessary extensions: Ensure that the PHP extension for your chosen DBMS is installed and enabled on your server. For example, if you’re using MySQL, you’ll need the
mysqlormysqliextension. - Create a database and table: Use your DBMS’s administration tool (phpMyAdmin, pgAdmin, etc.) to create a new database and a table to store the user information. Define the appropriate columns for each field (name, email, password).
- Connect to the database: In your PHP file, establish a connection to the database using the appropriate functions or classes provided by your DBMS’s PHP extension.
- Handle connection errors: Check if the connection to the database is successful. If any errors occur, display an appropriate error message to the user.
Connecting to a database is a critical step to ensure that user information is stored securely and can be accessed later. It allows you to leverage the powerful features of a database system, such as querying, updating, and managing data.
In the next section, we will discuss how to store the user information in the database. Stay tuned!
Storing User Information
Once the connection to the database has been established, the next step is to store the validated user information securely. Here’s how you can store user information in a database using PHP:
- Retrieve the validated form data: In your PHP file, retrieve the validated form data from the
$_POSTsuperglobal or from the variables where you stored the validated data. - Prepare the SQL query: Use SQL statements (such as INSERT) to define the query that will insert the user information into the database table. Make use of prepared statements or parameterized queries to prevent SQL injection attacks.
- Execute the SQL query: With the prepared query, execute it using the appropriate function or method provided by your chosen DBMS’s PHP extension. This will insert the user information into the database.
- Handle database errors: Check if the execution of the query was successful. If any errors occur, display an appropriate error message to the user.
It’s essential to handle user information with care and follow industry best practices for data security. Avoid storing passwords in plaintext and consider implementing additional measures such as password hashing and salting to enhance the security of user data.
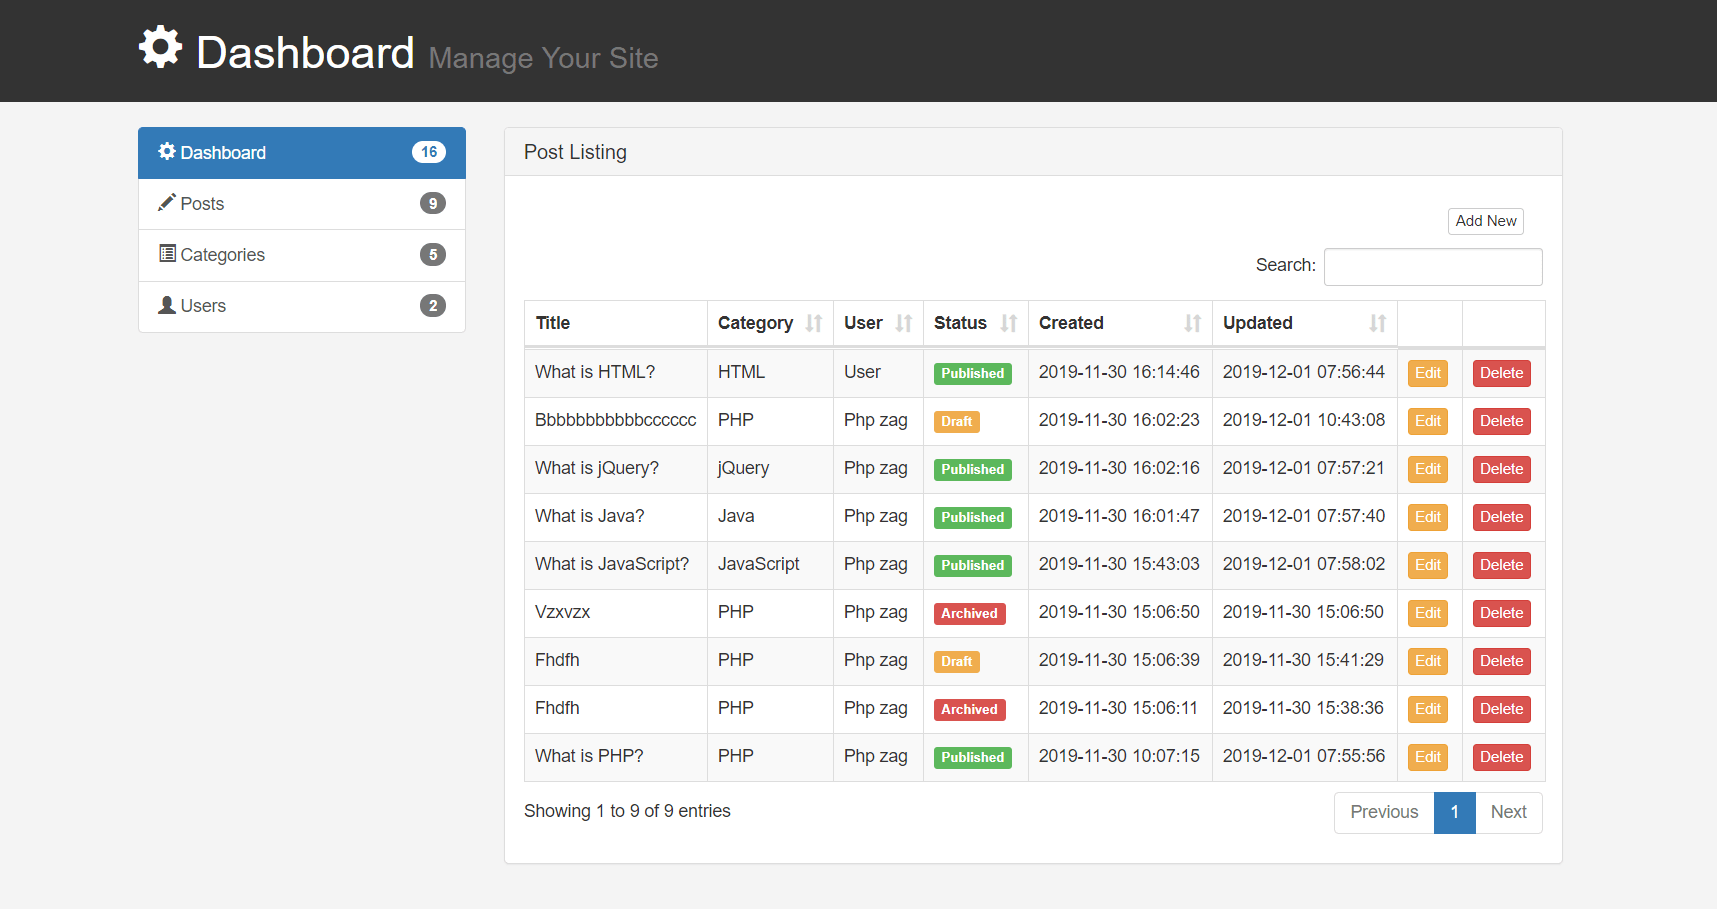
By storing user information in a database, you can provide a secure and reliable system for user registration and management. It also allows you to retrieve and utilize this information in other parts of your website or application.
In the next section, we will discuss how to display a success message to the user after successful form submission. Stay tuned!
Displaying Success Message
After successfully storing the user information in the database, it’s important to provide users with a confirmation or success message to let them know that their registration was successful. Here’s how you can display a success message using PHP:
- Create a success message: Define a success message that will be displayed to the user after the form submission. You can create a variable in your PHP file to store the success message.
- Redirect or display success message: Decide whether you want to redirect the user to a different page or display the success message on the same page. If you choose to redirect, use the
header()function to redirect to a different page. If you choose to display the message on the same page, include the success message in the HTML content.
Incorporating styling and formatting to the success message can enhance the user experience. You can use CSS or HTML formatting tags to make the success message more prominent or visually appealing.
Displaying a success message not only confirms to users that their registration was successful, but it also provides a positive and reassuring experience. It helps in building trust and can encourage users to further engage with your website or application.
In the next section, we will summarize the key points discussed in this article. Stay tuned!
Conclusion
Congratulations! You have now learned how to create a registration form in PHP and store user information securely in a database. Let’s recap the key points covered in this article:
- Setting up the prerequisites: Ensure you have a web server, a database management system, and a text editor or IDE.
- Creating the HTML form: Use HTML to structure and design the registration form, including form fields and buttons.
- Validating the form data: Implement PHP code to validate user input, checking for errors and displaying appropriate error messages.
- Connecting to the database: Establish a connection to the database using the PHP extension for your chosen DBMS.
- Storing user information: Retrieve the validated form data and execute an SQL query to insert the data into the database table.
- Displaying a success message: Provide users with a confirmation message or redirect them to a success page after a successful registration.
Remember, web development is an ongoing learning experience. Take time to explore further and enhance your skills by learning more about form validation, database interactions, and security best practices.
By implementing these techniques, you can create robust and secure registration forms that allow users to join your website or application. With the ability to store and manage user information, you can build more personalized and engaging experiences for your users.
Thank you for reading this guide! Happy coding!