Introduction
Welcome to this guide on how to include PHP in HTML! If you’re looking to bring dynamic and interactive elements to your website, PHP is a powerful scripting language that can help you achieve just that. PHP allows you to embed server-side code directly into your HTML files, giving you the ability to perform calculations, access databases, and create dynamic content.
PHP, which stands for Hypertext Preprocessor, is widely used for web development due to its simplicity and versatility. It is an open-source scripting language that is executed on the server side, meaning that it runs on the hosting server before the HTML is sent to the user’s browser. This allows for dynamic content generation, database connections, and other server-side functionalities.
In this guide, we will explore the various ways to include PHP in HTML and demonstrate how you can leverage its capabilities to create dynamic and interactive web pages. Whether you are a beginner looking to get started with PHP or an experienced developer seeking to enhance your skills, this guide will provide you with the knowledge and resources necessary to master this essential web development language.
Throughout this guide, we will cover the basics of embedding PHP code within HTML, utilizing PHP in forms to collect and process user data, accessing and displaying data from databases, and handling PHP errors within HTML. By the end of this guide, you will have a solid foundation in using PHP within your HTML files and be able to bring your websites to life with dynamic content.
So, let’s dive in and discover the incredible possibilities that PHP can offer when integrated into HTML!
What is PHP?
PHP, short for Hypertext Preprocessor, is a widely-used server-side scripting language primarily designed for web development. It was created by Rasmus Lerdorf in 1994 and has since evolved into a powerful tool for building dynamic and interactive websites.
As a server-side language, PHP is executed on the web server before the HTML is sent to the user’s browser. This allows PHP to perform various tasks such as querying databases, processing form data, and dynamically generating web content.
One of the key features of PHP is its versatility. It can be seamlessly integrated with HTML, allowing developers to embed PHP code directly within their HTML documents. This makes it easy to combine the power of PHP with the flexibility of HTML for creating dynamic web pages.
PHP is known for its ease of use and beginner-friendly syntax. Its syntax resembles other popular languages like C and Perl, making it relatively straightforward for developers to learn and use effectively. Furthermore, PHP has a large and active community of developers, which means there is an abundance of resources, libraries, and frameworks available to assist in web development projects.
Another advantage of PHP is its compatibility with a wide range of web servers and operating systems. Whether you’re using Apache, Nginx, or Microsoft IIS, PHP can run seamlessly on different platforms without requiring major modifications.
Moreover, PHP boasts excellent database support, enabling developers to connect to various databases such as MySQL, PostgreSQL, SQLite, and more. This allows for the efficient storage and retrieval of data, making PHP an excellent choice for building dynamic web applications that rely on databases.
Overall, PHP is a powerful language for creating dynamic and interactive web pages. Its simplicity, compatibility, and extensive ecosystem of tools and resources make it a popular choice for both beginners and experienced developers. In the next sections, we will explore how to integrate PHP seamlessly into HTML and unlock its full potential for web development.
Getting Started with PHP in HTML
If you’re new to PHP and want to start integrating it into your HTML files, fear not! It’s a relatively straightforward process. Before we dive into the specifics, make sure that you have a web server installed on your computer or have access to a web hosting service that supports PHP.
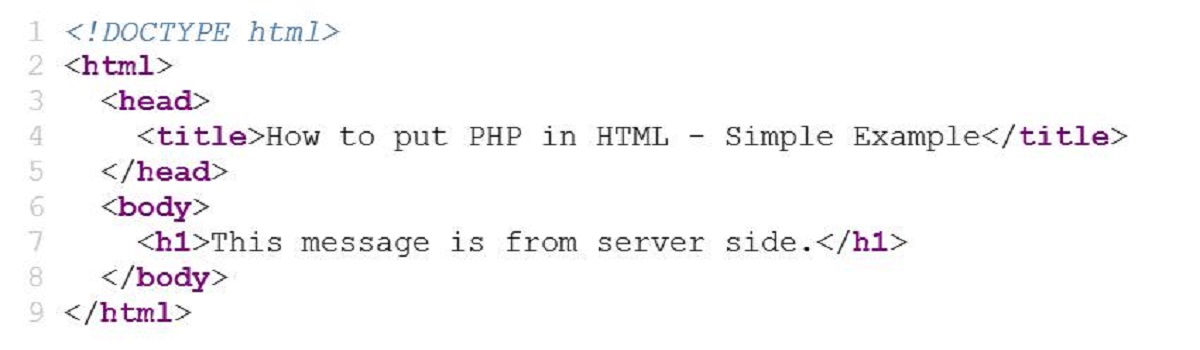
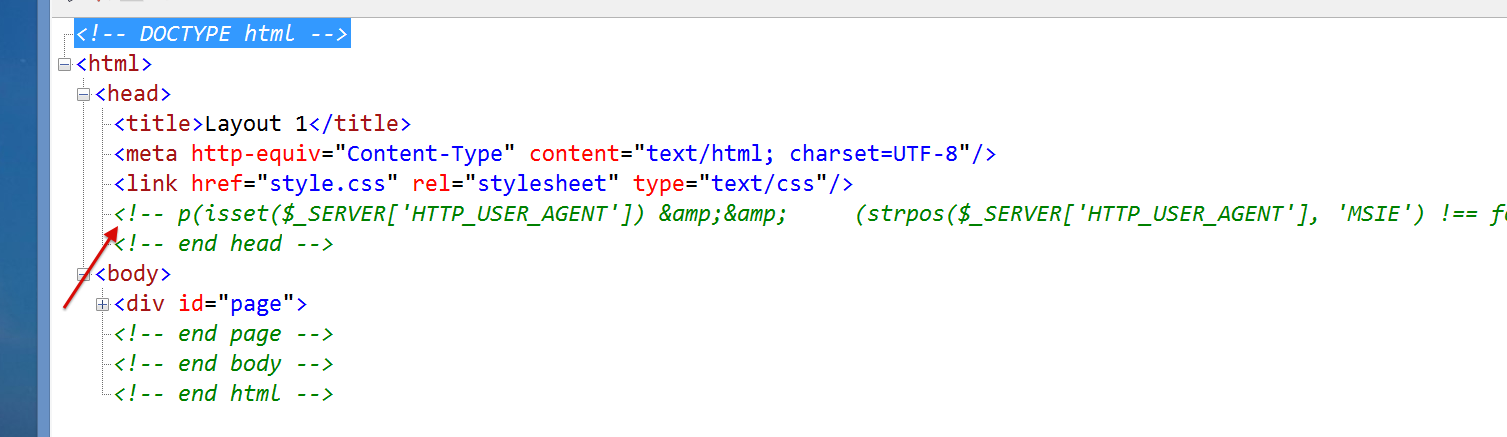
The first step is to create an HTML file with a .php extension. For example, you can name it index.php. This tells the server to interpret the file as PHP code and execute it accordingly. You can still include HTML code within the .php file as usual. This seamless integration is a key advantage of using PHP in HTML.
To include PHP code within your HTML file, you need to wrap it within special PHP tags: <?php and ?>. Anything between these tags will be treated as PHP code and executed on the server. For example:
<html>
<body>

<h1>Welcome to my website!</h1>

<?php
   // PHP code here
   echo "This is a PHP statement.";
?>

<p>Lorem ipsum dolor sit amet.</p>

</body>
</html>
In the above example, the PHP code is responsible for outputting the “This is a PHP statement” message. This message will be dynamically generated and displayed on the webpage when the server processes the PHP code.
You can include PHP code anywhere within the HTML document, allowing for dynamic content and functionality. You can perform calculations, retrieve data from databases, process form submissions, and much more using PHP. The possibilities are vast!
It’s worth noting that you can also use HTML tags within the PHP code. This allows you to generate HTML dynamically based on conditions or user input. For example:
<?php
  $name = "John Doe";
?>

<h2>Welcome, <?php echo $name; ?>!</h2>
With the above code, the value of the $name variable is echoed within the HTML tags, resulting in a personalized welcome message. This demonstrates the seamless integration of PHP and HTML, allowing for dynamic content based on variables and user input.
Now that you have a basic understanding of how to include PHP in HTML, it’s time to explore more advanced techniques and functionalities. In the upcoming sections, we’ll delve into handling forms, accessing databases, error handling, and more, allowing you to unlock the full potential of PHP in HTML.
Embedding PHP Code within HTML
Embedding PHP code within HTML allows you to create dynamic and interactive web pages. By seamlessly integrating PHP code within your HTML files, you can perform calculations, access databases, and display dynamic content based on user input and server-side processing.
To embed PHP code within HTML, you need to use the special PHP opening and closing tags. Anything between these tags will be treated as PHP code and executed on the server. The opening tag is <?php and the closing tag is ?>.
Here’s an example of embedding PHP code within an HTML file:
<html>
<body>

<h1>Welcome, <?php echo "John Doe"; ?>!</h1>

<p>Today is <?php echo date("Y-m-d"); ?></p>

</body>
</html>
In the above example, the PHP code is used to dynamically generate the welcome message and display the current date. The echo statement outputs the desired content to the browser. The result is a personalized message that includes the user’s name and the current date.
Furthermore, you can use PHP control structures like loops and conditionals to generate dynamic HTML content. For instance:
<?php
  $page_title = "Homepage";
  $show_greeting = true;
?>

<html>
<body>

<h1><?php echo $page_title; ?></h1>

<?php if ($show_greeting) : ?>
  <p>Welcome to my website!</p>
<?php endif; ?>

</body>
</html>
In the above example, PHP variables are used to store the page title and a flag indicating whether to display a greeting. The conditional statement if ($show_greeting) : ... endif; is used to conditionally display the greeting based on the value of the variable. This allows for dynamic content generation based on business logic or user preferences.
Embedding PHP code within HTML gives you the flexibility to generate content dynamically, personalize user experiences, and implement functional logic directly within your web pages. By leveraging PHP’s capabilities, you can create interactive and engaging websites that stand out.
In the next section, we will explore how to use PHP in forms to collect and process user data. This will further enhance the interactivity of your web pages and allow you to create engaging user experiences that respond to user input.
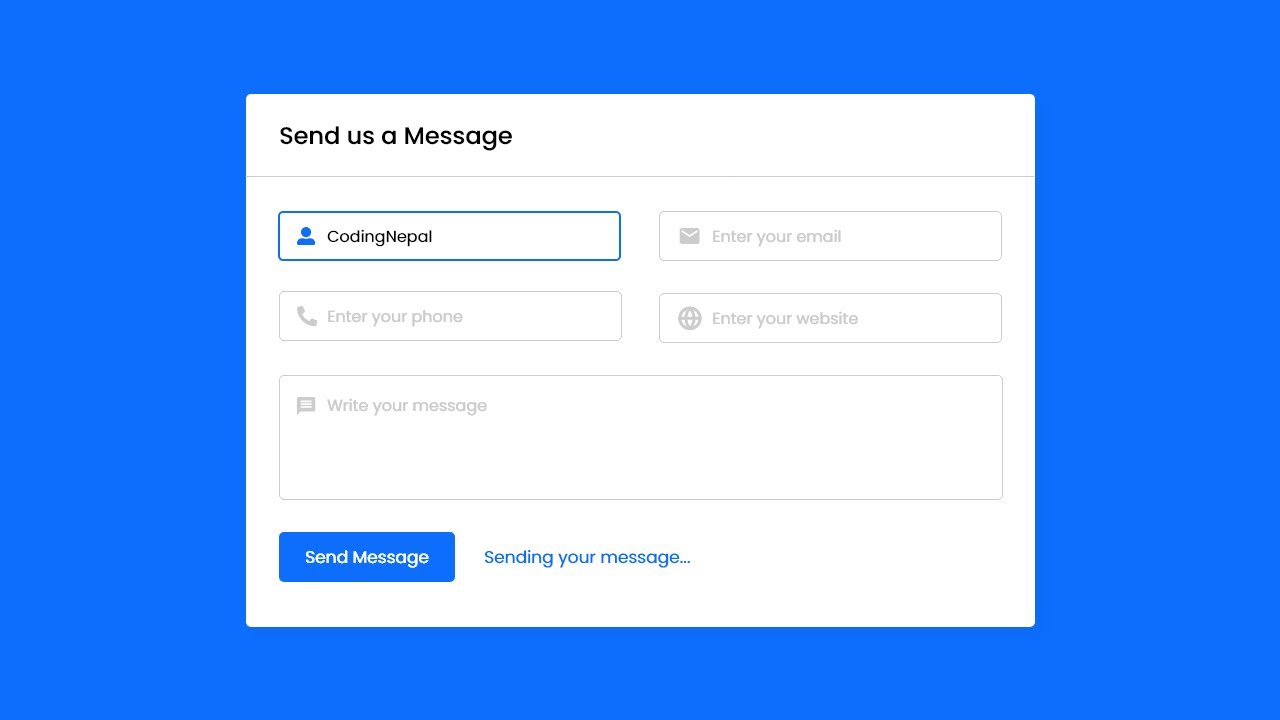
Using PHP in Forms
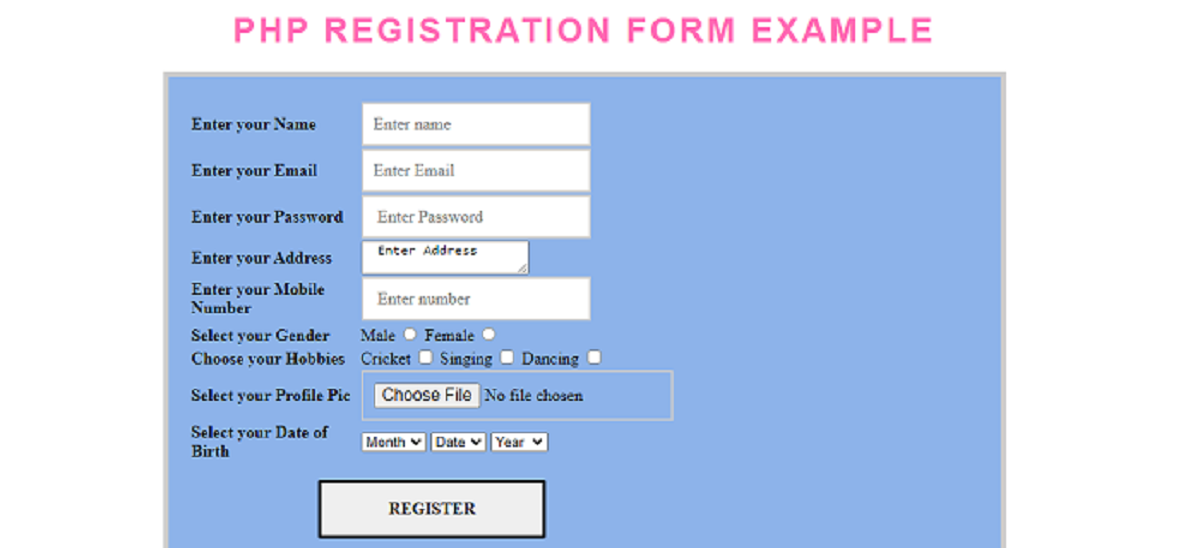
Forms are a crucial part of many websites, allowing users to input data and interact with the website’s functionality. By incorporating PHP into forms, you can collect user input, validate data, and perform actions based on that input.
To illustrate how to use PHP in forms, let’s consider a simple example of a registration form:
<html>
<body>

<h1>Registration Form</h1>

<form method="post" action="process.php">
  <label for="name">Name:</label>
  <input type="text" id="name" name="name" required>

  <label for="email">Email:</label>
  <input type="email" id="email" name="email" required>

  <input type="submit" value="Register">
</form>

</body>
</html>
In the above example, we have an HTML form that collects the user’s name and email. The form uses the POST method to send the form data to a PHP file called “process.php” for further processing.
In the “process.php” file, you can access the form data through the $_POST superglobal variable. Here’s an example of how to retrieve and process the form data:
<?php
  if ($_SERVER["REQUEST_METHOD"] === "POST") {
    $name = $_POST["name"];
    $email = $_POST["email"];

    // Validate and process the form data here

    // Output a success message
    echo "Thank you, $name, for registering!";
  }
?>
In the code above, we first check that the form was submitted using the POST method by checking the value of the $_SERVER["REQUEST_METHOD"] variable. Then, we retrieve the values of the “name” and “email” fields through the $_POST superglobal.
From here, you can validate the form data, such as checking if the email address is in a valid format or performing uniqueness checks against a database. If the validation is successful, you can process the data further – for example, storing it in a database or sending a confirmation email.
Finally, you can provide feedback to the user. In the example above, we simply output a success message that includes the user’s name using the echo statement.
By incorporating PHP into forms, you can create interactive and dynamic web pages that respond to user input. Whether it’s processing registrations, handling logins, or collecting user feedback, PHP provides the necessary tools to make your website forms functional and engaging.
In the next section, we will delve into accessing and displaying data from a database using PHP within HTML. This will enable you to create dynamic websites that retrieve and present information from a backend database.
Using PHP to Access and Display Data from a Database
One of the key strengths of PHP is its ability to interact with databases, making it an excellent choice for creating dynamic websites that require data storage and retrieval. To access and display data from a database, you’ll need to establish a connection, execute SQL queries, and process the results using PHP.
First, ensure that your PHP installation has the necessary extensions enabled to work with your chosen database system, such as MySQL, PostgreSQL, or SQLite. Then, establish a database connection using the appropriate credentials and settings. Here’s an example of connecting to a MySQL database:
<?php
  // Database credentials
  $host = "localhost";
  $username = "root";
  $password = "password";
  $database = "my_database";

  // Create a new PDO instance
  $pdo = new PDO("mysql:host=$host;dbname=$database", $username, $password);
?>
In the code above, we use the PDO (PHP Data Objects) extension to create a new instance of a PDO object, which represents a connection to the database. We provide the necessary credentials such as the host, username, password, and the name of the database.
Once the connection is established, you can execute SQL queries to retrieve data from the database. Here’s an example of fetching and displaying user data from a “users” table:
<?php
  // Prepare and execute the query
  $query = $pdo->prepare("SELECT * FROM users");
  $query->execute();

  // Fetch the results as an associative array
  $users = $query->fetchAll(PDO::FETCH_ASSOC);

  // Display the user data
  foreach ($users as $user) {
    echo "Name: " . $user["name"] . "<br>";
    echo "Email: " . $user["email"] . "<br><br>";
  }
?>
In the code above, we prepare and execute an SQL SELECT query to retrieve all rows from the “users” table. We then use the fetchAll() method to fetch the results as an associative array. Finally, we iterate over the array using a foreach loop and display the user data, such as the name and email address.
You can customize the SQL queries to retrieve specific data based on criteria, join tables together, sort the results, and more. The flexibility of PHP’s database integration allows you to build powerful and dynamic web applications.
In addition to retrieving data, PHP also allows you to insert, update, and delete records in the database. This enables you to create full CRUD (Create, Read, Update, Delete) functionality within your web application.
By leveraging PHP to access and display data from a database, you can create websites that dynamically retrieve and present information to users. Whether it’s an e-commerce site displaying product listings or a blog platform showing blog posts, PHP provides the tools and flexibility required for efficient and effective database interactions.
In the next section, we will explore PHP error handling techniques within HTML, allowing you to gracefully handle any errors or exceptions that may occur during the execution of your PHP code.
PHP Error Handling in HTML
Error handling is an essential aspect of any programming language, including PHP. When developing PHP code within HTML, it is crucial to have effective error handling mechanisms in place to identify and address any issues that may occur during the execution of the code.
PHP provides various error handling techniques to help developers diagnose and resolve issues. One of the most common methods is to display error messages on the webpage during the development stage. This is achieved by adjusting the PHP error reporting settings.
To enable error reporting, you can use the error_reporting function. Here’s an example of how to enable all error reporting:
<?php
  // Enable all error reporting
  error_reporting(E_ALL);
?>
By setting the error reporting level to E_ALL, PHP will display all types of errors, including notices, warnings, and fatal errors. This can be helpful for debugging and finding issues during the development process.
However, it is essential to note that error reporting should be disabled or restricted in a production environment for security and user experience purposes. You can achieve this by configuring the PHP settings in your server configuration or utilizing the error_reporting function to set a specific error reporting level.
In addition to error reporting, PHP also provides the ability to handle errors through custom error handler functions. These functions allow you to define your own error handling logic and actions when an error occurs. You can define an error handler using the set_error_handler function.
An example of how to set a custom error handler is as follows:
<?php
  // Custom error handler function
  function customErrorHandler($errorNo, $errorMsg, $errorFile, $errorLine) {
    // Handle the error here
    echo "An error occurred: $errorMsg";
  }

  // Set the custom error handler
  set_error_handler("customErrorHandler");
?>
In the code above, we define a custom error handler function and then use the set_error_handler function to set it as the default error handler. When an error occurs, the custom error handler function will be invoked, and you can define your own logic to handle the error and provide feedback to the user.
It’s important to note that fatal errors cannot be handled by the custom error handler. In such cases, a fatal error may result in a blank or partially rendered webpage. To address this, you can use tools and frameworks that provide comprehensive error handling solutions or integrate with logging systems.
By implementing error reporting and custom error handling in your PHP code, you can effectively identify and resolve issues during development and provide a smoother user experience by handling errors gracefully.
Now that we’ve covered error handling in PHP, we can wrap up this guide with some concluding remarks and a summary of what we’ve learned.
Conclusion
In this guide, we explored the process of including PHP in HTML to create dynamic and interactive web pages. We learned that PHP is a server-side scripting language that seamlessly integrates with HTML, allowing for the execution of server-side code and the generation of dynamic content.
We started by understanding the basics of PHP and how it can enhance web development. We then delved into the process of embedding PHP code within HTML, using special PHP tags. This allowed us to create dynamic and personalized content based on variables and user input.
Next, we explored the use of PHP in forms, enabling us to collect user input, validate data, and perform actions based on that input. This added interactivity and functionality to our web pages, making them more engaging for users.
We also discussed how PHP can be used to access and display data from databases. By establishing connections, executing SQL queries, and processing the results, we were able to create dynamic websites that retrieved and presented information from a backend database.
Additionally, we explored PHP error handling techniques within HTML to effectively identify and address any issues that may occur during the execution of PHP code. We learned about error reporting and custom error handlers, allowing us to handle errors and provide informative messages to users.
Overall, PHP provides a powerful and flexible solution for creating dynamic web pages. By integrating PHP into HTML, developers can harness its capabilities to build interactive websites that respond to user input, interact with databases, and handle errors effectively.
As you continue your journey with PHP and HTML development, remember to leverage the vast array of resources available, including documentation, online communities, and tutorials. These resources will help you expand your knowledge and explore the limitless possibilities that PHP offers.
So go forth, experiment, and create amazing web experiences with PHP and HTML!