Introduction
Building a website using PHP can be an excellent way to create dynamic and interactive web pages. PHP is a popular server-side scripting language that is widely used for web development. With its versatility and extensive functionality, PHP offers developers the ability to create feature-rich websites.
In this article, we will guide you through the process of creating a PHP website from scratch. Whether you are a beginner or have some experience in web development, this step-by-step guide will help you understand the necessary components and techniques involved in building your PHP website.
Before we dive into the technical details, it is essential to have a basic understanding of HTML, CSS, and JavaScript. These front-end technologies are the building blocks of any website and will be used alongside PHP.
In this tutorial, we will cover various topics, including setting up PHP, creating the directory structure, designing the HTML layout, implementing PHP code, connecting to a database, handling forms and user input, utilizing PHP functions and libraries, implementing security measures, and testing and debugging your PHP website.
Throughout this guide, we will provide code examples and explanations to ensure you have a clear understanding of each step. By the end, you will have the knowledge and skills needed to create your PHP website.
So, without further ado, let’s get started on our journey to creating a PHP website!
Setting up PHP
Before we can start building our PHP website, we need to set up PHP on our local development environment. Here are the steps to get started:
- Install PHP: If you haven’t already, you’ll need to install PHP on your computer. PHP is a cross-platform language, so it can be installed on Windows, Mac, or Linux. Visit the official PHP website and download the latest version of PHP suitable for your operating system.
- Choose a Web Server: PHP requires a web server to interpret and run the PHP code. The most popular choices are Apache, Nginx, and IIS. Choose a web server that best suits your needs and install it on your computer.
- Configure the Web Server: After installing the web server, you need to configure it to recognize PHP files. This usually involves editing the server configuration file (e.g., httpd.conf for Apache) and enabling the PHP module or FastCGI. Consult the documentation for your web server to learn more about the specific configuration steps.
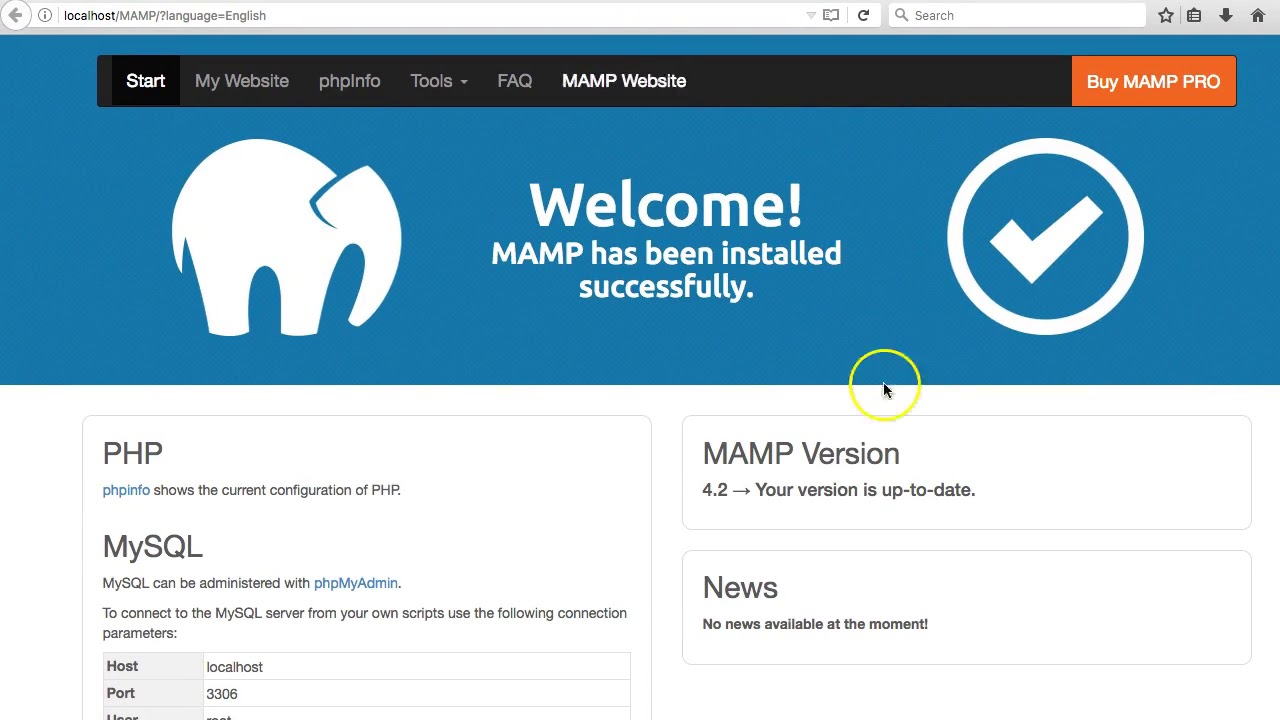
- Test the PHP Installation: To ensure that PHP is installed correctly, create a simple PHP file with the following code:
php
Save the file with a .php extension (e.g., test.php) and place it in your web server’s document root folder. Now, open your web browser and navigate to http://localhost/test.php. If you see a page with detailed PHP information, congratulations! PHP is successfully installed on your system.
Once you have PHP set up on your computer, you’re ready to start building your PHP website. In the next section, we will cover the directory structure needed for organizing your PHP files.
Creating the Directory Structure
Organizing your files and directories is crucial for maintaining a well-structured and manageable PHP website. By following a logical directory structure, you can easily locate and update specific files when needed. Here’s how to set up your directory structure:
Root Directory: Start by creating a root directory for your PHP website. This will serve as the main folder that contains all the necessary files and directories.
Subdirectories: Within the root directory, create subdirectories to house different types of files. Here are some common subdirectories:
- css: This directory will contain all your CSS files for styling your website. You can create a separate file for each page or combine them into a single file.
- js: In the “js” directory, you can place all your JavaScript files. These files will handle client-side interactivity and functionality.
- images: The “images” directory is where you’ll store all the image files used in your PHP website. It’s essential to keep your images organized for easy referencing in your HTML and CSS.
- includes: If you plan to reuse certain code snippets or files across multiple pages, you can place them in the “includes” directory. This makes it easier to make updates without modifying each page individually.
- pages: The “pages” directory is where you’ll create individual PHP files for each page of your website. This helps keep your code modular and organized.
By creating a well-structured directory hierarchy, you can easily navigate through your PHP project and locate the necessary files. Additionally, having separate directories for different file types allows for better file management and easier collaboration with other developers.
Now that we have our directory structure in place, let’s move on to creating the HTML structure for our PHP website in the next section.
Creating the HTML Structure
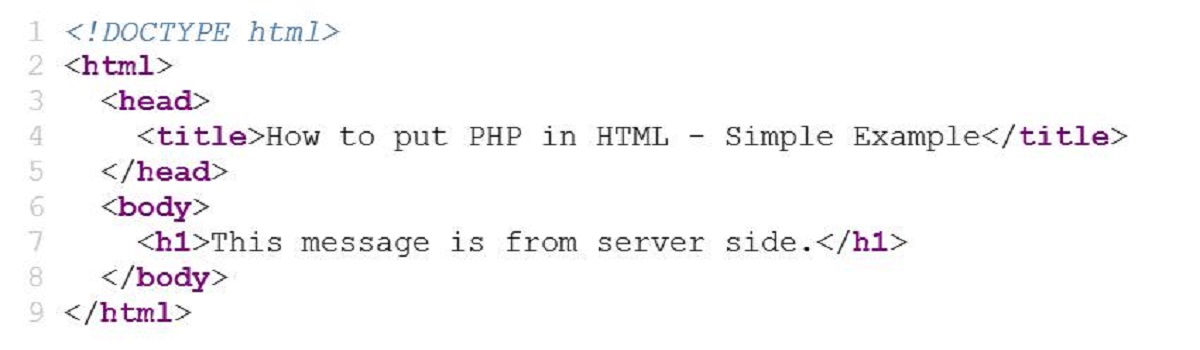
The HTML structure forms the foundation of your PHP website. It defines the layout, content, and visual elements that users will interact with. Here’s how you can create the HTML structure for your PHP website:
Start with a DOCTYPE Declaration: Begin your HTML file by declaring the document type using the DOCTYPE declaration. This ensures that the browser renders your HTML correctly.
Create the HTML Document: Within the HTML document, you’ll have the following structural elements:
- head: The head section contains metadata about the document, such as the title, stylesheets, and scripts. It’s also where you can include external CSS and JavaScript files.
- body: The body section holds the visible content of your PHP website. This is where you’ll add text, images, links, forms, and other interactive elements.
Divide the Page into Sections: When creating the HTML structure, divide the page into logical sections using semantic HTML elements. For example:
- header: This section typically contains the website logo, navigation menu, and other top-level elements.
- main: The main section holds the primary content of the webpage. It can include articles, blog posts, or any other relevant content.
- footer: The footer section usually contains copyright information, contact details, and links to other relevant pages.
Use Appropriate HTML Tags: Ensure you use the right HTML tags for each element on your PHP website. For example, use headings (h1-h6) for titles, paragraphs (p) for text content, lists (ul, ol) for enumerations, and forms (form) for user input.
Add CSS Classes and IDs: To style your HTML elements using CSS, assign appropriate class and ID attributes to them. This enables you to target specific elements and apply custom styles.
Remember to create a separate HTML file for each page of your PHP website and save them in the designated “pages” directory within your directory structure. This helps organize your code and makes it easier to make updates in the future.
Now that we have the HTML structure in place, let’s move on to the next section, where we’ll add CSS styles to enhance the visual appearance of our PHP website.
Adding CSS Styles
CSS (Cascading Style Sheets) is crucial for enhancing the visual appeal and user experience of your PHP website. It allows you to style HTML elements, control layout, and customize the overall look and feel. Follow these steps to add CSS styles to your PHP website:
Create a Separate CSS File: Start by creating a new file with a .css extension, such as “styles.css.” This file will contain all your CSS code.
Link the CSS File to HTML: In the head section of your HTML files, add a link element to connect the CSS file. Use the ‘rel’ attribute to specify that it’s a stylesheet and the ‘href’ attribute to provide the file path.
Target HTML Elements: To apply styles to specific HTML elements, create CSS selectors that target those elements. You can use element selectors (e.g., h1, p), class selectors (e.g., .my-class), or ID selectors (e.g., #my-id).
Apply Custom Styles: Within your CSS file, use various CSS properties to modify the appearance of targeted elements. Some common properties include color, font-size, margin, padding, background-color, and border.
Use CSS Selectors Effectively: Beyond styling individual elements, CSS selectors also allow you to apply styles based on element relationships and states. You can use pseudo-classes like :hover and :active to create interactive effects.
Organize and Group Styles: Maintain a well-structured CSS file by organizing your styles into logical sections. You can group styles based on element types, layout sections, or page-specific styles.
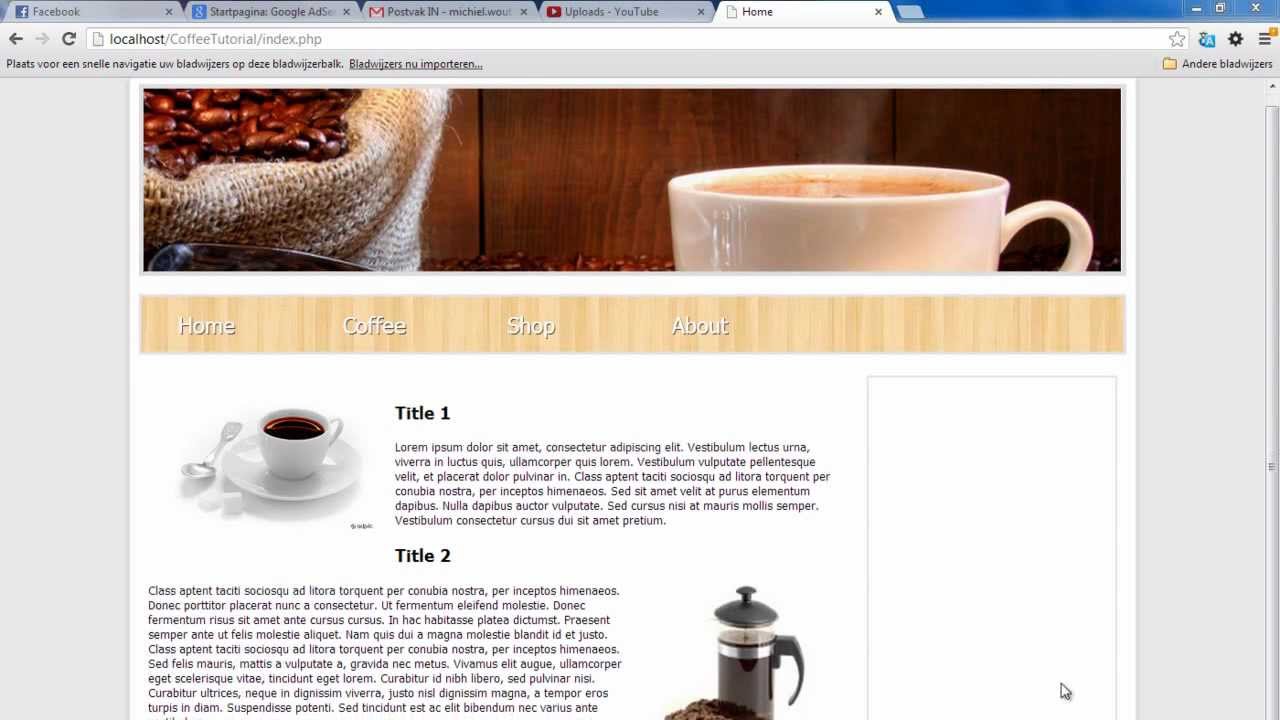
Test and Refine: Regularly preview your PHP website in a browser to see how the CSS styles are being applied. Make adjustments as needed to achieve the desired visual appearance and ensure compatibility across different browsers.
Remember to save and update your CSS file whenever you make changes to the styles. This way, the styles will be consistently applied to all pages of your PHP website.
With the CSS styles implemented, your PHP website will start to have a cohesive and visually appealing look. Next, in the upcoming section, we will dive into implementing PHP code to add dynamic features and functionality to the website.
Implementing PHP Code
PHP is a server-side scripting language that enables you to add dynamic functionality to your website. By embedding PHP code within your HTML files, you can create dynamic content, handle form submissions, interact with databases, and perform various other tasks. Here’s how you can implement PHP code in your PHP website:
Embed PHP within HTML: Start by identifying the areas in your HTML files where you want to insert PHP code. To do this, enclose the PHP code within tags. For example:
<?php
// Your PHP code here
?>
Access PHP Variables: PHP allows you to declare and manipulate variables. You can embed PHP variables within HTML code to dynamically display values. For example:
<p>Welcome, <?php echo $username; ?>!</p>Perform PHP Operations: Use PHP code to perform various operations, such as calculations, string manipulations, conditional statements, and loops. These operations can dynamically modify the content of your PHP website based on certain conditions or user interactions.
Include External PHP Files: To reuse code across multiple PHP files, you can separate common functionalities into external PHP files and include them where needed. This ensures code modularity and reduces redundancy. Use the include or require statement to include external PHP files.
Interact with Databases: PHP provides robust database connectivity. You can establish a connection to a database server, execute SQL queries, retrieve data, and manipulate database records. Utilize PHP extensions like MySQLi or PDO to interact with databases.
Error Handling and Debugging: Implement proper error handling and debugging techniques in your PHP code. This includes using error reporting, logging errors, and handling exceptions. These practices help identify and resolve issues in your PHP website.
Separate PHP Logic from HTML: As you develop more complex PHP websites, it’s essential to maintain a separation of concerns between the PHP code and HTML markup. Consider using the MVC (Model-View-Controller) pattern or other architectural patterns to separate business logic from presentation logic.
With PHP code integrated into your HTML files, your PHP website becomes dynamic and interactive. In the next section, we will explore how to connect to a database and perform CRUD operations to manage data in your PHP website.
Connecting to a Database
Database connectivity is essential for managing and storing data in your PHP website. By connecting to a database, you can store user information, retrieve data, and perform various operations. Here’s how you can connect to a database in your PHP website:
Choose a Database Management System: Select a database management system (DBMS) that suits your needs, such as MySQL, PostgreSQL, or SQLite. Install the necessary DBMS software on your server or use a web-hosted solution.
Configure Database Credentials: Obtain the necessary credentials to access your database, including the host address, port number, username, password, and database name. These credentials will be used to establish a connection from your PHP code to the database server.
Establish a Database Connection: In your PHP code, use the appropriate functions or classes provided by the DBMS extension (e.g., mysqli, PDO) to establish a connection to the database. Pass in the database credentials to establish the connection.
Handle Connection Errors: Implement error handling to deal with connection errors gracefully. Use try-catch blocks or conditional statements to catch any connection errors and display appropriate error messages to the user or log them for debugging purposes.
Execute SQL Queries: Once the database connection is successfully established, you can execute SQL queries using PHP. Construct SQL statements, such as SELECT, INSERT, UPDATE, and DELETE, to retrieve, insert, update, or delete data in the database.
Retrieve and Display Data: Use the appropriate methods provided by the DBMS extension to retrieve data from the database. Iterate through the result set and display the data dynamically within your PHP website.
Close the Database Connection: Close the database connection when it’s no longer needed to free up resources. This helps optimize the performance of your PHP website.
Secure Database Interactions: Implement secure practices to protect your PHP website from SQL injection, cross-site scripting (XSS), and other security vulnerabilities. Use prepared statements or query parameterization to sanitize user inputs and prevent unauthorized access.
By connecting your PHP website to a database, you can create dynamic and data-driven applications. In the next section, we will explore how to handle forms and user input in PHP.
Handling Forms and User Input
Forms serve as a vital tool for user interaction in web applications. PHP provides powerful capabilities to handle form submissions and process user input. Here’s how you can effectively handle forms and user input in your PHP website:
Create a Form: Begin by creating an HTML form within your PHP file. Specify the form’s action attribute to the PHP file that will handle the form submission. Define form inputs such as text fields, checkboxes, radio buttons, select dropdowns, and textarea fields.
Client-Side Validation: Implement validation on the client-side using JavaScript to enforce input rules, format requirements, and ensure that required fields are not left empty. This helps improve user experience by providing instant feedback. However, server-side validation is still essential for security and data integrity.
Accessing Form Data: In the PHP file that handles the form submission (specified in the form’s action attribute), retrieve the submitted form data using the $_POST or $_GET superglobal arrays, depending on the form’s method attribute. These arrays contain key-value pairs for each form input.
Sanitize and Validate User Input: Before using the user input, perform data sanitization and validation to ensure the data is safe and meets the required criteria. Sanitize the input using functions like htmlspecialchars or filter_input to prevent cross-site scripting (XSS) attacks. Validate the input based on specific rules, such as email format validation or username uniqueness.
Processing Form Data: Once the user input is sanitized and validated, you can perform various actions based on the form’s purpose. This could include storing the input in a database, sending emails, generating reports, or redirecting the user to another page.
Displaying Validation Errors: If the user input fails validation, you should provide meaningful error messages to guide the user. Display the errors next to the corresponding form field or at the top of the form to ensure clear communication. Utilize CSS styles to highlight the error messages.
Preserving User Input: To improve user experience, it’s recommended to pre-fill form fields with the submitted data in case of validation errors. This saves users from re-entering all the information and provides a smoother form submission experience.
Implementing Captcha: To prevent spam submissions or automated bots, consider implementing CAPTCHA mechanisms. This adds an extra layer of security by requiring users to complete a visual or audio challenge before submitting the form.
By effectively handling forms and user input in PHP, you can create interactive web applications that engage and respond to user actions. In the next section, we will explore how to utilize PHP functions and libraries to enhance your website’s functionality.
Using PHP Functions and Libraries
PHP provides a wide range of built-in functions and libraries that can greatly enhance the functionality and efficiency of your PHP website. These functions and libraries offer pre-built solutions for common tasks, allowing you to save time and effort. Here’s how you can leverage PHP functions and libraries in your web development projects:
Built-in PHP Functions: PHP comes with a vast collection of built-in functions that you can use for various purposes. These functions cover areas like string manipulation, array manipulation, mathematical calculations, date manipulation, file handling, and more. Refer to the official PHP documentation to explore the full range of available functions and their usage.
User-Defined PHP Functions: In addition to the built-in functions, PHP allows you to define your own functions. This can help improve code reusability, readability, and maintainability. Organize your code by creating functions for specific tasks that you need to perform multiple times. Encapsulating code in functions also enables easier testing and debugging.
PHP Libraries and Frameworks: PHP has a variety of libraries and frameworks available for specific purposes. These libraries provide pre-written code for commonly needed functionalities and offer a higher level of abstraction. Popular PHP libraries and frameworks include Laravel, Symfony, CodeIgniter, and more. Choose a library or framework that aligns with your project requirements and leverage their features to streamline your development process.
Third-party Libraries and APIs: Alongside PHP’s native functions and libraries, you can utilize third-party libraries and APIs to extend the functionality of your website. These libraries can add features like payment processing, image manipulation, social media integration, and more. Make sure to follow the documentation and guidelines provided by the library or API provider for proper integration.
Secure Usage: When using PHP functions and libraries, it is crucial to ensure the code is secure and free from vulnerabilities. Stay updated with the latest versions of libraries to benefit from security patches and bug fixes. Validate and sanitize user inputs to mitigate the risks of cross-site scripting (XSS) and SQL injection attacks. Follow best practices for data handling and security to protect sensitive information.
By leveraging PHP functions and libraries, you can expedite development, improve code quality, and add advanced features to your PHP website. In the next section, we will explore implementing security measures to protect your website from potential threats.
Implementing Security Measures
Ensuring the security of your PHP website is of utmost importance to protect user data and prevent attacks. By implementing proper security measures, you can minimize vulnerabilities and safeguard your website from potential threats. Here are essential security measures to consider for your PHP website:
Input Validation: Validate all user input to prevent malicious data from being entered into your website. Use server-side validation techniques to sanitize and validate data, checking for form tampering, malformed inputs, and potential malicious code.
Secure Password Handling: Implement strong password policies, such as requiring a minimum length, a combination of numbers, letters, and special characters. Store hashed passwords in the database using functions like password_hash() and verify them using password_verify().
Protection Against Cross-Site Scripting (XSS): To prevent cross-site scripting attacks, use proper output sanitization. HTML entities should be properly encoded when displaying user-generated content to avoid the execution of malicious scripts.
Preventing SQL Injection: Utilize prepared statements or parameterized queries to prevent SQL injection attacks. Never directly concatenate user input into SQL queries. Validate and sanitize user input before incorporating it into your SQL statements.
Enforcing Access Controls: Implement appropriate access controls to restrict unauthorized access to sensitive areas of your PHP website. Use role-based access control (RBAC) or permissions systems to manage user roles and their levels of access.
Protecting against Cross-Site Request Forgery (CSRF): Implement CSRF tokens in your forms to prevent cross-site request forgery attacks. Generate unique tokens and include them as hidden fields in forms. Verify the token on the server-side to ensure that the request is legitimate.
Securing File Uploads: If your PHP website allows file uploads, ensure that proper file type verification, size limitations, and secure file handling practices are in place. Store uploaded files in a separate directory and ensure they cannot be executed as code.
Regular Software Updates: Keep your PHP version, web server, and any third-party libraries up to date with the latest security patches. Stay informed about any vulnerabilities and apply patches promptly to protect your website.
Logging and Monitoring: Implement comprehensive logging and monitoring systems to track and monitor any suspicious activities or potential security breaches. Regularly review logs for anomalies and take appropriate actions based on the findings.
HTTPS and SSL/TLS: Use HTTPS protocol along with SSL/TLS encryption to ensure secure communication between your PHP website and users. This helps protect sensitive data, such as usernames, passwords, and payment information.
By implementing these security measures, you can significantly reduce the risk of attacks and protect the integrity and confidentiality of your PHP website and user data. In the next section, we will cover testing and debugging techniques to ensure the smooth functioning of your PHP website.
Testing and Debugging
Testing and debugging are critical steps in the development process of a PHP website. Thorough testing helps ensure that your website functions as expected, while effective debugging helps identify and fix any issues or errors that arise. Here are essential techniques to test and debug your PHP website:
Manual Testing: Conduct manual tests to verify that all features and functionalities of your PHP website are working correctly. Test various scenarios, inputs, and use cases to validate the behavior of your website.
Automated Testing: Implement automated testing by using frameworks like PHPUnit or Behat. Automated tests can help you run repetitive and comprehensive tests with greater efficiency and accuracy, ensuring the stability and reliability of your PHP website.
Error Reporting: Enable error reporting in your PHP configuration or within your code to display errors and warnings. This can help identify potential issues during development. However, make sure to disable error reporting in a production environment for security reasons.
Debugging Tools: Utilize PHP debugging tools like Xdebug to step through your code and track the flow of execution. Debugging tools allow you to set breakpoints, inspect variables, and analyze the state of your PHP application, helping you identify and resolve issues efficiently.
Logging: Implement logging mechanisms to record important events, errors, and information during runtime. Log files provide valuable insights into the execution flow of your PHP application and can help track down issues or diagnose problems in production environments.
Error Handling: Proper error handling is crucial for capturing and handling runtime errors effectively. Use try-catch blocks and exception handling to catch and gracefully handle any runtime errors or exceptions that may occur during the execution of your PHP code.
Code Reviews: Conduct code reviews with other developers to identify potential bugs, optimization opportunities, and code quality improvements. Peer code reviews help uncover issues that might have been overlooked and promote collaboration and knowledge sharing.
Cross-Browser Compatibility: Test your PHP website on different web browsers and devices to ensure cross-browser compatibility. This will help identify any rendering issues or inconsistencies that may be specific to certain browsers or screen sizes.
Load Testing: Perform load testing to assess the performance and scalability of your PHP website under different workload scenarios. This involves simulating high traffic or heavy user loads to identify any bottlenecks, performance issues, or resource limitations.
Security Testing: Conduct security testing to identify vulnerabilities or weaknesses in your PHP website. Perform penetration testing and vulnerability assessments to uncover potential security risks and take appropriate measures to mitigate them.
By thoroughly testing and diligently debugging your PHP website, you can ensure its reliability, identify and resolve issues promptly, and deliver a seamless and error-free user experience. In the final section, we will summarize the key points discussed in this article.
Conclusion
In this comprehensive guide, we explored the process of creating a PHP website from start to finish. We covered essential steps, including setting up PHP, creating the directory structure, designing the HTML structure, adding CSS styles, implementing PHP code, connecting to a database, handling forms and user input, using PHP functions and libraries, implementing security measures, and testing and debugging.
By following the steps outlined in this guide, you can build a dynamic, interactive, and secure PHP website that meets your needs. Whether you’re a beginner or have prior experience in web development, understanding the key concepts and techniques discussed here will help you create robust PHP websites.
Remember to always prioritize security by implementing proper validation, protecting against common vulnerabilities such as XSS and SQL injection, and keeping your PHP environment and third-party libraries up to date. Regularly test your website to ensure its functionality and performance, and debug any issues efficiently.
As you continue your journey in PHP web development, don’t hesitate to explore more advanced concepts and techniques. Continuously learning and staying updated with the latest trends and best practices will help you enhance your skills and create even more powerful PHP websites.
Now that you have a solid foundation in PHP website development, it’s time to apply what you’ve learned and start building your own PHP projects. Happy coding!