Introduction
Welcome to the world of webservice development! In today’s digital era, where businesses depend heavily on software applications and data exchange, creating a webservice using PHP has become an essential skill for developers.
A webservice is a method of communication between different software applications over a network. It allows disparate systems to interact with each other and exchange data, regardless of the programming language or platform they are built upon. With a webservice, you can expose functionalities or data from your PHP application to other applications, enabling seamless integration and interoperability.
In this article, we will walk you through the process of creating a webservice using PHP. We will cover the basic steps and techniques required to build a reliable and efficient webservice that can handle data requests and provide responses to client applications.
To get started, you will need a solid understanding of PHP programming, as well as some familiarity with HTML and MySQL. The webservice we’re about to build will use PHP as the server-side language, allowing us to handle incoming requests and generate appropriate responses.
Throughout this tutorial, we will demonstrate how to create a simple webservice that performs CRUD (Create, Read, Update, and Delete) operations on a database. By following along, you will learn the fundamental concepts and practices of webservice development, which you can then apply to more complex projects in the future.
So, if you’re ready to dive into the world of webservice development using PHP, let’s get started with setting up the PHP environment!
What is a webservice?
A webservice is a way for various software applications to communicate and exchange data over a network. It provides a standardized method of interaction between different systems, allowing them to work together seamlessly.
At its core, a webservice is built upon the principles of web technologies such as Hypertext Transfer Protocol (HTTP) and Extensible Markup Language (XML) or JavaScript Object Notation (JSON) for data interchange. It follows a client-server architecture, where the client application sends a request to the server, which then processes the request and sends back a response.
A webservice can be thought of as a collection of functions or methods that can be called remotely by client applications. These functions are usually grouped into specific endpoints or URLs, each serving a particular purpose. The client application can access these endpoints by making HTTP requests with the necessary parameters and data.
Webservices offer numerous advantages in modern software development:
- Interoperability: Webservices allow applications developed in different languages and running on different platforms to communicate with each other. As long as they adhere to the same protocols and data formats, they can interact seamlessly.
- Scalability: Webservices are designed to handle large-scale data exchange, making them suitable for enterprise-level systems. They can handle a high volume of requests and process them efficiently.
- Reuse and modularity: By exposing specific functionalities as webservices, developers can reuse and integrate these services into multiple applications. This modular approach promotes code reusability and reduces redundancy.
- Security: Webservices can be secured using techniques like authentication, encryption, and access control. This ensures that only authorized applications have access to the services and the data exchanged remains confidential.
Common types of webservices include:
- SOAP (Simple Object Access Protocol): SOAP is a protocol that uses XML for message exchange over a network. It supports various transport protocols such as HTTP, SMTP, and more. SOAP-based webservices are known for their robustness and support for advanced features like WSDL (Web Services Description Language).
- RESTful (Representational State Transfer): RESTful webservices follow a stateless, lightweight architectural style. They use standard HTTP methods like GET, POST, PUT, and DELETE to perform operations on resources. RESTful webservices are widely used due to their simplicity and scalability.
Now that we have a clear understanding of what a webservice is and its benefits, let’s move on to the requirements needed for building a webservice using PHP.
Requirements
Before we dive into creating a webservice using PHP, let’s discuss the requirements you need to meet to successfully complete this tutorial.
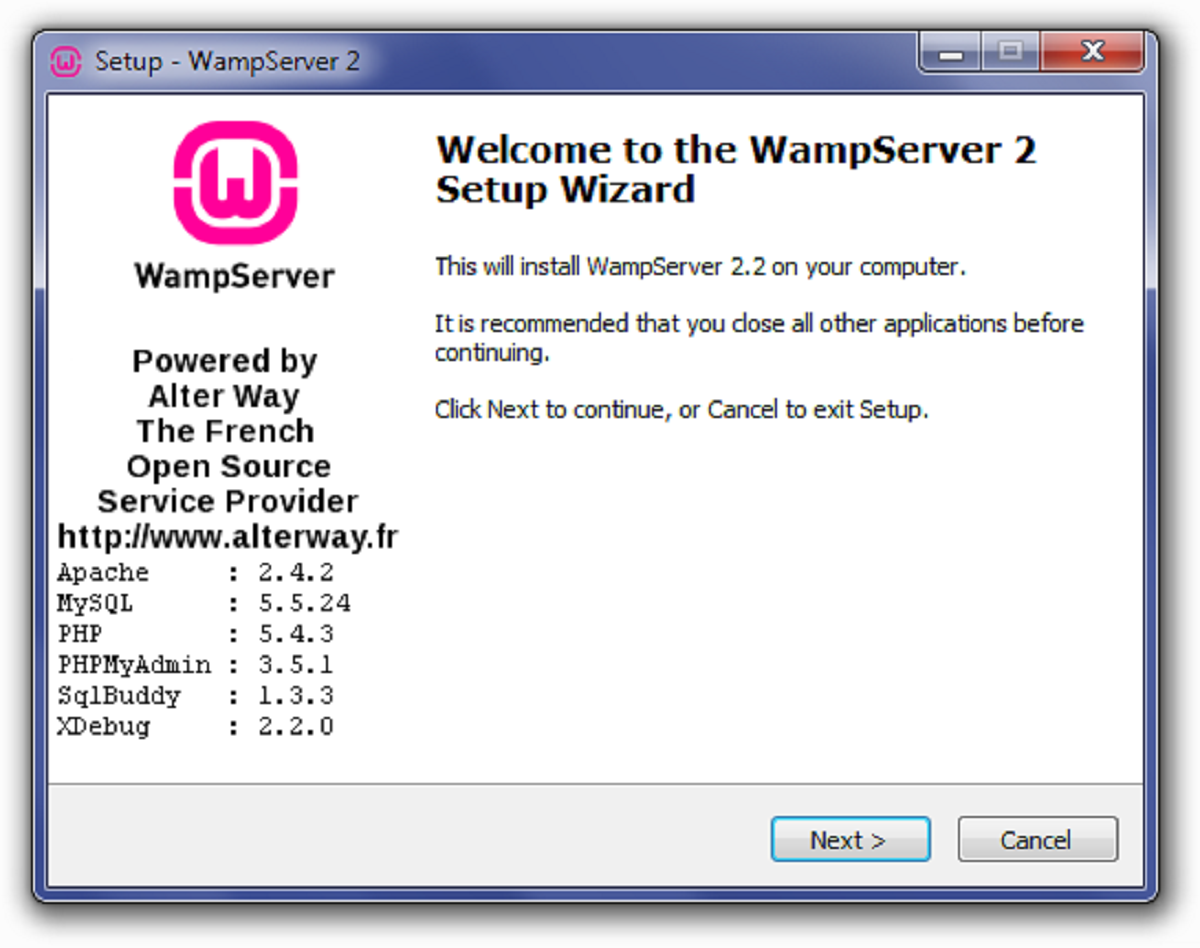
1. PHP Development Environment: You will need a PHP development environment set up on your computer. This includes a web server (e.g., Apache), PHP interpreter, and a database server (e.g., MySQL or MariaDB). You can install a local development environment like XAMPP or WAMP, or set up the required components individually.
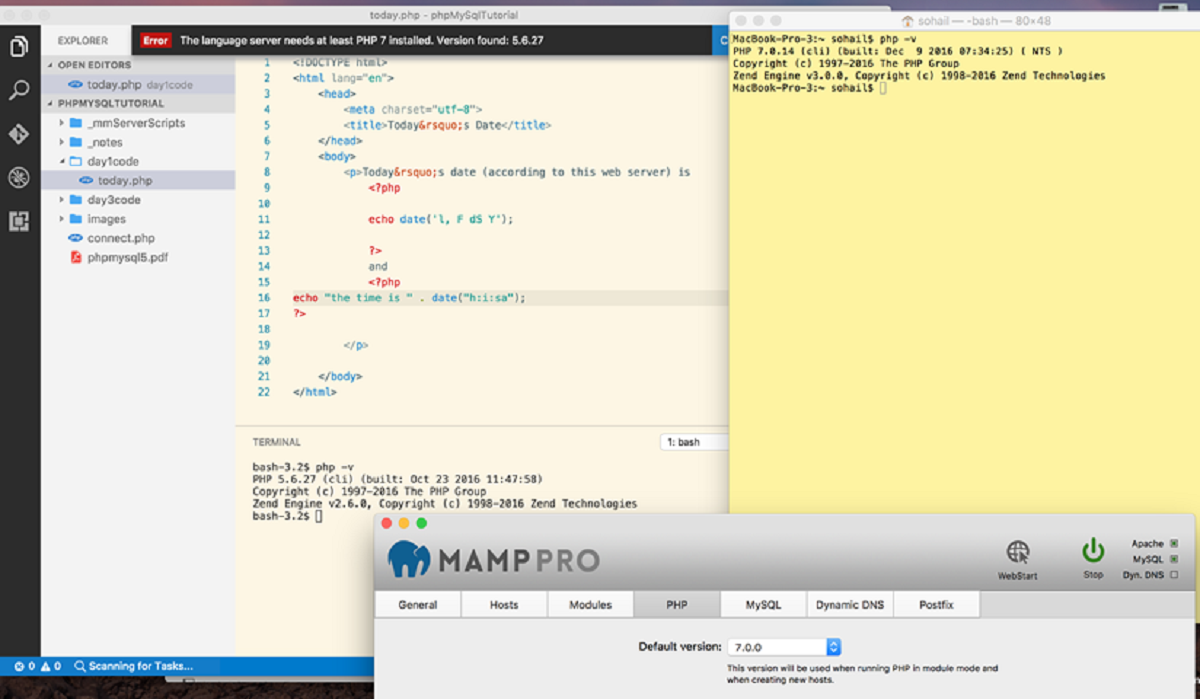
2. Text Editor or IDE: You will need a text editor or integrated development environment (IDE) to write your PHP code. Some popular choices include Visual Studio Code, Sublime Text, PhpStorm, and Notepad++. Choose one that you are comfortable with and supports PHP syntax highlighting and code completion.
3. Basic Knowledge of PHP: It is essential to have a basic understanding of PHP programming. Familiarize yourself with PHP syntax, variables, functions, control structures, and basic object-oriented concepts. This tutorial assumes basic knowledge of PHP programming.
4. HTML and CSS: Knowledge of HTML and CSS is beneficial as we will be creating HTML templates for our webservice endpoints. You should be comfortable writing HTML code, creating forms, and styling your web pages using CSS.
5. MySQL Database: We will be using a MySQL database to store and retrieve data for our webservice. Ensure you have a MySQL server installed and configured on your development environment. You should be familiar with creating databases, tables, and executing SQL queries.
6. Web browser and API testing tool: You will need a web browser to test your webservice endpoints. Additionally, having an API testing tool like Postman or Insomnia will be helpful for sending HTTP requests and inspecting the responses.
By meeting these requirements, you will be well-prepared to create a webservice using PHP. In the next section, we will explore the initial step of setting up the PHP environment on your computer.
Step 1: Setting up the PHP Environment
In order to create a webservice using PHP, you need to set up the PHP environment on your computer. This involves installing a web server, PHP interpreter, and a database server. Here is a step-by-step guide to help you get started:
1. Choose a Web Server: Apache is a popular choice for a web server, as it is free, cross-platform, and widely supported. You can download Apache from the official website and follow the installation instructions for your operating system.
2. Install PHP: PHP can be downloaded from the official PHP website. Make sure to choose the version that is compatible with your web server. Follow the installation instructions specific to your operating system to install PHP on your computer.
3. Configure PHP: Once PHP is installed, you will need to configure it to work properly with your web server. This involves editing the php.ini file to set up extensions, error reporting, and other PHP settings. The location of the php.ini file may vary depending on your operating system and PHP installation.
4. Install a Database Server: You will need a database server to store and retrieve data for your webservice. MySQL or MariaDB are popular choices for PHP development. Download and install the appropriate database server for your operating system, and make sure it is running properly.
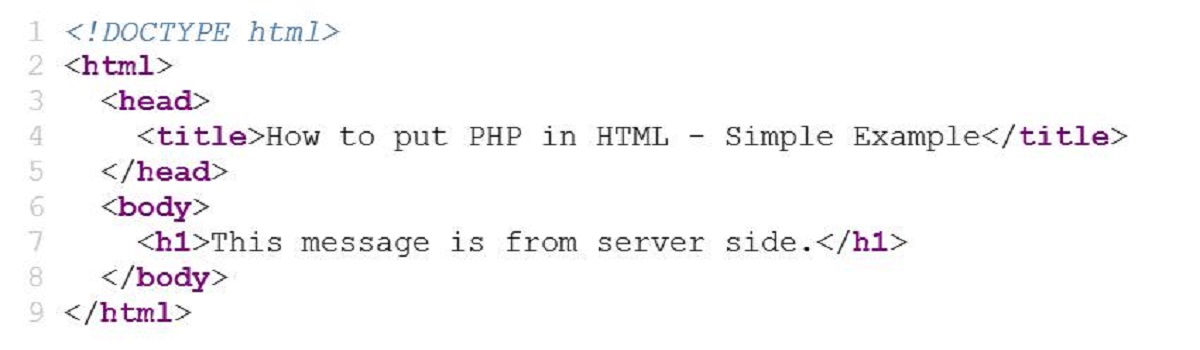
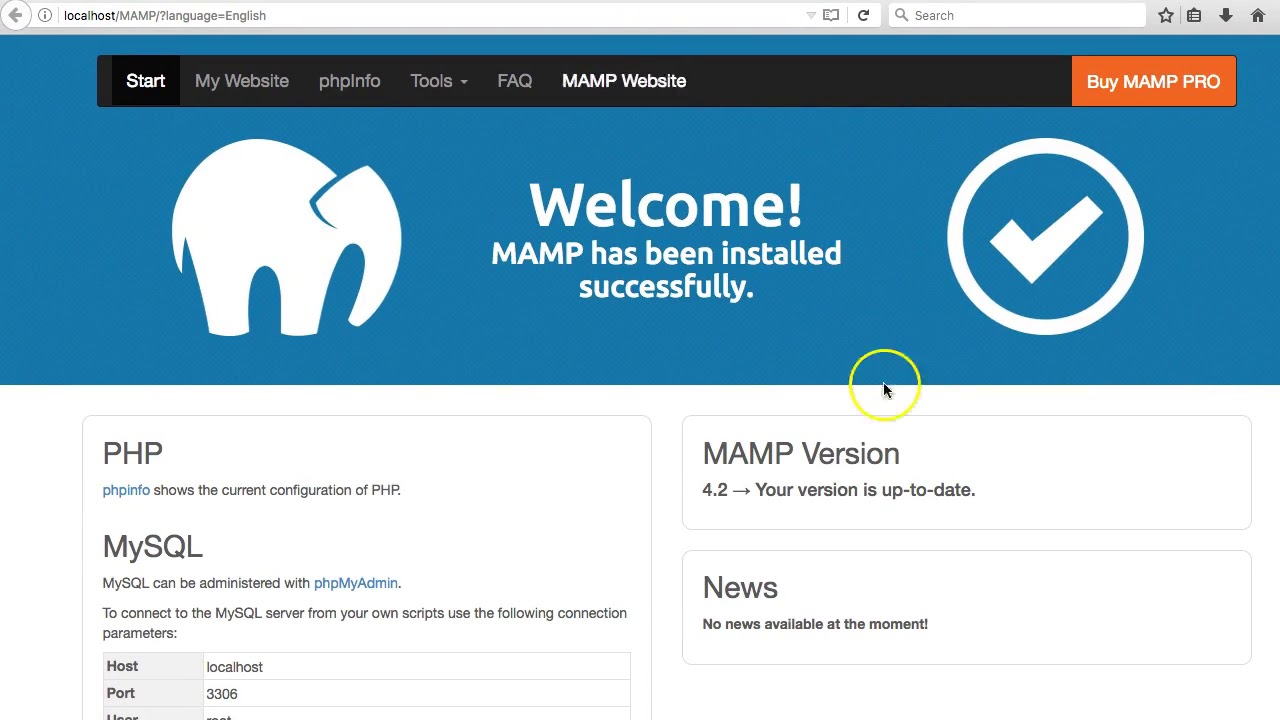
5. Test Your PHP Installation: To ensure that PHP is installed correctly, create a simple PHP file and run it on your web server. Open a text editor, create a file with a .php extension, and write some PHP code (e.g., ). Save the file in the web server’s document root. Open a web browser and navigate to “http://localhost/yourfilename.php”. If you see the “Hello, World!” message, then PHP is working correctly.
6. Verify Database Connectivity: To verify that your database server is properly configured, create a test database and connect to it using PHP. Write a PHP script that establishes a database connection and performs a simple query (e.g., retrieving a record from a table). If you receive the expected results without any errors, then your database connectivity is working.
By following these steps, you will set up the PHP environment on your computer, which is the foundation for building a webservice using PHP. In the next step, we will create the project structure for our webservice. Stay tuned!
Step 2: Creating the Project Structure
Now that you have set up the PHP environment, it’s time to create the project structure for your webservice. The project structure will help organize your code and make it easier to manage and maintain. Here’s how you can create the project structure:
1. Choose a Directory: Select a directory on your computer where you want to store your webservice project. This directory will serve as the root directory for your project.
2. Create Project Folders: Inside the root directory, create the necessary folders for your project. Common folders include:
- Public: This folder will contain all the publicly accessible files of your webservice, such as HTML templates, CSS stylesheets, and JavaScript files. These files will be responsible for rendering the user interface.
- Includes: This folder will store any shared or reusable PHP code that will be included in your webservice files.
- Controllers: This folder will contain the PHP files responsible for handling requests and controlling the flow of your webservice.
- Models: This folder will store PHP files that define the structure and behavior of your data models, such as database tables.
- Views: This folder will hold PHP files that are responsible for rendering specific views or templates.
- Helpers: This folder can store utility functions or classes that assist in various tasks within your webservice.
- Config: This folder will contain configuration files, such as database connection details or API keys.
3. Create Files: Inside each folder, create the necessary files for your webservice. For example, in the controllers folder, you may create a file named “UserController.php” to handle user-related functionalities.
4. Implement Autoloading: To manage the inclusion of your project’s files, consider implementing autoloading. Autoloading allows PHP to automatically load classes or files when they are needed, without requiring manual inclusion. Use a tool like Composer to set up autoloading for your project.
5. Initial Code Structure: Start populating your project files with the required code. For example, in the public folder, create an index.php file that serves as the entry point for your webservice. In this file, you can set up routing and handle incoming requests.
By creating a structured project directory, you can easily navigate through your webservice code and ensure separation of concerns. This will contribute to code organization and maintainability. In the next step, we will discuss setting up the database for your webservice. Keep reading!
Step 3: Setting up the Database
Now that we have created the project structure for our webservice, it’s time to set up the database that will be used to store and retrieve data. Follow these steps to set up the database:
1. Choose a Database Management System: Select a database management system (DBMS) that suits your needs. Popular choices for PHP development include MySQL, MariaDB, PostgreSQL, and SQLite. Install the DBMS software on your computer if you haven’t already.
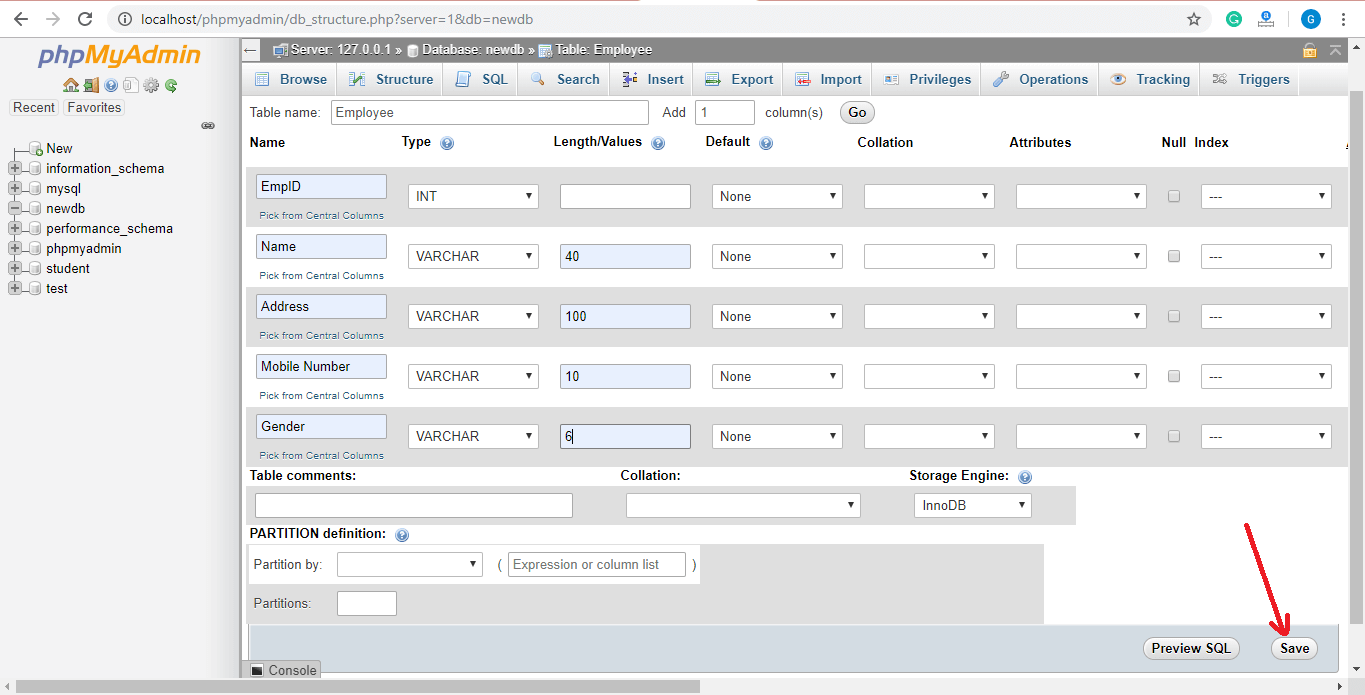
2. Create a Database: Use a graphical user interface tool such as phpMyAdmin or the command line interface to create a new database. Give it a meaningful name that represents the purpose of your webservice.
3. Define Tables and Fields: Inside the newly created database, design the tables and define the necessary fields to store your data. Consider the data structure requirements of your webservice and create tables accordingly. Define the appropriate data types for each field.
4. Set Up Relationships: If your webservice requires relationships between tables, define the appropriate foreign keys and constraints to ensure data integrity. Establish relationships such as one-to-one, one-to-many, or many-to-many as per your requirements.
5. Create a Database Connection: In your project’s configuration files, set up a connection to the database. This typically involves providing the database server’s hostname, username, password, and the name of the database you created.
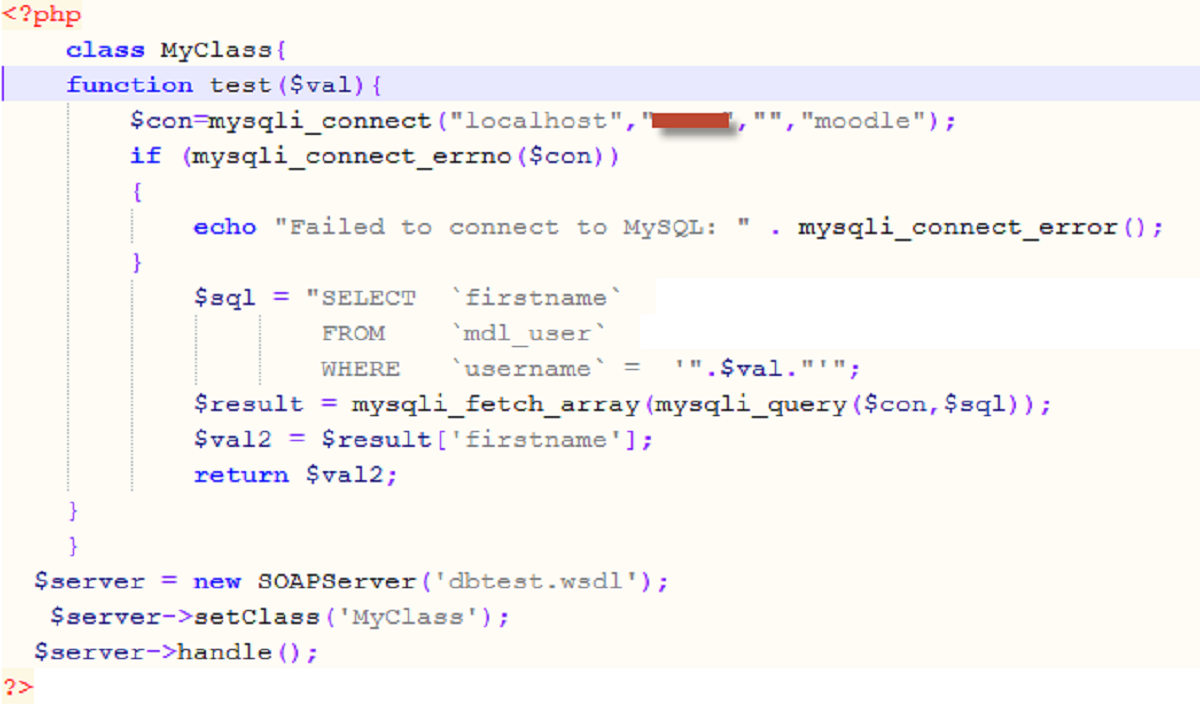
6. Test Database Connection: Write a simple PHP script to test the database connection. Use the established connection details to connect to the database and execute a query to retrieve or manipulate data. Ensure that the connection is successful and the data operations are working as expected.
Setting up the database is an integral part of building a webservice. It provides a structured and efficient way to store and retrieve data. With the database set up, we can proceed to the next step and start creating the API endpoints for our webservice. Stay tuned!
Step 4: Creating the API Endpoints
With the project structure and database set up, it’s time to create the API endpoints for your webservice. API endpoints are the URLs through which client applications can interact with your webservice and perform various operations. Here are the steps to create the API endpoints:
1. Map URLs to Controllers: Decide on the URLs that represent each endpoint of your webservice. For example, “/users” could be the URL for retrieving a list of users, and “/users/{id}” could be the URL for retrieving a specific user. Map these URLs to corresponding controller methods.
2. Implement Routing: Depending on the framework or library you are using (if any), implement routing to direct incoming requests to the appropriate controller methods. This can be done using built-in routing features or by writing custom routing logic.
3. Handle HTTP Requests: In each controller method, handle the specific HTTP request for the given endpoint. For example, in the “/users” endpoint, you may handle a GET request to retrieve a list of users, while in the “/users/{id}” endpoint, you may handle a GET request to retrieve a specific user.
4. Process Data: Inside the controller methods, retrieve data from the database or perform any necessary processing based on the specific endpoint and request type. This may involve executing SQL queries, interacting with models, or implementing business logic.
5. Prepare and Send Response: After processing the request data, prepare the appropriate response to send back to the client application. This may involve formatting the response data as JSON or XML, setting appropriate HTTP status codes, and including any necessary headers.
6. Implement CRUD Operations: Depending on the functionality of your webservice, you may need to implement the four basic CRUD operations: Create, Read, Update, and Delete. Create methods for creating new records, retrieving existing records, updating records, and deleting records.
By creating the API endpoints, you are defining the functionality that your webservice will offer to the client applications. Each endpoint represents a specific operation that can be performed on your webservice’s resources. With the API endpoints in place, you can move on to the next step and start implementing the CRUD operations for your webservice. Stay tuned!
Step 5: Implementing CRUD Operations
Now that you have created the essential API endpoints for your webservice, the next step is implementing the CRUD operations. CRUD stands for Create, Read, Update, and Delete, which represent the basic operations for manipulating data in a database. Here’s how you can implement the CRUD operations:
Create Operation: Implement a method to handle the creation of new records in the database. This method should receive the necessary input data, validate it, and insert the data into the appropriate database table.
Read Operation: Implement methods to retrieve data from the database. These methods can be used to retrieve a single record or a collection of records based on different criteria, such as filtering by specific fields or pagination.
Update Operation: Design methods to update existing records in the database. These methods should receive the updated data, validate it, and apply the changes to the corresponding record(s) in the database.
Delete Operation: Create methods to delete specific records from the database. These methods should receive the necessary identifiers (e.g., record ID) and delete the corresponding record(s) from the database.
When implementing the CRUD operations, consider the following best practices:
- Sanitize and validate the input data to ensure it is safe and meets the required constraints.
- Handle errors and exceptions gracefully, providing appropriate error messages and HTTP status codes in the response.
- Implement authorization and access control mechanisms to ensure that only authorized users can perform certain operations.
- Use parameterized queries or prepared statements to prevent SQL injection attacks.
- Consider implementing data validation and business rules at both the application and database levels.
By implementing the CRUD operations, you provide comprehensive functionality for manipulating the data stored in your webservice’s database. With the CRUD operations in place, you can move on to the next step and test your webservice. Stay tuned!
Step 6: Testing the Webservice
After implementing the CRUD operations in your webservice, it’s crucial to thoroughly test it to ensure it functions as expected and meets the requirements. Testing your webservice helps identify and fix any issues or bugs before it is deployed for production use. Here’s how you can test your webservice:
1. Manual Testing: Start by manually testing each API endpoint using a web browser or an API testing tool like Postman or Insomnia. Send different types of requests (GET, POST, PUT, DELETE) to the endpoints and verify that the responses are correct and the operations are performed as expected.
2. Test Different Scenarios: Test your webservice with different scenarios like attempting to create/modify duplicate records or accessing restricted resources without proper authentication. Verify that your webservice handles these scenarios correctly and returns appropriate error messages or status codes.
3. Automated Testing: Implement automated tests to ensure the functionality of your webservice remains intact as you make changes or updates. Use testing frameworks like PHPUnit or Behat to create unit tests or functional tests. These tests can be run automatically to check if the webservice is functioning correctly.
4. Test with Large Data Sets: If your webservice is expected to handle large data sets, test it with a significant amount of data to ensure it performs well under load. Evaluate the response times and monitor the system resource usage during the testing to identify any performance or scalability issues.
5. Error Handling and Logging: Pay attention to error handling and logging. Ensure errors are properly captured, logged, and sent back to the client application, if applicable. Monitoring logs and error reports will help identify and troubleshoot issues that occur during testing or in production.
6. Security Testing: Perform security testing to identify and mitigate potential vulnerabilities. Test for common security issues like SQL injection, cross-site scripting (XSS), cross-site request forgery (CSRF), and data exposure. Implement proper security measures like input validation, parameterized queries, and authentication to safeguard your webservice.
Testing is an iterative process, so make sure to refine and rerun tests as you make changes or updates to your webservice. Fix any identified issues and retest until your webservice is functioning correctly.
With the webservice successfully tested and any issues resolved, you are now ready to deploy it for production use. By following these steps, you have created a fully functional webservice using PHP. Congratulations!
Conclusion
In this article, we have explored the process of creating a webservice using PHP. We started by understanding the concept of a webservice and its importance in modern software development. We discussed the requirements for building a webservice, including setting up the PHP environment, having basic knowledge of PHP and web technologies, and setting up a database.
We then walked through the step-by-step process of creating the project structure for the webservice, setting up the database, and creating the API endpoints. We learned how to map URLs to controllers, handle HTTP requests, process data, and send appropriate responses. We also emphasized the implementation of CRUD operations to manipulate the data in the database effectively.
Testing the webservice was another important step we covered. We highlighted the significance of manual and automated testing, testing different scenarios, testing with large data sets, and ensuring proper error handling and security measures.
By following these steps, anyone can successfully create a webservice using PHP. However, keep in mind that this is just the beginning. Webservice development is a vast field with many advanced concepts and techniques to explore. Continuously improving your skills and staying updated with the latest technologies will help you build more robust and efficient webservices.
So, go ahead and apply what you’ve learned here to create your own PHP webservice. With dedication, practice, and a thirst for knowledge, you can build powerful and reliable webservices that propel your applications to new heights.