Introduction
Welcome to this guide on how to update PHP in Bluehost. PHP is a server-side scripting language that is widely used for web development. It is important to keep PHP up to date in order to ensure the security, performance, and compatibility of your website. In this article, we will walk you through the step-by-step process of updating PHP in a Bluehost hosting environment.
Bluehost is a popular web hosting provider known for its user-friendly interface and reliable service. By following the instructions outlined in this guide, you will be able to easily update PHP and take advantage of the latest features and improvements.
In the following sections, we will cover how to check your current PHP version, update PHP in Bluehost, backup your website before making any changes, switch to the new PHP version, and test your website to ensure everything is working perfectly.
It is important to mention that updating PHP should be done with caution, as it may have an impact on the functionality of your website if not done properly. We recommend following the steps carefully and creating a backup of your website before proceeding with any updates.
So, whether you are a beginner or an experienced website owner, this guide will provide you with clear instructions to successfully update PHP in your Bluehost hosting environment. Let’s get started!
Part 1: Checking the current PHP version
Before updating PHP in Bluehost, it is essential to check the current PHP version running on your website. This will help you determine if an update is necessary and ensure compatibility with any new features or enhancements.
Follow the steps below to check your current PHP version:
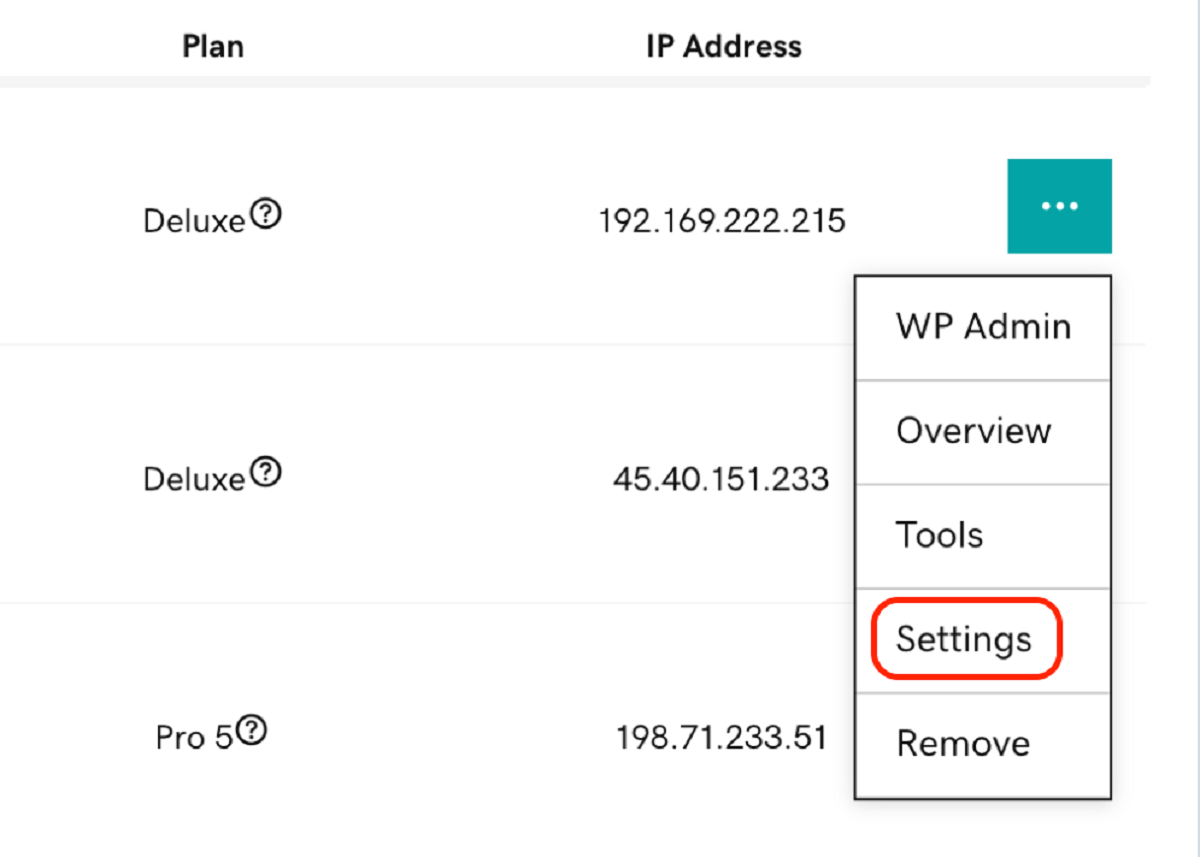
- Login to your Bluehost account and navigate to the cPanel dashboard. The cPanel is the control panel where you can manage various aspects of your hosting account.
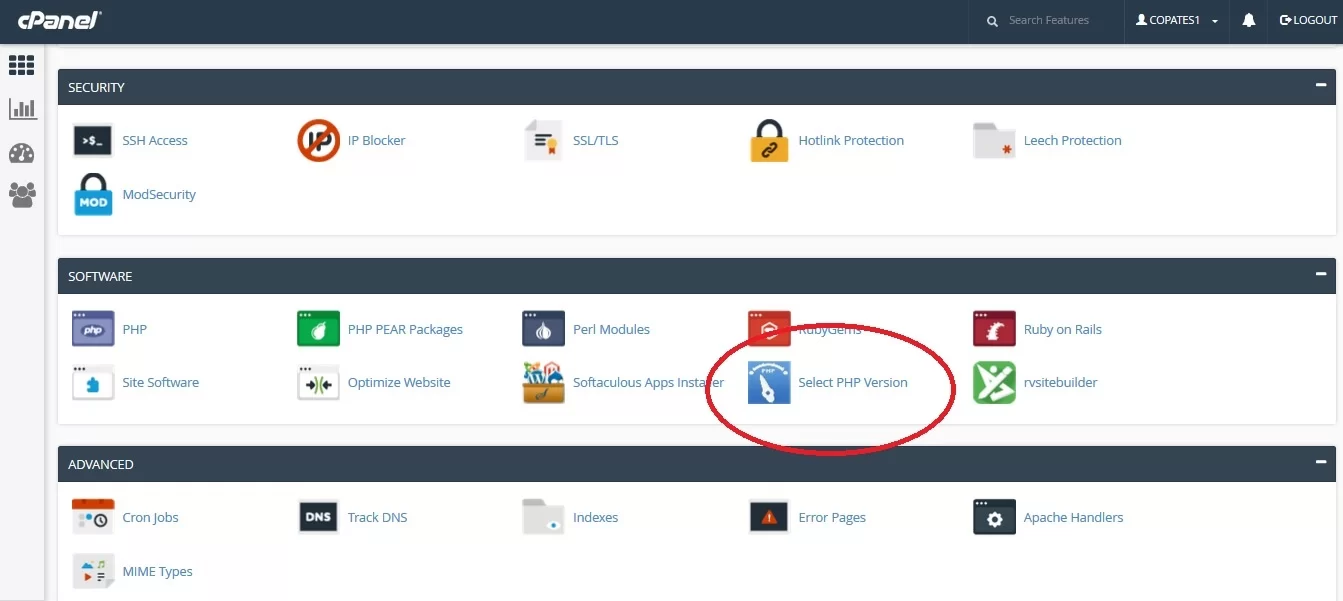
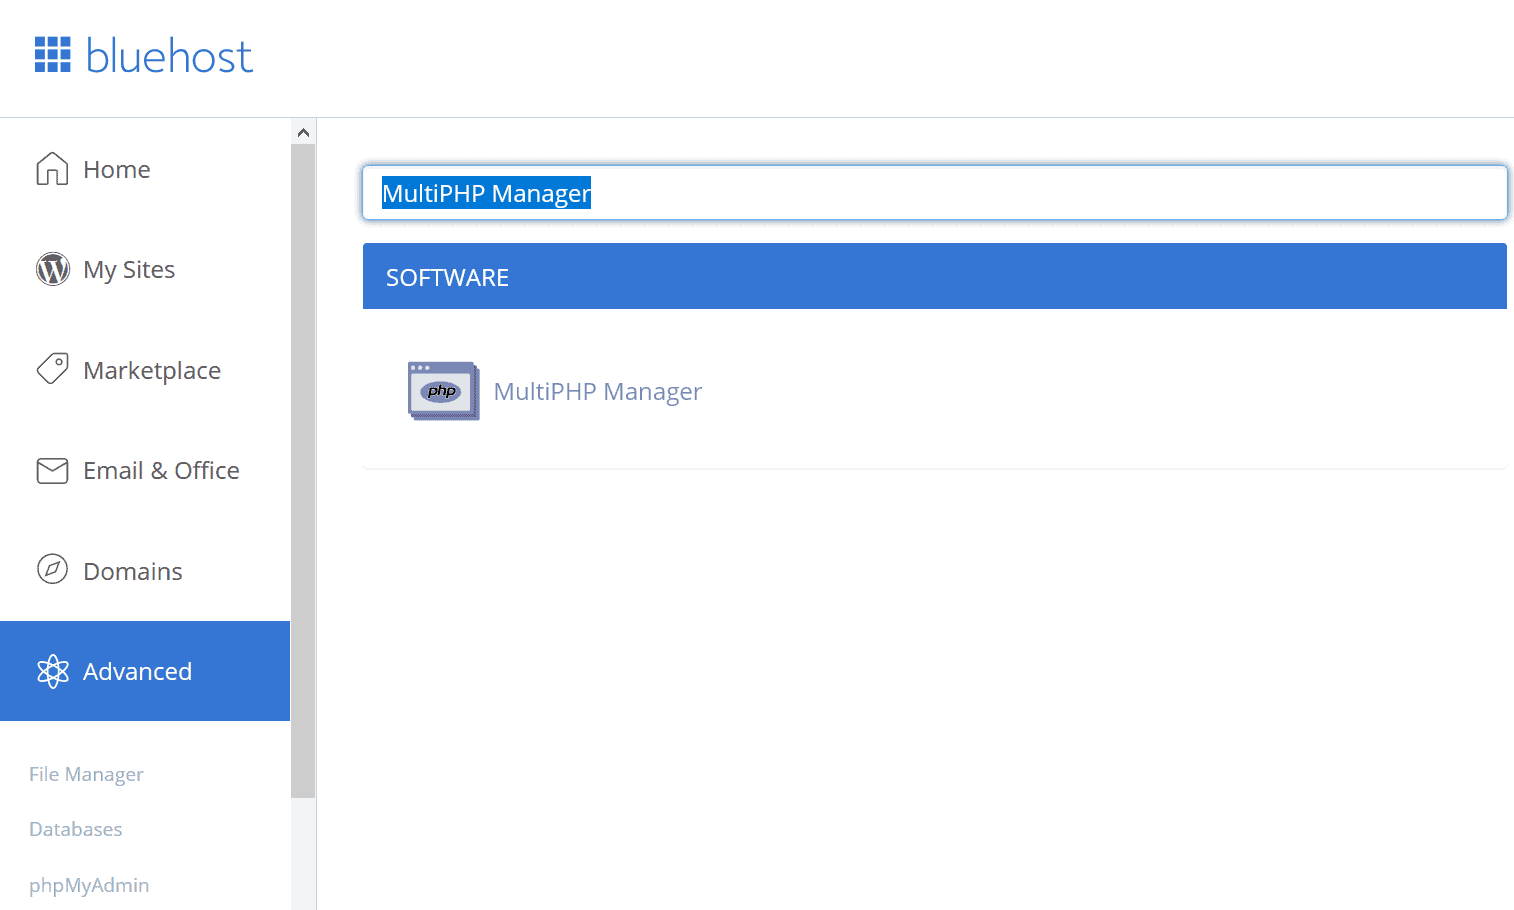
- In the cPanel dashboard, locate the “Software” section and click on the “Select PHP Version” option. This will open the PHP Version Manager.
- On the PHP Version Manager page, you will see a drop-down menu displaying the currently active PHP version for your website. Take note of this version for reference.
- Next, you can click on the “Switch To PHP Options” link to view and modify the PHP settings for your website.
- Within the PHP Options page, you will find a detailed list of all the PHP modules and extensions that are enabled or disabled on your website. This can be useful information if you encounter any compatibility issues during the update process.
Once you have successfully checked and noted the current PHP version running on your website, you can proceed to the next section to learn how to update PHP in Bluehost.
Part 2: Updating PHP in Bluehost
Now that you have checked the current PHP version, it’s time to update PHP in your Bluehost hosting environment. Follow the steps below to perform the update:
- Login to your Bluehost account and go to the cPanel dashboard.
- Locate the “Software” section and click on the “Select PHP Version” option. This will open the PHP Version Manager.
- In the PHP Version Manager, you will see a list of available PHP versions. Select the desired PHP version that you want to update to by clicking on the drop-down menu. It is recommended to choose the latest stable version for optimal performance and security.
- After selecting the new PHP version, click on the “Set as Current” button to apply the changes.
- Bluehost will now update the PHP version for your website. This process may take a few moments, so please be patient.
- Once the update is complete, you will see a success message confirming the PHP version change.
It is important to note that updating PHP may cause compatibility issues with certain plugins or themes on your website. Therefore, it is advisable to test your website thoroughly after the update to ensure that everything is functioning correctly.
If you encounter any issues or unexpected behavior, you may need to review your PHP settings or contact Bluehost support for assistance. They will be able to provide guidance and help you resolve any compatibility or performance issues.
With the PHP update complete, you are now ready to move on to the next section, which covers the importance of backing up your website before making any changes.
Part 3: Backing up your website
Before making any changes or updates to your website, it is crucial to create a backup. This ensures that you have a copy of your website’s files and database in case anything goes wrong during the PHP update process.
Follow these steps to create a backup of your website:
- Login to your Bluehost account and navigate to the cPanel dashboard.
- In the cPanel dashboard, look for the “Files” section and click on the “Backup” or “Backup Wizard” option. This will open the backup tool.
- Within the backup tool, you can choose to backup specific files or directories, or you can create a full backup of your website.
- Click on the appropriate option to start the backup process. Depending on the size of your website, this may take some time to complete.
- Once the backup is finished, you can download the backup files to your local computer for safekeeping.
It is not recommended to skip the backup step, as it provides an insurance policy in case any data loss or unexpected issues occur during the PHP update. Regular backups are also important for website maintenance and disaster recovery purposes.
By taking the time to create a backup, you can confidently proceed with the PHP update knowing that you have a safety net in place. Now let’s move on to the next section, where we will discuss how to switch to the new PHP version.
Part 4: Switching to the new PHP version
With the backup of your website securely in place, you are now ready to switch to the new PHP version in Bluehost. Follow the steps below to complete the process:
- Login to your Bluehost account and navigate to the cPanel dashboard.
- In the cPanel dashboard, locate the “Software” section and click on the “Select PHP Version” option. This will open the PHP Version Manager.
- On the PHP Version Manager page, you will see a drop-down menu displaying the available PHP versions. Select the newly updated PHP version from the list.
- Click on the “Set as Current” button to apply the changes and switch to the new PHP version.
- Once the switch is complete, you will see a confirmation message indicating that your website is now running on the updated PHP version.
It is important to note that switching to a new PHP version may cause compatibility issues with certain plugins, themes, or custom code on your website. It is recommended to thoroughly test your website after the switch to ensure everything is working as expected.
If you encounter any errors or issues, you may need to update your plugins, themes, or code to ensure compatibility with the new PHP version. It is always a good practice to keep your website’s components up to date to avoid any potential conflicts.
Now that you have successfully switched to the new PHP version, let’s move on to the final section of this guide, where we will discuss how to test your website to ensure everything is functioning properly.
Part 5: Testing your website
After updating PHP and switching to the new version, it is crucial to thoroughly test your website to ensure that everything is functioning correctly. Testing allows you to identify any compatibility issues or errors that may have arisen due to the PHP update. Follow the steps below to effectively test your website:
- Start by visiting your website and navigating through different pages to check if everything is displaying properly.
- Test the functionality of any interactive elements on your site, such as forms, contact pages, search features, or login systems.
- Check the performance of your website, paying attention to the speed and loading time. If you notice any slowdowns or delays, it may indicate a compatibility issue.
- If your website uses any plugins or customized functionalities, thoroughly test each of them to ensure they are working as intended.
- If you encounter any errors or issues during the testing process, make note of them and take steps to address them. This may involve updating plugins, themes, or reaching out to developers for support.
It is recommended to perform testing on different devices and browsers to ensure compatibility across various platforms. This includes checking the website on desktop computers, smartphones, and tablets, as well as using different browsers such as Chrome, Firefox, Safari, and Edge.
By thoroughly testing your website, you can identify any compatibility issues early on and take the necessary steps to resolve them. This will ensure that your website remains fully functional and provides a seamless user experience for your visitors.
Now that you have successfully updated PHP, switched to the new version, and tested your website, you can rest assured that your website is up to date and optimized for performance. In the rare event that you encounter any difficulties during the process, don’t hesitate to contact Bluehost support for further assistance.
Conclusion
Congratulations! You have successfully learned how to update PHP in Bluehost. By following the step-by-step instructions in this guide, you have ensured the security, compatibility, and performance of your website.
Remember, PHP updates are crucial for maintaining the integrity of your website and staying up to date with the latest features and security patches. Bluehost’s user-friendly cPanel interface and PHP Version Manager make the process relatively straightforward.
Throughout this guide, we covered the importance of checking your current PHP version, how to update PHP in Bluehost, the necessity of creating a backup for your website, the process of switching to the new PHP version, and the significance of thorough testing to detect any compatibility issues.
Always be sure to test your website thoroughly after updating PHP to ensure that everything is functioning as expected. If you encounter any errors or issues, reach out to Bluehost support or consult with developers for further assistance.
Thank you for following this guide, and we hope it has provided you with the knowledge and confidence to update PHP in Bluehost successfully. By keeping your website’s PHP version updated, you can ensure a seamless user experience and maintain the security and performance of your website.