Introduction
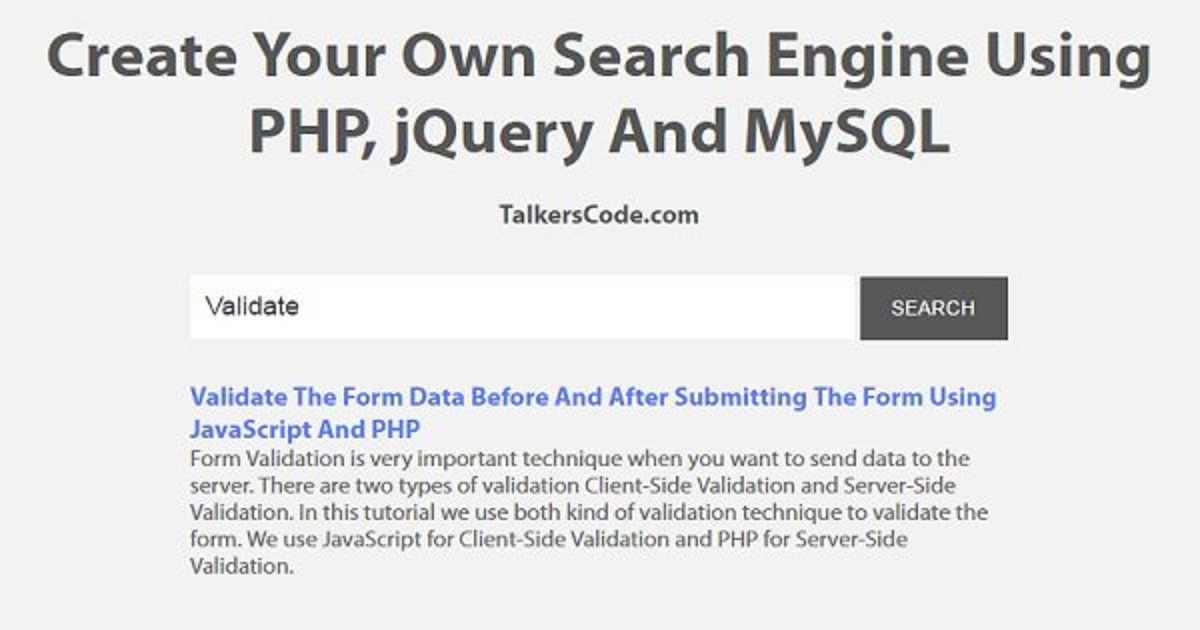
In today’s digital age, search functionality is an essential component of any website or web application. Whether it’s a blog, an e-commerce platform, or a knowledge base, allowing users to search for specific information greatly enhances their browsing experience. In the context of PHP web development, implementing a search feature is relatively straightforward and can be done with minimal effort.
In this article, we will explore how to make search functionality in PHP. We will cover the necessary steps, from setting up a local development environment to writing the PHP code and retrieving search results. By the end of this tutorial, you will have a solid understanding of how to integrate search functionality into your PHP projects.
Before we dive into the technical details, it’s important to note that PHP is a server-side scripting language used for web development. It is widely used for building dynamic websites and web applications due to its simplicity and versatility. Additionally, PHP integrates seamlessly with databases, allowing us to leverage the power of SQL queries to retrieve search results efficiently.
Throughout this tutorial, we will be using HTML, PHP, and MySQL to create a search feature. HTML will be used for designing the search form and displaying the search results, PHP will handle the backend logic and database operations, and MySQL will store the data being searched. It’s worth mentioning that while we’re using MySQL in this tutorial, you can adapt the code to work with other databases like PostgreSQL or SQLite.
Now, let’s get started by setting up a local development environment to begin our journey of creating a search feature in PHP.
Installing PHP and Setting Up a Local Development Environment
Before we can begin implementing search functionality in PHP, it’s crucial to have PHP installed on your local machine. Here are the necessary steps to set up a local development environment:
- Download PHP: Visit the official PHP website (php.net) and navigate to the downloads section. Choose the version suitable for your operating system (Windows, macOS, or Linux). Download the PHP zip file and extract it to a folder on your computer.
- Configuring PHP: Once you have extracted the PHP files, you will need to configure the PHP settings according to your project requirements. Open the php.ini file and modify the necessary configurations. For example, you may need to enable extensions or set the timezone.
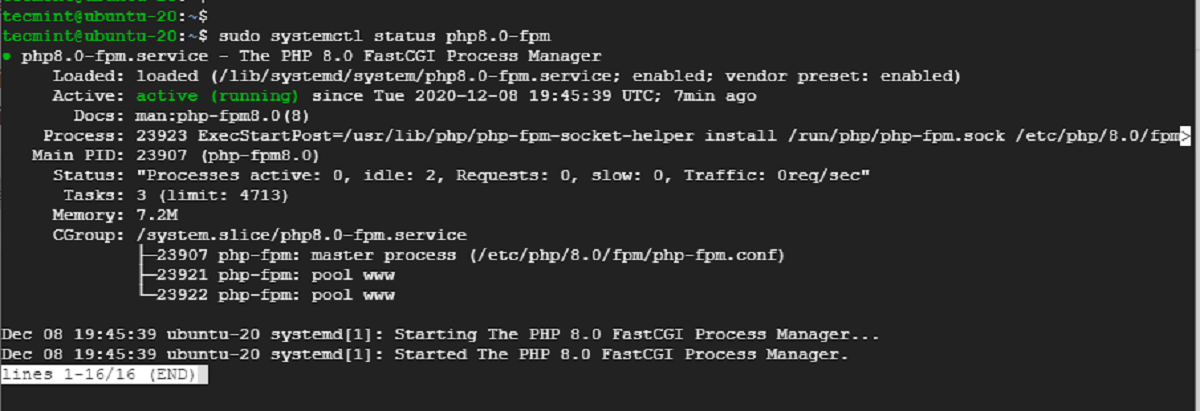
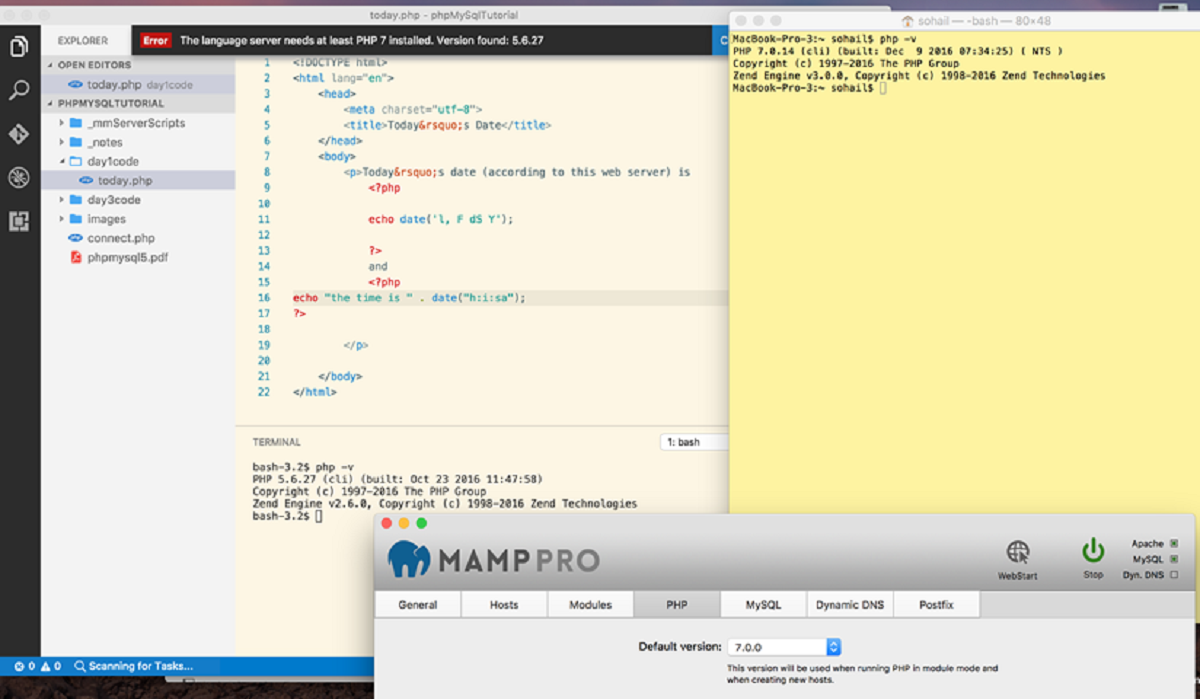
- Running PHP: To test if PHP is working correctly, open a command prompt or terminal and navigate to the directory where you installed PHP. Type “php -v” and press Enter. If you see the PHP version information, it means PHP is installed and configured correctly.
- Setting Up a Local Server: To run PHP files locally, you need a local server environment. There are several options available, such as XAMPP, WAMP, or MAMP, which provide an Apache server, MySQL database, and PHP. Choose the one that suits your operating system and install it following the respective installation instructions.
- Testing the Local Server: Once the local server is installed and running, open your web browser and navigate to “localhost” or “127.0.0.1”. If you see the default page of the local server, it means the setup was successful. You can now create and run PHP files on your local server.
With PHP and a local development environment set up, we are ready to proceed with creating a simple HTML form for search functionality. Stay tuned for the next section!
Creating a Simple HTML Form for Search
Now that we have our local development environment set up, we can begin building the search functionality in PHP. The first step is to create a simple HTML form that allows users to input their search query. Here’s how you can do it:
1. Create a new PHP file and open it in your favorite code editor.
2. Start by adding the HTML form structure. Utilize the <form> tag, and set the method attribute to “GET”.
3. Inside the form, add an <input> field with the type attribute set to “text”. This will be where users enter their search query.
4. Create a submit button using the <input> tag with the type attribute set to “submit”. You can specify the value attribute to customize the text on the button, such as “Search”.
5. Close the form using the </form> tag.
Here’s an example of the HTML code for the search form:
<form method="GET">
  <input type="text" name="search" placeholder="Enter your search query">
  <input type="submit" value="Search">
</form>
Once you have created the HTML form, save the file with a .php extension, such as search.php. Now, when you open the search.php file in your browser, you should see a simple search form with an input field and a submit button.
In the next section, we will dive into designing a MySQL database to store our search data. Stay tuned!
Designing a MySQL Database for Searching
Now that we have our HTML form set up for search functionality, it’s time to focus on designing a MySQL database to store the data that will be searched. Here’s how you can design your database:
1. Determine the entities: Start by identifying the main entities that you want to include in your search. For example, if you’re building a blog, the main entities might be blog posts. Identify the relevant fields or attributes for each entity. In the case of blog posts, you might have fields such as title, content, author, and publication date.
2. Create the tables: Create a table for each entity in your database. Each table should have columns that correspond to the identified fields or attributes. For example, the blog post table might have columns for the title, content, author, and publication date.
3. Define relationships: If there are relationships between entities, such as a blog post having an author, define these relationships using foreign keys. For example, you might have an “author_id” column in the blog post table that references the “id” column in the author table.
4. Set up indexes: To improve the search performance, consider adding indexes to the columns frequently used in search queries, such as the title or author. This will speed up the search process by allowing the database to find the relevant data more efficiently.
5. Populate the tables: Once you have created the tables, you can start populating them with data. This can be done manually or by importing data from an existing source. Add sample data to test the search functionality.
It’s important to note that database design can vary based on specific requirements and the structure of your application. The above steps provide a general guideline for designing a MySQL database for searching. Adjustments and additions can be made based on your unique needs.
In the next section, we will dive into writing the PHP code to handle the search functionality. Stay tuned!
Writing the PHP Code for Search
With our database designed, it’s time to write the PHP code that will handle the search functionality. Here’s how you can implement the PHP code:
1. Start by establishing a connection to the MySQL database. Use the mysqli_connect() function, providing the database server, username, password, and database name as parameters. This will enable the PHP code to communicate with the database.
2. Process the search query. Get the user’s search query from the HTML form using the $_GET superglobal array. Sanitize and validate the user input to prevent any potential security vulnerabilities.
3. Build the SQL query. Utilize the SELECT statement to retrieve data from the database based on the user’s search query. You can use the LIKE operator to search for partial matches or the = operator for exact matches.
4. Execute the SQL query. Use the mysqli_query() function, passing in the database connection and the SQL query as parameters. This will send the query to the database and retrieve the matching results.
5. Process the search results. Loop through the retrieved data using a while loop and extract the relevant information you want to display. Format the data as desired and store it in a variable for later use.
6. Close the database connection. Use the mysqli_close() function to close the connection with the database once you have fetched the search results and performed any necessary operations.
Remember to handle any potential errors that may occur during the database connection or query execution. You can use conditional statements and error handling functions like mysqli_error() to handle errors gracefully.
By following these steps, you can successfully write the PHP code to handle the search functionality in your web application. In the next section, we will explore how to retrieve and display the search results to the user. Stay tuned!
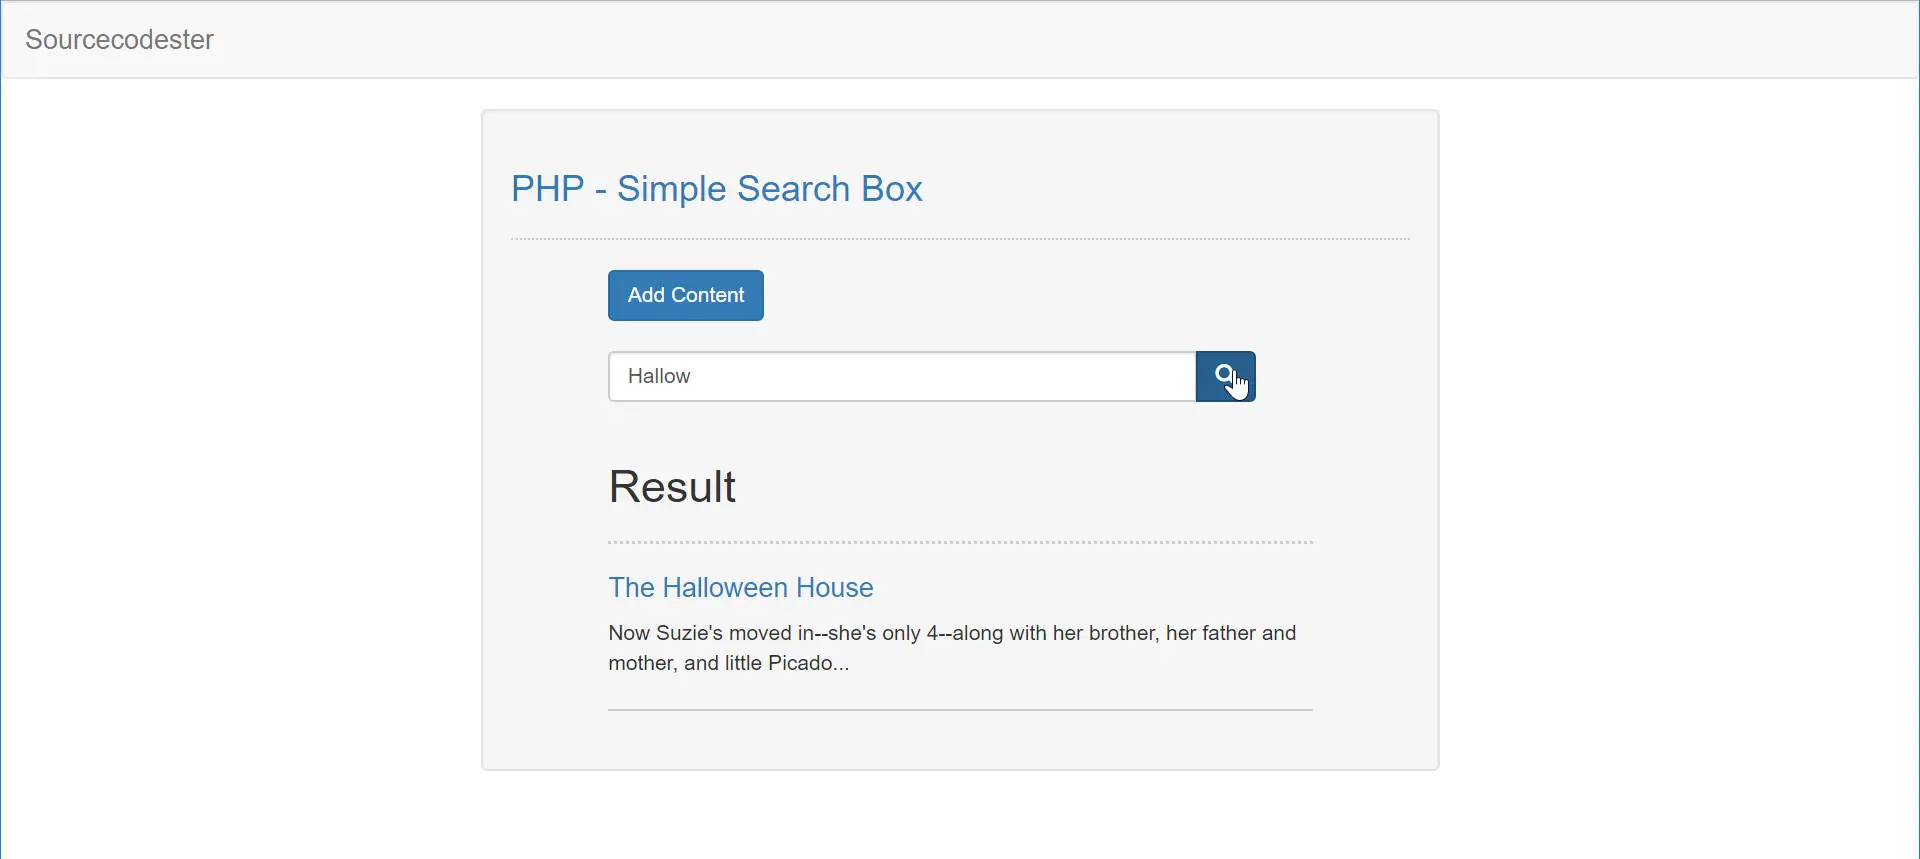
Retrieving and Displaying Search Results
Now that we have written the PHP code to handle the search functionality and fetch the data from the database, it’s time to retrieve and display the search results to the user. Here’s how you can do it:
1. Retrieve the search results. Use the PHP code to fetch the data from the database based on the user’s search query. Store the results in a variable for later use.
2. Check if there are any search results. Use conditional statements to check if the search query returned any data from the database. If there are no results, display a message informing the user that no matching records were found.
3. Display the search results. If there are search results, iterate through the data using a loop, such as a foreach loop, and echo the relevant information to the user. Format the data as desired using HTML markup to create a visually appealing presentation.
4. Provide links or buttons for more information. For each search result, consider including links or buttons that allow the user to access more details. These additional interactions can enhance the user experience and provide more opportunities for engagement.
5. Pagination (optional). If there are a large number of search results, consider implementing pagination to display the results in smaller, more manageable chunks. This can improve performance and make it easier for users to navigate through the search results.
Remember to properly format and sanitize any user-generated data before displaying it to prevent any potential security vulnerabilities. Use appropriate HTML tags and CSS styles to enhance the visual presentation of the search results.
By following these steps, you can successfully retrieve and display the search results to the user. In the next section, we will explore how to add pagination to the search results. Stay tuned!
Adding Pagination to Search Results
As mentioned in the previous section, adding pagination to the search results can greatly enhance the user experience, especially when dealing with a large number of search results. Here’s how you can implement pagination in your search functionality:
1. Calculate the total number of search results. Before implementing pagination, you need to determine the total number of results that match the user’s search query. This can be done by modifying your SQL query to include a count of the matching records without applying any pagination limits.
2. Set the number of results to display per page. Decide how many search results you want to display on each page. This will depend on the amount of data and the desired user experience. Common options range from 10 to 50 search results per page.
3. Calculate the total number of pages. Divide the total number of search results by the number of results per page to determine the total number of pages. Use the ceil() function to round up and ensure that any remaining records are included on the last page.
4. Add pagination links or buttons. Generate the pagination links or buttons based on the total number of pages calculated in the previous step. Consider using a loop to generate the appropriate number of links/buttons, with each link/button representing a different page.
5. Handle user clicks on pagination links/buttons. When the user clicks on a specific pagination link/button, update the SQL query to retrieve the corresponding subset of search results based on the clicked page number. Use the LIMIT clause in your SQL query to specify the starting position and number of results to fetch.
6. Display the appropriate search results based on the selected page. Modify your PHP code to handle the pagination logic. Only fetch and display the relevant subset of search results based on the current page number.
7. Style and format the pagination links/buttons. Add CSS styles to the pagination links/buttons to make them visually appealing and easily distinguishable from other elements on the page. Consider using CSS classes, icons, or hover effects to improve the user experience.
By incorporating pagination into your search functionality, you can make it easier for users to navigate through a large set of search results. With proper implementation, users can quickly find the desired information without feeling overwhelmed. In the next section, we will conclude our tutorial on search functionality in PHP with a brief summary. Stay tuned!
Conclusion
In this tutorial, we have explored the process of implementing search functionality in PHP. We began by setting up a local development environment, installing PHP and configuring it to work with a local server. Then, we created a simple HTML form that allowed users to input their search queries.
Next, we designed a MySQL database to store the data that would be searched. We identified the entities, created the necessary tables, established relationships, and set up indexes to optimize search performance.
We then moved on to writing the PHP code to handle the search functionality. We connected to the database, processed the user’s search query, built the SQL query, executed it, and processed the results. We also ensured proper error handling to provide a robust and secure user experience.
After retrieving the search results, we tackled the task of displaying them to the user. We checked for the presence of search results, looped through the data, and presented it in a visually appealing manner using HTML markup. We also discussed the option of adding pagination to the search results, enabling users to navigate through large sets of data more effectively.
By following the steps outlined in this tutorial, you now have a solid foundation for implementing search functionality in your PHP projects. Remember to tailor the code to your specific requirements and continuously optimize and refine the search feature based on user feedback and usage patterns.
Happy coding and best of luck with your PHP search functionality endeavors!