Introduction
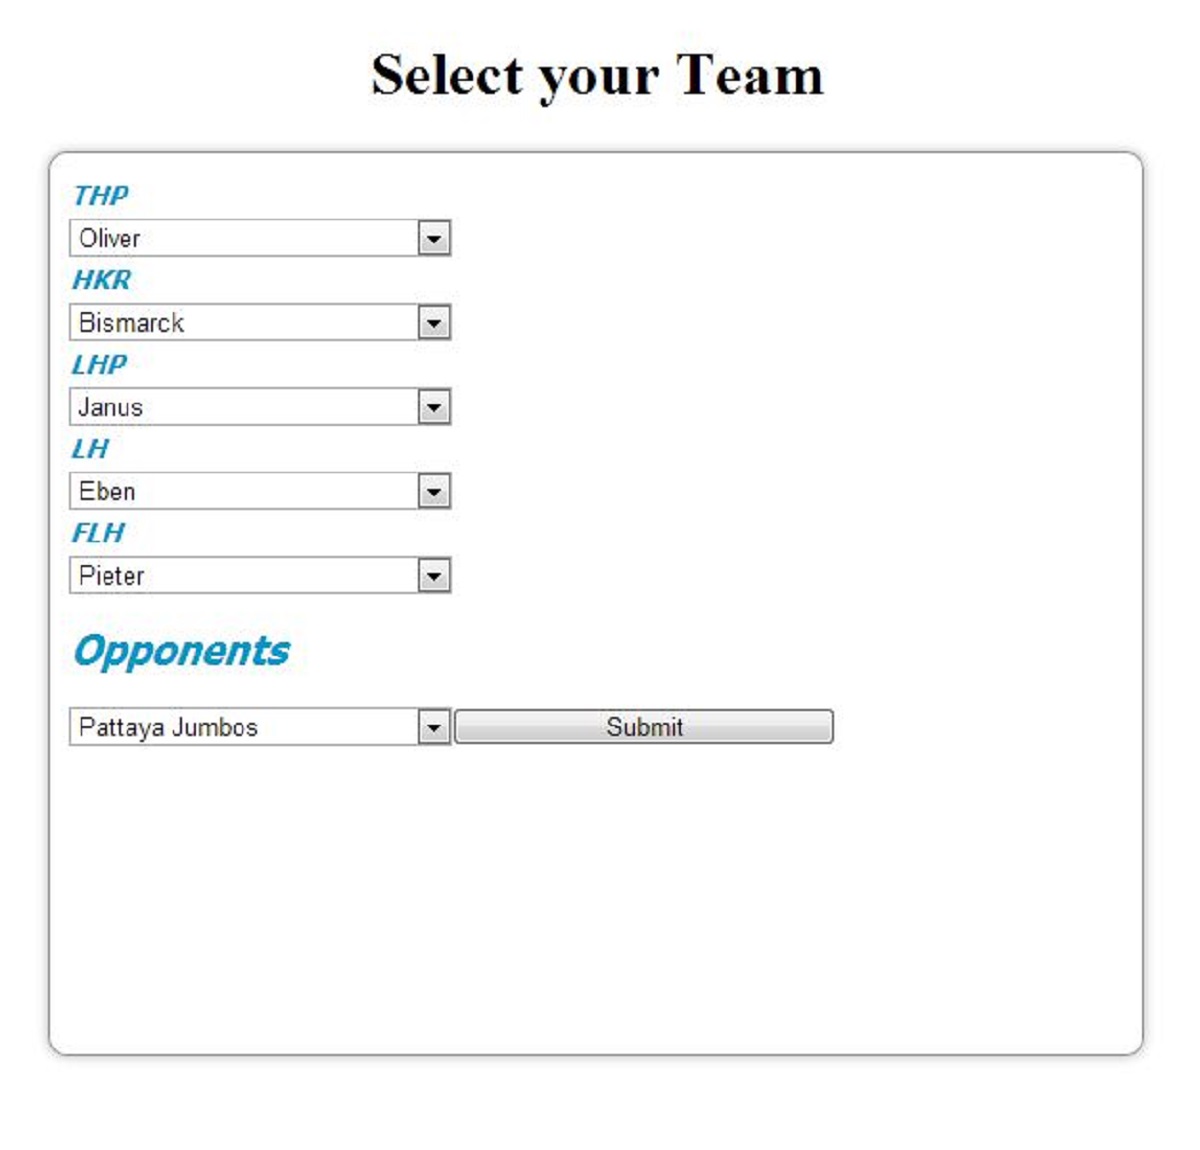
Creating a drop-down menu in PHP is a fundamental skill for web developers who want to improve the user experience and navigation on their websites. A drop-down menu allows visitors to easily access various sections or categories of a website, saving valuable screen space and providing a clean and intuitive interface.
In this article, we will guide you through the process of creating a drop-down menu using PHP. We will cover the necessary steps involved, including setting up the HTML file, creating the CSS for styling the menu, and building the PHP code to generate the menu dynamically.
Before we begin, it’s important to have a basic understanding of HTML, CSS, and PHP. Familiarity with these languages will ensure a smooth learning experience as we dive into this tutorial.
By the end of this article, you will have a solid understanding of how to create a dynamic drop-down menu in PHP. You will be able to customize and integrate the menu seamlessly into your website, enhancing its functionality and user-friendliness.
Prerequisites
Before we proceed with creating a drop-down menu in PHP, it’s important to ensure that you meet the following prerequisites:
- Basic knowledge of HTML: Understanding HTML tags, elements, and attributes is crucial as our drop-down menu will be implemented within an HTML file.
- Familiarity with CSS: Having a good grasp of CSS will help you style and modify the appearance of the drop-down menu to match your website’s design.
- Understanding of PHP: Since we will be utilizing PHP to generate the dynamic menu, having a basic understanding of PHP will be beneficial.
- Web development environment: Ensure that you have access to a web development environment with a code editor and a local server for testing and running the PHP code. Popular options include XAMPP, WAMP, or MAMP.
If you’re new to web development, it’s recommended to brush up on these prerequisites before proceeding. There are numerous online tutorials and resources available to help you learn these technologies.
With the prerequisites in place, you’ll be well-equipped to dive into the process of creating a drop-down menu in PHP. So let’s move on to the next step, which is setting up the HTML file!
Step 1: Set up the HTML file
The first step in creating a drop-down menu in PHP is to set up the HTML file where the menu will be embedded. Follow these steps:
- Create a new HTML file: Start by creating a new file with a .html extension in your preferred code editor. Alternatively, you can modify an existing HTML file that you want to add the drop-down menu to.
- Add the necessary HTML structure: Within the
<body>tags, create a container that will hold the drop-down menu. You can use a<div>element with an appropriate ID, such as<div id="menu-container">. - Set up the menu items: Inside the container, add the individual menu items as
<li>elements within an<ul>or<ol>list. For example:
html
Make sure to replace the “#” in the <a href="#"> with the appropriate URLs for each menu item.
- Include CSS and JavaScript files: In the
<head>section of your HTML file, link the CSS file responsible for styling the drop-down menu. You can also include a separate JavaScript file if you plan to add interactivity to the menu. - Save and test the HTML file: Save your changes and open the HTML file in a web browser to ensure that the menu structure is correct and displays as expected. At this point, the menu won’t be functional, but we’ll address that in the upcoming steps.
With the HTML file set up, you’re now ready to move on to the next step, which is creating the CSS for styling the drop-down menu.
Step 2: Create the CSS for styling the dropdown menu
Now that we have our HTML structure set up for the drop-down menu, it’s time to apply some CSS to style its appearance. Follow these steps:
- Target the menu container: In your CSS file, begin by targeting the menu container element using its ID. For example:
css
#menu-container {
/* CSS rules for the menu container */
}
- Set the display property: Use the
displayproperty to specify how the menu container should be rendered. To create a drop-down menu, set it toinline-blockorinline. For example:
css
#menu-container {
display: inline-block;
/* Other CSS rules */
}
- Style the menu items: Target the
<li>elements within the menu container and apply the desired styling. This includes properties likebackground-color,color,padding,border, andfont-size. For example:
css
#menu-container li {
background-color: #f2f2f2;
color: #333;
padding: 10px;
border-bottom: 1px solid #ccc;
font-size: 16px;
}
- Style the links: Target the
<a>elements within the menu container and modify their appearance. This includes properties liketext-decorationandcolor. For example:
css
#menu-container li a {
text-decoration: none;
color: #333;
}
- Style the hover effect: Add a hover effect when the user hovers over the menu items. This can be achieved by using the
:hoverpseudo-class. For example:
css
#menu-container li:hover {
background-color: #ccc;
color: #fff;
}
You can further customize the styling of the drop-down menu based on your website’s design and branding. Experiment with different CSS properties until you achieve the desired look and feel.
With the CSS styles in place, your drop-down menu will start to take shape. However, it still lacks functionality. In the next step, we will delve into building the PHP code to generate the dynamic menu.
Step 3: Build the PHP code for generating the dropdown menu
Now that we have set up the HTML structure and applied CSS to style the drop-down menu, it’s time to make it dynamic using PHP. Follow these steps to generate the menu dynamically:
- Open the HTML file: Open the HTML file that contains the drop-down menu structure in your code editor.
- Insert PHP tags: In the PHP section of your HTML file, insert opening and closing PHP tags,
<?phpand?>, respectively. This will allow us to include PHP code within the HTML document. - Write the PHP code: Inside the PHP tags, you can now write the PHP code to generate the dynamic menu. Use a loop, such as a
foreachloop, to iterate over an array of menu items and display them as list items. For example:
php
-
$item
“;
}
?>
In this example, we have an array called $menu_items containing the names of the menu items. The foreach loop iterates over each item, and the PHP echo function is used to output the HTML code for each menu item.
- Save and test the HTML file: Save your changes and open the HTML file in a web browser. You should now see the drop-down menu generated dynamically based on the PHP code.
By using PHP to generate the menu, you can easily modify or update the menu items without manually changing the HTML code for each item. This makes it more efficient and scalable, especially for websites with a large number of menu items.
In the next step, we will discuss how to test and customize the drop-down menu to suit your specific needs.
Step 4: Test and customize the dropdown menu
With the drop-down menu generated dynamically using PHP, it’s time to test it and make any necessary customizations. Follow these steps to ensure your menu is functioning correctly:
- Test the menu: Open the HTML file in a web browser and hover over the menu items. You should see the drop-down with the list of menu items displayed as expected. Clicking on a menu item should take you to the appropriate URL.
- Customize the menu appearance: To further customize the appearance of the drop-down menu, you can modify the CSS styles applied to the menu container, menu items, and their corresponding links. Adjust the colors, fonts, padding, and other CSS properties to match your website’s design and branding.
- Add interactivity: If you want to enhance the drop-down menu with interactivity, you can utilize JavaScript or jQuery. For example, you can add animations or toggle the visibility of the drop-down menu on user interaction. Implementing additional functionality will require JavaScript knowledge.
- Ensure responsiveness: Test the responsiveness of the drop-down menu by viewing it on various devices and screen sizes. Make necessary adjustments to ensure that the menu adapts well and remains usable on mobile devices.
- Accessibility considerations: Pay attention to the accessibility aspects of your drop-down menu. Ensure that the menu is navigable using keyboard-only interactions and that it conforms to web accessibility standards.
By thoroughly testing and customizing your drop-down menu, you can ensure an optimal user experience for your website visitors. Take the time to make any necessary adjustments and refinements until you are satisfied with the functionality and appearance of the menu.
Congratulations! You have successfully created a drop-down menu using PHP. By applying your newfound knowledge, you can now incorporate dynamic drop-down menus into your web projects and improve the navigation and usability of your websites.
Conclusion
In this tutorial, we have explored the process of creating a drop-down menu in PHP. By following the steps outlined, you have learned how to set up the HTML structure, style the menu using CSS, generate the menu dynamically using PHP, and test and customize the menu to suit your specific needs.
Creating a dynamic drop-down menu can greatly enhance the user experience and navigation on your website. By using PHP to generate the menu, you have the flexibility to easily modify or update the menu items without manually changing the HTML code for each item. This makes it more efficient and scalable, especially for websites with a large number of menu items.
Remember to test your menu thoroughly on different devices and screen sizes to ensure responsiveness and usability. Additionally, consider the accessibility aspects of your menu to ensure that it can be navigated easily for all users.
With the knowledge gained from this tutorial, you can now incorporate dynamic drop-down menus into your web projects and enhance the functionality and user-friendliness of your websites.
Keep practicing and exploring new ways to improve your web development skills. There are endless possibilities when it comes to creating interactive and engaging menus for your websites. Enjoy the process of learning and creating, and happy coding!


