Introduction
Welcome to this guide on how to update PHP on HostGator. PHP is a programming language that powers a significant part of the web. It is constantly evolving, with new versions being released regularly. Updating to the latest PHP version is essential to ensure your website stays secure, performs optimally, and takes advantage of the latest features and improvements.
HostGator, one of the leading web hosting providers, allows users to easily update their PHP version through their user-friendly cPanel interface. In this article, we will walk you through the step-by-step process of updating PHP on HostGator, ensuring that your website stays up-to-date and delivers an enhanced user experience.
Before we begin, it is important to note that updating PHP may have compatibility issues with certain themes, plugins, or custom code on your website. Therefore, it is highly recommended to have a backup of your website before proceeding with the update. This will allow you to revert back to the previous PHP version if any issues arise.
Now that we have covered the basics, let’s dive into the steps of updating PHP on HostGator!
Step 1: Check current PHP version
The first step towards updating PHP on HostGator is to check the current version of PHP running on your website. This will help you determine if an update is necessary and which version you should upgrade to.
To check the current PHP version, follow these simple steps:
- Login to your HostGator cPanel account. You can access it by entering your domain name followed by /cpanel (e.g., yourdomain.com/cpanel) in your web browser.
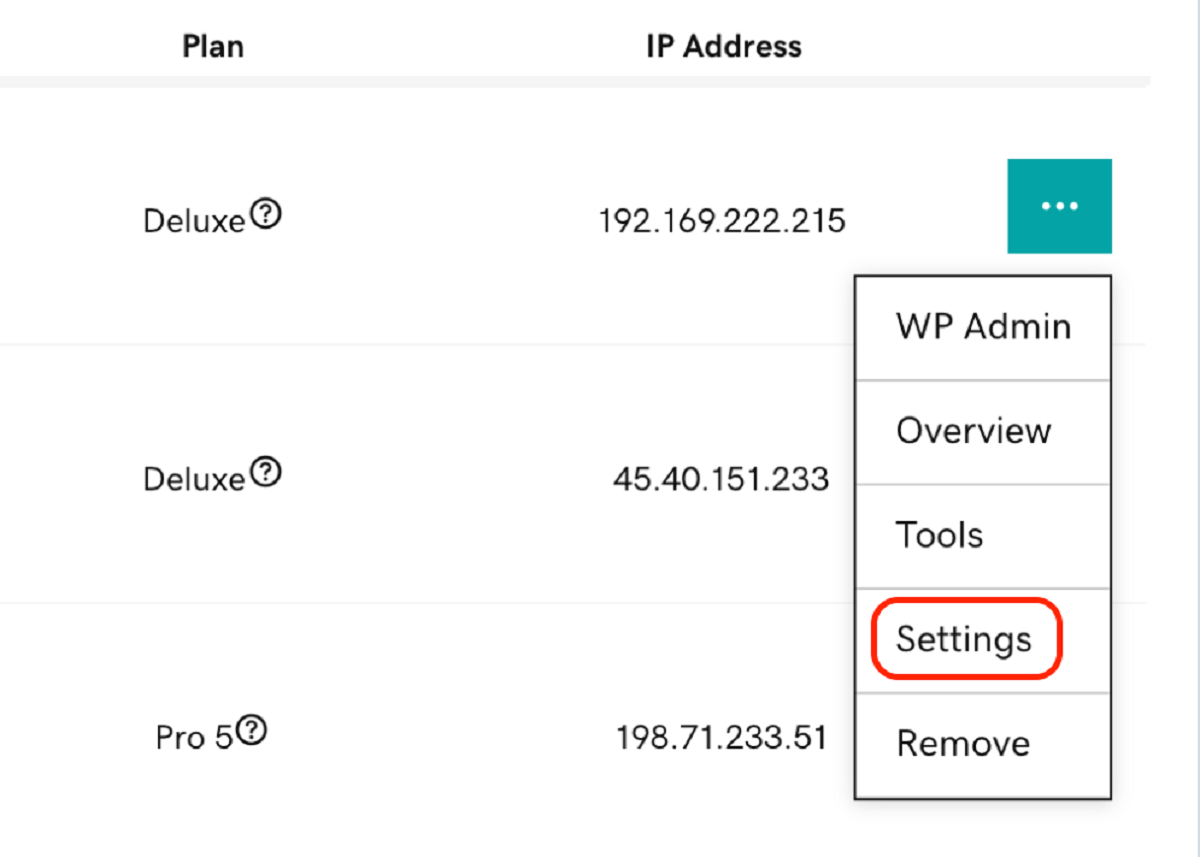
- Once logged in, scroll down to the “Software” section and look for the “PHP Version” or “Select PHP Version” icon. Click on it to proceed.
- A new page will open, displaying the current PHP version.
Take note of the current PHP version, as you will need this information for the next steps in the updating process. If your PHP version is outdated or no longer supported, it is crucial to upgrade to a newer version to ensure the security and performance of your website.
It is recommended to always use the latest stable PHP version available, as it includes bug fixes, security improvements, and performance enhancements. Additionally, new PHP versions often offer new features and functions that can enhance your website’s functionality and capabilities.
Now that you know how to check your current PHP version, let’s move on to the next step: making a backup of your website. This is an important precautionary measure to safeguard your website’s data and configurations before proceeding with the PHP update.
Step 2: Make a backup of your website
Before updating the PHP version on HostGator, it is crucial to make a backup of your website. This will ensure that you have a copy of all your files and databases in case anything goes wrong during the update process.
There are several methods you can use to create a backup of your website, including:
- Using HostGator’s backup tools: HostGator provides backup options through cPanel, allowing you to generate a full backup of your website files and databases. Simply navigate to the “Backup” section in cPanel and follow the instructions to create a backup file.
- Using a WordPress backup plugin: If your website runs on WordPress, there are numerous backup plugins available that can simplify the backup process. Popular plugins like UpdraftPlus, BackupBuddy, and Duplicator allow you to schedule automated backups and store them in secure locations.
- Manually backing up files and databases: If you prefer a more hands-on approach, you can manually download all your website files via FTP or use a tool like phpMyAdmin to export your website’s databases.
Regardless of the method you choose, make sure to store your backup files in a secure location, such as an external hard drive or a cloud storage service. Having a reliable backup ensures that you can easily restore your website to its previous state if any issues arise during the PHP update.
Once you have created a backup of your website, you can proceed with confidence to the next step: logging in to your HostGator cPanel account.
Step 3: Login to your HostGator cPanel
In order to update PHP on HostGator, you need to login to your HostGator cPanel account. The cPanel is a user-friendly control panel that allows you to manage various aspects of your website hosting.
Here’s how you can log in to your HostGator cPanel:
- Open your preferred web browser and enter the address of your cPanel login page. The URL typically follows this format: “yourdomain.com/cpanel”. Replace “yourdomain.com” with your actual domain name.
- Once you have entered the URL, you will be presented with the cPanel login page. Enter your cPanel username and password in the designated fields.
- Click on the “Log in” or “Sign in” button to proceed.
If you have forgotten your cPanel username or password, you can easily retrieve or reset them through the HostGator website or by contacting their customer support.
Once successfully logged in, you will be directed to the cPanel dashboard, where you can access a wide range of features and settings for your website hosting. Now that you are logged in to your cPanel, we can proceed to the next step: accessing the PHP Selector.
Note: HostGator provides a simplified and intuitive user interface, making it easy for users to navigate and make necessary updates to their website settings. If you encounter any difficulties at any stage, don’t hesitate to reach out to HostGator’s support team for assistance.
Step 4: Access PHP Selector
To update the PHP version on HostGator, you will need to access the PHP Selector, which is a tool within the cPanel that allows you to manage your PHP settings.
Here’s how you can access the PHP Selector:
- Once you have logged in to your HostGator cPanel account, scroll down to the section labeled “Software” or “Software/Services.” Within this section, you should find an icon or link named “Select PHP Version” or similar.
- Click on the “Select PHP Version” icon to proceed.
This will take you to the PHP Selector interface, where you can manage the PHP version and settings for your website’s domains.
HostGator’s PHP Selector provides an easy-to-use interface with various options to customize your PHP configuration. Here, you can select the PHP version that best suits your website’s requirements, enable or disable specific PHP extensions, and modify other PHP settings such as memory limits and file upload sizes.
It is important to note that not all PHP versions may be available in the PHP Selector, as HostGator ensures compatibility and stability for their customers. However, they typically offer a range of PHP versions, including the latest stable releases.
Now that you have accessed the PHP Selector, we can move on to the next step: choosing a new PHP version for your website.
Step 5: Choose a new PHP version
Now that you have accessed the PHP Selector in your HostGator cPanel, it’s time to choose a new PHP version for your website. Selecting the right PHP version is crucial as it can affect your website’s performance, security, and compatibility with plugins and themes.
Here’s how you can choose a new PHP version:
- Within the PHP Selector interface, you will see a drop-down menu labeled “PHP Version.” Click on the drop-down menu to view the available PHP versions.
- Select the desired PHP version from the list. HostGator usually provides a range of options, including the latest stable PHP versions.
- After selecting the PHP version, click on the “Set as current” or “Apply” button to save the changes.
It is recommended to choose the latest stable PHP version available, as it includes bug fixes, security enhancements, and performance improvements. However, if your website relies on specific PHP features or plugins, ensure that the selected PHP version is compatible with them.
Additionally, consider the PHP versions supported by your website’s CMS (Content Management System) or frameworks. Some older versions of CMS platforms may not be compatible with newer PHP versions, so ensure that your website’s CMS and plugins are updated to maintain compatibility.
Once you have chosen the new PHP version and applied the changes, we can proceed to the next step: updating the PHP version for your domain.
Step 6: Update PHP version for your domain
Now that you have selected the desired PHP version in the PHP Selector, it’s time to update the PHP version for your specific domain. This step ensures that the changes you made are applied to your website and that it starts using the new PHP version.
Follow these steps to update the PHP version for your domain:
- Within the PHP Selector interface, you will see a list of your domains or subdomains under the “Current PHP Version” section.
- Locate the domain for which you want to update the PHP version.
- Click on the drop-down menu next to the domain name to view the available PHP versions.
- Select the desired PHP version from the list.
- Click on the “Set as current” or “Apply” button next to the drop-down menu to save the changes and update the PHP version for your domain.
After updating the PHP version, your website will start using the new PHP version within a few minutes. Some CMS platforms or frameworks may require a manual refresh or cache clearing to reflect the changes.
It is recommended to thoroughly test your website after updating the PHP version to ensure that all functionalities are working as expected. In case you encounter any issues or errors, you may need to verify the compatibility of your themes, plugins, or custom code with the new PHP version and make necessary adjustments.
With the PHP version successfully updated for your domain, we can move on to the final step: testing your website to ensure everything is functioning smoothly.
Step 7: Test your website
After updating the PHP version for your domain on HostGator, it is essential to test your website to ensure that everything is functioning smoothly. Testing your website will help identify any compatibility issues, errors, or performance issues that may have been introduced due to the PHP update.
Here are some steps to follow when testing your website:
- Visit your website in a web browser and navigate through its various pages and functionalities.
- Check for any broken links, missing images, or layout inconsistencies.
- Submit any forms or perform actions that are crucial to your website’s functionality, such as submitting a contact form or making a purchase.
- Test any plugins or custom functionality on your website to ensure they are working properly.
- Monitor the website’s overall performance, including page load times and server response times.
- If you encounter any issues or errors during the testing process, note the specific error messages or symptoms to help troubleshoot and resolve the problem.
If you encounter any issues after updating the PHP version, you may need to rollback to the previous PHP version by following the same steps outlined in this guide. Alternatively, you can seek assistance from the HostGator support team or consult with a web developer who specializes in PHP to address any compatibility or coding-related issues.
It is important to keep your PHP version up to date to ensure the security, performance, and compatibility of your website. HostGator offers regular updates to PHP versions and makes it easy for users to stay current with the latest releases through their user-friendly cPanel interface.
By following the steps outlined in this guide, you have successfully updated the PHP version for your website on HostGator. Regularly checking for PHP updates and staying up to date will help your website stay secure and provide an optimal user experience.
Conclusion
Updating the PHP version on HostGator is a simple yet crucial task in maintaining the performance, security, and functionality of your website. With the user-friendly cPanel interface and the PHP Selector tool, HostGator makes it easy for users to update their PHP version and stay up to date with the latest releases.
In this guide, we have covered the steps to update PHP on HostGator:
- Checking the current PHP version of your website.
- Making a backup of your website to ensure data integrity.
- Logging in to your HostGator cPanel account to access the PHP Selector.
- Accessing the PHP Selector to choose a new PHP version.
- Updating the PHP version for your specific domain.
- Testing your website to ensure everything is functioning smoothly.
Remember, while updating PHP is important, it’s also essential to consider the compatibility of your themes, plugins, and custom code with the new PHP version. If you encounter any issues, it may require adjustments or updates to ensure compatibility.
We recommend periodically checking for PHP updates and staying up to date with the latest stable versions to benefit from bug fixes, security enhancements, and performance improvements. Regularly testing your website after updating the PHP version will help identify and address any issues promptly.
If you encounter any difficulties during the PHP update process or need further assistance, do not hesitate to reach out to HostGator’s support team or consult with a web developer who specializes in PHP.
By keeping your PHP version up to date, you are ensuring the continued success and functionality of your website on HostGator. Enjoy the benefits of an optimized and secure website with the latest PHP version!