Introduction
Welcome to the ultimate guide on how to update PHP on Godaddy. If you are a website owner or administrator using Godaddy hosting, it is crucial to keep your PHP software up to date. PHP is a server-side scripting language that powers the dynamic functionality of your website. Regular PHP updates not only enhance the performance and security of your site but also ensure compatibility with the latest features and technologies.
In this comprehensive guide, we will walk you through the different methods to update PHP on Godaddy hosting. Whether you are using the Godaddy Hosting Control Panel, Godaddy Managed WordPress, the File Manager, or the Command-Line Interface (CLI), we’ve got you covered.
Before we delve into the step-by-step instructions, it is essential to understand the importance of updating PHP. Outdated PHP versions can pose security risks, as hackers may exploit vulnerabilities present in old versions. Additionally, running on unsupported PHP versions may lead to compatibility issues with other software and limit the availability of new features and optimizations. Therefore, keeping PHP up to date is a crucial aspect of website maintenance.
Throughout this guide, we will provide detailed instructions, tips, and troubleshooting advice to ensure a smooth PHP update process. By the end of this guide, you will have the knowledge and confidence to update PHP on your Godaddy hosting without any hassles.
Checking the current PHP version on your Godaddy hosting
Before you proceed with updating PHP on your Godaddy hosting, it is important to determine the current PHP version running on your server. This information will help you ensure a successful update and avoid any compatibility issues that may arise.
Here are the steps to check the PHP version on your Godaddy hosting:
- Login to your Godaddy account and navigate to the Godaddy Hosting Control Panel.
- Once you are in the Control Panel, locate and click on the “Manage” button next to the hosting account you wish to update.
- In the Hosting Settings section, you will find the “Server” tab. Click on it to access the server details.
- You will see the PHP Version section, which displays the current PHP version running on your server.
Alternatively, you can check the PHP version using the phpinfo() function. Here is how you can do it:
- Create a new PHP file on your website using a text editor or the File Manager in your Godaddy hosting account.
- Insert the following code into the PHP file:
- Save the file with a .php extension (e.g., version.php).
- Upload the file to your website’s root directory using an FTP client or the File Manager.
- Access the file through your web browser by navigating to http://www.yourwebsite.com/version.php (replace “yourwebsite.com” with your actual domain name).
- You will see a detailed page with information about your server. Locate the PHP version displayed on this page.
php
By following these steps, you will be able to identify the current PHP version running on your Godaddy hosting. Once you have this information, you can proceed with the appropriate method to update PHP, which we will cover in the upcoming sections.
Understanding the importance of updating PHP
Updating PHP on your Godaddy hosting is not just about keeping up with the latest trends or features; it is a critical aspect of ensuring the performance, security, and compatibility of your website. Let’s take a closer look at the importance of updating PHP:
Enhanced Security: One of the primary reasons to update PHP is to protect your website from potential security vulnerabilities. PHP updates often include fixes for bugs and security loopholes discovered in previous versions. By staying up to date, you reduce the risk of hackers exploiting these vulnerabilities to gain unauthorized access to your site or inject malicious code.
Better Performance and Efficiency: PHP updates often bring performance optimizations and improvements. The latest versions of PHP are designed to be faster, more efficient, and to utilize server resources more effectively. Regular updates ensure that your website can take advantage of these enhancements, resulting in improved loading speeds and a smoother user experience.
Compatibility with New Technologies: As the web evolves, new technologies and frameworks emerge that require specific PHP versions or compatibility. By keeping PHP up to date, you ensure that your website can leverage these new technologies and frameworks. This enables you to take advantage of innovative features, advanced functionalities, and seamless integration with third-party tools and services.
Access to New Features: PHP updates often introduce new features, functions, and syntax improvements. These additions can enhance the development process, provide developers with more flexibility, and enable the creation of more powerful and interactive web applications. By updating PHP, you ensure that you have access to the latest features and capabilities.
Long-term Support: Regular PHP updates ensure that you are using a supported version. PHP developers provide long-term support for stable versions, which includes bug fixes and security patches. By updating to supported versions, you can rely on the PHP community for ongoing support, ensuring that any issues or vulnerabilities are addressed promptly.
Now that we have established the importance of updating PHP, let’s explore the different methods available to update PHP on your Godaddy hosting account.
Different methods to update PHP on Godaddy
Updating PHP on your Godaddy hosting can be done through various methods, depending on your hosting environment and preferences. Here are the different methods available:
- Method 1: Using the Godaddy Hosting Control Panel: This method allows you to update PHP through the Godaddy Hosting Control Panel. It provides a user-friendly interface for managing your hosting settings, including PHP version. This method is suitable for shared hosting, VPS, and dedicated servers.
- Method 2: Updating PHP via Godaddy Managed WordPress: If you are using Godaddy’s Managed WordPress hosting, there is a dedicated method to update PHP from the WordPress dashboard. This method is specifically designed for WordPress websites hosted on Godaddy.
- Method 3: Updating PHP manually using File Manager: For users who prefer a more hands-on approach, manually updating PHP through the File Manager is an option. This method involves replacing the existing PHP files with the new version manually.
- Method 4: Updating PHP with Command-Line Interface (CLI): Advanced users who have command-line access to their hosting environment can update PHP using CLI commands. This method provides more control and flexibility, but requires technical knowledge.
Each method has its own advantages and considerations. The choice of method depends on your specific hosting setup, technical expertise, and comfort level. In the following sections, we will provide step-by-step instructions for each method, so you can choose the one that best suits your needs.
Regardless of the method you choose, it is recommended to create a backup of your website files and database before proceeding with any PHP updates. This ensures that you can restore your site in case of any unforeseen issues during the update process.
Now that you’re aware of the different methods available, let’s dive into each method in detail and guide you through the process of updating PHP on your Godaddy hosting.
Method 1: Using the Godaddy Hosting Control Panel
The Godaddy Hosting Control Panel provides a simple and user-friendly interface for managing your hosting settings, including updating PHP versions. If you are using shared hosting, VPS, or dedicated servers, this method is suitable for you. Here’s how you can update PHP using the Godaddy Hosting Control Panel:
- Login to your Godaddy account and navigate to the Godaddy Hosting Control Panel.
- Once you’re in the Control Panel, locate and click on the “Manage” button next to the hosting account you wish to update.
- In the Hosting Settings section, you will find the “Server” tab. Click on it to access the server details.
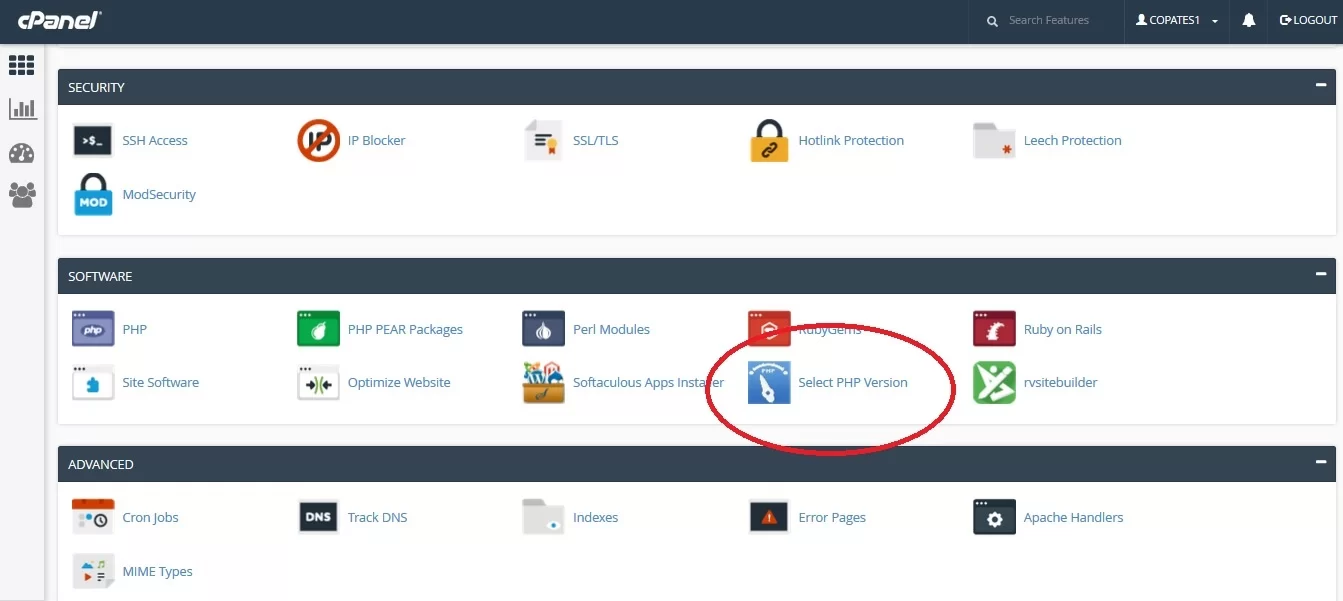
- Scroll down to the section labeled “Software.” Here, you will see the currently installed PHP version.
- Click on the “Change” button to open the PHP version selection menu.
- Select the desired PHP version from the available options.
- After selecting the PHP version, click on the “Apply” or “Save” button to save the changes.
- Wait for the changes to take effect. This may take a few minutes as the server updates the PHP configuration.
- Refresh your website to ensure that the new PHP version is now active.
It is important to note that not all PHP versions may be available in the Godaddy Hosting Control Panel. The available versions depend on your hosting plan and server configuration. If the desired PHP version is not listed, you may need to consider alternative methods or contact Godaddy support for assistance.
By following these steps, you will be able to update the PHP version on your Godaddy hosting using the Godaddy Hosting Control Panel. Remember to thoroughly test your website after updating PHP to ensure that everything is functioning correctly.
Now that you’re familiar with updating PHP through the Godaddy Hosting Control Panel, let’s explore another method specifically for Godaddy Managed WordPress users.
Method 2: Updating PHP via Godaddy Managed WordPress
If you are using Godaddy’s Managed WordPress hosting, updating PHP can be done directly from your WordPress dashboard. This method is specifically designed for WordPress websites hosted on Godaddy. Here’s how you can update PHP on your Godaddy Managed WordPress site:
- Login to your WordPress admin dashboard. This can be accessed by adding “/wp-admin” at the end of your website URL (e.g., www.yourwebsite.com/wp-admin).
- In the WordPress dashboard, navigate to the “Updates” section. This is usually located in the left-hand side menu.
- Check if there are any available updates for plugins, themes, or WordPress core. If there are, proceed to update them first to ensure compatibility with the new PHP version.
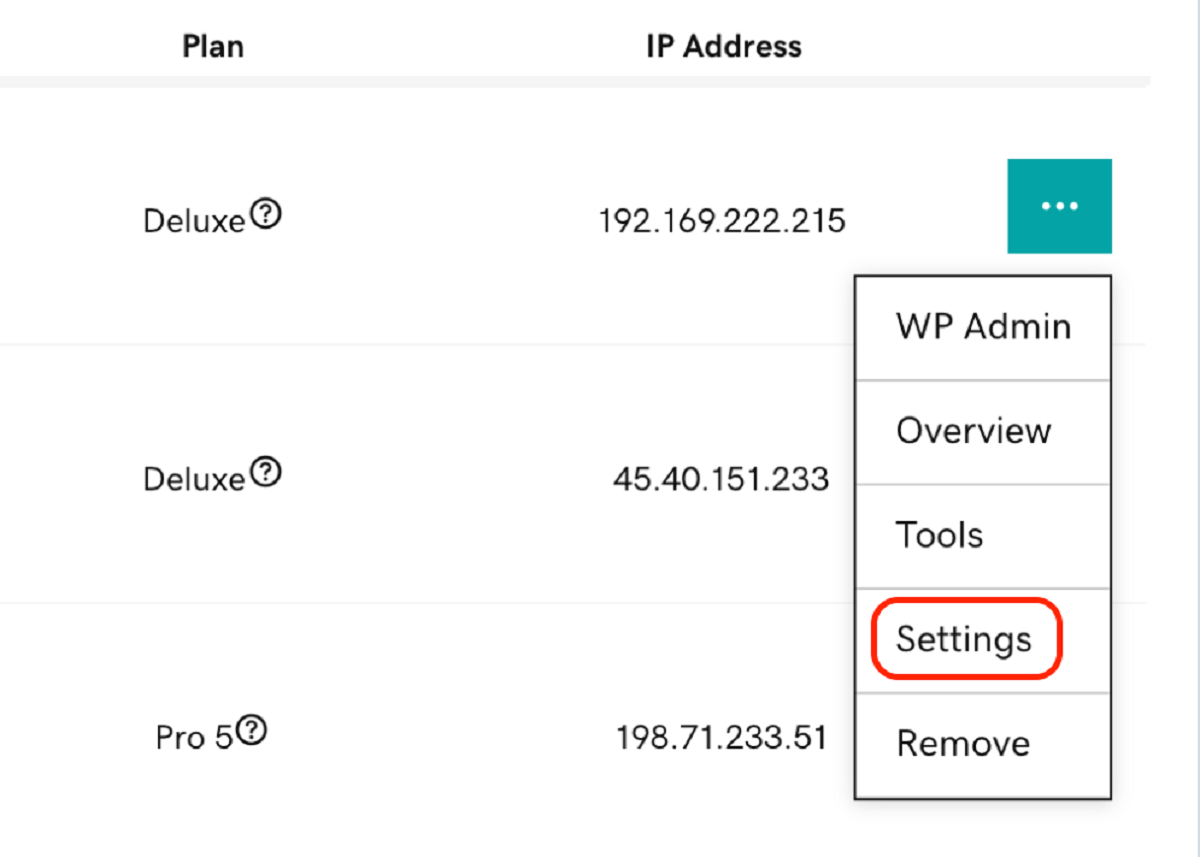
- Once all the necessary updates are completed, click on the “GoDaddy Pro” tab in the Updates section.
- Under the “PHP” tab, you will see the currently installed PHP version.
- Click on the “Update PHP” button next to the PHP version.
- A confirmation message will appear asking if you are sure you want to update PHP. Read the message carefully and make sure you understand the implications of the update.
- Click on the “Update PHP” button again to proceed with the update.
- Wait for the update process to complete. This may take a few minutes.
- Once the update is finished, refresh your website to ensure that the new PHP version is now active.
Updating PHP via Godaddy Managed WordPress offers a convenient way to keep your PHP version up to date without the need for any technical knowledge or accessing the hosting control panel. However, it is important to note that not all PHP versions may be available for update using this method. The available versions depend on Godaddy’s supported PHP versions for Managed WordPress hosting.
By following these steps, you can easily update PHP on your Godaddy Managed WordPress site and leverage the benefits of the latest PHP version.
Now that you’re familiar with updating PHP via Godaddy Managed WordPress, let’s explore an alternative method for manually updating PHP using the File Manager.
Method 3: Updating PHP manually using File Manager
If you prefer a more hands-on approach, you can manually update PHP by replacing the existing PHP files with the new version using the File Manager in your Godaddy hosting account. Here’s how you can update PHP manually:
- Login to your Godaddy account and navigate to the Godaddy Hosting Control Panel.
- Once you’re in the Control Panel, locate and click on the “Manage” button next to the hosting account you wish to update.
- Scroll down to the Files section and click on the “File Manager” option.
- Navigate to the root directory of your website. This is usually the public_html folder or the folder containing your website files.
- Locate the PHP files in your root directory. These files typically have the .php file extension.
- Create backups of the existing PHP files. Right-click on each file, select “Copy,” and then right-click again and select “Paste” to create a backup copy with a different name or in a different location.
- Download the latest version of PHP from the official PHP website (php.net).
- Extract the downloaded PHP files to your local computer.
- Using an FTP client or the File Manager, upload the extracted PHP files to your website’s root directory, replacing the existing PHP files.
- Once the upload is complete, log out of your Godaddy hosting account and log back in to refresh the server configuration.
- Test your website to ensure that it is functioning correctly with the updated PHP version.
Manually updating PHP using the File Manager gives you complete control over the update process. However, it requires technical knowledge and caution to avoid any unintentional file modifications or deletions.
It is important to note that manually updating PHP may not be supported or recommended in all hosting environments. Always consult Godaddy’s documentation and support resources before proceeding with manual updates.
By following these steps, you can successfully update PHP on your Godaddy hosting account manually using the File Manager.
Now that you’re familiar with updating PHP manually, let’s move on to another method for advanced users – updating PHP with Command-Line Interface (CLI).
Method 4: Updating PHP with Command-Line Interface (CLI)
For advanced users who have command-line access to their Godaddy hosting environment, updating PHP using the Command-Line Interface (CLI) offers a high level of control and flexibility. This method requires technical knowledge and familiarity with executing commands via a terminal or SSH. Here’s how you can update PHP using the CLI:
- Login to your Godaddy hosting account and access the command-line interface either through the hosting control panel or via SSH.
- Once you are in the command-line interface, navigate to the directory where your PHP files are located. Typically, this is the root directory of your website.
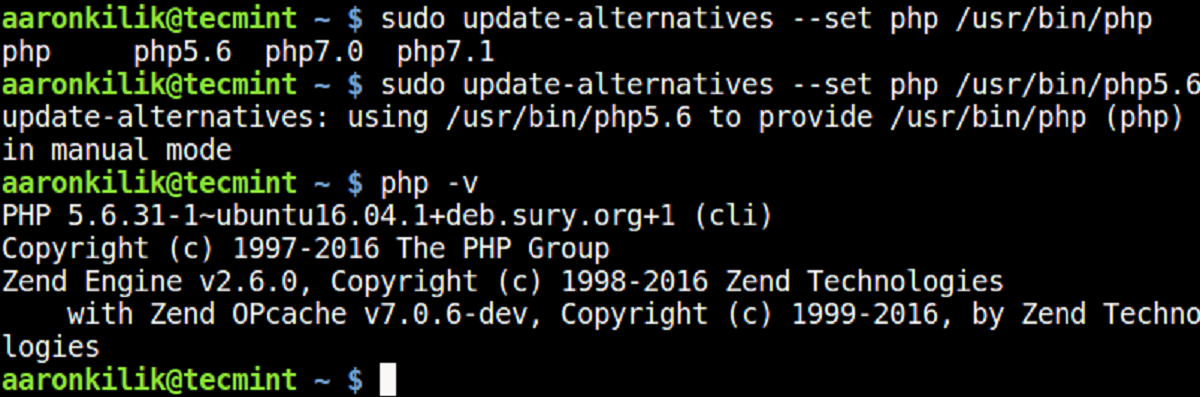
- Execute the command to check the current PHP version:
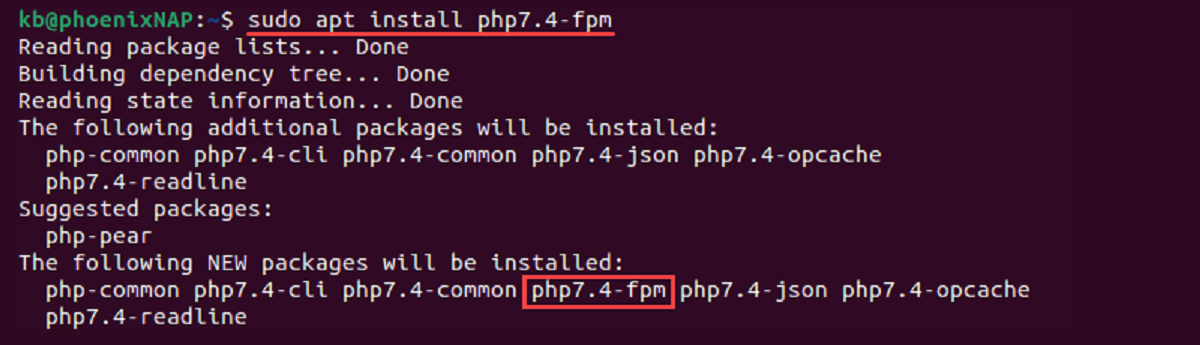
php -v. This will display the currently installed PHP version. - Download and install the desired PHP version. You can do this by following the instructions provided by the PHP documentation or community.
- Update the server configuration to use the newly installed PHP version. The specific commands will vary depending on your server setup. Consult the PHP documentation or Godaddy support resources for guidance on updating the server configuration files.
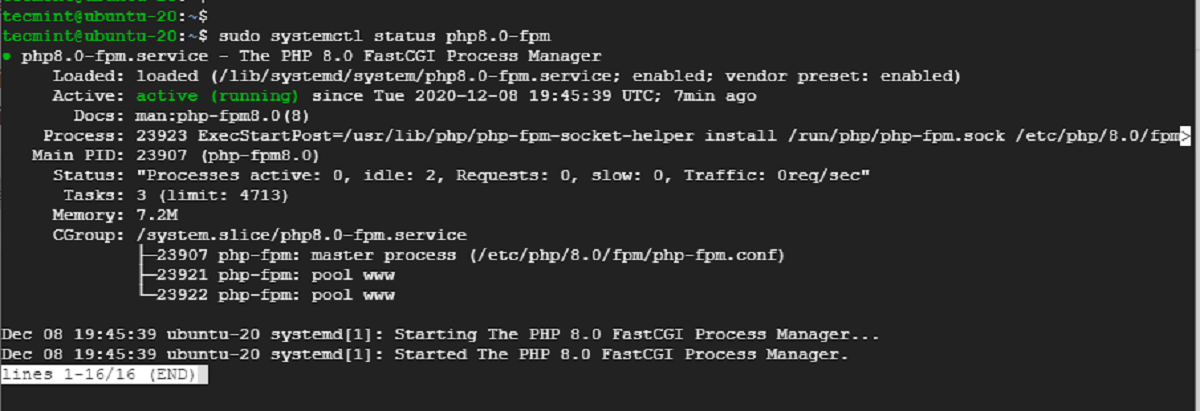
- Restart the server to apply the changes and activate the new PHP version.
- Test your website to ensure that it is functioning properly with the updated PHP version.
Updating PHP with Command-Line Interface (CLI) provides flexibility and control, allowing you to customize the update process according to your specific requirements. However, it is important to exercise caution and have a good understanding of the commands you execute to avoid any unintended consequences or disruptions to your website.
It is recommended to consult Godaddy’s documentation or seek assistance from their support team if you are unsure about the CLI commands or the impact of the PHP update on your hosting environment.
By following these steps, you can update PHP on your Godaddy hosting account using the Command-Line Interface (CLI) for advanced users.
Now that you’re familiar with all the methods available for updating PHP on Godaddy, let’s move on to the next section, where we’ll discuss important factors to consider before updating PHP.
Things to consider before updating PHP on Godaddy
Before you proceed with updating PHP on your Godaddy hosting, there are a few important factors to consider to ensure a smooth and successful update. Taking these considerations into account will help minimize any potential issues or disruptions to your website. Here are some things to consider:
- Compatibility: Ensure that your website, including its themes, plugins, and custom code, is compatible with the PHP version you plan to update to. Some older or poorly maintained plugins or themes may not work correctly with newer PHP versions. Check the documentation or support resources of your website’s components to verify compatibility.
- Backup: Always create a backup of your website files and database before proceeding with any PHP updates. This ensures that you can restore your site to its previous state in case of any unforeseen issues during the update process. Godaddy provides tools and resources to easily create backups within the hosting control panel.
- Testing Environment: Consider setting up a testing environment where you can simulate the PHP update before implementing it on your live site. This allows you to test for compatibility issues and iron out any potential problems before impacting the live site. Godaddy provides staging environments for some hosting plans, which can be used for testing purposes.
- Documentation and Support: Familiarize yourself with Godaddy’s documentation and support resources related to PHP updates. They can provide specific instructions, recommendations, and troubleshoot common issues related to PHP updates. If you encounter any difficulties during the update process, don’t hesitate to reach out to Godaddy’s support team for assistance.
- Timing and Impact: Consider the potential impact of the PHP update on your website’s availability and performance. Schedule the update during off-peak hours to minimize disruptions to your visitors. If your website is mission-critical or serves a large number of users, it may be worth consulting with a professional developer or Godaddy support to ensure a smooth transition.
By considering these factors and taking appropriate precautions, you can mitigate risks and ensure a successful PHP update on your Godaddy hosting. Keep in mind that updating PHP is an ongoing process, and it is good practice to regularly check for PHP updates and perform them in a timely manner to keep your website secure, optimized, and compatible with emerging technologies.
Now that you’re equipped with the necessary considerations, let’s address some common issues that may arise during the PHP update process and provide troubleshooting tips to overcome them.
Common issues and troubleshooting tips
While updating PHP on your Godaddy hosting, you might encounter some common issues that can impact the functionality of your website. Here are a few of the most common issues and some troubleshooting tips to help you resolve them:
- Compatibility Issues: After updating PHP, some plugins or themes may become incompatible with the new PHP version. If you experience issues, first check if there are updates available for your plugins and themes. If updates are available, install them to ensure compatibility. If a plugin or theme is not actively maintained or does not have an update available, consider finding an alternative that is compatible with the PHP version you updated to.
- Error Messages or White Screen: If you encounter error messages or a white screen after updating PHP, it could be due to a syntax error in your code or a conflict with a plugin or theme. Check your website’s error logs for specific error messages that can help pinpoint the issue. Disable any recently installed plugins or switch to a default theme to see if the issue resolves. If the problem persists, you may need to consult with a developer or Godaddy support for further assistance.
- Performance Degradation: In some cases, updating PHP may lead to a decrease in website performance. This can happen if certain optimizations or caching mechanisms were relying on specific PHP functions or configurations. To troubleshoot performance issues, ensure that your caching plugins or mechanisms are compatible with the updated PHP version. Consider clearing the cache and optimizing your website’s code and database to improve performance.
- Incompatibility with Custom Code: If you have custom code or scripts on your website, make sure they are compatible with the updated PHP version. Review your custom code for any deprecated functions, changes in PHP syntax, or usage that may be affected by the update. Make the necessary adjustments or consult with a developer to ensure compatibility.
- Server Configuration Issues: In some cases, updating PHP may require adjustments to the server configuration. This can include settings such as memory limits, maximum execution time, or file upload size. Refer to Godaddy’s documentation or support resources for guidance on updating these settings to maximize compatibility and performance.
If you experience other specific issues or encounter error messages during the PHP update process on Godaddy, consult Godaddy’s documentation, support resources, or reach out to their support team for assistance. They have extensive experience in troubleshooting PHP-related issues and can provide guidance to help you resolve them.
Remember to test your website thoroughly after the PHP update to ensure optimal performance and functionality. Regularly monitor your website for any new issues that may arise and address them promptly.
Now that we have covered common issues and troubleshooting tips, let’s wrap up this guide with a brief summary of what we’ve discussed.
Conclusion
Updating PHP on your Godaddy hosting is crucial for maintaining the security, performance, and compatibility of your website. By keeping PHP up to date, you can benefit from the latest features, optimizations, and enhanced security measures.
In this comprehensive guide, we explored four different methods to update PHP on Godaddy hosting:
- Using the Godaddy Hosting Control Panel
- Updating PHP via Godaddy Managed WordPress
- Updating PHP manually using File Manager
- Updating PHP with Command-Line Interface (CLI)
We discussed important considerations before updating PHP, such as compatibility, backups, testing environments, and documentation. Additionally, we provided troubleshooting tips for common issues that may arise during the PHP update process.
Remember to always check the current PHP version on your Godaddy hosting, create backups before updating, and thoroughly test your website after the update to ensure everything is functioning as expected.
If you encounter any issues or need assistance during the PHP update process, Godaddy’s support team is available to provide guidance and support.
Now that you have a comprehensive understanding of how to update PHP on Godaddy hosting, you can confidently take the necessary steps to keep your website secure, optimized, and compatible with the latest technologies.