Introduction
In today’s digital age, graphics cards play a crucial role in rendering high-quality visuals and ensuring smooth gaming or multimedia experiences. Over time, these vital components can accumulate dust, debris, and even thermal paste residue, impeding their performance and potentially causing overheating issues. To keep your graphics card in optimal condition, regular cleaning is essential.
While many people turn to compressed air to clean their graphics cards, not everyone has access to this tool. Fortunately, there are alternative methods that can effectively remove dirt and maintain the longevity of your graphics card. In this article, we will explore various techniques and materials you can use to clean a graphics card without relying on compressed air.
Before diving into the cleaning methods, it’s important to note that although these techniques are generally safe, it’s always recommended to exercise caution when working with delicate electronic components. Make sure to disconnect the computer from the power source and ground yourself by touching a metal object to discharge any static electricity before touching the graphics card.
Now, let’s explore the reasons why it’s crucial to clean your graphics card regularly, the materials you’ll need, and the precautions to take before initiating the cleaning process. Whether you are a gaming enthusiast or a graphic designer, knowing how to properly maintain your graphics card will ensure its optimal performance for years to come.
Why Clean Your Graphics Card?
Regularly cleaning your graphics card is essential for maintaining its performance and longevity. Here are a few reasons why it’s important to keep your graphics card clean:
- Prevent Overheating: Dust and debris accumulation can obstruct the airflow around the graphics card, leading to inadequate cooling and potential overheating issues. Cleaning the card ensures that air can flow freely, keeping temperatures within safe limits.
- Improve Performance: A clean graphics card performs better, as dust buildup on the components can impact their efficiency. By removing dust and debris, you can help optimize your card’s performance, ensuring smooth and uninterrupted graphics processing.
- Extend Lifespan: The longevity of your graphics card can be significantly affected by a lack of maintenance. Dust particles can settle on the delicate circuitry and cause corrosion or short circuits, potentially leading to irreversible damage. Routine cleaning helps prevent such issues, extending the lifespan of your investment.
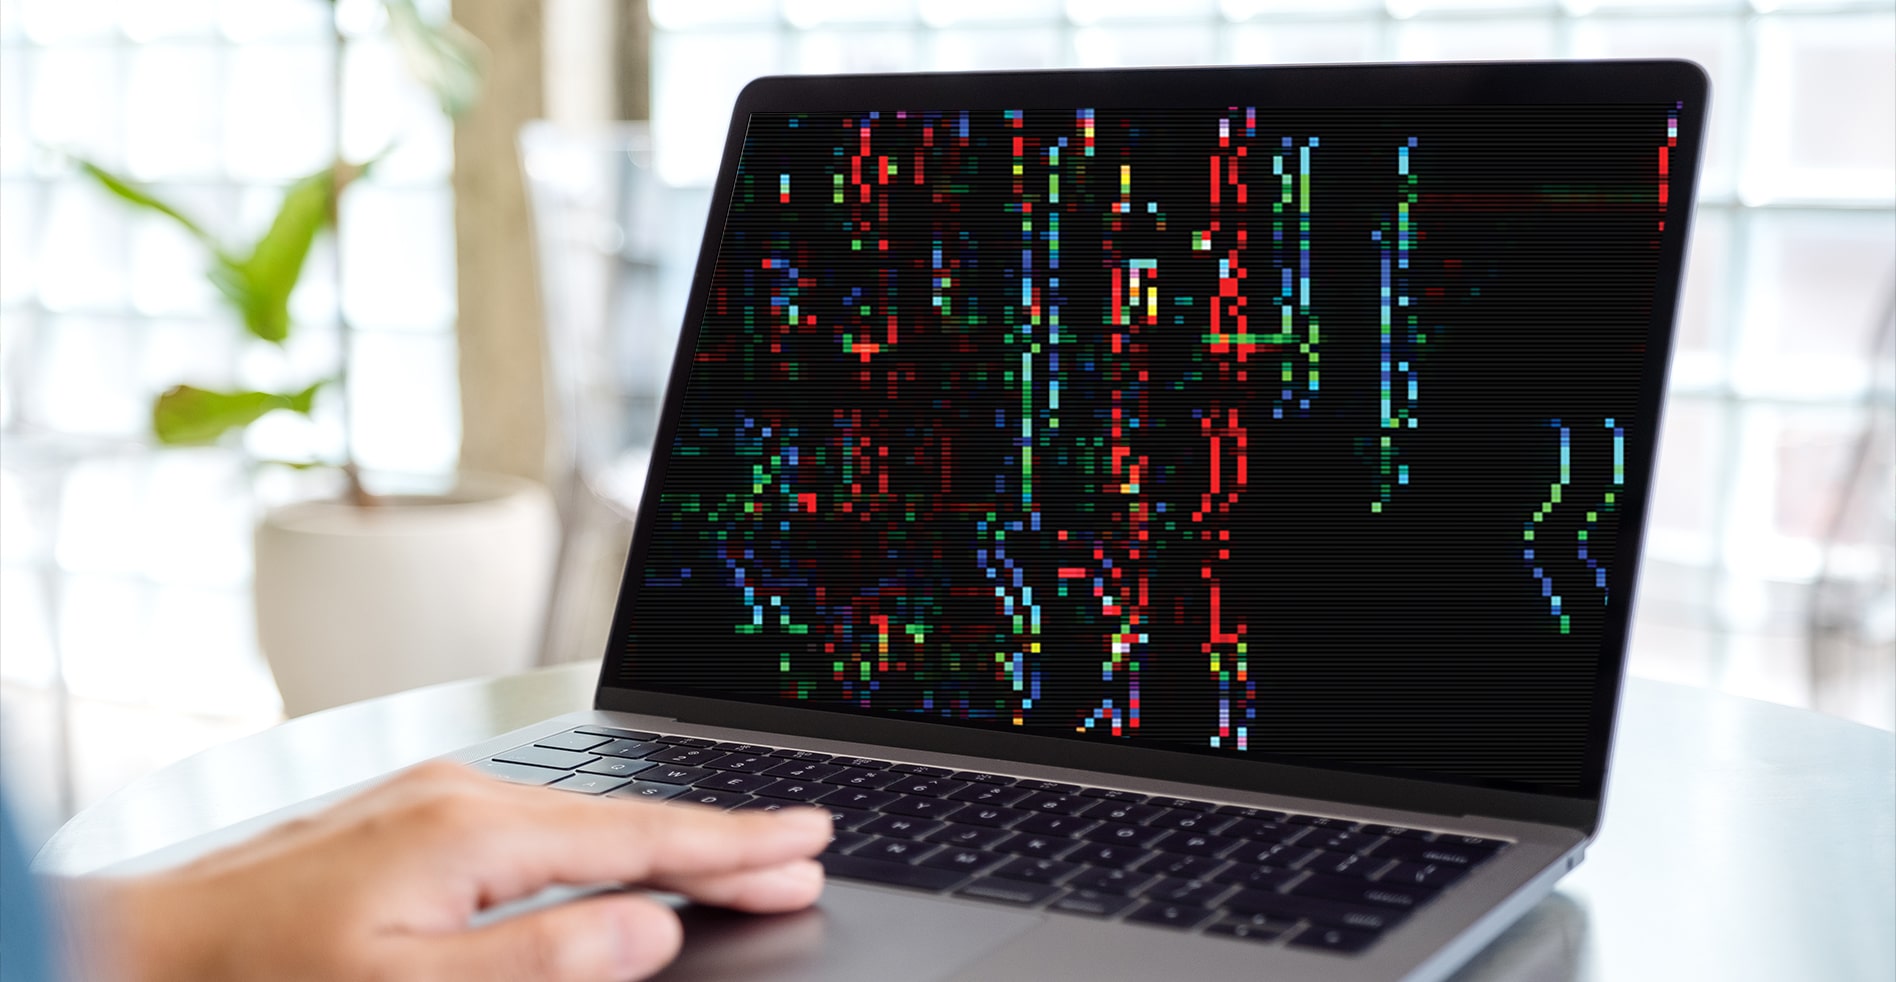
- Maintain Stability: Over time, dirt and thermal paste residue can interfere with the electrical connections on the graphics card. By cleaning these components, you ensure proper contact and minimize the risk of stability issues, such as crashes or artifacts during gaming or heavy GPU usage.
- Enhance Aesthetics: Keeping your graphics card clean not only improves its functionality but also enhances its visual appeal. A dust-free and well-maintained card adds a professional touch to your gaming rig or workstation setup.
By understanding the importance of cleaning your graphics card, you can prioritize its maintenance and take the necessary steps to ensure optimal performance and longevity. In the following sections, we will explore different methods you can use to clean your graphics card effectively without relying on compressed air.
Materials Needed
Before you start cleaning your graphics card, gather the following materials:
- Soft Brush: You’ll need a soft-bristled brush, such as a clean paintbrush or a makeup brush, to remove dust and debris from the card’s surface and components. Ensure that the brush is clean and free of any leftover substances.
- Vacuum Cleaner: If you have a vacuum cleaner with a brush attachment, it can be useful for sucking up loose dust and particles from the graphics card. Make sure to use the lowest suction setting and avoid placing the nozzle directly on delicate areas to prevent damage.
- Isopropyl Alcohol: Isopropyl alcohol (rubbing alcohol) with a concentration of 90% or higher is ideal for cleaning stubborn dirt, fingerprints, or thermal paste residue. It helps dissolve and evaporate contaminants without leaving any residue behind.
- Microfiber Cloth: A clean microfiber cloth is essential for wiping down the graphics card and ensuring a lint-free surface. Avoid using paper towels or abrasive materials that could potentially scratch the card’s sensitive components.
- Cotton Swabs: Cotton swabs can be handy for reaching small and tight spaces on the graphics card, such as in between heatsink fins or around connectors. They allow for precise application of isopropyl alcohol for thorough cleaning.
- Antistatic Wrist Strap: While not essential, using an antistatic wrist strap can help prevent accidental electrostatic discharge (ESD) that could damage the sensitive electronic components of the graphics card. It’s particularly useful if you’re working on a carpeted surface.
Make sure to gather these materials before you begin cleaning your graphics card. Having the right tools on hand will ensure a smooth and effective cleaning process without causing any damage to the card or its components. With the materials ready, let’s move on to the precautions you should take before initiating the cleaning process.
Precautions Before Cleaning
Before you begin cleaning your graphics card, it’s crucial to take a few precautions to ensure the safety of both yourself and the electronic components. Follow these guidelines:
- Turn Off and Unplug: Start by shutting down your computer and unplugging it from the power source. This will prevent any electrical current from posing a risk during the cleaning process.
- Ground Yourself: To discharge any static electricity and prevent ESD, ground yourself by touching a metal object, such as your computer case or a doorknob, before touching the graphics card. Alternatively, you can use an antistatic wrist strap for added protection.
- Work in a Static-Free Environment: Choose a clean, dry, and static-free area to clean your graphics card. Avoid working on carpets or other surfaces that may generate static electricity.
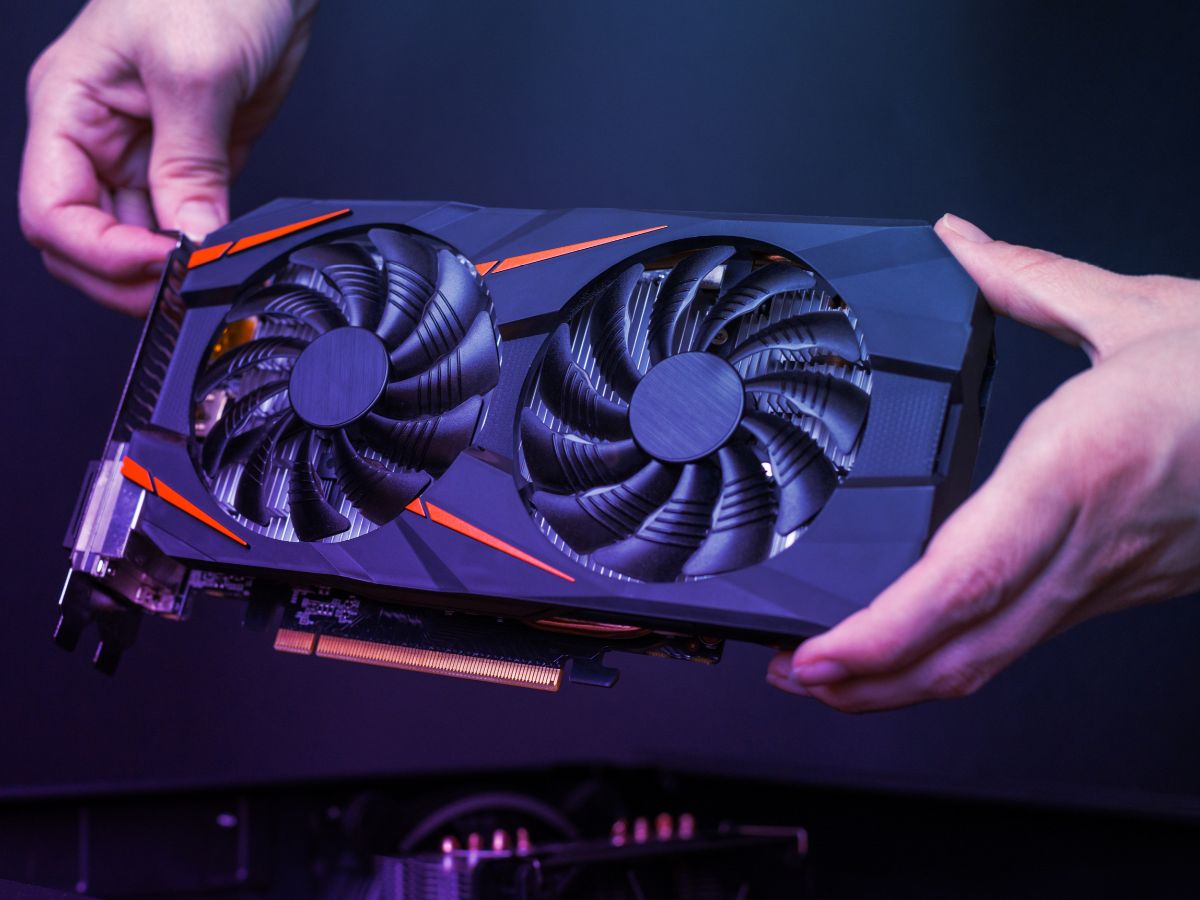
- Use Proper Handling Techniques: Handle the graphics card with care, holding it by the edges or using an antistatic mat. Avoid touching any gold connectors or sensitive components, as oils from your fingers can cause damage.
- Be Gentle: When using brushes, cotton swabs, or any other cleaning tools, apply gentle pressure. Do not force or scrub excessively, as this can damage delicate parts of the graphics card.
- Allow Sufficient Drying Time: If you use isopropyl alcohol during the cleaning process, ensure that the graphics card is completely dry before reconnecting it to your computer. Any remaining moisture could cause damage or malfunctions.
- Consult Manufacturer’s Guidelines: If your graphics card came with specific cleaning instructions, refer to them for guidance. Manufacturers may provide recommendations on cleaning methods or materials to maintain warranty coverage.
By taking these precautions, you’ll minimize the risks associated with cleaning your graphics card and ensure a thorough and safe cleaning process. Now that you’re familiar with the necessary precautions, let’s dive into the various methods you can use to clean your graphics card without compressed air.
Method 1: Using a Soft Brush
One of the most straightforward methods for cleaning a graphics card without compressed air is by using a soft brush. Here’s how you can do it:
- Power Down: Start by shutting down your computer and unplugging it from the power source. This ensures your safety and prevents any potential damage to the components.
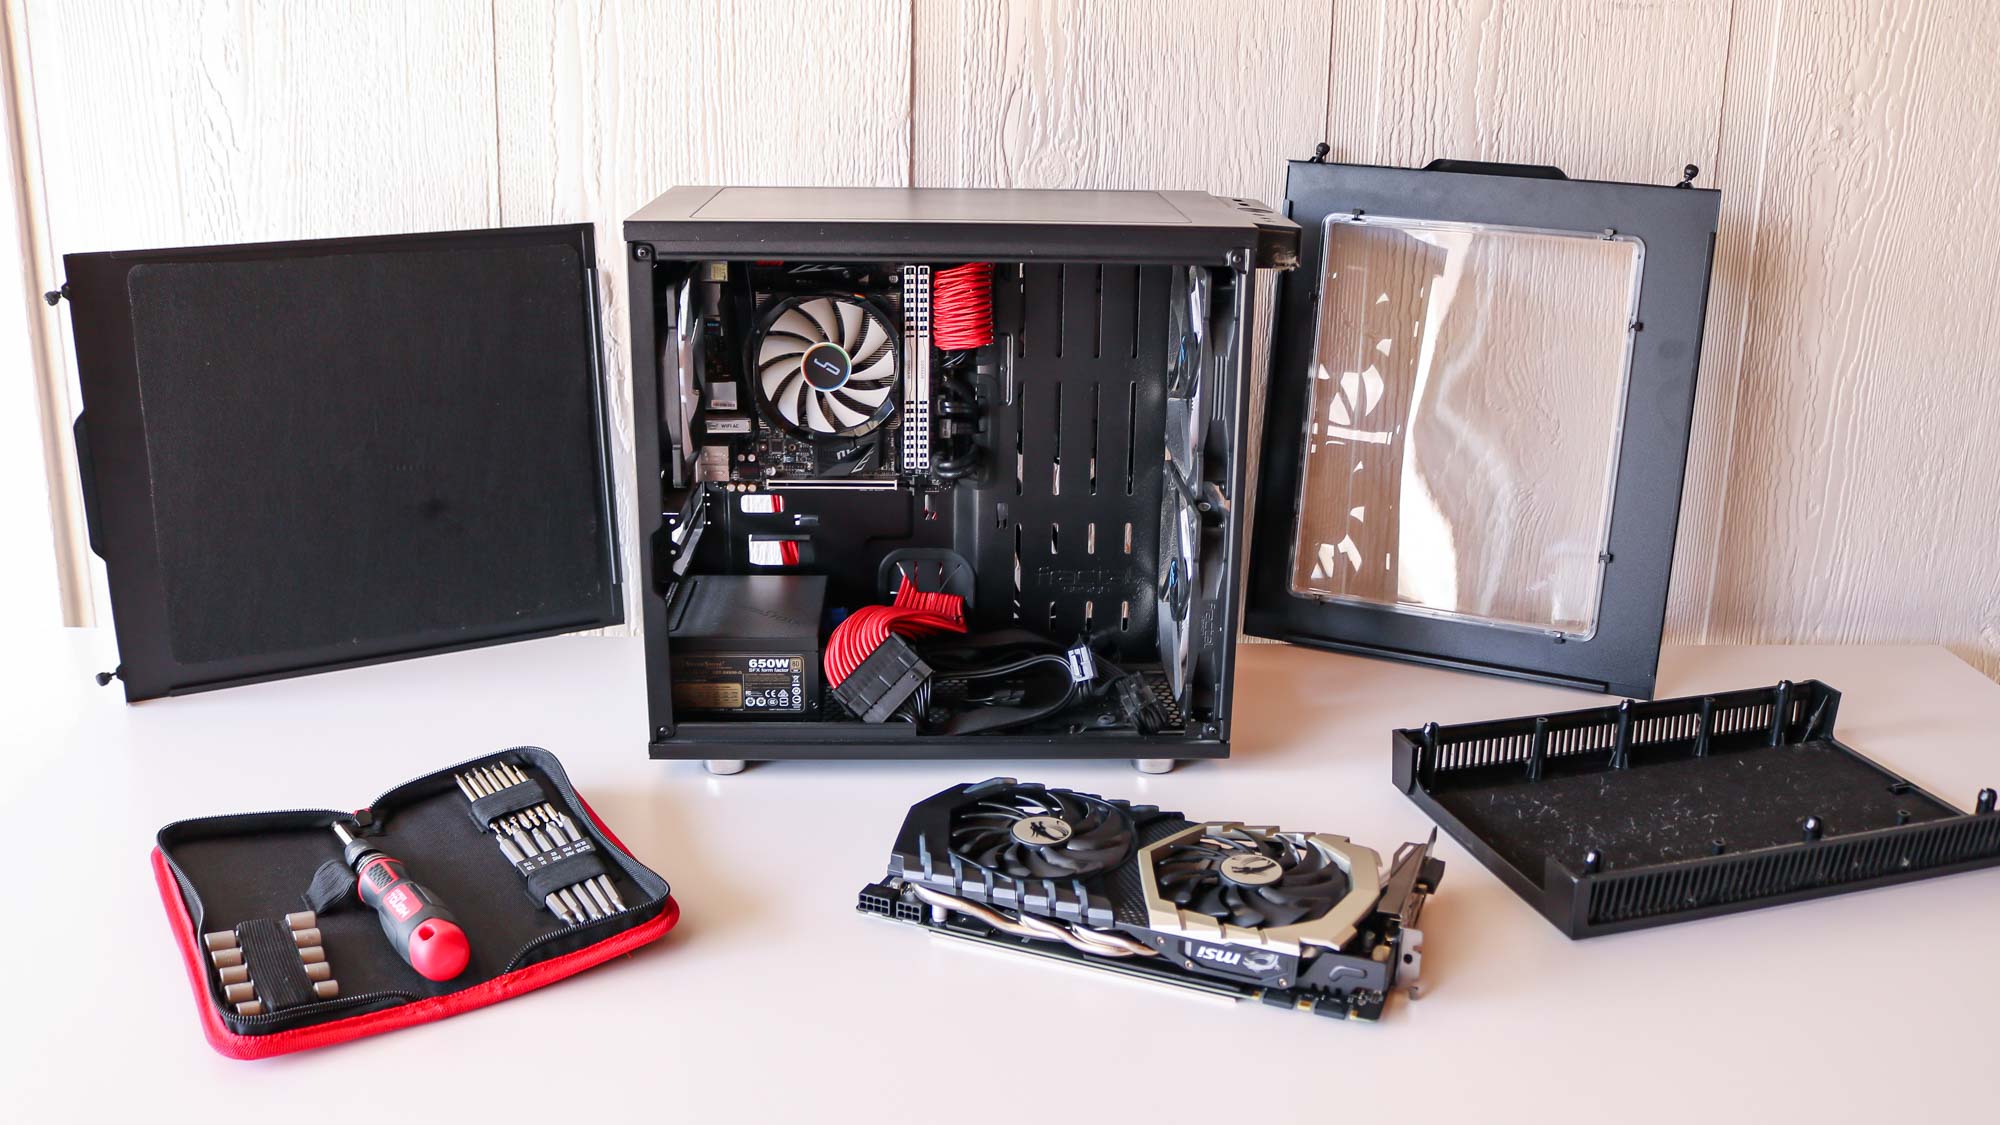
- Detach the Graphics Card: Depending on your setup, you may need to remove the graphics card from its slot in the motherboard. Refer to your computer’s manual for guidance on how to disconnect the graphics card properly.
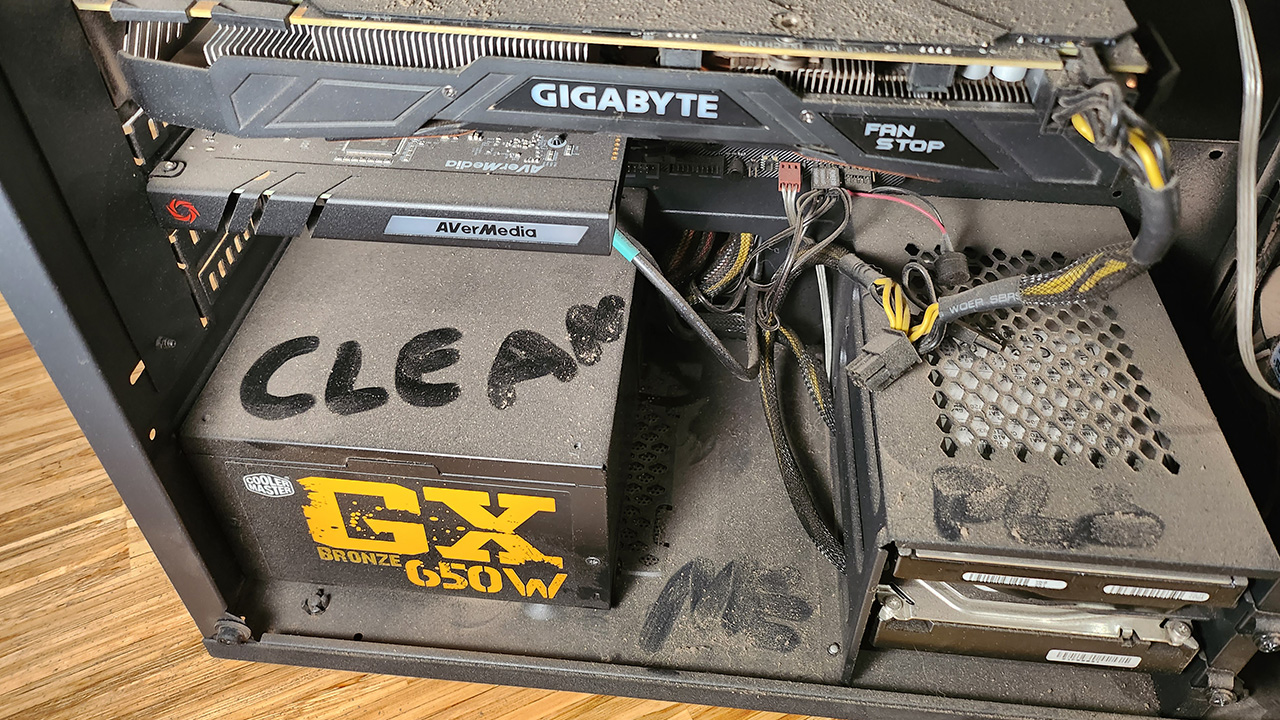
- Inspect for Dust and Debris: Take a close look at the graphics card and observe any noticeable dust or debris build-up. Pay attention to the fans, heatsinks, and connectors as these areas tend to accumulate the most dirt.
- Use a Soft Brush: Gently brush away the dust and debris from the graphics card’s surface and components. You can use a clean paintbrush or a soft-bristled makeup brush for this purpose. Ensure that the brush is free of any residues that could potentially scratch the card.
- Brush in a Single Direction: When brushing, always move in one direction to avoid pushing the dirt into other areas or potentially damaging delicate parts. Be thorough in your approach, paying attention to hard-to-reach areas around the heatsinks and connectors.
- Remove Loose Dust: After brushing, use a can of compressed air alternative or a vacuum cleaner with a brush attachment on the lowest suction setting to remove any loose dust particles that may have been dislodged. Carefully guide the nozzle around the graphics card without making direct contact with the components.
- Reattach and Test: Once you’re satisfied with the cleaning process, carefully reattach the graphics card to the motherboard and secure it in place. Reconnect all necessary cables and power on your computer. Monitor the temperatures and observe if the card is performing better after cleaning.
Using a soft brush is a simple and effective method for removing dust and debris from your graphics card. However, if you’re dealing with more stubborn dirt or thermal paste residue, you may need to employ alternative methods. In the next section, we’ll explore how to clean your graphics card using a vacuum cleaner.
Method 2: Using a Vacuum Cleaner
If you don’t have access to compressed air or prefer an alternative method, using a vacuum cleaner with a brush attachment can effectively clean your graphics card. Here’s a step-by-step guide:
- Power Down: Begin by shutting down your computer and unplugging it from the power source to ensure safety and prevent any potential damage to the components.
- Detach the Graphics Card: Depending on your computer’s configuration, you may need to remove the graphics card from its slot in the motherboard. Follow the manufacturer’s instructions or consult your computer’s manual for guidance on how to detach the graphics card properly.
- Inspect for Dust and Debris: Carefully examine your graphics card for any visible dust or debris accumulation. Pay attention to the fans, heatsinks, and connectors as these areas are prone to gathering dust.
- Prepare the Vacuum Cleaner: Attach a brush nozzle to your vacuum cleaner’s hose. Ensure that you set the cleaner to its lowest suction setting to avoid excessive force that could potentially damage delicate components.
- Remove Loose Dust: Gently guide the brush attachment around the graphics card, focusing on areas with dust and debris. Do not make direct contact with the sensitive components to prevent damage. The vacuum’s suction will help remove loose particles without the use of compressed air.
- Clean Hard-to-Reach Areas: Pay extra attention to hard-to-reach areas, such as between heatsink fins or around connectors. Move the brush attachment in a cautious and controlled manner, ensuring you don’t dislodge any small components.
- Reattach and Test: Once you’re satisfied with the cleaning process, carefully reinsert the graphics card into its slot on the motherboard. Secure it in place according to the manufacturer’s instructions. Reconnect all necessary cables, power on your computer, and observe if the card is performing better after cleaning.
Using a vacuum cleaner with a brush attachment is an effective alternative to compressed air for cleaning your graphics card. However, exercise caution and avoid making direct contact with delicate parts to prevent any damage. In the next section, we’ll explore another method you can use: cleaning with isopropyl alcohol.
Method 3: Using Isopropyl Alcohol
If you’re dealing with stubborn dirt, fingerprints, or thermal paste residue on your graphics card, using isopropyl alcohol can be an effective cleaning method. Here’s how you can use it:
- Power Down: Start by shutting down your computer and unplugging it from the power source to ensure safety and prevent any potential damage to the components.
- Detach the Graphics Card: Depending on your computer’s configuration, you may need to remove the graphics card from its slot in the motherboard. Refer to the manufacturer’s instructions or consult your computer’s manual for guidance on how to detach the graphics card properly.
- Inspect for Stubborn Dirt: Examine your graphics card closely, identifying areas with stubborn dirt, thermal paste residue, or fingerprints. Isopropyl alcohol is particularly useful for dissolving and lifting these types of contaminants.
- Apply Isopropyl Alcohol: Dampen a cotton swab with isopropyl alcohol. Be sure to use a 90% concentration or higher for effective cleaning. Gently rub the areas of concern, applying the alcohol with light pressure to dissolve and remove the dirt or residue.
- Clean Heatsink Fins and Connectors: Use the dampened swab to clean hard-to-reach areas, such as between heatsink fins or around connectors. Be cautious to avoid applying excessive pressure or causing any damage to the delicate components.
- Wipe Down the Graphics Card: Dampen a microfiber cloth with isopropyl alcohol and gently wipe down the entire surface of the graphics card. This will help remove any remaining dirt, fingerprints, or residue.
- Allow Drying Time: After cleaning, allow the graphics card to air dry for a few minutes to ensure that any residual alcohol evaporates completely before reattaching it to your computer.
- Reattach and Test: Once the graphics card is dry, carefully reinsert it into its slot on the motherboard. Follow the manufacturer’s instructions to secure it properly. Reconnect all necessary cables, power on your computer, and observe if the card is performing better after cleaning.
Using isopropyl alcohol is an effective method for removing stubborn dirt, thermal paste residue, and fingerprints. However, exercise caution and avoid excessive pressure or contact with delicate components. In the next section, we will explore alternative methods to clean your graphics card if you don’t have access to compressed air.
Method 4: Using a Can of Compressed Air Alternatives
If you don’t have access to a can of compressed air, there are several alternatives you can use to effectively clean your graphics card. Here are a few options:
- Electric Air Duster: An electric air duster is a device that blows high-pressure air to remove dust and debris. It functions similarly to a can of compressed air but can be reused multiple times. Follow the manufacturer’s instructions on how to use the electric air duster safely and effectively.
- Manual Bulb Blower: A manual bulb blower is a handheld, squeezable tool that blows a burst of air when compressed. It’s an affordable and portable alternative to compressed air cans. Use it to blow air onto the graphics card, targeting areas with accumulated dust and debris.
- Portable Air Compressor: If you have access to a portable air compressor, you can use it with a nozzle attachment to blow air onto the graphics card. Adjust the pressure to a safe level and make sure to maintain a reasonable distance from the components to prevent damage.
- Air Spray Bottle: Fill a clean spray bottle with compressed air from a compressor or a can. Use the spray bottle’s nozzle to blow air onto the graphics card, ensuring that the pressure is not too high. This method allows for more control over the airflow compared to a direct blast from a can.
- Computer Vacuum Cleaner Attachment: Some vacuum cleaners come with computer-specific attachments designed to blow air. Attach the accessory to your vacuum cleaner and use it to gently blow air onto the graphics card, away from delicate components.
When using any of these compressed air alternatives, always be mindful of the airflow pressure and ensure that you’re using the tool at a safe distance from the graphics card’s sensitive components. Take your time, be thorough in your cleaning process, and monitor the temperatures and performance after cleaning.
By utilizing these alternatives, you can effectively remove dust and debris from your graphics card, even without access to a traditional can of compressed air. In the next section, we’ll wrap up our methods and provide some final thoughts on the importance of maintaining a clean graphics card.
Conclusion
Regularly cleaning your graphics card is a vital part of maintaining optimal performance and prolonging its lifespan. While compressed air is a popular option for cleaning, it’s not always readily available. However, as we’ve explored in this article, there are alternative methods that can effectively clean your graphics card without compressed air.
Using a soft brush, a vacuum cleaner, isopropyl alcohol, or compressed air alternatives like electric air dusters or manual bulb blowers, you can remove dust, debris, thermal paste residue, and fingerprints from your graphics card. Each method has its own advantages and considerations, so choose the one that best suits your needs and available resources.
When cleaning your graphics card, it’s important to follow precautions like powering down your computer, grounding yourself, and handling the components with care. Take your time, be gentle, and pay attention to hard-to-reach areas and connectors that are prone to gathering dust.
By regularly cleaning your graphics card, you can prevent overheating issues, improve performance, extend its lifespan, maintain stability, and enhance the overall aesthetics of your setup. Whether you’re a dedicated gamer or a professional in a graphic-intensive field, a clean and well-maintained graphics card ensures smooth operation and optimal visual output.
Remember to consult your graphics card’s manual or manufacturer’s website for specific instructions or warranty-related concerns before undertaking any cleaning process.
So, take the time to keep your graphics card clean and free from dust and debris. Your GPU will thank you with improved performance and a longer lifespan. Happy gaming and smooth graphics processing!


