Introduction
A graphics card is a crucial component of any computer system, responsible for rendering and displaying images, videos, and animations. Over time, it may become necessary or desirable to reinstall or upgrade the graphics card for various reasons, such as improved performance or compatibility with new software.
In this guide, we will walk you through the step-by-step process of reinstalling a graphics card. Whether you are a novice computer user or a seasoned tech enthusiast, this tutorial will provide you with the necessary knowledge and guidance to successfully complete the task.
Before we dive into the specifics, it is important to note that reinstalling a graphics card involves working with delicate hardware components and can have implications for the overall functioning of your computer. It is crucial to follow the instructions carefully and take necessary precautions to avoid any damage to your system.
Additionally, it is essential to ensure that you have the appropriate replacement graphics card that is compatible with your computer. Check the specifications and requirements of your computer and the new graphics card to ensure a smooth installation process.
Now that we have set the groundwork, let’s move on to the initial steps of preparing for the reinstallation of your graphics card.
Prepare for Reinstalling the Graphics Card
Before diving into the physical process of reinstalling your graphics card, there are a few preliminary steps you need to take to ensure a smooth and successful installation.
1. Gather the necessary tools: Make sure you have all the tools required for the job. This typically includes a screwdriver, anti-static wristband, and thermal paste (if needed).
2. Power down your computer: Before performing any hardware changes, it is essential to power down your computer and disconnect it from the power source. This will prevent any damage to your system and ensure your safety during the installation process.
3. Ground yourself: To prevent static electricity from damaging sensitive computer components, it is advisable to wear an anti-static wristband or periodically touch a grounded metal surface.
4. Back up your data: Although reinstalling a graphics card does not typically involve data loss, it is always a good practice to back up important files and documents before performing any hardware changes on your computer.
5. Remove the side panel: In order to access the internal components of your computer, you will need to remove the side panel. Most computer cases have screws on the back that can be unscrewed to slide off the panel. Consult your computer’s manual or refer to the manufacturer’s website for specific instructions on how to remove the side panel.
6. Take note of the current setup: Before removing the old graphics card, take note of its position and how it is connected to the motherboard and power supply. This will help you correctly install the new graphics card without any confusion.
7. Check for any physical obstructions: Look for any cables, connectors, or components that might hinder the removal or installation of the graphics card. Safely disconnect or move them out of the way if necessary.
By following these preparatory steps, you can ensure that you are ready to proceed with the physical removal and reinstallation of your graphics card. Taking the time to prepare properly will minimize potential issues and help maintain the integrity of your computer system.
Remove the Old Graphics Card
Now that you have prepared for the task, it’s time to remove the old graphics card from your system. Follow the steps below to safely detach the card:
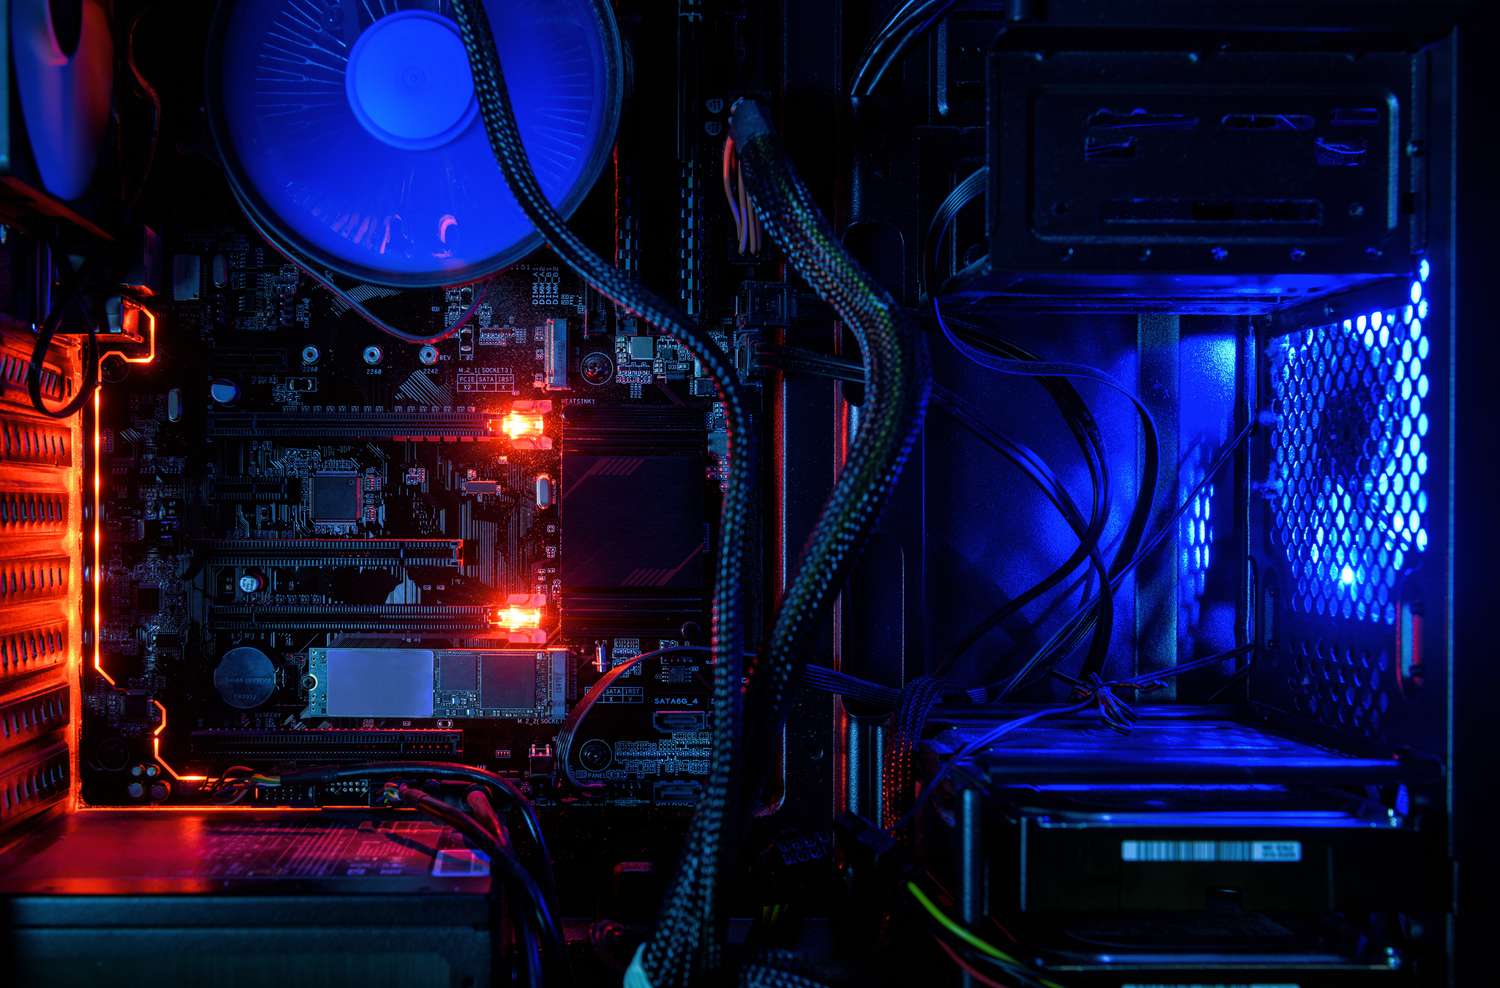
1. Locate the graphics card: Inside your computer, the graphics card is usually located in one of the PCI or PCIe slots on the motherboard. Identify the slot where your current graphics card is installed.
2. Disconnect power connectors: If your graphics card requires additional power from the power supply, it will have one or more power connectors. Carefully unplug these connectors from the graphics card. Remember to hold the connectors firmly while removing them to avoid unnecessary force.
3. Remove securing screws: Most graphics cards are secured to the case with screws or clips. Use a screwdriver to carefully remove these screws or clips, making sure not to drop them inside the case. Put the screws in a safe place for later use.
4. Gently remove the graphics card: Holding the edges of the graphics card, gently rock it back and forth to loosen it from the slot. Once it is free, carefully pull it straight out, making sure not to damage any other components.
5. Set aside the old graphics card: Place the old graphics card in a safe and static-free location. If you plan to reuse or sell it, consider protecting it with an anti-static bag.
6. Inspect the PCI slot: Take a moment to inspect the PCI slot from where you removed the graphics card. Look for any dust, debris, or other obstructions that may have accumulated over time. If necessary, use compressed air or a soft brush to clean the slot.
By carefully following these steps, you have successfully removed the old graphics card from your computer. Now, let’s move on to the next section to learn how to clean the PCI slot before installing the new graphics card.
Clean the PCI Slot
Before installing your new graphics card, it is essential to ensure that the PCI slot is clean and free from any dust or debris. A clean slot will provide optimal connectivity and prevent any potential issues. Follow the steps below to clean the PCI slot:
1. Power off and unplug your computer: As a safety precaution, make sure your computer is powered off and unplugged from the power source before proceeding with the cleaning process.
2. Ground yourself: To protect your computer components from static electricity, wear an anti-static wristband or periodically touch a grounded metal surface during the cleaning process.
3. Locate the PCI slot: Identify the PCI slot where your graphics card will be installed. It is usually a long, narrow slot located near the rear of the motherboard.
4. Use compressed air: Grab a can of compressed air and gently blow air into the PCI slot. Make sure to hold the can upright and use short bursts to avoid excessive moisture buildup on the components.
5. Brush away debris: If there is any visible debris or dust in the PCI slot, use a soft-bristled brush or a clean, dry cloth to gently brush it away. Be careful not to apply too much pressure or scratch the contacts in the slot.
6. Inspect the slot: After cleaning, visually inspect the slot to ensure it is free from any remaining dust or debris. If necessary, repeat the process of blowing air and brushing until the slot is clean.
7. Confirm cleanliness: Carefully examine the PCI slot to ensure it is thoroughly clean. It should appear clear, without any visible dirt or obstructions.
By following these steps to clean the PCI slot, you have prepared it for the installation of your new graphics card. A clean and properly maintained PCI slot will ensure a secure and stable connection for your graphics card, enhancing its performance and longevity.
Install the New Graphics Card
With the PCI slot cleaned and ready, it’s time to install your new graphics card. Follow the steps below to ensure a successful installation:
1. Align the card: Take your new graphics card and align it with the vacant PCI slot on your motherboard. Ensure that the connectors on the graphics card line up with the slot on the motherboard.
2. Insert the graphics card: Gently and evenly push the graphics card straight into the PCI slot. Apply a steady pressure, making sure it is fully inserted and properly seated in the slot.
3. Secure the graphics card: Once the graphics card is inserted, align the screw holes on the bracket with the corresponding holes on the case. Use the screws you saved from removing the old graphics card to secure the new card in place.
4. Connect power cables: If your new graphics card requires additional power, connect the necessary cables from the power supply to the designated connectors on the graphics card. Ensure that the connections are secure and snug.
5. Verify connections: Double-check all the connections, including the data cables and power connectors, to ensure they are properly attached. A loose connection can cause issues with the graphics card’s performance.
6. Replace the side panel: Carefully slide the side panel back onto the computer case and secure it with the screws you removed earlier. Make sure it fits snugly and aligns with the rest of the case.
By following these steps, you have successfully installed your new graphics card. Next, let’s move on to securing the graphics card to ensure it stays in place during use.
Secure the Graphics Card
After installing the new graphics card, it is crucial to secure it properly to ensure it remains in place during operation. Follow the steps below to securely fasten the graphics card:
1. Check for stability: Ensure that the graphics card is properly seated in the PCI slot and aligned with the screw holes on the case. It should fit snugly and not wobble or move when gently touched.
2. Use additional mounting screws: If your graphics card requires additional support, some cases provide mounting screws or brackets that can be used to secure the graphics card. Refer to your case manual or manufacturer’s instructions for guidance on attaching any additional screws or brackets.
3. Tighten the screws: Using a screwdriver, gently tighten the screws that secure the graphics card to the case. Be careful not to overtighten, as this can damage the card or the slot. Ensure that the screws are snug but not overly tight.
4. Verify stability: After tightening the screws, verify that the graphics card is stable and securely attached to the case. Make sure it does not move or shift when the case is gently shaken.
5. Check for clearance: Ensure that there is enough clearance around the graphics card. Check that it does not interfere with other components or cables, especially fans or heat sinks. If necessary, adjust any obstructing components or cables to provide adequate clearance.
6. Reconnect cables: Double-check all the cables and connectors that were detached during the installation process. Ensure that they are securely connected to the graphics card and other components, including the monitor cable, power cables, and any additional peripheral cables.
7. Test for functionality: Before fully reassembling your computer, it is advisable to test the functionality of the new graphics card. Power on your computer and ensure that the graphics card is detected and functioning correctly. Check for any error messages or visual anomalies during the startup process.
By securely fastening the graphics card, you can ensure that it remains stable and properly connected during use, minimizing the risk of dislodgement or damage. Next, let’s move on to reassembling your computer to complete the installation process.
Reassemble the Computer
Now that the graphics card is securely installed, it’s time to reassemble your computer to its original state. Follow the steps below to reassemble the necessary components:
1. Replace the side panel: Take the side panel that was removed earlier and carefully slide it back onto the computer case. Ensure that it aligns with the rest of the case and securely fits into place. Use the screws or clips to secure the panel back in position.
2. Reconnect cables: Reconnect all the cables that were disconnected during the installation process. This includes the monitor cable, power cables, and any other peripheral cables. Double-check that each connection is secure and properly seated.
3. Organize internal cables: Take a moment to organize any internal cables to improve airflow and minimize clutter. Use cable ties or Velcro straps to secure and bundle cables together. This will help maintain a clean and organized interior for better overall airflow and aesthetics.
4. Connect power supply: Plug your computer back into the power source and ensure that it is securely connected. Double-check that all power cables are properly connected to the power supply and components, including the graphics card.
5. Perform a visual check: Take a quick visual check of your computer to ensure that everything is in place and properly connected. Look for any loose cables, components, or obvious signs of damage or misalignment.
6. Power on the computer: Finally, power on your computer and observe the startup process. Ensure that the graphics card is recognized and that there are no error messages or visual anomalies on the screen. Test some graphics-intensive applications or games to verify the performance of the new graphics card.
By following these steps to reassemble your computer, you have successfully completed the installation process of your new graphics card. It’s time to enjoy the enhanced graphics capabilities and improved performance that your upgraded graphics card brings to your system.
Test the New Graphics Card
After reinstalling the graphics card and reassembling your computer, it’s important to test the functionality and performance of the new graphics card. Follow the steps below to ensure that everything is working as expected:
1. Update graphics card drivers: Visit the website of the graphics card manufacturer and download the latest drivers for your specific model. Install the drivers following the provided instructions. These drivers are essential for optimal performance and compatibility.
2. Run benchmark tests: Use benchmarking software to evaluate the performance of your new graphics card. These tests will measure its capabilities and compare them to standard performance metrics. This will help you gauge the improvements in rendering speed and graphics quality.
3. Test graphics-intensive applications: Open up graphics-intensive applications such as video editing software, 3D rendering programs, or demanding games. Check if the graphics card can handle these tasks smoothly and without any glitches or slowdowns. Pay attention to any visual artifacts or abnormalities.
4. Monitor temperatures: Keep an eye on the temperature of the graphics card while running demanding tasks. Use monitoring software to check the temperature readings. Ensure that the temperatures stay within acceptable ranges and do not exceed the suggested limits provided by the manufacturer.
5. Check for compatibility: Ensure that the new graphics card is compatible with your other hardware components and software. Verify that your operating system supports the drivers and that the drivers work well with your system’s configuration.
6. Test multiple displays: If you have multiple monitors or a multi-display setup, test the graphics card’s capability to drive and configure multiple displays. Make sure that all the monitors are recognized and function as expected.
7. Evaluate overall performance: Consider the overall performance and experience of using your computer with the new graphics card. Assess whether you notice significant improvements in graphical rendering, smoother gameplay, or enhanced visual quality.
By thoroughly testing the new graphics card, you can ensure that it meets your expectations and performs optimally. If any issues or unexpected behaviors arise, consult the manufacturer’s documentation or seek support to troubleshoot and resolve them.
With the new graphics card successfully tested and confirmed to be functioning as expected, you can now enjoy the enhanced graphical capabilities and improved performance on your computer.
Conclusion
Reinstalling a graphics card can greatly enhance the visual experience and performance of your computer. In this step-by-step guide, we have covered the necessary steps to successfully reinstall a graphics card. From preparing for the installation to testing the new graphics card, each step plays a crucial role in ensuring a smooth and efficient process.
By gathering the necessary tools, powering down your computer, and grounding yourself, you have set the stage for a safe installation. Removing the old graphics card and cleaning the PCI slot improves connectivity and prevents any potential issues caused by dust or debris. Installing the new graphics card and securely fastening it guarantees a stable and reliable connection.
Reassembling your computer and testing the new graphics card allows you to verify its functionality, performance, and compatibility with your system. Running benchmark tests, using graphics-intensive applications, and monitoring temperatures help ensure that the graphics card performs at its best.
Remember to update the graphics card drivers regularly to keep it up to date and enhance its capabilities. Additionally, consider compatibility and multi-display usage if applicable to your setup. Evaluating the overall performance and experience of using the new graphics card will help you determine if it meets your expectations.
By following this guide, you have acquired the knowledge and skills necessary to reinstall a graphics card without any hassle. Whether you are upgrading for gaming, video editing, or other graphics-intensive tasks, the new graphics card will provide you with a more immersive and visually satisfying experience.
Always refer to the manufacturer’s instructions and documentation for specific guidance related to your graphics card model and system specifications. If you encounter any difficulties or are unsure about any step of the process, consult a professional or seek support from the manufacturer.
Now, armed with this knowledge, you can confidently reinstall a graphics card and unlock the full potential of your computer’s graphics capabilities.