Introduction
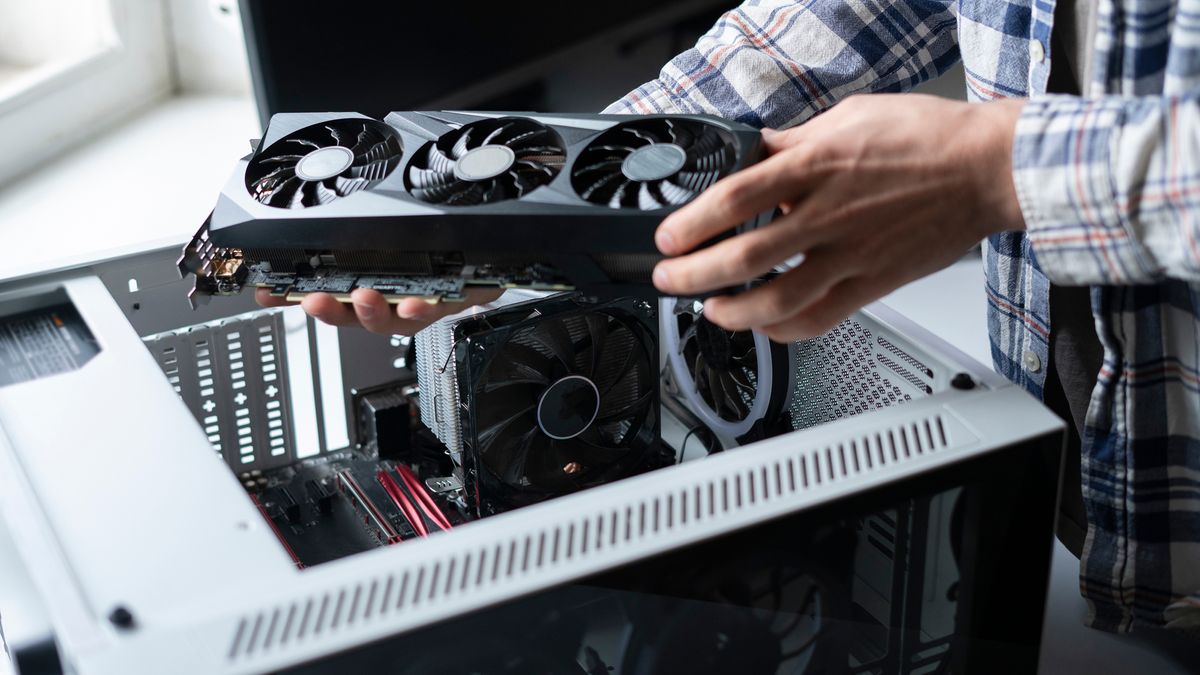
When it comes to optimizing the performance of your graphics card, having up-to-date drivers is crucial. Graphics card drivers are software programs that enable communication between your operating system and the graphics card, allowing it to perform at its best. Over time, drivers can become outdated or corrupted, leading to decreased performance and potential compatibility issues.
In this guide, we will walk you through the process of reinstalling your graphics card drivers. Whether you are experiencing issues with your current drivers or you simply want to ensure you have the latest version, this step-by-step tutorial will help you get started.
Before diving into the steps, it’s important to note that you should always back up your existing drivers before proceeding with any driver updates. This will allow you to revert to the previous version if any issues arise during the installation process.
Now, let’s begin reinstalling your graphics card drivers and unlocking the full potential of your hardware!
Step 1: Uninstalling the Old Drivers
The first step in reinstalling your graphics card drivers is to uninstall the old drivers from your system. This ensures a clean slate for the installation of the new drivers. Follow these simple steps:
- Open the Start menu and search for “Device Manager.” Click on the top result to open the Device Manager window.
- Expand the “Display adapters” category to reveal your graphics card. Right-click on your graphics card and select “Uninstall device.”
- In the prompt that appears, select the option to delete the driver software for this device. This ensures that the old drivers are completely removed from your system.
- Once the uninstallation process is complete, restart your computer to finish removing any remaining traces of the old drivers.
It’s important to note that during the uninstallation process, your screen may flicker or go blank temporarily. This is normal and should not cause any concern.
After restarting your computer, the old graphics card drivers should be completely removed. Now, it’s time to move on to the next step: downloading the latest drivers for your graphics card.
Step 2: Downloading the Latest Drivers
With the old drivers uninstalled, it’s time to download the latest drivers for your graphics card. Follow these steps to ensure you get the correct drivers for your specific graphics card model:
- Identify your graphics card model. You can do this by going back to the Device Manager and expanding the “Display adapters” category. Take note of the exact model name of your graphics card.
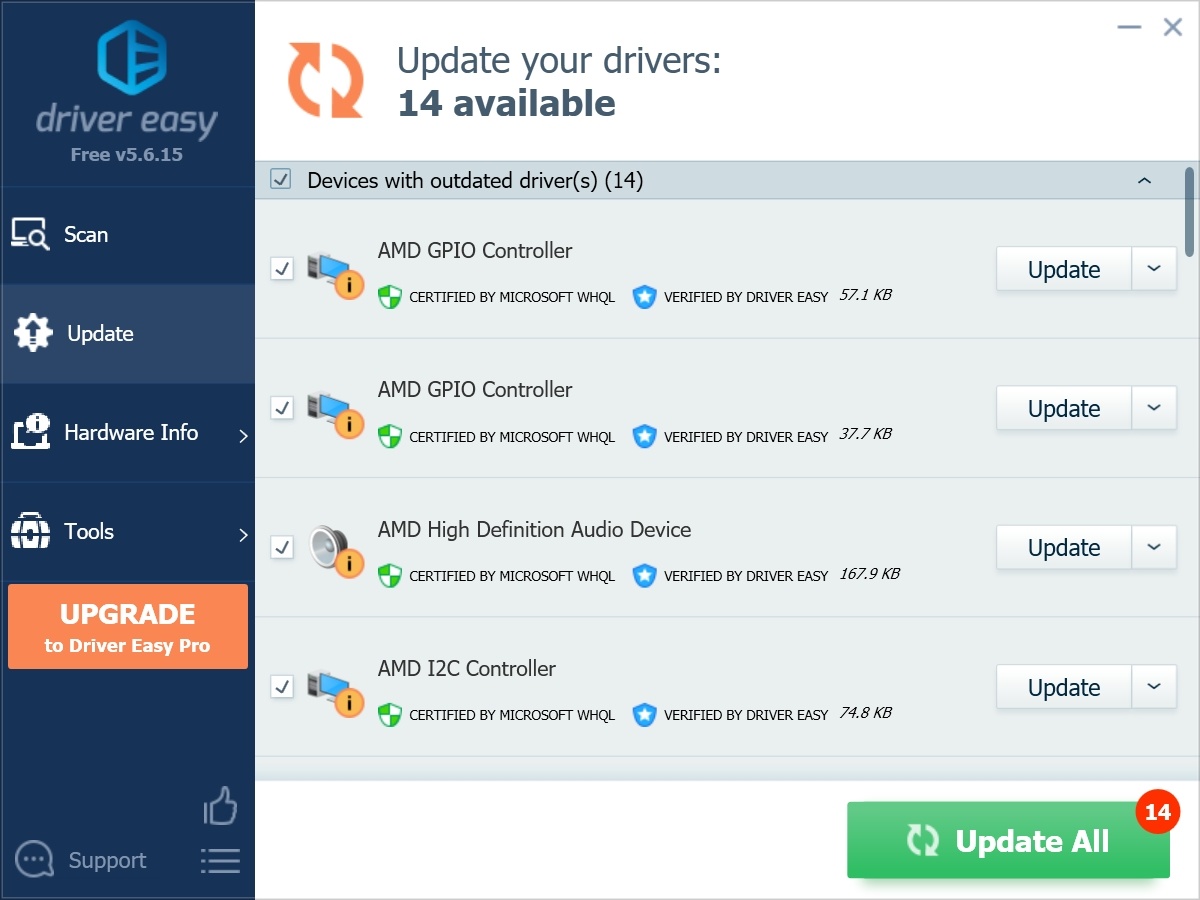
- Visit the website of the graphics card manufacturer. Most manufacturers, such as NVIDIA, AMD, or Intel, have dedicated support pages where you can find and download the latest drivers.
- On the support page, locate the drivers section. Look for a search or download feature that allows you to specify your graphics card model.
- Enter the model name of your graphics card and select the appropriate operating system. This ensures that you get the drivers that are compatible with your system.
- Download the latest drivers for your graphics card by clicking on the corresponding download button. Depending on the manufacturer, the drivers may be available as an executable file or a compressed archive.
Once the download is complete, you are ready to move on to the next step: installing the new graphics card drivers.
Step 3: Installing the New Drivers
After downloading the latest drivers for your graphics card, it’s time to install them. Follow the steps below to successfully install the new drivers:
- Locate the downloaded driver file on your computer. It may be in your Downloads folder or the location you specified during the download.
- Double-click on the driver file to start the installation process. If the file is in a compressed archive format, extract the contents first and then run the installer.
- Follow the on-screen instructions provided by the driver installer. These may vary depending on the manufacturer and specific driver version.
- During the installation, you may be presented with options to customize the installation or perform a clean installation. Choose the options that best suit your needs.
- Once the installation is complete, restart your computer to apply the changes and finalize the installation of the new drivers.
It’s important to note that some driver installers may require administrative privileges to complete the installation process. Make sure you have the necessary permissions or consult your system administrator if needed.
After restarting your computer, the new graphics card drivers should be successfully installed. You can verify the installation by checking the Device Manager and confirming that the updated drivers are now in use.
Now that the new drivers are installed, it’s time to move on to the next step: restarting your computer.
Step 4: Restarting Your Computer
After installing the new graphics card drivers, it’s important to restart your computer to ensure that all changes take effect. Restarting your computer allows the system to properly load the newly installed drivers and optimize the performance of your graphics card. Here’s how you can restart your computer:
- Save any ongoing work and close all open applications.
- Click on the “Start” button in the bottom left corner of your screen.
- Select the “Restart” option from the power menu.
- Wait for your computer to shut down and then automatically restart.
During the restart process, your computer’s screen may go blank for a short period of time. This is normal and part of the restarting process.
After your computer has restarted, give it some time to fully boot up and load the operating system. Once it’s up and running, you can move on to the final step: testing your graphics card.
By following these steps, you can ensure that the new graphics card drivers are properly implemented and ready to provide an enhanced graphical experience.
Step 5: Testing Your Graphics Card
After reinstalling the graphics card drivers and restarting your computer, it’s important to test your graphics card to ensure that it’s functioning properly. By performing some tests, you can verify that the new drivers have been installed successfully and that your graphics card is working optimally. Here are a few tests you can perform:
- Launch a graphic-intensive application or game: Open a game or an application that requires high graphics processing power. Ensure that the graphics are smooth, without any glitches or lags. This will help you gauge the performance of your graphics card.
- Run a benchmarking tool: There are various benchmarking tools available online that can assess the performance of your graphics card. These tools provide detailed reports on frame rates, rendering times, and overall performance. Use a trusted benchmarking tool to evaluate your graphics card’s capabilities.
- Check for graphic artifacts: Graphic artifacts are anomalies or visual glitches that may appear on your screen. These can range from flickering pixels to distorted textures. Carefully observe your display for any abnormalities while performing graphic-intensive tasks.
- Monitor temperature and fan speed: Use a utility software program specifically designed for monitoring your graphics card’s temperature and fan speed. Ensure that the temperature is within acceptable limits and that the fan speed is adjusted accordingly to prevent overheating.
By conducting these tests, you can determine whether the new graphics card drivers have improved the performance and stability of your graphics card. If you encounter any issues or abnormalities during the testing process, you may need to troubleshoot further or consult technical support for assistance.
Congratulations! You have successfully reinstalled your graphics card drivers and tested your graphics card. Enjoy the enhanced performance and visual experience provided by the latest drivers!
Conclusion
Reinstalling or updating your graphics card drivers is a crucial step in maintaining optimal performance and compatibility for your graphics card. With the step-by-step guide outlined in this article, you can easily complete the process and ensure that your drivers are up to date.
Throughout this guide, we covered the following steps:
- Uninstalling the old drivers to start with a clean slate.
- Downloading the latest drivers from the manufacturer’s website.
- Installing the new drivers and following the on-screen instructions.
- Restarting your computer to ensure all changes take effect.
- Testing your graphics card to verify its performance and stability.
By diligently following these steps, you have taken important strides in optimizing your graphics card and ensuring it functions at its best. Remember to regularly check for driver updates to stay up to date with the latest enhancements and bug fixes from the manufacturer.
Should you encounter any issues during the driver installation or testing process, we recommend consulting the manufacturer’s support resources or seeking assistance from technical support. They will be able to provide you with specific guidance tailored to your graphics card model and troubleshooting needs.
With your newly installed graphics card drivers, you can now enjoy smoother graphics, improved performance, and enhanced visual experiences while using your computer for gaming, design work, or other graphics-intensive tasks.
Thank you for following this guide, and we hope it has been helpful in your journey towards optimizing your graphics card drivers!