Introduction
Backing up your iPhone is essential to ensure that your valuable data, such as contacts, messages, photos, and apps, are safely stored in case of any unexpected device issues or data loss. While iCloud provides a convenient option for iPhone backups, backing up your device to your PC offers an additional layer of security, control, and storage capacity.
In this comprehensive guide, we will walk you through the step-by-step process of backing up your iPhone on your PC. By following these simple instructions, you will be able to create a reliable backup of your iPhone’s data, ensuring peace of mind and easy restoration whenever necessary.
Whether you are using a Windows PC or a Mac, the backup process is straightforward and can be accomplished using iTunes, Apple’s multimedia management software. iTunes enables you to transfer and manage media files, sync data, and most importantly, create backups of your iPhone.
By backing up your iPhone on your PC, you have complete control over the backup location and can benefit from the larger storage capacity of your computer. This is particularly beneficial if you have limited iCloud storage or a slow internet connection, as locally stored backups can be faster and more efficient.
Additionally, backing up your iPhone using iTunes allows for selective backups, giving you the flexibility to choose which data you want to include in the backup. This can be useful if you have limited storage space on your PC or if you only need to backup specific types of data, such as photos or contacts.
Now that you understand the importance and advantages of backing up your iPhone on your PC, let’s dive into the step-by-step process of how to back up your iPhone using iTunes. Follow the instructions carefully, and soon you’ll have a secure backup of your precious iPhone data that you can rely on in case of any unfortunate incidents.
Step 1: Connect your iPhone to your PC
The first step in backing up your iPhone on your PC is to establish a physical connection between your iPhone and your computer. To do this, follow these simple steps:
- Ensure that your iPhone is charged.
- Take the USB cable that comes with your iPhone and plug one end into the charging port of your iPhone.
- Take the other end of the USB cable and plug it into an available USB port on your PC.
- Once the iPhone is connected to your PC, you should see a prompt on your iPhone asking for permission to trust the connected computer. Tap “Trust” to grant access.
- Your iPhone will now be connected to your PC via the USB cable, establishing a secure connection for the backup process.
It’s important to ensure that both your iPhone and your PC are powered on and in working condition before connecting them. Using the original USB cable that comes with your iPhone is recommended to ensure compatibility and optimal performance.
Once the connection is established, you are ready to proceed to the next step in the backup process. Keep your iPhone connected to your PC throughout the entire backup process to ensure a successful and uninterrupted backup.
Step 2: Open iTunes on your PC
After connecting your iPhone to your PC, the next step is to open iTunes, Apple’s multimedia management software. iTunes allows you to transfer files, manage media, and most importantly, create backups of your iPhone. Follow these steps to open iTunes on your PC:
- Click on the Start Menu or the Windows icon located at the bottom left corner of your screen.
- In the search bar, type “iTunes” and press Enter.
- If you have iTunes installed on your PC, the application will appear in the search results. Click on the iTunes icon to open the application.
- If you don’t have iTunes installed, you can download and install it from the official Apple website (www.apple.com/itunes).
- Once iTunes is open, you will see a user-friendly interface with various options for managing your multimedia files, syncing data, and creating backups.
It’s important to have the latest version of iTunes installed on your PC to ensure compatibility and access to all the features and functionalities. You can check for updates by clicking on the “Help” tab in the iTunes menu and selecting “Check for Updates.”
If you are using a Mac, you can open iTunes by clicking on the “Launchpad” icon in the Dock and searching for “iTunes.” Alternatively, you can find iTunes in the Applications folder.
Once iTunes is open and ready, you can proceed to the next step in the backup process. Keep iTunes open throughout the backup process as it is essential for managing and monitoring the backup progress.
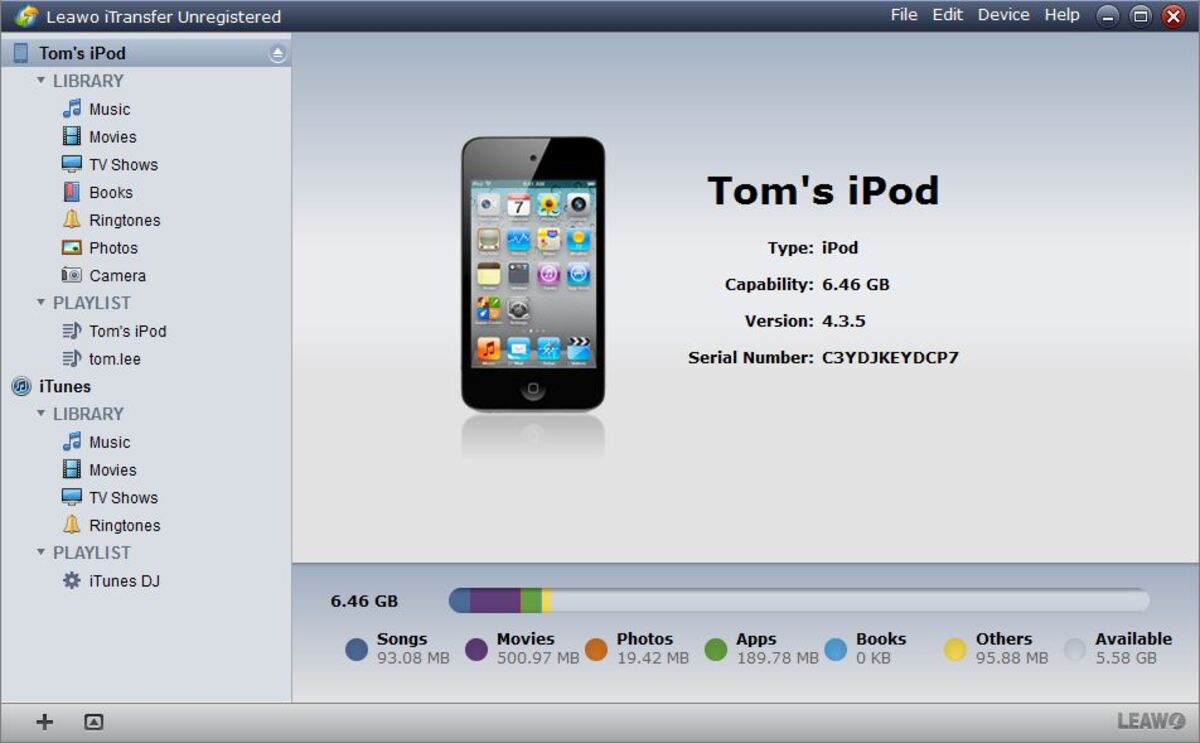
Step 3: Select your iPhone in iTunes
Now that iTunes is open on your PC, it’s time to select your iPhone within the application. This step is crucial as it allows iTunes to recognize and establish a connection with your iPhone for the backup process. Follow these steps to select your iPhone in iTunes:
- Look for the iPhone icon located at the top left corner of the iTunes window. It should be next to the media type icons.
- Click on the iPhone icon to access the device summary page.
- Alternatively, you can also select your iPhone by clicking on the “Devices” dropdown menu located at the top left corner of the iTunes window and choosing your iPhone from the list.
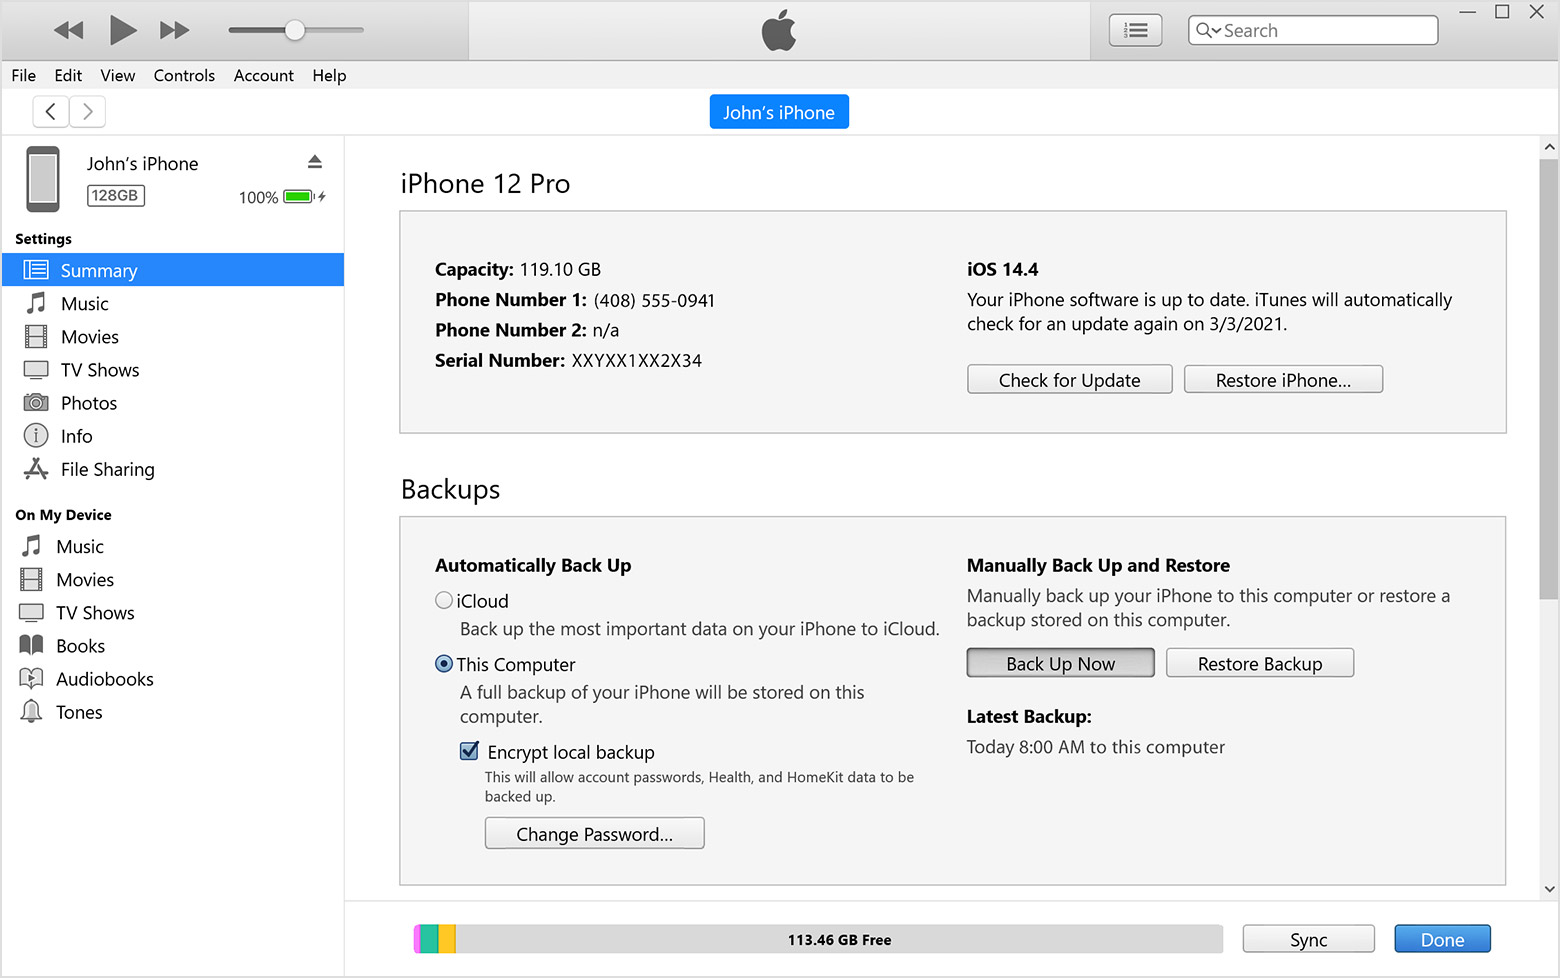
- Once you’ve selected your iPhone, the device summary page will display detailed information about your device, including its storage capacity, software version, and serial number.
It’s essential to ensure that your iPhone is properly recognized and displayed in iTunes before proceeding. If you don’t see your iPhone listed, try disconnecting and reconnecting the USB cable, or restart both your iPhone and your PC to establish a fresh connection.
If you have multiple iOS devices connected to your PC, make sure to select the correct iPhone that you want to back up. Each device will have its distinctive name and information displayed in the device summary page.
Once your iPhone is successfully selected in iTunes, you are ready to proceed to the next step in the backup process. Keep your iPhone selected throughout the backup process to maintain the connection and ensure a smooth backup experience.
Step 4: Choose the backup method
After selecting your iPhone in iTunes, the next step is to choose the backup method that suits your needs. iTunes offers two backup methods: iCloud and your computer. In this step, we will focus on the computer backup method. Here’s how to choose the backup method in iTunes:
- On the device summary page in iTunes, scroll down to the “Backups” section.
- Under the “Automatically Back Up” section, you’ll find two options: “iCloud” and “This Computer.”
- By default, your iPhone may be set to back up to iCloud. To change the backup method, click on the “This Computer” option.
Choosing the backup method that suits your needs is essential. If you have a reliable internet connection and sufficient iCloud storage space, you may opt for iCloud backup. This allows you to back up your iPhone wirelessly, ensuring that your data is securely stored in the cloud. However, if you prefer to have more control over your backups and want to utilize the storage capacity of your computer, the computer backup method is the way to go.
By selecting the “This Computer” option, you ensure that iTunes will back up your iPhone directly to your PC. This method offers the advantage of faster backups and gives you the ability to manage and store your backups locally.
It’s worth noting that when you choose the computer backup method, it will also back up your iPhone to iCloud as a secondary backup. This provides an extra layer of protection and allows you to access your data from any device with an internet connection.
Once you’ve selected the desired backup method, you are ready to proceed to the next step. Keep in mind that your choice of backup method can be changed at any time by following the same steps and selecting the preferred option.
Step 5: Start the iPhone backup process
With the backup method selected in iTunes, you are now ready to initiate the backup process for your iPhone. Follow these steps to start the backup process:
- On the device summary page in iTunes, locate the “Manually Back Up and Restore” section.
- Click on the “Back Up Now” button to start the backup process.
- Depending on the amount of data on your iPhone, the backup process may take some time. You can monitor the progress by checking the status bar at the top of the iTunes window.
- During the backup process, ensure that your iPhone remains connected to your PC and that iTunes remains open. Interrupting the backup or disconnecting your iPhone prematurely can result in an incomplete or corrupted backup.
- Once the backup process is complete, you will see a notification in iTunes stating that the backup was successful.
It’s important to note that the duration of the backup process depends on various factors, such as the amount of data on your iPhone and the speed of your computer. Be patient and avoid interrupting the process to ensure a successful backup.
During the backup process, iTunes will back up all the data on your iPhone, including your contacts, messages, photos, apps, and settings. This ensures that all your important information is securely stored and can be easily restored if needed.
By manually initiating the backup process, you have control over when the backup occurs, allowing you to create backups at your convenience and as frequently as desired.
Now that your iPhone backup is in progress, let’s proceed to the next step to monitor the backup progress and verify the backup’s successful completion.
Step 6: Monitor the backup progress
Once you have initiated the backup process in iTunes, it’s important to monitor the progress to ensure the backup completes successfully. Follow these steps to monitor the backup progress:
- Look at the status bar at the top of the iTunes window. It will display the progress of the backup, indicating the amount of data already backed up.
- You can also check the estimated time remaining for the backup to complete. This will give you an idea of how long the process might take.
- If you want to pause or stop the backup process, you can do so by clicking on the “X” icon in the status bar. However, it’s recommended to let the backup complete without interruption.
- During the backup process, ensure that your iPhone stays connected to your PC and that iTunes remains open. Interrupting the backup or disconnecting your iPhone prematurely can result in an incomplete or corrupted backup.
- If you encounter any issues or errors during the backup process, such as a failed backup or a stalled progress bar, try disconnecting and reconnecting your iPhone, restarting your PC, or updating to the latest version of iTunes.
It’s important to be patient while the backup is in progress, as the duration can vary depending on the amount of data on your iPhone and the speed of your computer. Avoid closing iTunes or disconnecting your iPhone until the backup is complete.
By monitoring the backup progress, you can ensure that the backup is proceeding as expected and take necessary actions in case of any errors or interruptions.
Once the backup process is complete, you can move on to the next step to verify the backup and ensure its successful completion.
Step 7: Verify your iPhone backup
After the backup process is complete, it’s crucial to verify that your iPhone backup was successful and that all your important data has been securely backed up. Follow these steps to verify your iPhone backup:
- In iTunes, go to the device summary page by clicking on the iPhone icon.
- Scroll down to the “Backups” section and look for the “Latest Backups” section.
- You should see the date and time of the most recent backup, indicating that the backup process was completed successfully.
- You can also verify the backup by checking the total backup size and comparing it with the expected size based on the data on your iPhone.
It’s recommended to verify your iPhone backup periodically to ensure the integrity and completeness of your backup. This will give you the assurance that your important data is safely stored and ready to be restored if needed.
If you encounter any issues or errors during the backup process, such as a failed backup or missing data, you may need to troubleshoot the problem. Some common troubleshooting steps include updating iTunes to the latest version, restarting your computer, and ensuring that you have sufficient storage space on your PC for the backup.
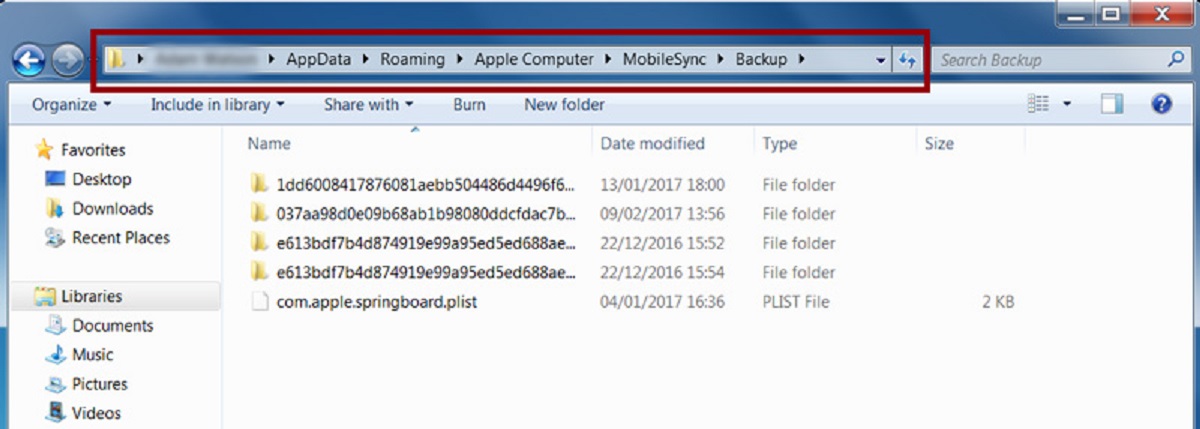
In addition to verifying your backup in iTunes, you can also check the backup on your computer to ensure its accessibility. Locate the backup location on your PC and open the backup folder. You should see a collection of files and folders representing your iPhone’s data.
By verifying your iPhone backup, you gain the confidence that your important data is protected and can be easily restored in the future. Now that you have successfully verified your backup, you can move on to the final step of safely disconnecting your iPhone from your PC.
Step 8: Safely disconnect your iPhone from your PC
Once you have completed the backup process and verified that your iPhone data is securely backed up, it’s important to safely disconnect your iPhone from your PC. Follow these steps to ensure a safe disconnection:
- In iTunes, go to the device summary page by clicking on the iPhone icon.
- Scroll to the top of the device summary page.
- Click on the “Eject” button next to your iPhone’s name. This will safely eject your iPhone from your PC.
- Wait for a few seconds until your iPhone is safely disconnected from your computer.
- You can now unplug the USB cable from your iPhone and your PC.
It’s important to follow the proper procedure for safely disconnecting your iPhone to avoid any potential data loss or damage to your device. Removing the USB cable without ejecting your iPhone from iTunes can result in corruption or incomplete backups.
By safely ejecting your iPhone from iTunes, you ensure that all data transfers and syncing processes have completed, and it’s safe to disconnect your device from your PC.
After safely disconnecting your iPhone, you can use it as you normally would, knowing that your important data is securely stored in the backup you created. This backup gives you the peace of mind that your data is protected and can be easily restored whenever needed.
Remember to periodically repeat the backup process to keep your data up-to-date and ensure that you have the most recent backup available.
With your iPhone safely disconnected and your backup successfully completed, you have completed the entire process of backing up your iPhone on your PC using iTunes. Now, you can rest assured knowing that your valuable data is protected and ready to be restored in case of any unforeseen circumstances.
Conclusion
Backing up your iPhone on your PC is a crucial step in safeguarding your valuable data and ensuring its accessibility in case of any unfortunate events. By following the comprehensive steps outlined in this guide, you can successfully create a reliable backup of your iPhone using iTunes.
Throughout the process, you learned how to connect your iPhone to your PC, open iTunes, select your iPhone within the application, choose the backup method, start the backup process, monitor the progress, verify the backup, and safely disconnect your iPhone from your PC.
By utilizing the computer backup method, you have the advantage of local storage and control over your backups. This allows for faster backups and the ability to selectively choose which data to include in the backup.
Remember that regularly backing up your iPhone is crucial. By maintaining up-to-date backups, you can restore your data easily and efficiently in case of device loss, damage, or accidental data deletion.
Additionally, periodically verifying the backups and ensuring their accessibility provides you with the peace of mind that your important data is securely stored and can be restored without any complications.
Take the time to create a backup schedule that suits your needs and preferences, whether it’s backing up daily, weekly, or monthly. This proactive approach ensures that you never lose critical data and can restore your iPhone effortlessly.
Now that you have successfully completed the backup process, continue to prioritize the safety of your valuable data by regularly updating iTunes, keeping your PC and iPhone in good working condition, and properly ejecting your iPhone from your PC before disconnecting it.
By following these guidelines, you can confidently protect your iPhone data and have peace of mind knowing that your precious memories, contacts, messages, and other important information are secure and ready to be restored whenever needed.