Introduction
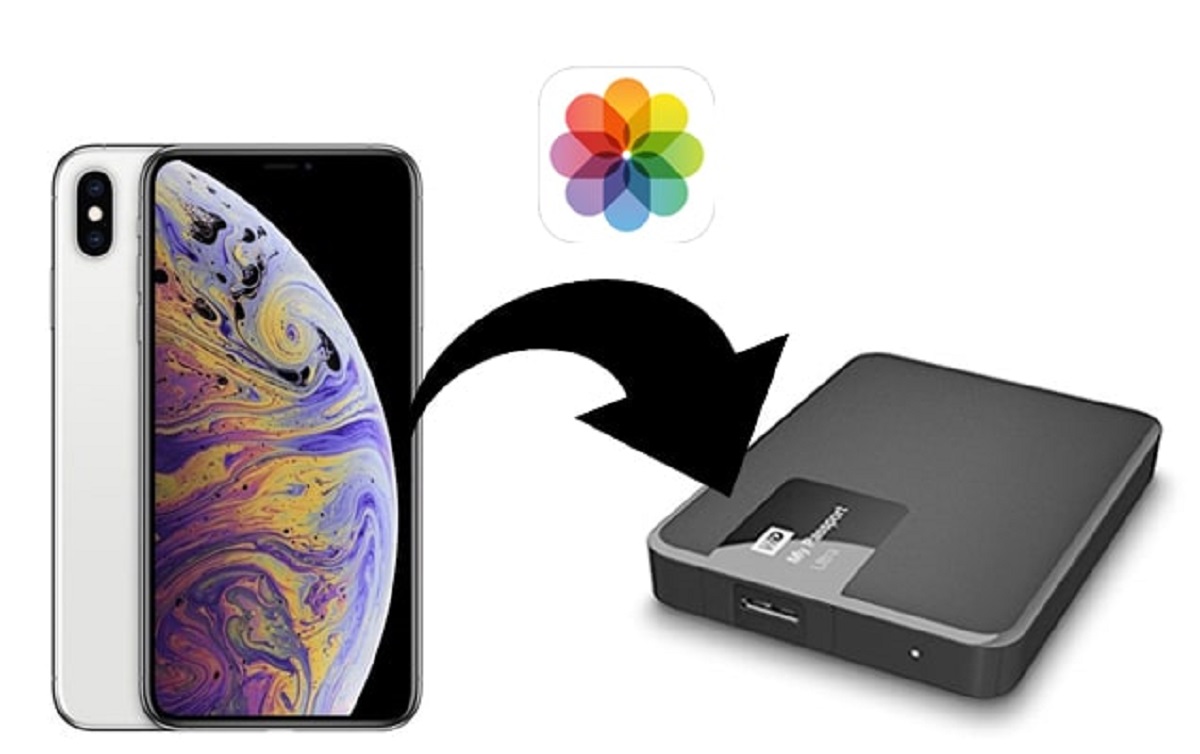
Welcome to the digital age, where our smartphones have become our primary means of capturing cherished moments through photos. However, as we continue to accumulate countless pictures on our iPhones, it’s only a matter of time before storage space becomes a concern. This is where the convenience of external hard drives comes into play.
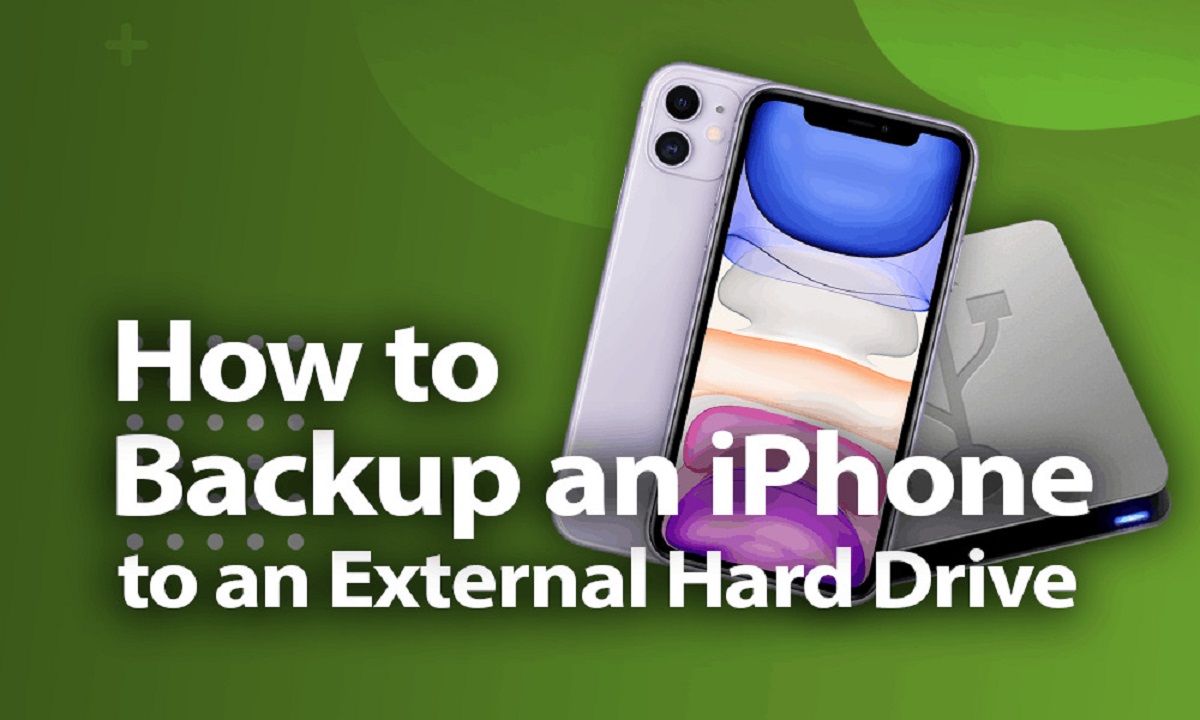
In this guide, we’ll walk you through the step-by-step process of downloading photos from your iPhone to an external hard drive, freeing up valuable space on your device without compromising your precious memories. Whether you’re an avid photographer or simply love capturing everyday moments, this method will help you organize and safeguard your photo collection with ease.
By transferring your photos to an external hard drive, you not only create additional storage space on your iPhone but also protect your precious memories from potential data loss due to device damage or malfunctions. Additionally, having your photos backed up on a separate storage device provides peace of mind and allows for easy access across multiple devices.
While there are various ways to transfer photos from your iPhone to your computer and then to an external hard drive, we’ll outline a simple and efficient method that requires no additional software. All you need is your iPhone, computer, and an external hard drive with sufficient storage capacity.
So, if you’re ready to declutter your iPhone and ensure the safety of your photo collection, let’s dive into the step-by-step process of downloading your photos from your iPhone to an external hard drive.
Step 1: Prepare Your External Hard Drive
Before you can begin transferring your photos, you’ll need to ensure that your external hard drive is ready to receive the files. Follow these steps to prepare your external hard drive:
- Connect your external hard drive to your computer using the provided USB cable. Make sure it is properly plugged in and recognized by your computer.
- Open File Explorer or Finder on your computer to confirm that your external hard drive is detected. It should appear as a new drive or device.
- Create a new folder on your external hard drive where you will store your photos. You can name the folder something relevant, such as “iPhone Photos.”
- Double-check that your external hard drive has sufficient storage capacity to accommodate all your photos. Consider the size of your iPhone’s photo library and ensure that your external hard drive has enough space to accommodate it.
- If necessary, format your external hard drive to ensure compatibility with your computer. Consult the manufacturer’s instructions or do a quick online search for specific guidelines on how to format your particular device.
Once you have completed these steps, your external hard drive is now prepared to receive the photos from your iPhone. In the next steps, we will guide you through the process of transferring the photos to your computer before transferring them to the external hard drive.
Step 2: Connect Your iPhone to Your Computer
With your external hard drive ready, the next step is to connect your iPhone to your computer. Follow these simple instructions:
- Using the Lightning cable that came with your iPhone, connect one end of the cable to your iPhone’s charging port.
- Connect the other end of the cable to an available USB port on your computer. Ensure that the cable is securely inserted into both the iPhone and the computer.
- Your computer might prompt you to “Trust This Computer” if it’s the first time you’re connecting your iPhone. If this message appears, unlock your iPhone and tap “Trust” to establish a connection.
- Once connected, your computer should recognize your iPhone and automatically open the relevant software, such as iTunes or the Photos app on a Mac, or the Photos app on a Windows PC. If the software does not open automatically, you can open it manually.
- Ensure that your iPhone is unlocked and on the home screen, as some software may require this for proper access to your photos.
After completing these steps, your iPhone should now be successfully connected to your computer. In the next step, we will guide you on how to import the photos from your iPhone to your computer.
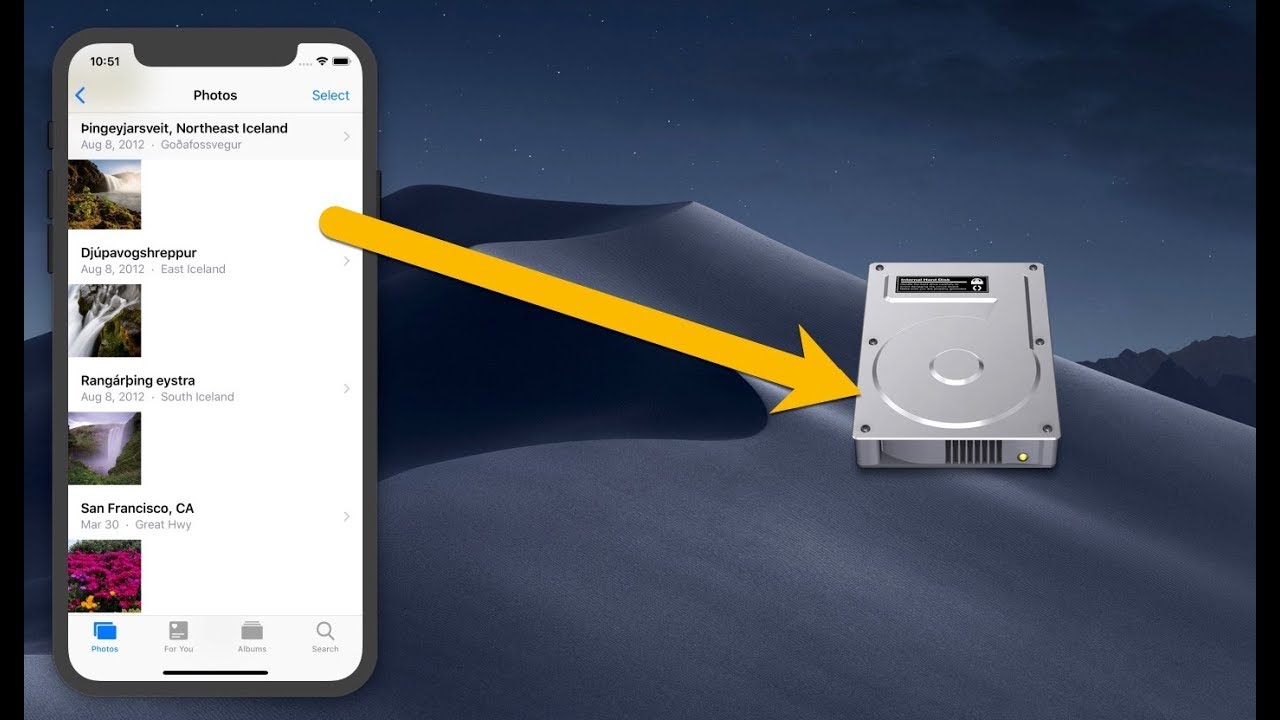
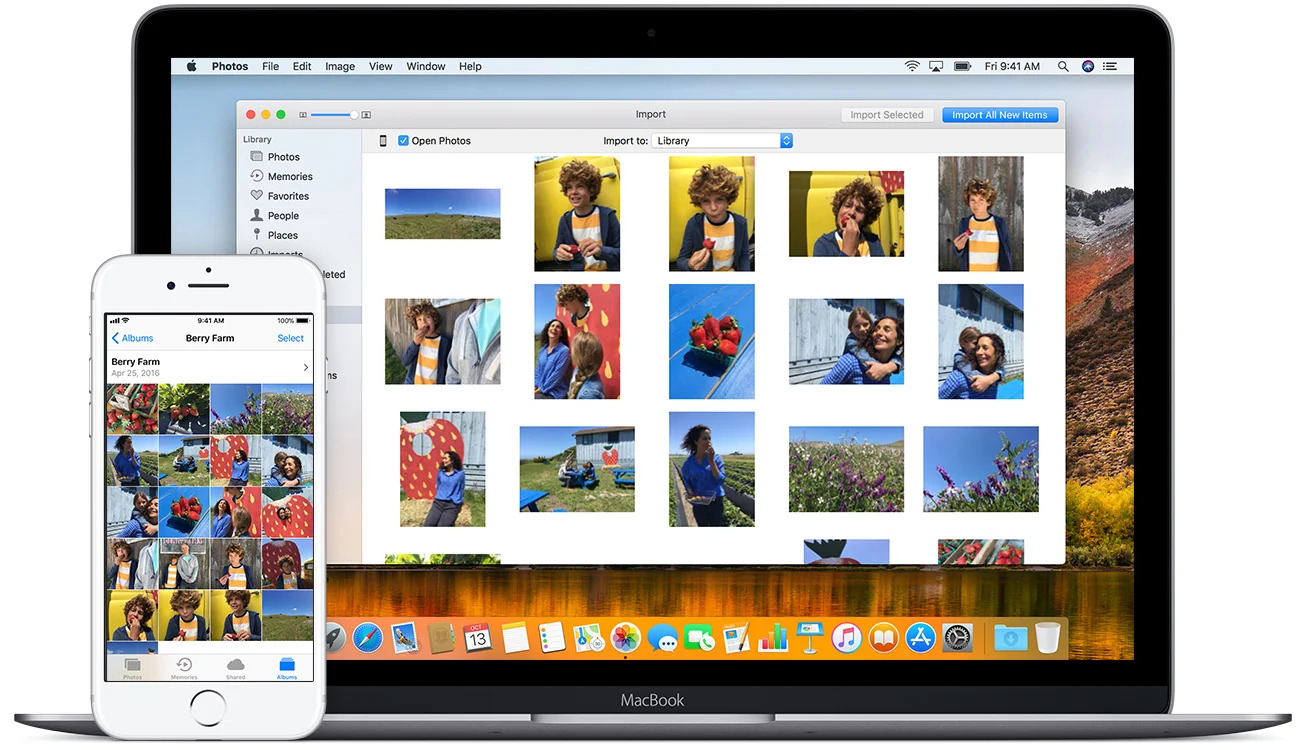
Step 3: Import Photos to Your Computer
Now that your iPhone is connected to your computer, you can proceed to import the photos from your iPhone to your computer. Follow these steps:
- If using a Windows PC, open the Photos app. If using a Mac, open the Photos app or the Image Capture application.
- In the Photos app, click on the “Import” tab located at the top of the window. If using Image Capture on a Mac, it will automatically open and display your connected iPhone.
- Choose the specific photos you want to import by clicking on them or select “Import All” to import all the photos from your iPhone.
- Select the destination folder on your computer where you want to save the imported photos. You can create a new folder or choose an existing one.
- Click on the “Import” button to begin transferring the selected photos from your iPhone to your computer.
- Wait for the import process to complete. The time required will depend on the number and size of the photos being imported.
- Once the import is finished, you can disconnect your iPhone from your computer or keep it connected for the next steps.
By following these steps, you have successfully imported the photos from your iPhone to your computer. In the next step, we will guide you through connecting your external hard drive to your computer in preparation for transferring the photos to it.
Step 4: Connect Your External Hard Drive to Your Computer
Now that you have imported the photos from your iPhone to your computer, it’s time to connect your external hard drive to your computer. Follow these instructions:
- Using the USB cable provided with your external hard drive, connect one end of the cable to the drive itself.
- Connect the other end of the cable to an available USB port on your computer. Make sure the connection is secure.
- If necessary, check the manual or instructions for your specific external hard drive to ensure that it is compatible with your computer. Some external hard drives may require additional software or drivers to be installed.
- Wait for your computer to recognize the connected external hard drive. It should appear as a new drive or device in File Explorer on a Windows PC or Finder on a Mac.
- If prompted, follow any on-screen instructions to set up the external hard drive for first-time use.
- Ensure that your external hard drive is empty or has sufficient free space to accommodate the photos you will be transferring from your computer.
Once you have completed these steps, your external hard drive is now successfully connected to your computer. In the next step, we will guide you on how to transfer the photos from your computer to your external hard drive.
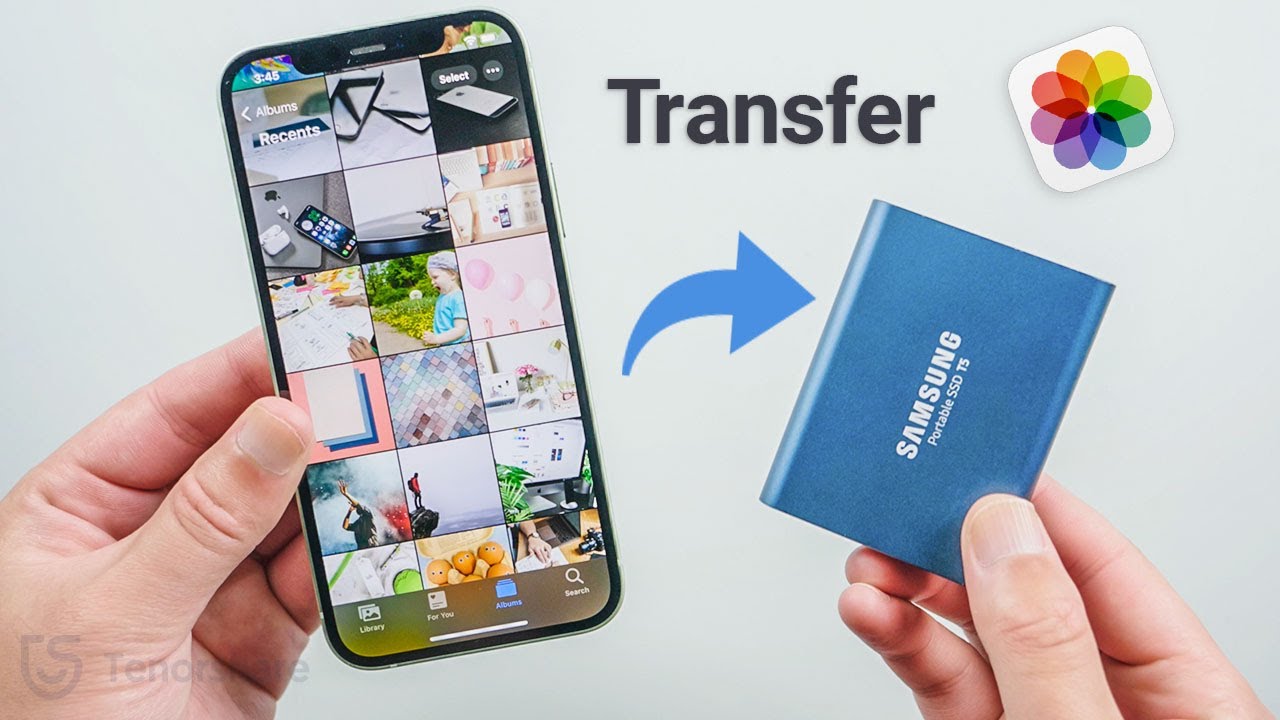
Step 5: Transfer Photos to Your External Hard Drive
With your external hard drive connected to your computer, you’re ready to transfer the photos from your computer to the external hard drive. Follow these steps:
- Open the File Explorer on a Windows PC or Finder on a Mac.
- Navigate to the folder where you imported the photos from your iPhone. This is usually the “Pictures” or “Photos” folder.
- Select the photos or the entire folder that you want to transfer to your external hard drive.
- Right-click on the selected photos or folder and choose “Copy” from the context menu.
- Navigate to the folder you created on your external hard drive where you want to store the photos.
- Right-click inside the folder and select “Paste” from the context menu to transfer the photos to your external hard drive.
- Wait for the transfer process to complete. The time required will depend on the number and size of the photos being transferred.
- Once the transfer is finished, you can safely disconnect your external hard drive from your computer.
By following these steps, you have successfully transferred the photos from your computer to your external hard drive. In the next step, we will guide you on how to safely eject and remove your external hard drive from your computer.
Step 6: Safely Remove Your External Hard Drive
After successfully transferring your photos to your external hard drive, it is important to safely remove the device from your computer. This ensures that no data loss or damage occurs during the process. Follow these steps to safely remove your external hard drive:
- Close any open files or folders that may be stored on your external hard drive to prevent any potential data conflicts.
- If you’re using a Windows PC, locate the “Safely Remove Hardware and Eject Media” icon in the system tray, located at the bottom-right corner of your screen. If you’re using a Mac, you can eject the external hard drive by clicking on the small upward arrow icon in the menu bar and selecting the external hard drive from the list.
- Click on the “Safely Remove Hardware and Eject Media” icon on a Windows PC or click on the external hard drive’s name on a Mac.
- Wait for your computer to confirm that it is safe to remove the device. On a Windows PC, you will receive a notification stating that it is safe to remove the hardware. On a Mac, the external hard drive’s icon will disappear from the desktop.
- Once you receive confirmation, gently disconnect the USB cable from your external hard drive and then from your computer. Ensure that you do not pull the cable forcefully or abruptly yank it out, as this may cause damage to the device or your computer’s USB port.
Congratulations! You have now safely removed your external hard drive from your computer. In the final step, we recommend verifying the transferred photos on your external hard drive to ensure that the transfer was successful.
Step 7: Verify Photos on Your External Hard Drive
After transferring your photos to your external hard drive, it is essential to verify that the transfer was successful and that all the photos are intact. Following these steps will help you confirm the presence of your photos on the external hard drive:
- Reconnect your external hard drive to your computer using the USB cable that came with the device.
- Open File Explorer on a Windows PC or Finder on a Mac.
- Navigate to the folder on your external hard drive where you transferred the photos.
- Double-click on the folder to open it and browse through the photos. You can also sort them by date, name, or other criteria to make it easier to locate specific photos.
- Ensure that all your transferred photos are displayed correctly and that none are missing or corrupted.
- If you encounter any issues, such as missing photos or corrupted files, try disconnecting and reconnecting your external hard drive and repeating the verification process.
- Once you have confirmed that your photos are present and in good condition, safely eject and disconnect your external hard drive from your computer as described in Step 6.
By verifying the presence and integrity of your photos on the external hard drive, you can have peace of mind knowing that your cherished memories are safely stored and accessible whenever you need them. Congratulations on successfully transferring and verifying your photos!
Conclusion
Transferring photos from your iPhone to an external hard drive is a smart and practical way to free up storage space on your device while keeping your precious memories safe and easily accessible. In this guide, we have provided you with a step-by-step process to help you accomplish this task with ease.
Starting with preparing your external hard drive and connecting your iPhone to your computer, you then imported the photos to your computer using the appropriate software. Afterward, you connected your external hard drive to your computer and transferred the photos from your computer to the external hard drive. Finally, you safely removed the external hard drive from your computer and verified the presence of your photos on the device.
By following these steps, you have successfully organized your photo collection and ensured its longevity. With your photos now securely stored on an external hard drive, you can free up space on your iPhone, avoid the risk of data loss, and have peace of mind knowing that your memories are backed up.
Remember, regularly backing up your photos and important data is crucial in today’s digital age. It’s always a good practice to make multiple copies of your files and store them in different locations to enhance their security. By following this guide, you have taken a significant step in safeguarding your precious memories.
We hope that this guide has been helpful to you. Whether you’re an amateur photographer or simply someone who loves capturing moments, transferring your photos to an external hard drive is a valuable skill to possess. Keep exploring new ways to manage and preserve your digital assets, and enjoy the convenience and peace of mind that comes with a well-organized and safely stored photo collection.