Introduction
Welcome to our tutorial on how to attach a fan to a CPU cooler. Whether you’re a tech enthusiast or a computer novice, understanding how to properly install a fan onto your CPU cooler is an important skill to have. A fan helps keep your CPU cool, preventing overheating and ensuring optimal performance. Proper installation is crucial for the fan to effectively cool your CPU.
In this step-by-step guide, we’ll walk you through the process of selecting the right fan, determining the mounting method, preparing the CPU cooler, installing the fan onto the CPU cooler, connecting it to the motherboard, and testing if everything is working properly. By following these steps, you’ll be able to securely attach your fan to your CPU cooler and keep your system running smoothly.
Before we dive into the process, let’s quickly go over the tools and materials you’ll need for this project:
- Screwdriver
- Thermal paste
- Anti-static wrist wrap (optional but recommended)
- Case fan
- CPU cooler
Now that you have an idea of what you’ll need, let’s get started on attaching the fan to your CPU cooler!
Tools and Materials
Before we begin, let’s make sure you have all the necessary tools and materials ready. Here’s a list of what you’ll need:
- Screwdriver: You’ll need a screwdriver to secure the fan onto the CPU cooler. Make sure you have a suitable screwdriver that fits the screws on your CPU cooler.
- Thermal paste: Thermal paste is essential for creating a smooth interface between the CPU and the CPU cooler. It helps improve heat transfer and ensures efficient cooling. If your CPU cooler doesn’t come with pre-applied thermal paste, you’ll need to apply a small amount before attaching the fan.
- Anti-static wrist wrap: While not essential, an anti-static wrist wrap can help prevent damaging sensitive electronic components during the installation process. It grounds you, reducing the risk of static electricity discharge that can potentially harm your CPU or other components. If you don’t have an anti-static wrist wrap, make sure to regularly touch a grounded metal surface to discharge any static electricity before handling the components.
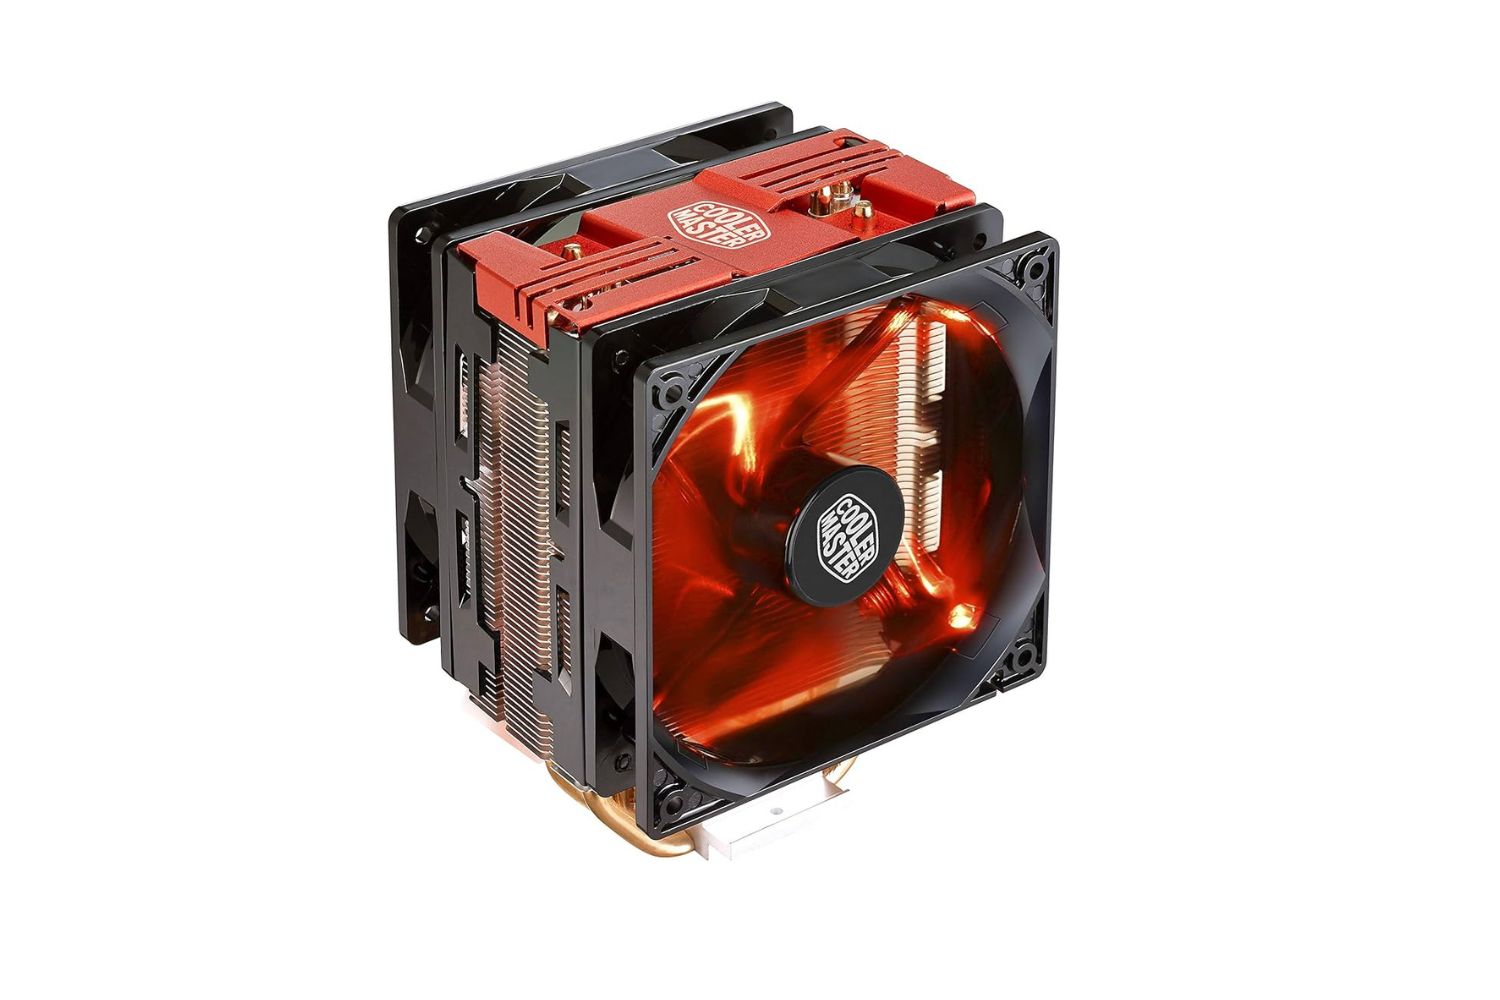
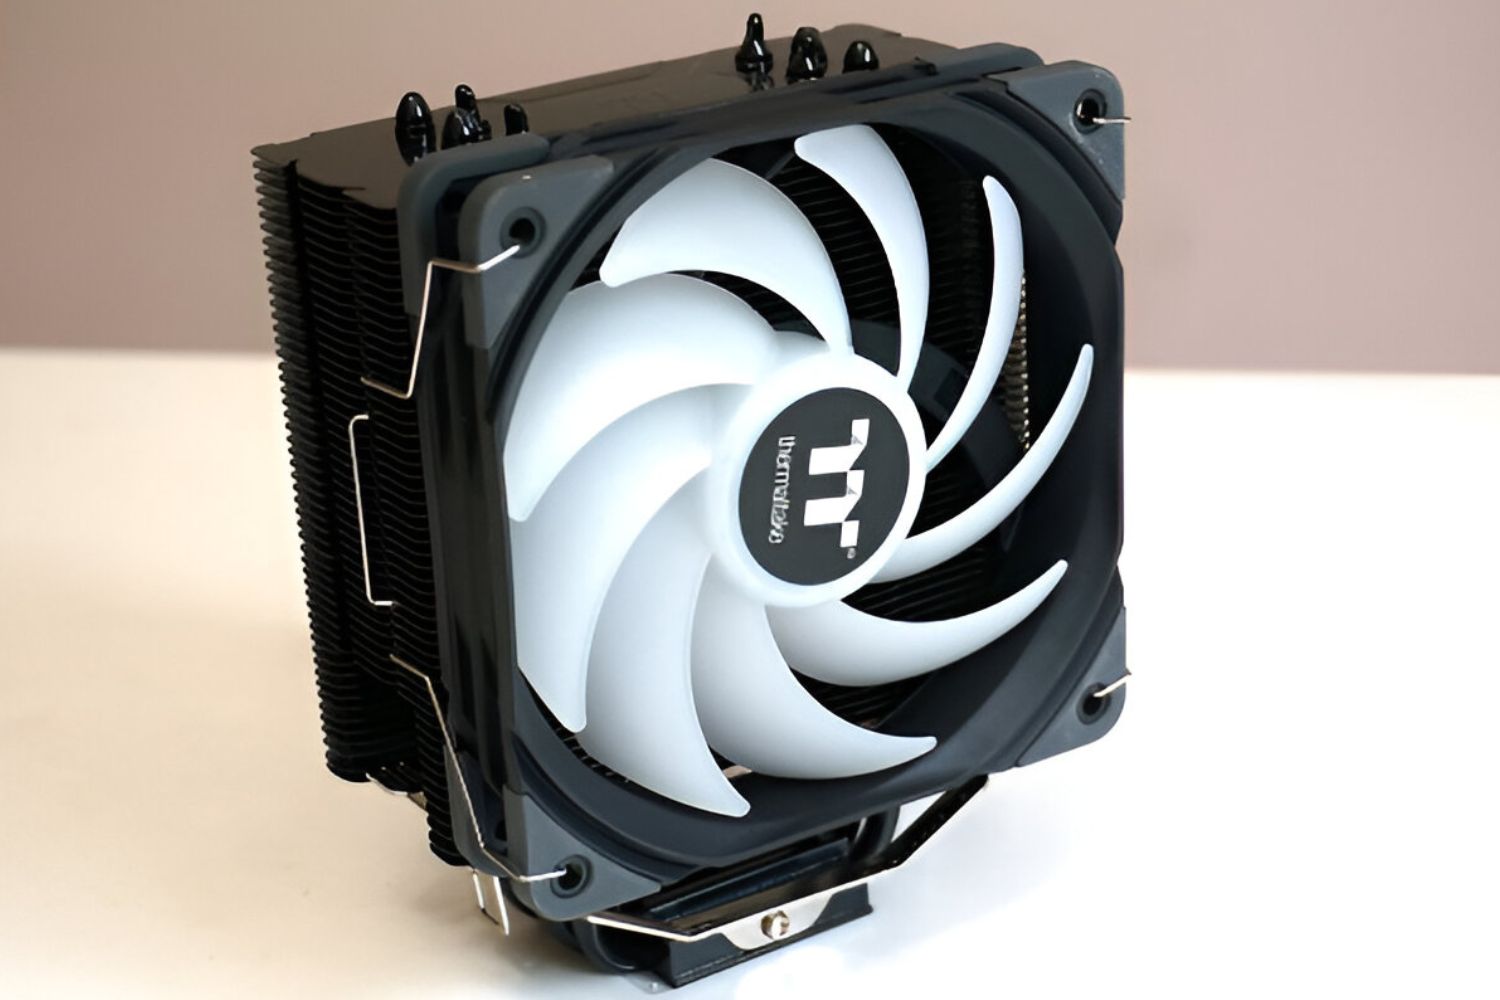
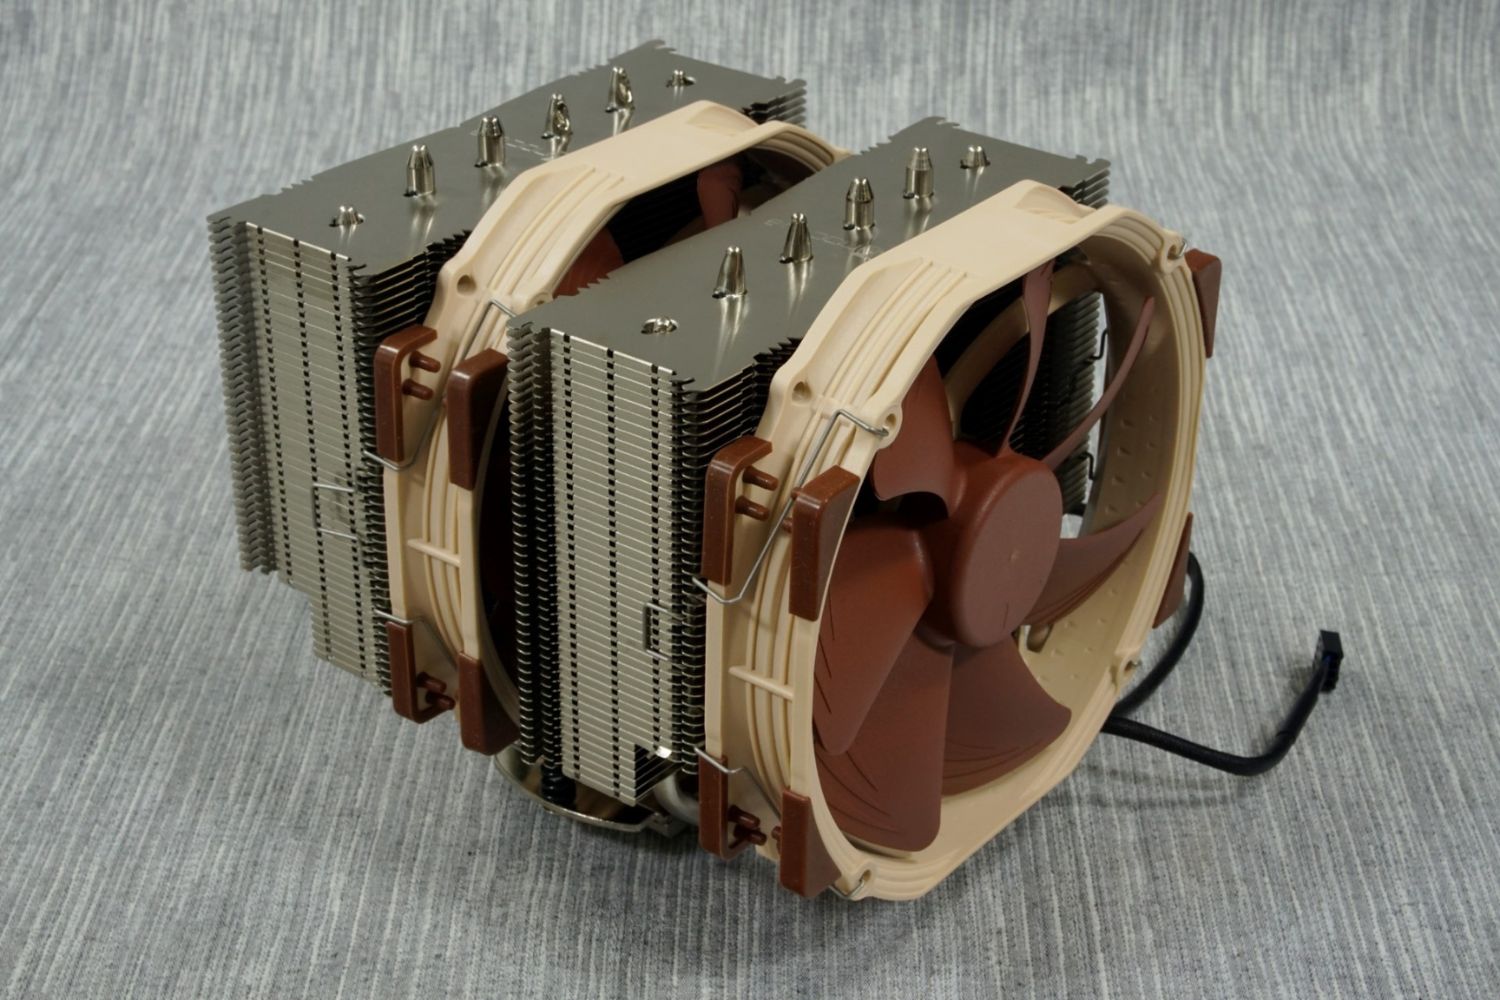
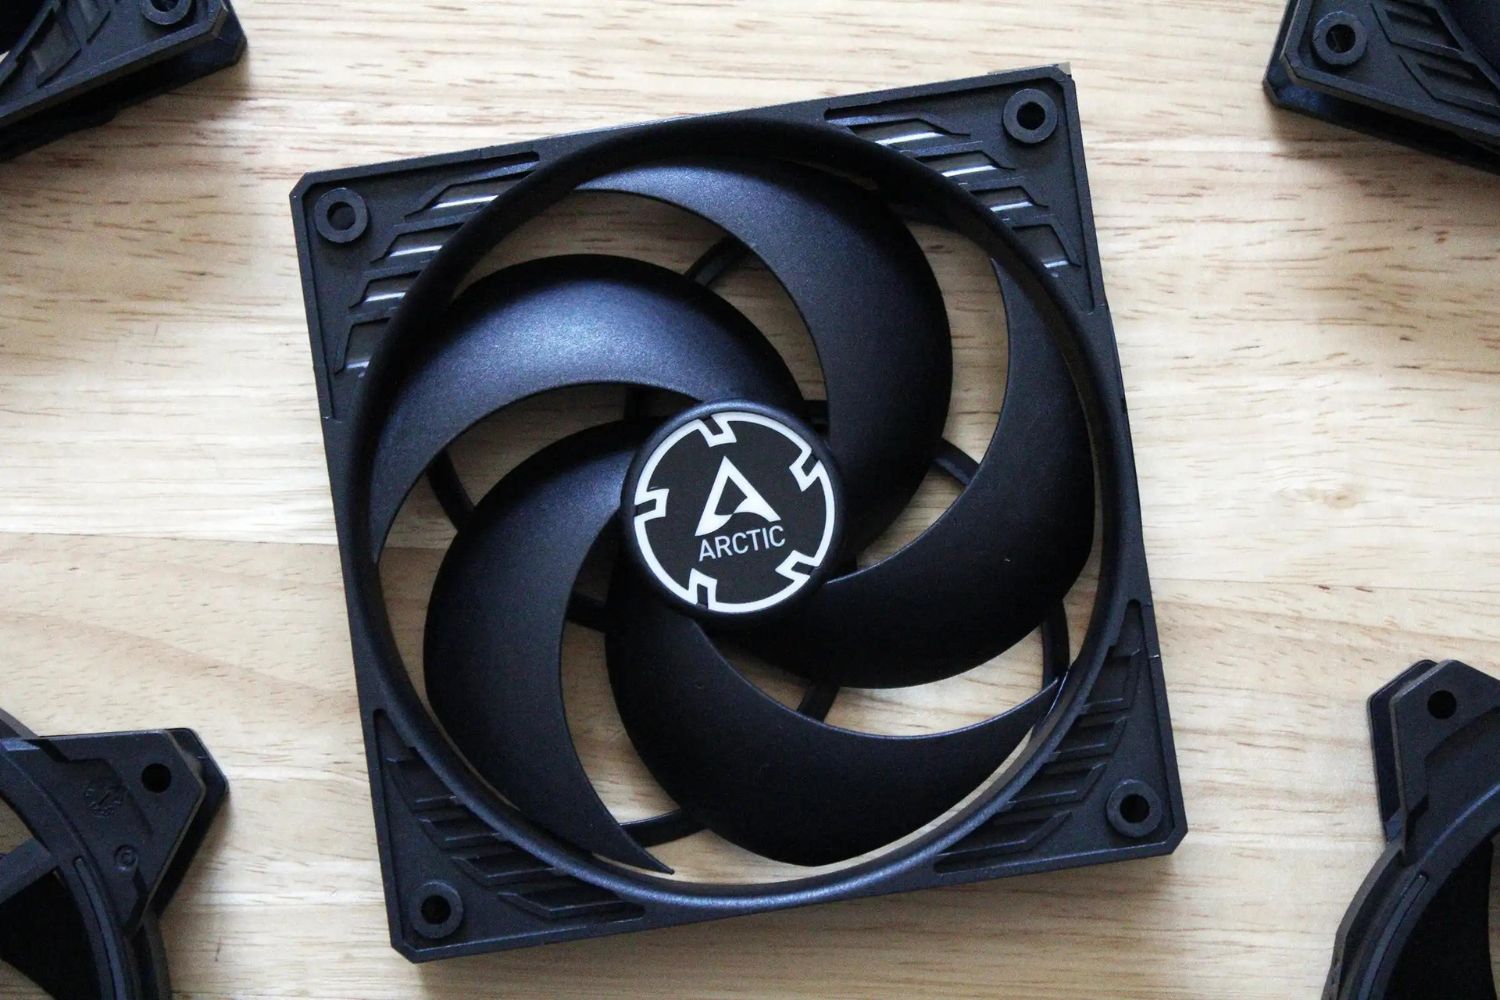
- Case fan: To attach a fan to a CPU cooler, you’ll obviously need a case fan. Make sure to choose a fan that is compatible with your CPU cooler and suits your cooling needs. Consider factors such as size, airflow, and noise levels when selecting a fan.
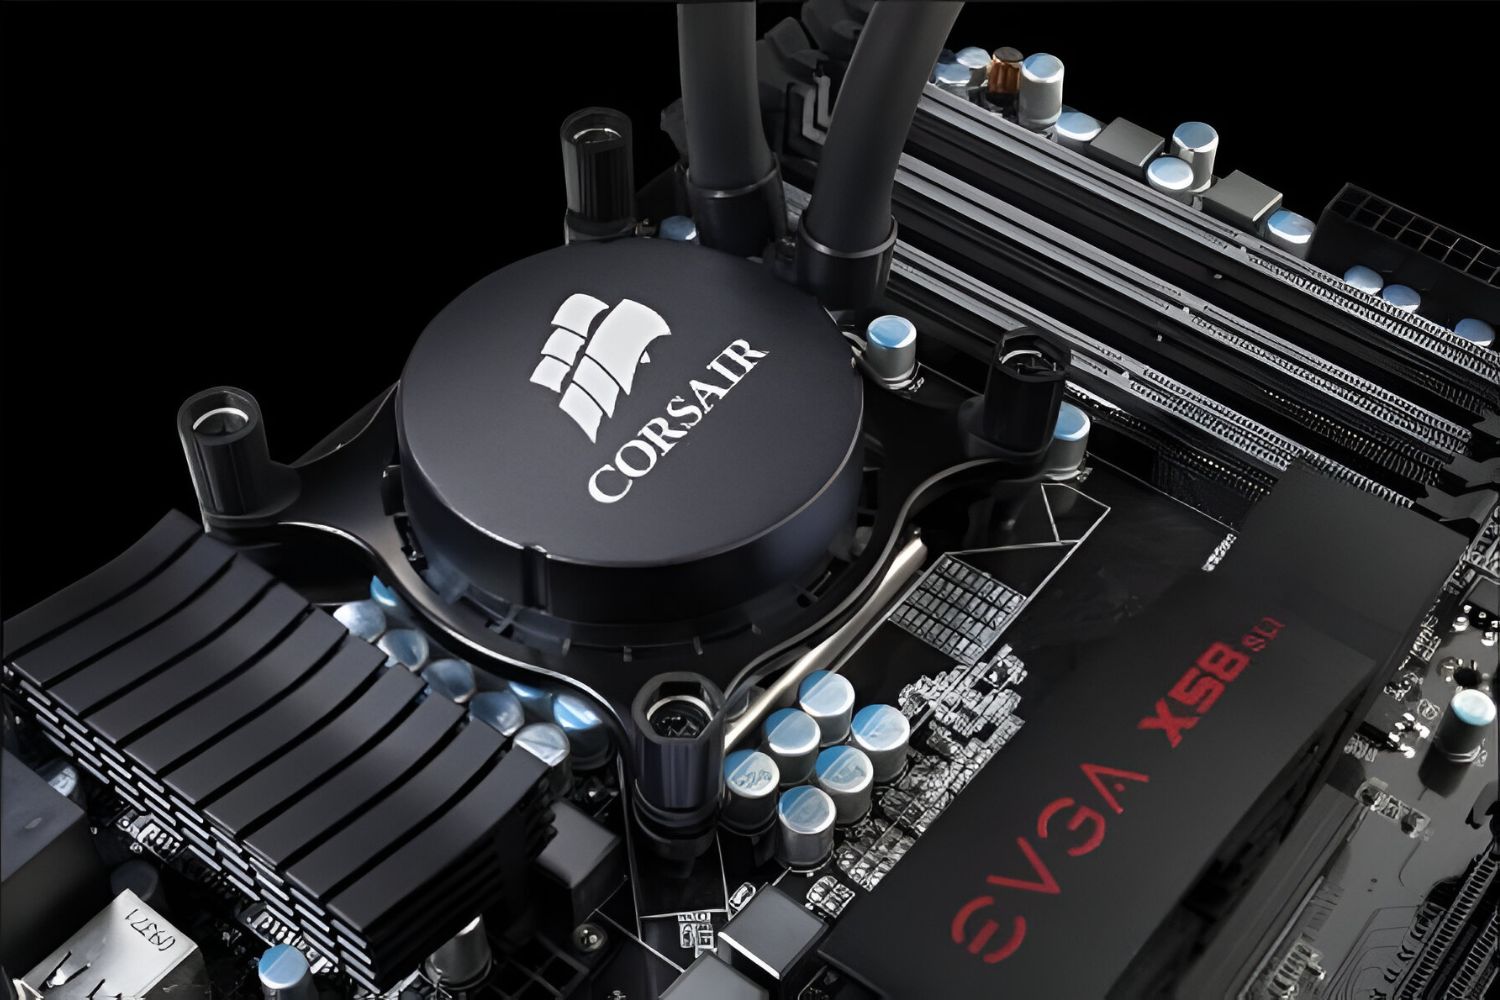
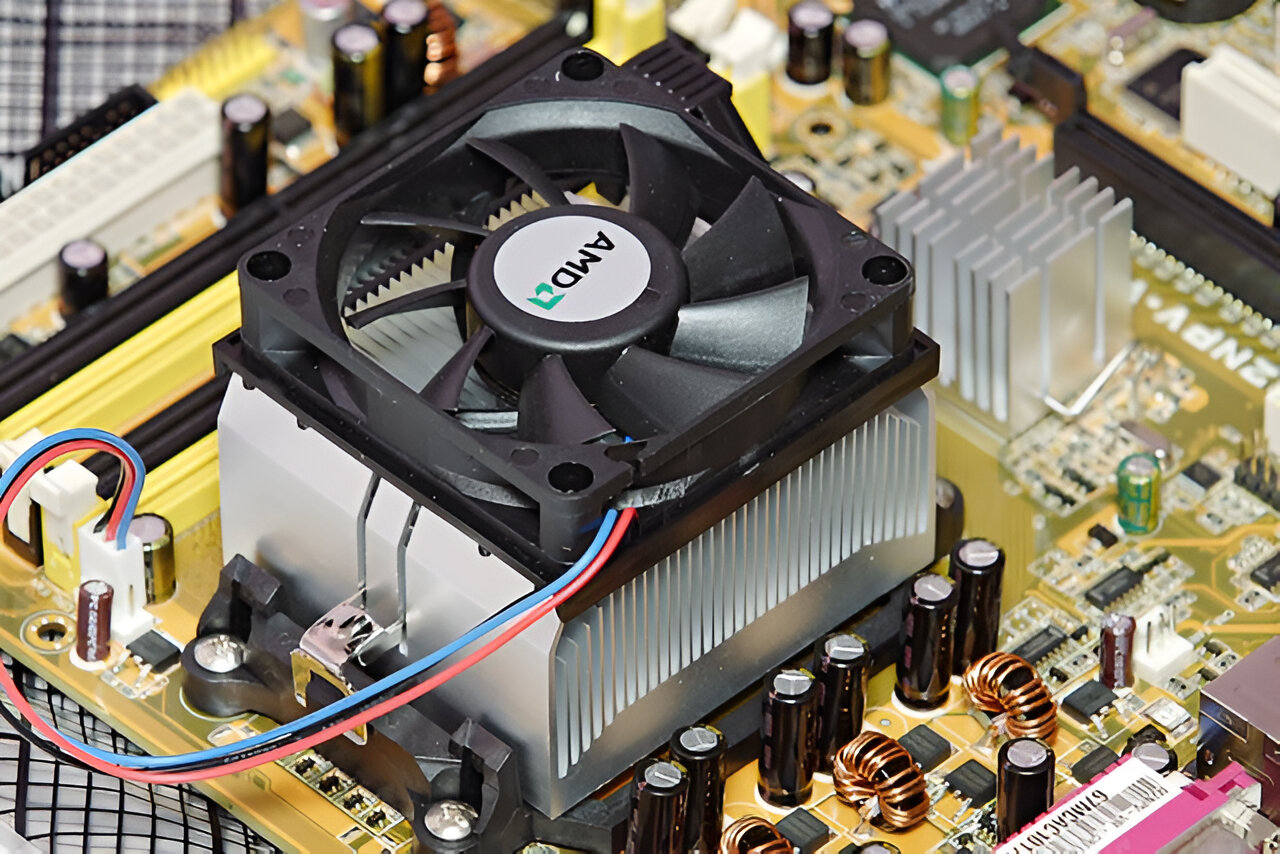
- CPU cooler: This is the component that sits on top of your CPU and helps dissipate heat. Make sure you have a CPU cooler that is compatible with your CPU socket. There are various types of CPU coolers available, including air coolers and liquid coolers. Choose one that fits your budget and cooling requirements.
Having these tools and materials ready will ensure a smooth and successful installation process. Before proceeding, double-check that you have everything on the list. Now that you’re prepared, let’s move on to the step-by-step process of attaching the fan to your CPU cooler.
Step 1: Choose the Right Fan
Choosing the right fan for your CPU cooler is crucial for efficient cooling and optimal performance. Here are a few factors to consider when selecting a case fan:
- Size: The size of the fan should match the fan mount on your CPU cooler. Common sizes include 120mm and 140mm. Check the specifications of your CPU cooler to determine the compatible fan size.
- Airflow: Consider the airflow requirements of your system. Fans with higher airflow ratings are better at dissipating heat. Look for fans with a high cubic feet per minute (CFM) rating for optimal cooling.
- Noise Level: If noise is a concern for you, consider fans with lower noise levels. Fans with low decibel ratings will keep your system cool without causing excessive noise.
- Static Pressure: Static pressure is important if you have a CPU cooler with tightly packed fins or if you plan to use the fan as an intake or exhaust in a restrictive case design. Higher static pressure helps the fan push air through these obstacles.
- LED Lighting: Some fans come with LED lighting options that can add a stylish look to your build. Consider if you want a fan with LED lights or a more minimalistic design.
Once you have determined your requirements, you can start researching and comparing different fan models. Look for reputable brands that offer reliable performance and good customer reviews. Additionally, check for compatibility with your CPU cooler, as some coolers may have specific fan mount designs.
Remember, it’s always better to choose a fan that slightly exceeds your requirements. This ensures that you have enough cooling capacity for your CPU under heavy loads or during overclocking. Once you’ve chosen the right fan, you can move on to the next step: determining the mounting method.
Step 2: Determine the Mounting Method
Before you attach the fan to your CPU cooler, it’s essential to determine the mounting method that your cooler supports. There are generally two common mounting methods:
1. Clip-on Mounting: Some CPU coolers use clip-on mounting mechanisms. These typically have plastic clips or brackets that securely hold the fan in place. To determine if your cooler supports clip-on mounting, check the manufacturer’s instructions or look for any clips or brackets already attached to the cooler.
2. Screw Mounting: Other CPU coolers may require screw mounting. These coolers will have screw holes on the sides or top where the fan is attached with screws. Check the specifications of your CPU cooler or refer to the manufacturer’s instructions to see if screw mounting is necessary.
Once you have determined the mounting method, ensure that you have the appropriate screws or clips required for installation. If your CPU cooler supports multiple mounting methods, choose the one that you find most convenient or secure.
If you’re unsure about the mounting method or have any doubts, it’s always best to refer to the manufacturer’s instructions or seek guidance from their customer support. Now that you know the mounting method, let’s proceed to the next step: preparing the CPU cooler.
Step 3: Prepare the CPU Cooler
Before attaching the fan to your CPU cooler, it’s important to properly prepare the cooler for installation. Follow these steps:
- Clean the CPU cooler: Use a clean, lint-free cloth or a microfiber cloth to gently wipe away any dust, debris, or thermal paste residue from the CPU cooler. Ensuring a clean surface will promote better thermal conductivity.
- Apply thermal paste: If your CPU cooler requires thermal paste and it doesn’t come pre-applied, you will need to apply it before attaching the fan. Apply a small amount of thermal paste onto the center of the CPU cooler’s surface, then spread it evenly using a plastic card or thermal paste spreader. Be careful not to apply too much paste, as it can lead to overheating.
By cleaning the CPU cooler and applying thermal paste, you are creating an optimal surface for effective heat transfer between the CPU and the cooler.
Ensure that you have followed the manufacturer’s instructions for applying the thermal paste correctly. Some coolers may require specific application methods, such as a vertical line or a pea-sized dot, so refer to the instructions provided.
Once you have prepared the CPU cooler, you’re ready to move on to the next step: installing the fan onto the CPU cooler.
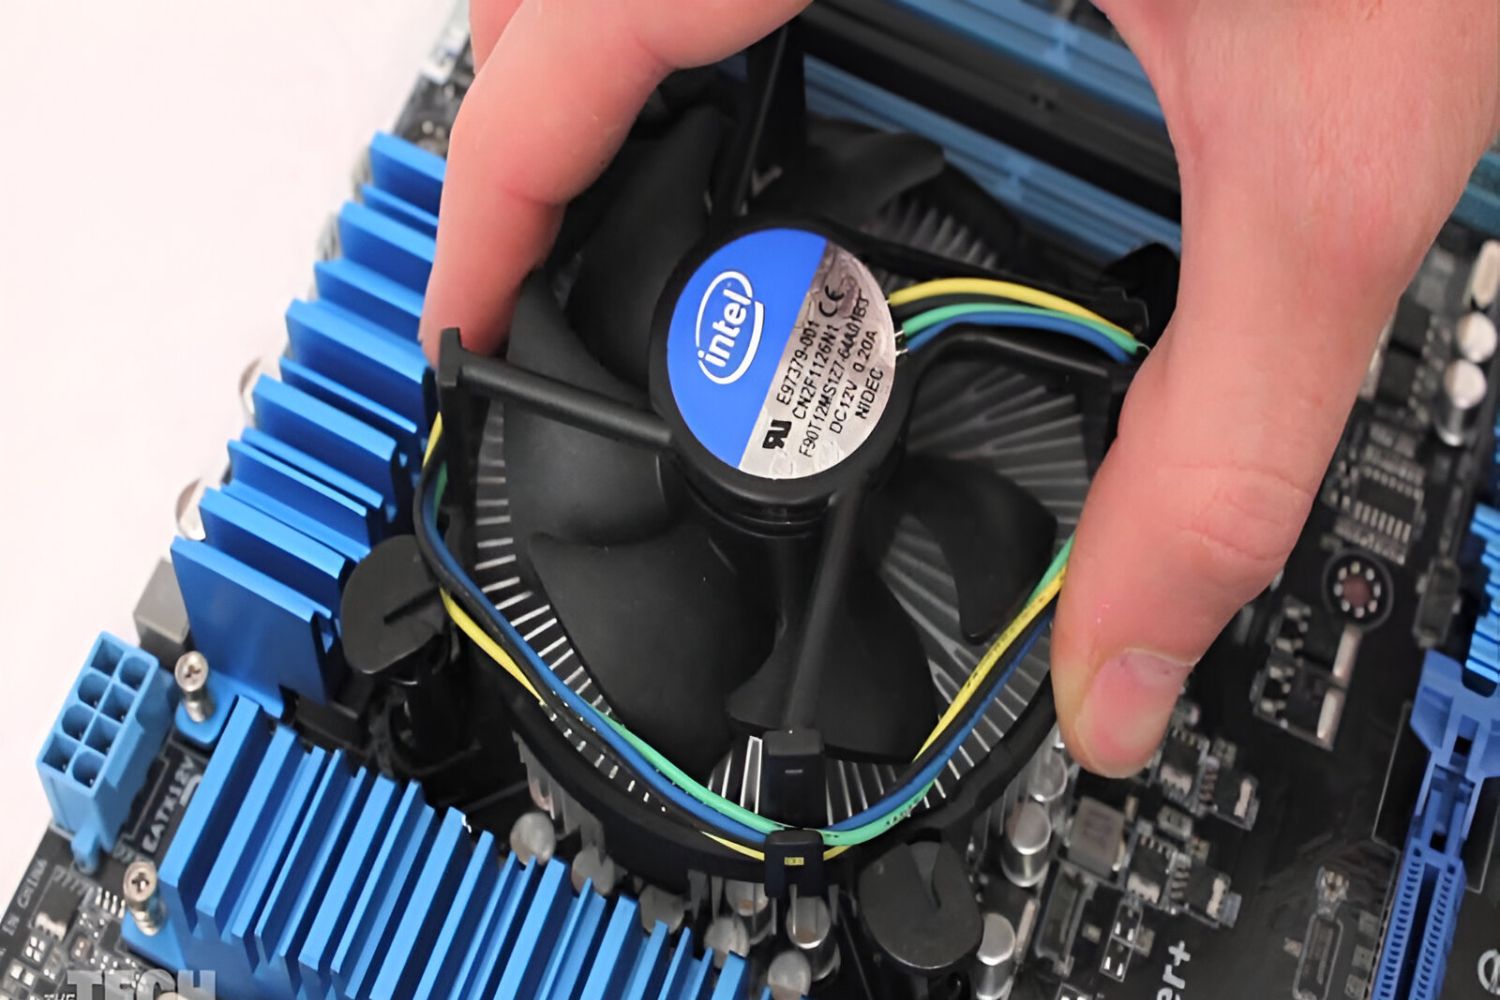
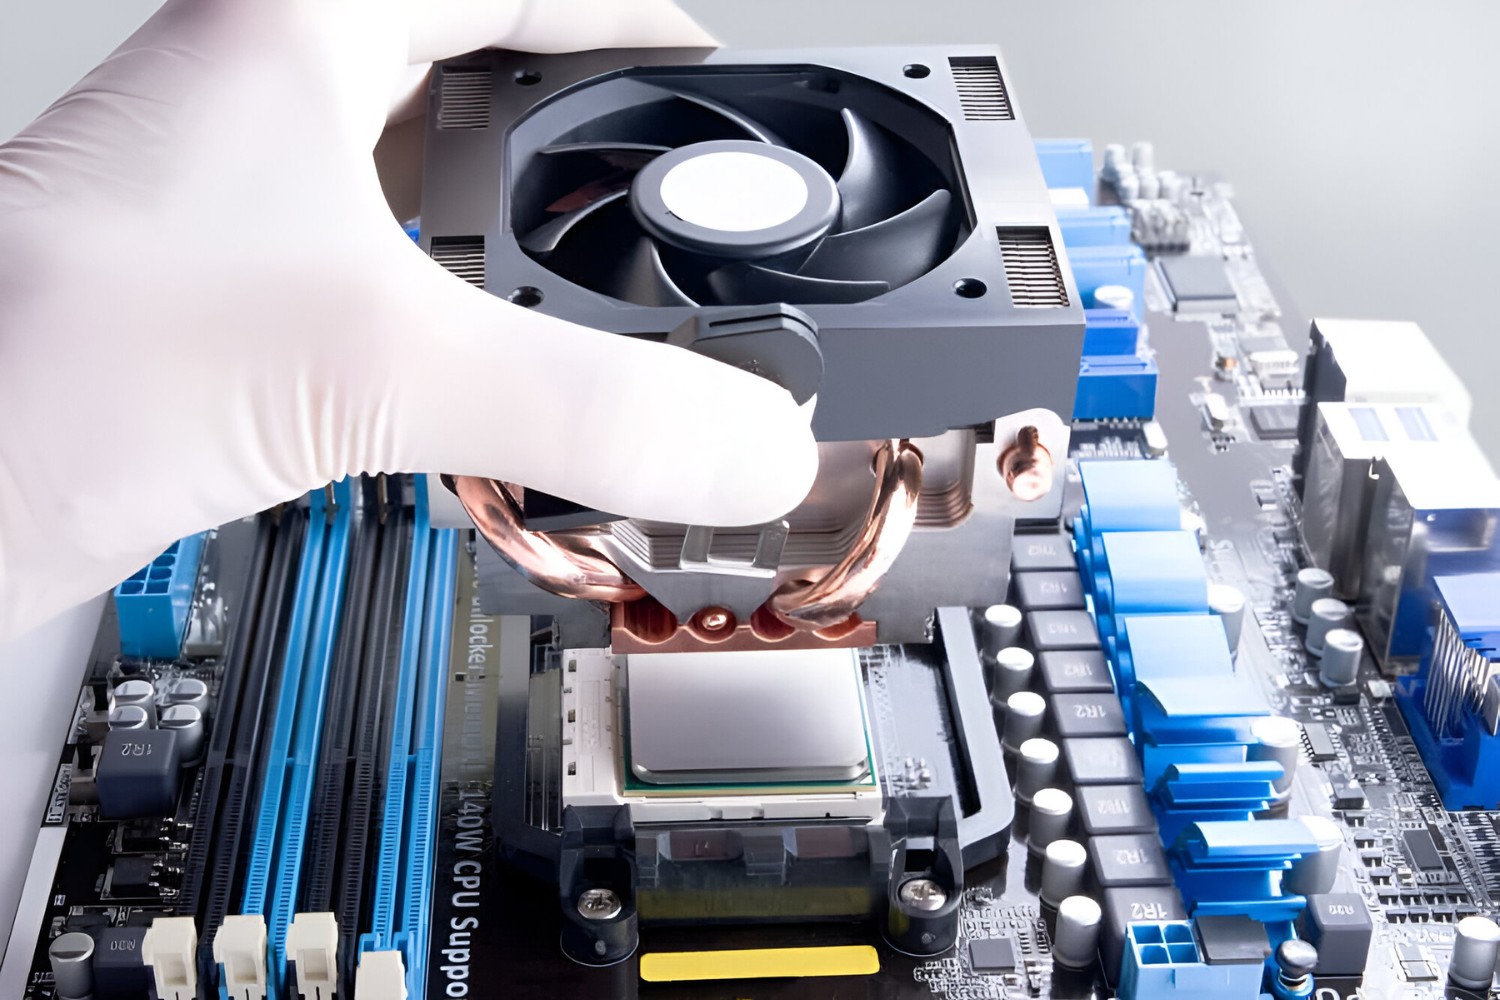
Step 4: Install the Fan onto the CPU Cooler
Now that you have prepared the CPU cooler, it’s time to install the fan onto it. Follow these steps:
- Position the fan: Align the screw holes or clips on the fan with the corresponding mounting points on the CPU cooler. Make sure the fan is oriented correctly, with the airflow direction facing towards the heatsink or heat pipes.
- Secure the fan: If your CPU cooler uses clip-on mounting, carefully slide the clips or brackets over the sides of the fan until they snap into place. Ensure that the fan is securely attached and does not wobble. If your cooler requires screw mounting, insert the screws through the mounting holes on the fan and tighten them gently until they are snug.
- Double-check: Once the fan is installed, double-check that it is positioned correctly and there are no obstructions. Ensure that it is aligned with the CPU cooler and does not interfere with other components in your system.
Take your time during the installation process to ensure a secure and proper fit. Carefully handle the fan and avoid applying too much pressure, as it can damage the delicate components. Refer to the manufacturer’s instructions for specific installation guidelines, as the process may vary depending on the CPU cooler model.
With the fan securely installed on the CPU cooler, we can now move on to the next step: connecting the fan to the motherboard.
Step 5: Connect the Fan to the Motherboard
After attaching the fan to the CPU cooler, the next step is to connect the fan to the motherboard. Here’s how:
- Locate the fan header: Identify the fan header on your motherboard. Usually, these headers are labelled “SYS_FAN” or “CPU_FAN” and are conveniently located near the CPU socket.
- Align the connector: Align the fan connector with the pins on the fan header. The connector has a small tab that fits into the notch on the header, ensuring the correct orientation.
- Connect the fan: Gently push the fan connector onto the pins of the fan header. Make sure it is fully seated and secure. You might hear a click when the connection is properly made.
- Manage cables: Once the fan is connected, tidy up any excess cables to ensure proper airflow and prevent cable interference with other components.
It’s worth mentioning that some motherboards may have additional fan headers or dedicated headers for specific fan control features. These headers may allow you to adjust fan speed, monitor fan RPM, or configure fan profiles. Refer to your motherboard’s manual for more information on these features and how to utilize them.
Once the fan is successfully connected to the motherboard, we can now move on to the final step: testing the fan to ensure it is functioning correctly.
Step 6: Test the Fan
After completing the installation and connection of the fan, it’s crucial to test it to ensure proper functionality. Here’s how you can test the fan:
- Power on your system: Start your computer and allow it to boot into the operating system.
- Monitor fan operation: Keep an eye on the fan installed on the CPU cooler. Ensure that it starts spinning and maintains a constant speed.
- Check BIOS settings: Enter the BIOS settings by pressing the appropriate key during the boot process (usually DEL, F2, or F10). Verify that the fan connected to the CPU fan header is detected correctly and displaying the proper RPM reading. If necessary, adjust the fan settings in the BIOS to fit your cooling preferences.
- Monitor CPU temperature: While testing the fan, monitor the CPU temperature to ensure that it remains at an acceptable level. You can use software utilities or the BIOS to check the temperature. If the fan is functioning properly, the temperature should stay within safe limits.
If the fan is not spinning or producing unusual noises, double-check the connections and ensure that everything is fitted correctly. Also, make sure the fan controller settings in your BIOS or software are not set to restrict the fan’s operation.
If you encounter any issues during testing or the fan does not function as expected, refer to the manufacturer’s instructions or reach out to their customer support for assistance.
Once you have confirmed that the fan is operating smoothly and maintaining proper cooling, you have successfully attached the fan to your CPU cooler. Your system is now ready to perform optimally with improved cooling efficiency.
Conclusion
Congratulations! You have successfully learned how to attach a fan to a CPU cooler. Properly installing and connecting a fan to your CPU cooler is essential for maintaining optimal temperature levels and ensuring the longevity and performance of your computer system.
Throughout this guide, we covered the step-by-step process of selecting the right fan, determining the mounting method, preparing the CPU cooler, installing the fan onto the CPU cooler, connecting it to the motherboard, and testing its functionality.
Remember to choose a fan that meets your cooling requirements, considering factors such as size, airflow, noise level, static pressure, and LED lighting preferences. Determine the correct mounting method for your CPU cooler and ensure that you have the necessary tools and materials.
Properly cleaning the CPU cooler and applying thermal paste is vital for effective heat transfer. Securely attach the fan to the CPU cooler, making sure it is aligned and installed according to the mounting method. Connect the fan to the appropriate fan header on the motherboard, and test its functionality and cooling performance.
By following these steps, you can ensure that your CPU remains cool under heavy loads, extending its lifespan and allowing for smooth system operation. If you encounter any issues during the installation process, always consult the manufacturer’s instructions or seek assistance from their customer support.
Now that you have mastered the process of attaching a fan to a CPU cooler, you are equipped with the knowledge to enhance the cooling efficiency of your computer system. Enjoy a cooler and more stable computing experience!