Introduction
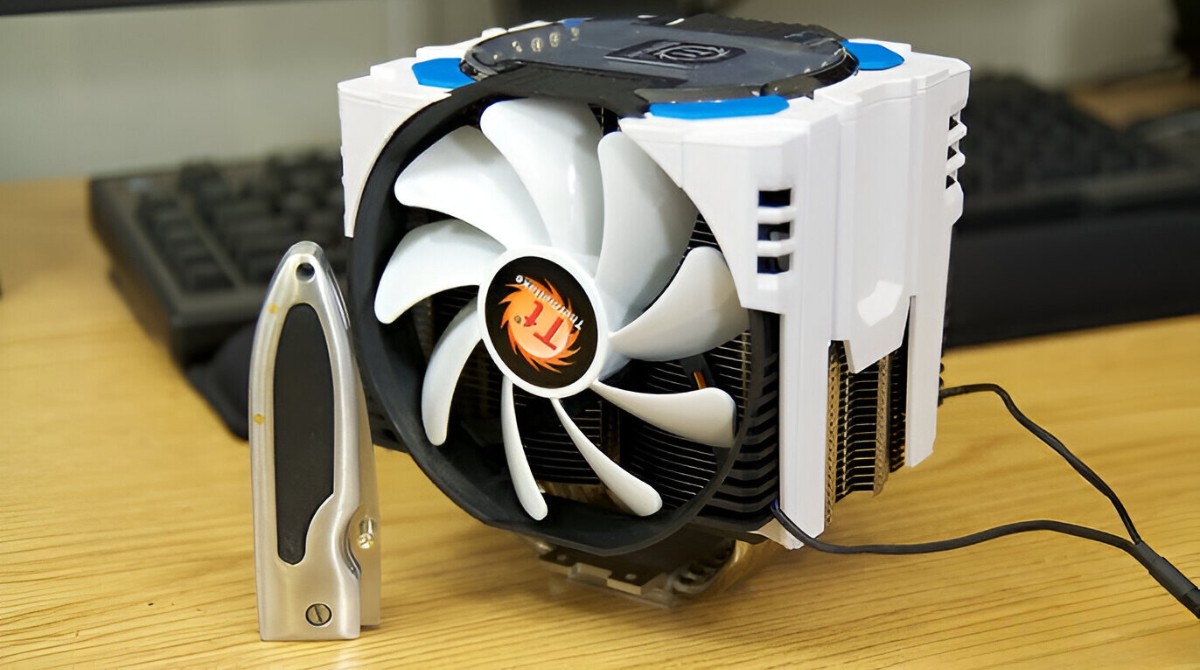
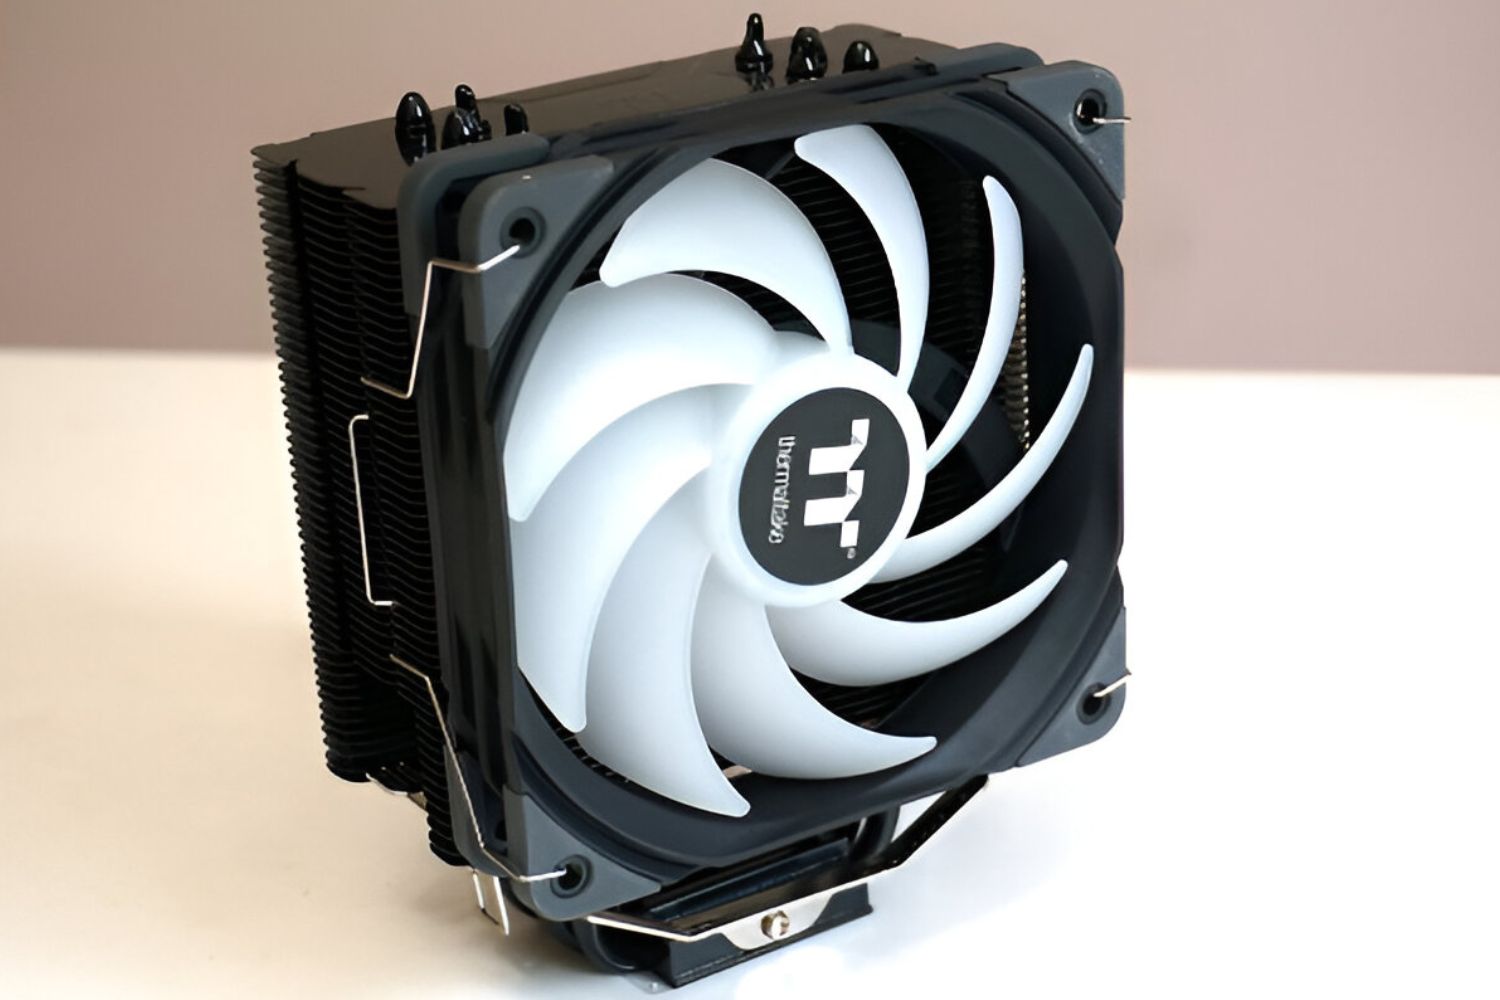
Are you experiencing high temperatures and noisy operation from your Thermaltake CPU cooler? It might be time to clip a new fan onto the heatsink. A properly functioning fan is vital for cooling your CPU and maintaining stable temperatures. The process of clipping a Thermaltake CPU cooler fan may seem daunting, but with the right tools and a step-by-step approach, it can be a straightforward task that you can easily accomplish at home.
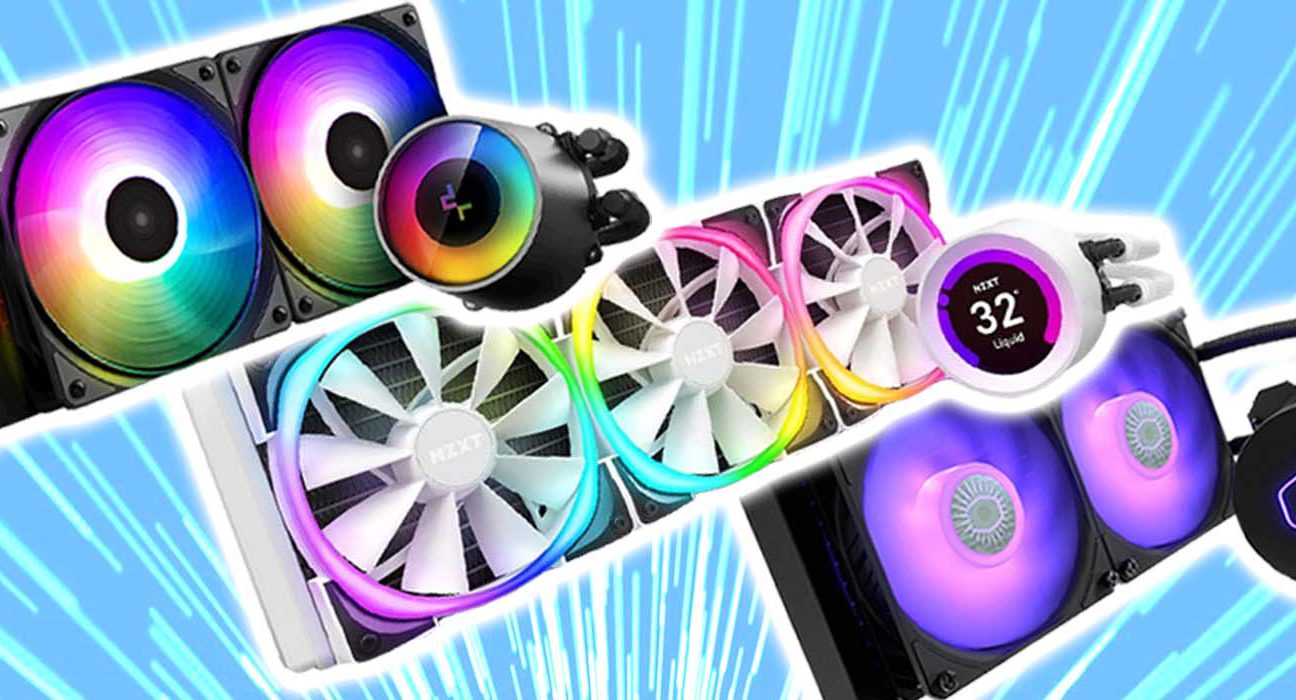
A CPU cooler fan helps dissipate heat generated by the processor, preventing it from overheating and potentially causing damage to your computer. Over time, the fan may become clogged with dust, slow down, or even fail completely. Replacing the fan can restore efficient cooling performance, reduce noise levels, and prolong the lifespan of your computer.
In this guide, we will walk you through the process of clipping a Thermaltake CPU cooler fan onto the heatsink. We will discuss the tools you’ll need and provide step-by-step instructions to ensure a successful installation. Taking a proactive approach to maintaining your CPU cooler will help keep your computer running smoothly and protect your valuable investment in hardware.
Before we dive into the steps, let’s take a look at the tools you will need to complete this task.
Tools Required
Before you start clipping a Thermaltake CPU cooler fan, make sure you have the following tools ready:
- Screwdriver: You will need a Phillips screwdriver to remove any screws holding the fan in place.
- Thermal paste: It is recommended to have thermal paste on hand to reapply it when reattaching the CPU cooler. Thermal paste helps improve heat transfer between the CPU and the heatsink, ensuring optimal cooling performance.
- Clean cloth or compressed air: It’s important to have a clean cloth or compressed air to remove any dust or debris from the CPU cooler and fan before installing the new fan.
- Anti-static wrist strap (optional): While not mandatory, an anti-static wrist strap can help prevent static electricity from damaging sensitive components during the installation process.
Ensure that you have all the necessary tools within reach before proceeding with the fan-clipping process. Having the appropriate tools will make the task easier and more efficient, ensuring a successful installation.
Now that you have gathered the necessary tools, let’s move on to the step-by-step process of clipping a Thermaltake CPU cooler fan onto the heatsink.
Step 1: Prepare the CPU Cooler and Fan
Before you can clip the new Thermaltake CPU cooler fan onto the heatsink, you need to prepare both the cooler and the fan for installation. Follow these steps to ensure everything is ready:
- Power off and unplug your computer: Safety always comes first, so make sure your computer is completely powered off and unplugged before proceeding.
- Open the computer case: Carefully remove the side panel of your computer case to gain access to the CPU cooler.
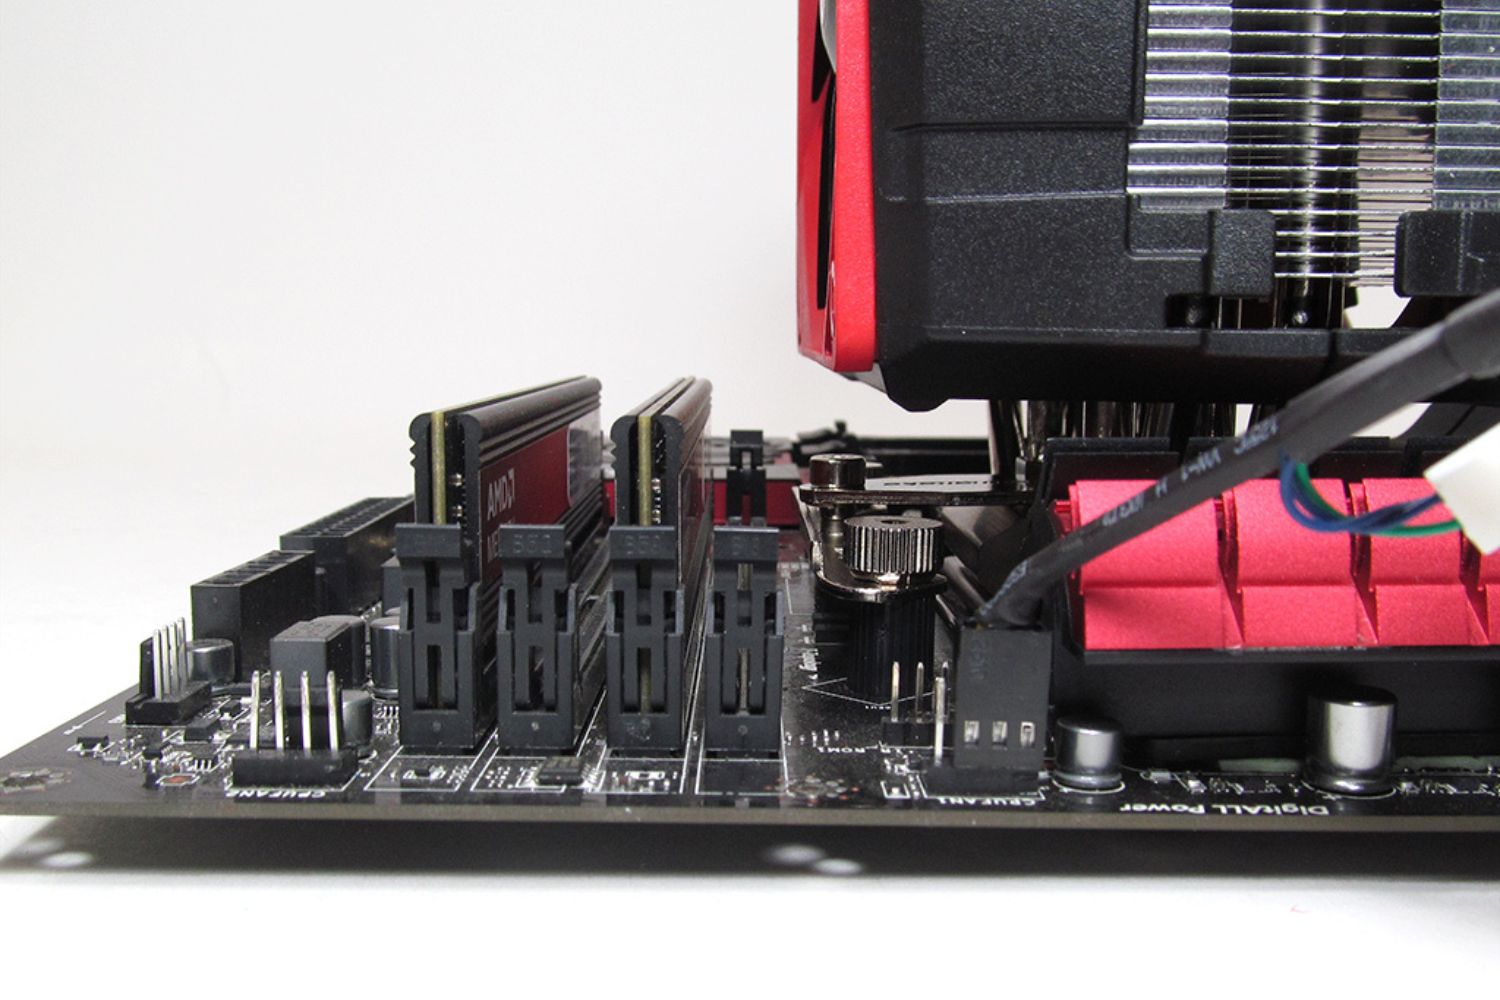
- Locate the CPU cooler: Identify the current CPU cooler installed in your system. The fan you are going to clip will be attached to this cooler.
- Remove the existing fan (if applicable): If there’s already a fan on the CPU cooler, disconnect the power cable and unscrew or unclip it from the heatsink. Carefully remove the fan and set it aside.
- Clean the heatsink: Use a clean cloth or compressed air to carefully remove any dust or debris from the heatsink. Ensuring the surface is clean will promote better heat transfer once the new fan is installed.
- Inspect the new fan: Take a moment to inspect the new Thermaltake CPU cooler fan. Ensure there are no visible defects or damages that could affect its performance. It’s also a good idea to read the manufacturer’s instructions or guidelines that accompany the fan.
By properly preparing the CPU cooler and fan, you set the stage for a seamless installation process. Taking the time to clean the heatsink and thoroughly inspect the new fan ensures optimal performance and longevity.
Now that you have prepared the CPU cooler and fan, it’s time to move on to the next step: aligning the clips on the fan and heatsink.
Step 2: Align the Clips on the Fan and Heatsink
Now that you have prepared the CPU cooler and fan, it’s time to align the clips on the fan with the heatsink. Follow these steps to ensure a proper alignment:
- Position the fan and heatsink: Hold the fan above the heatsink, aligning it so that the screw holes on the fan line up with the mounting holes on the heatsink. Make sure the fan is oriented correctly, with the airflow direction facing the heatsink.
- Identify the clips: Examine the clips on the fan and the corresponding slots on the heatsink where the clips will attach. The number of clips may vary depending on the model of your Thermaltake CPU cooler.
- Align the clips: Carefully insert the clips on the fan into the slots on the heatsink. Align them one by one, ensuring a secure fit. It may require a gentle push or slight maneuvering to slide them into place.
- Confirm alignment: Double-check that all the clips are properly aligned and secured in the slots. Take a moment to visually inspect the positioning and ensure there are no obstructions or misalignments.
Proper alignment of the clips is crucial to ensure that the fan is securely attached to the heatsink. Verify that the clips are firmly seated in the slots and that there is no wobbling or looseness. This step sets the stage for the next one: attaching the fan to the heatsink.
Once you have aligned the clips, you are ready to move on to the next step: attaching the fan to the heatsink.
Step 3: Attach the Fan to the Heatsink
With the clips properly aligned, it’s time to attach the Thermaltake CPU cooler fan to the heatsink. Follow these steps to securely fasten the fan in place:
- Hold the fan and heatsink together: Gently hold the fan and heatsink assembly, ensuring that you maintain alignment between the clips and slots.
- Apply even pressure: Press down evenly on the fan, applying gentle pressure to engage the clips with the slots on the heatsink.
- Secure the clips: Once the fan is pressed firmly against the heatsink, use your fingers or a screwdriver to secure the clips in place. Depending on the model of your Thermaltake CPU cooler, you may need to tighten screws or snap the clips into position.
- Verify attachment: After securing the clips, perform a visual inspection to confirm that the fan is securely attached to the heatsink. Ensure there are no gaps or loose connections that may affect the fan’s performance.
The proper attachment of the fan to the heatsink is essential for efficient cooling and optimal performance. Take your time to ensure that the clips are securely fastened and that there is no movement or instability.
Congratulations! You have successfully attached the fan to the heatsink. In the next step, we will focus on securing the clips in place to provide additional stability.
Step 4: Secure the Clips in Place
After attaching the Thermaltake CPU cooler fan to the heatsink, it’s important to secure the clips in place to ensure stability and prevent any accidental dislodging. Follow these steps to securely fasten the clips:
- Check the position: Double-check that the fan and heatsink are aligned properly and that the clips are securely in place.
- Tighten screws (if applicable): If your Thermaltake CPU cooler uses screws to secure the clips, use a screwdriver to tighten them. Ensure that you don’t overtighten, as this could damage the fan or heatsink.
- Snap the clips (if applicable): If your CPU cooler uses clips that snap into place, use gentle pressure to ensure that they engage securely. You should hear a clicking sound when the clips are properly attached.
- Verify stability: Once the clips are secured, perform a gentle wiggle test to check the stability of the fan. Ensure there is no movement or looseness.
Securing the clips is essential to prevent any accidental dislodging of the fan during operation. A stable attachment ensures that the fan can efficiently cool the CPU and maintain optimal performance. Take the time to ensure that the clips are tightened or snapped securely, providing a reliable connection.
Great job! You have successfully secured the clips in place. In the final step, we will test the fan and reassemble your computer. Let’s move on!
Step 5: Test the Fan and Reassemble the Computer
With the fan securely attached to the Thermaltake CPU cooler heatsink, it’s time to test the fan and reassemble your computer. Follow these steps to ensure everything is in working order:
- Connect the fan power cable: Locate the fan power cable and connect it to the appropriate fan header on your motherboard. Ensure a secure connection.
- Power on your computer: Plug in your computer and power it on to start the test.
- Listen for the fan: As your computer starts up, listen for the sound of the fan spinning. A properly functioning fan should start running smoothly and quietly.
- Check the airflow: Use your hand or a piece of paper to feel the airflow near the CPU cooler. It should feel steady and consistent, indicating that the fan is blowing air properly.
- Monitor temperatures: Keep an eye on the temperature readings of your CPU using monitoring software or BIOS. If the temperatures remain within safe limits, it indicates successful cooling by the fan.
- Shut down and reassemble: Once the fan has been tested and confirmed to be working correctly, shut down your computer. Reattach the side panel of your computer case and secure it in place.
By testing the fan and monitoring its performance, you can ensure that it is functioning as expected and effectively cooling your CPU. Performing these checks will give you peace of mind and allow you to reassemble your computer with confidence.
Congratulations! You have successfully tested the fan and reassembled your computer. With your new Thermaltake CPU cooler fan in place, you can expect improved cooling performance and reduced noise levels. Enjoy the enhanced stability and efficient cooling provided by your newly clipped fan!
Conclusion
Clipping a new Thermaltake CPU cooler fan onto the heatsink may seem like a daunting task, but with the right tools and a step-by-step approach, it can be accomplished easily. By following the steps outlined in this guide, you can ensure that your CPU stays cool, improving overall performance and extending the lifespan of your computer.
In this guide, we covered the necessary tools you’ll need, such as a screwdriver, thermal paste, and a clean cloth or compressed air. We also walked you through the step-by-step process, from preparing the CPU cooler and fan to securing the clips in place. By aligning the clips and attaching the fan securely to the heatsink, you can ensure proper cooling and stability.
Once the fan is attached, don’t forget to test it and monitor the temperature of your CPU. Pay attention to the airflow, noise levels, and temperature readings to ensure that everything is functioning as expected. If you notice any issues, double-check your installation and make any necessary adjustments.
By taking the time to properly clip a Thermaltake CPU cooler fan onto the heatsink, you can maintain optimal cooling performance and protect the longevity of your computer hardware. Keeping your CPU cool is crucial for smooth operation and preventing any potential damage caused by excessive heat.
We hope that this guide has provided you with the necessary information and confidence to successfully clip a new fan onto your Thermaltake CPU cooler. Enjoy the improved cooling performance and quieter operation that a properly functioning fan can bring.
Thank you for reading, and happy computing!